
Knowing how to put an iPhone in recovery mode is a game-changer when you're facing serious software problems. It’s a specific button sequence that forces your device to connect with a computer, giving you a direct line to reinstall the entire operating system. Think of it as a powerful reset button for when a simple restart just won't cut it.
If your iPhone is stuck in a boot loop, frozen on the Apple logo, or completely unresponsive, Recovery Mode is often the solution that can bring it back to life. This guide will walk you through exactly when to use it, the correct button combinations for your model, and what to do once your computer takes over.
Understanding When to Use iPhone Recovery Mode
Before you start frantically pressing buttons, it’s really important to understand what Recovery Mode is and, more importantly, when it's the right tool for the job. Picture it as an emergency bridge between your unresponsive iPhone and your computer. It allows your Mac or PC to talk to your phone on a fundamental level, completely bypassing the corrupted software that's causing all the grief.
This isn't your everyday troubleshooting fix. A standard restart is perfect for minor glitches, like a frozen app or a bit of sluggishness. Recovery Mode is reserved for the heavy-duty situations where the core software—iOS itself—is failing to load correctly.
Common Scenarios That Require Recovery Mode
You'll know it's time to consider this option when your iPhone is showing symptoms that a simple on-and-off cycle can't fix. These issues often point to a major software conflict or a failed update that has left the device in a frustrating, unusable state.
Here are a few classic examples we see all the time at our Brisbane repair centre:
- Stuck on the Apple Logo: Your iPhone starts to boot up but never gets past that iconic Apple logo. This is a classic symptom after a software update was interrupted or went wrong. For a deeper dive, check out our guide on what to do when your iPhone is stuck on the Apple logo.
- Continuous Restart Loop: This one is maddening. The device powers on, shows the Apple logo, then shuts down and repeats the cycle over and over without ever reaching your home screen.
- The "Connect to Computer" Screen: If you see this screen, your iPhone is already telling you what it needs. It's detected a problem so severe that it requires a computer to step in and fix it.
- Your Computer Doesn't Recognise It: Sometimes, after a failed update, your iPhone might seem completely dead. When you plug it in, it won't even show up in Finder or iTunes. Recovery Mode can force that connection.
Recovery Mode is essentially the last major software-based fix you can try before you have to start thinking about a hardware fault. It’s specifically designed to resolve those deep, stubborn system errors by giving you a fresh start.
To help you decide if Recovery Mode is the right move, we've put together a quick reference table. It covers common iPhone headaches and whether this is the solution you should be reaching for.
Should You Use Recovery Mode? A Quick Guide
| Symptom or Problem | Is Recovery Mode the Solution? | First Action to Try |
|---|---|---|
| The iPhone is stuck on the Apple logo. | Yes, this is a primary use case. | Force restart the device first. |
| The screen is completely black or frozen. | Yes, if a force restart fails. | Try a force restart. |
| The device is in a continuous restart loop. | Yes, this is often the only fix. | Attempt a force restart. |
| An app is frozen or not responding. | No, this is overkill. | Close the app, then restart your iPhone. |
| You forgot your passcode. | Yes, but it will erase your data. | This is the required method to reset it. |
| The "Connect to Computer" screen is showing. | Yes, the device is asking for it. | Connect it to your Mac or PC immediately. |
| A software update failed and the phone is unresponsive. | Yes, this is the standard procedure. | Connect it to a computer. |
Ultimately, Recovery Mode is your go-to when iOS has encountered a serious problem and needs help from your computer to get back on track. It's a powerful tool, but always approach it with a bit of caution, as one of its options involves erasing your data.
Entering Recovery Mode on Any iPhone Model
Getting your iPhone into Recovery Mode comes down to a specific sequence of button presses. It's not as tricky as it sounds, but since Apple has changed the iPhone's design over the years—ditching the Home button and rejigging what the side buttons do—the exact method depends on your model.
We'll walk through the combos for every generation, so you can follow along easily.
The key here is precision. The instructions often say "press and quickly release," and that speed really matters. The most common mistake people make is letting go of the final button too soon, especially right when the Apple logo pops up. You have to keep holding that last button until the proper Recovery Mode screen—the one showing a computer and a cable—appears on your display.
To give you a clear picture before you jump in, this flowchart breaks down the basic thought process: figure out the problem, make sure you've got a backup, and only then move on to recovery.
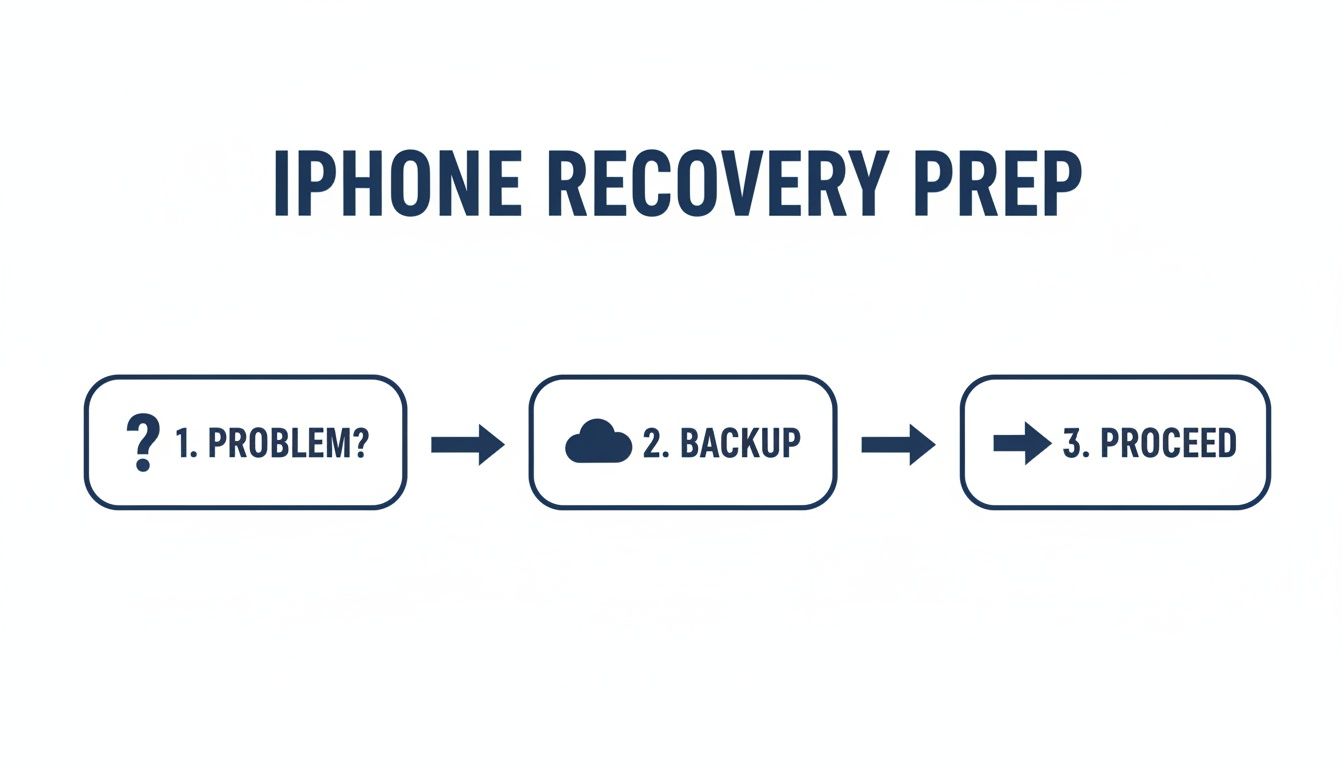
Alt: A flowchart showing the preparation for iPhone recovery mode: identify the problem, backup data, then proceed.
This workflow is a good reminder that Recovery Mode should be a deliberate last resort, taken only after you've confirmed the issue and protected your data. Right, let's get into the model-specific instructions.
For iPhone 8 and Newer Models
This covers a huge range of devices, from the iPhone 8 and iPhone X all the way up to the latest models, including the 2nd and 3rd generation iPhone SE. If your iPhone doesn't have a physical, clickable Home button on the front, this is the method for you.
- First, plug your iPhone into your computer with a good quality USB cable.
- Press and quickly release the Volume Up button.
- Immediately press and quickly release the Volume Down button.
- Finally, press and hold the Side button (the one on the right).
- Keep holding that Side button. You’ll see the Apple logo appear, but don't let go! You need to wait until the Recovery Mode screen shows up.
This three-button dance is the modern standard, and once you get the rhythm down, you'll be able to handle most iPhones out there today.
For the iPhone 7 and iPhone 7 Plus
The iPhone 7 series was a bit of an odd one out. It introduced the non-mechanical, touch-sensitive Home button, which meant it needed a different button combo for recovery actions. The process here is a little simpler but just as specific.
- Connect your iPhone 7 or 7 Plus to your computer via USB.
- Press and hold both the Side button and the Volume Down button at the same time.
- Keep holding both buttons down. The screen will go black, the Apple logo will appear, but keep holding on.
- Only let go when you see the Recovery Mode screen.
This two-button hold is unique to the iPhone 7 lineup, so don't mix it up with the methods for older or newer phones—it just won't work. If you're struggling with an unresponsive screen and need to power it down first, our guide on how to turn off an iPhone when the screen is broken might come in handy.
For iPhone 6s and Older Models
If you're dealing with an older iPhone that has that classic, clickable Home button—like the iPhone 6s, the original iPhone SE, or anything earlier—you’ll use the original method that many long-time Apple users will find familiar.
- Plug the iPhone into your computer.
- Press and hold both the Home button and the Top (or Side) button together. The power button is on top for older models and on the side for the 6 series.
- Keep them held down as the screen turns off and the Apple logo eventually appears.
- Don't release anything until you see the Recovery Mode screen.
Key Takeaway: No matter which model you have, patience is everything. You absolutely must continue holding the final button (or buttons) past the Apple logo. Letting go too early is the number one reason people fail to enter Recovery Mode on their first attempt.
Apple Australia also has its own official guides on this, which are great for getting clear, model-specific instructions to prep your device. You can find more details on the official Apple support page. Following these steps carefully will get you connected to your computer and ready to start the repair process.
Using Your Computer to Update or Restore Your iPhone
Once your iPhone is showing the Recovery Mode screen, you're over the biggest hurdle. From here on out, your computer takes over. What you do next depends on your setup: you'll be working in Finder if you're on a Mac running macOS Catalina or newer, or in iTunes if you're on a Windows PC or an older Mac.
When you connect your iPhone, your computer should immediately recognise that a device is in Recovery Mode. You’ll see a pop-up window giving you two critical choices: Update or Restore. This is the most important decision you'll make in this whole process. Getting it right can be the difference between a simple software fix and losing all your personal data.
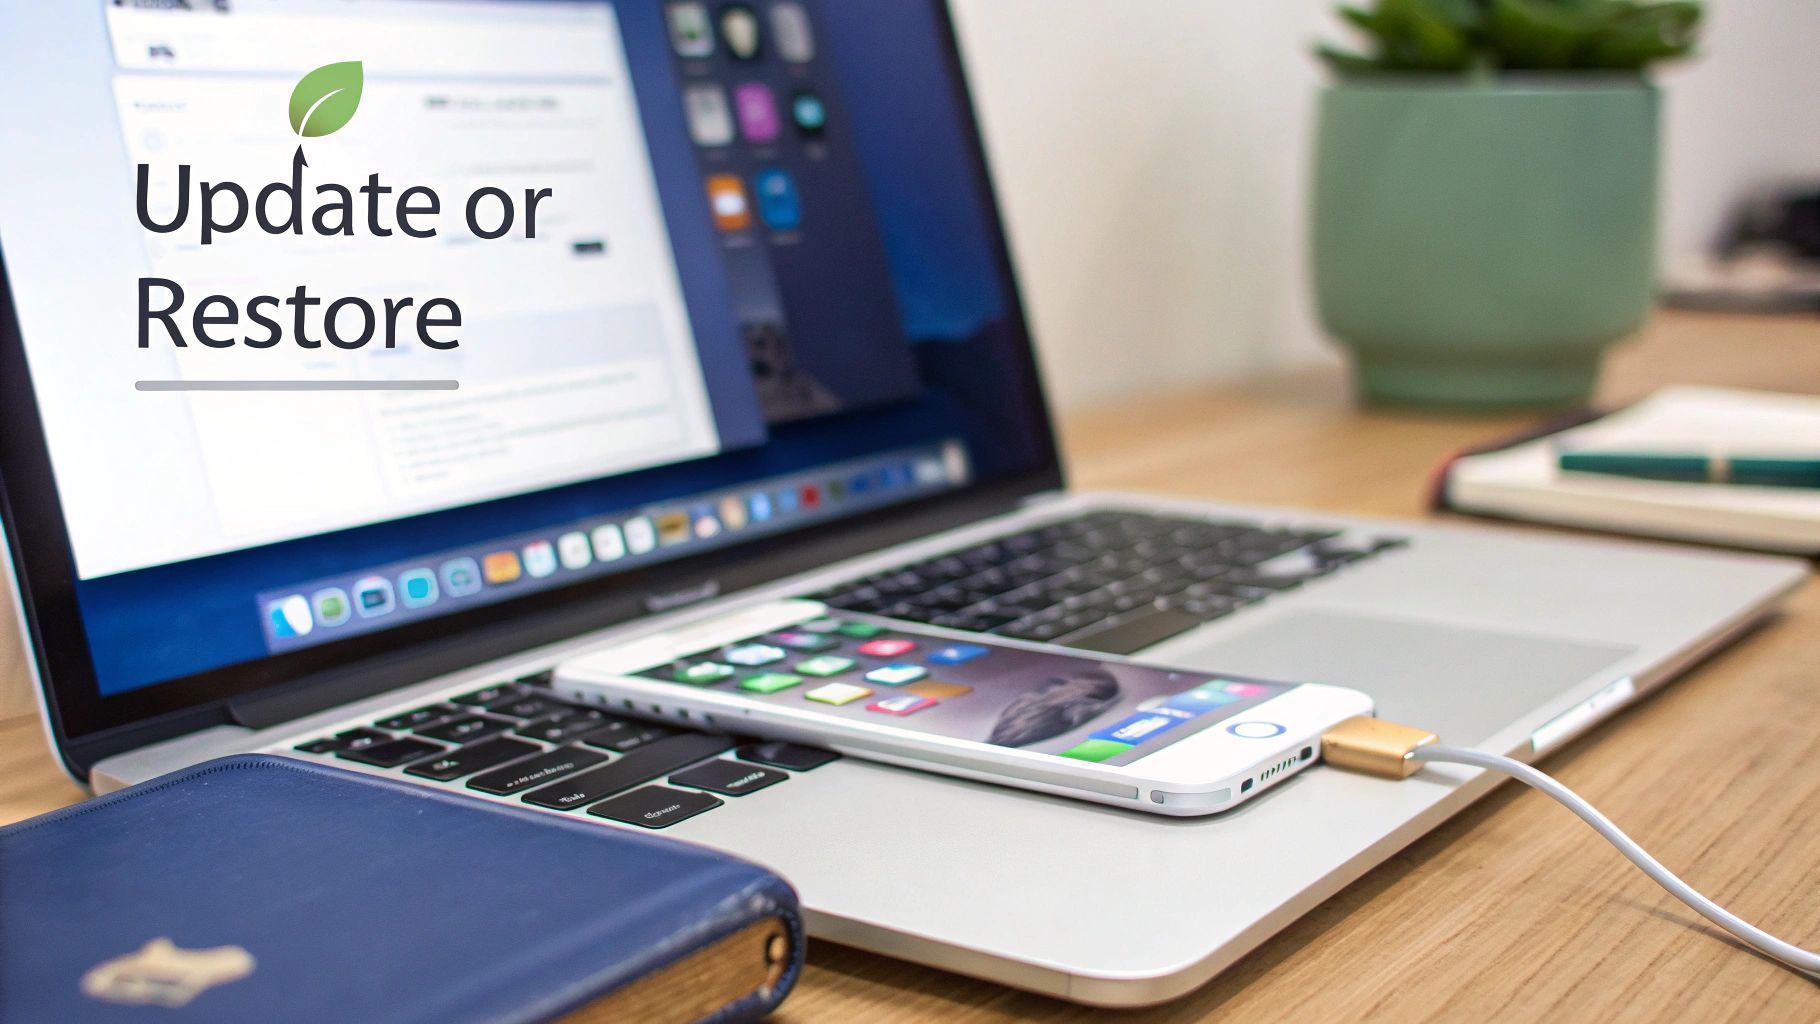
Alt: An iPhone connected to a Mac, with the choice to 'Update or Restore' on the screen.
Making The Right Choice: Update vs Restore
Let me make this simple: always, always try Update first. This option tells your computer to download and reinstall a fresh copy of iOS without touching any of your personal files, photos, apps, or settings. It's the least destructive solution and is specifically designed to fix software glitches while keeping everything you care about safe and sound.
Your computer will then begin downloading the latest iOS software package from Apple's servers. This can take a while, depending on your internet speed.
Now, a common thing that happens here is that the download might take longer than 15 minutes. If it does, your iPhone will automatically exit Recovery Mode to protect itself. Don't panic if you see your phone restart—this is normal. Just let the download finish, and once it's done, repeat the button sequence for your specific model to pop it back into Recovery Mode.
The Restore option, on the other hand, is the nuclear option. It completely erases everything on your iPhone—all your data, settings, the lot—before installing a fresh version of iOS. Think of it as a full factory reset that returns the device to its out-of-the-box state.
You should only choose Restore if the Update fails or if you’re deliberately trying to wipe the device clean. For example, if you've forgotten your passcode, a restore is often the only way back in. It's a similar situation to when your iPad is disabled and asks you to connect to iTunes, where a full restore is often the only solution.
This is precisely why having a recent backup is non-negotiable before you even think about putting an iPhone in Recovery Mode. Without one, choosing 'Restore' means saying goodbye to your data for good.
Update vs Restore: What to Choose in Recovery Mode
Making the right call here is crucial, so let's break down exactly what each option does. This table should clear up any confusion and help you decide which path to take.
| Action | What It Does | Impact on Your Data | When to Use It |
|---|---|---|---|
| Update | Reinstalls the iOS operating system. | Preserved. Your personal data remains untouched. | Always try this first for any software-related issue. It's the safest bet. |
| Restore | Wipes the device completely and installs a fresh copy of iOS. | Completely erased. The device is reset to factory settings. | When the 'Update' option fails, or if you need to wipe the device (e.g., forgotten passcode). |
Deciding between 'Update' and 'Restore' ultimately comes down to one thing: do you want to keep your data? Always start with the least invasive option.
If the update process works as intended, your iPhone will restart with all your data right where you left it. If you were forced to use Restore, you’ll be greeted with the "Hello" setup screen once it’s done. From there, you can restore your data from that all-important backup you made earlier.
If even a Restore doesn't fix the problem, it might be time to seek professional help for an iPhone repair in Brisbane, as it could point to a more serious hardware issue.
Solving Common Recovery Mode Problems
Even when you follow the steps perfectly, technology can have a mind of its own. If you’ve tried to get your iPhone into Recovery Mode and hit a wall, don't panic. Most of these issues are pretty common and can usually be sorted out with a bit of methodical troubleshooting.
Let's walk through the most frequent snags and how to get past them.
More often than not, the problem is something as simple as the physical connection. Your computer needs a rock-solid, uninterrupted link to your iPhone to talk to it, especially when it's in a delicate state like Recovery Mode. Even a tiny blip in that connection can make the whole process fall over.

Alt: A person connecting a USB cable to an iPhone for troubleshooting.
What to Do If Your Computer Doesn't Recognise Your iPhone
It’s incredibly frustrating when you’ve done everything right, but your Mac or PC just pretends your iPhone isn’t there. Before you assume the worst, run through these simple checks. They solve the problem more often than you'd think.
- Check your cable and port: Not all USB cables are made the same. If you can, always use a genuine Apple or MFi-certified cable. It's also worth trying a different USB port on your computer; some ports can get a bit flaky or not supply enough power for a stable data connection.
- Update your software: Make sure your Mac is running the latest version of macOS. For Windows users, this means grabbing the newest version of iTunes. Outdated software is a classic cause of recognition problems.
- Restart everything: It sounds almost too simple, but you’d be surprised how many weird connection glitches a good old-fashioned restart can fix. Reboot both your computer and your iPhone (you might need to force restart it) before you try again.
If you’ve ticked all those boxes and your computer still isn’t playing ball, the issue might be with the phone's charging port. A bit of dust, lint, or physical damage inside the port can easily prevent a clean data connection. This is often the point where getting a professional diagnosis for iPhone Repairs Brisbane is the next logical step.
A sneaky culprit we see all the time is third-party security software. Aggressive antivirus or firewall programs can sometimes mistake the connection attempt as a security threat and block it. Try temporarily disabling your security software to see if that lets Finder or iTunes finally see the iPhone.
Getting Out of a Recovery Mode Loop
Another common heart-stopper is the dreaded "recovery loop." This is where your iPhone gets stuck on the "Connect to Computer" screen and refuses to boot up normally, no matter what you do. It usually happens if an update or restore process was interrupted partway through.
Your first move should be to try and force it out of Recovery Mode. Just unplug the iPhone from your computer and perform a force restart using the button combo for your model. For an iPhone 8 or newer, that's a quick press of Volume Up, then Volume Down, followed by pressing and holding the Side button until the Apple logo pops up.
If it just reboots straight back to the Recovery Mode screen, the software is probably too scrambled to start up on its own. Your only real option here is to reconnect it to your computer and try the 'Update' or 'Restore' process again. A quick search on community forums like iFixit shows just how many people run into this exact problem, so you're not alone.
This is one of those situations where patience is everything. The process can feel frustratingly repetitive, but ensuring you have a stable connection and just letting the software do its thing is often the only way through. If it still fails after a few tries, it might be pointing to a deeper hardware problem, like an issue with the logic board, which definitely needs an expert to look at.
When Recovery Mode Is Not Enough
While knowing how to put an iPhone in recovery mode can get you out of a huge range of software jams, it’s important to recognise when the issue runs a bit deeper. If you've gone through the whole restore process and the problem is still there, you might be dealing with something more stubborn than a simple software glitch.
This is usually when you'll start hearing people talk about Device Firmware Update (DFU) mode. Think of DFU mode as Recovery Mode’s more powerful, serious sibling. It’s a much deeper type of restore that lets your iPhone talk to a computer without even loading up the operating system or bootloader. This gives it a direct line to the firmware, which is essential for fixing serious corruption.
But with great power comes great risk. A DFU restore that goes wrong can potentially brick your device for good. That’s why it's really a tool best left to experienced technicians. It's the final software-based Hail Mary before you have to start suspecting a hardware failure.
Recognising Potential Hardware Failures
It's a frustrating reality, but sometimes a hardware problem can perfectly imitate a software fault. Damaged logic boards, faulty charging ports, and even failing batteries can cause symptoms like boot loops or failed restores, fooling people into thinking it's just a software bug.
Keep an eye out for these signs that point towards a hardware issue:
- Repeated Restore Failures: If Finder or iTunes keeps throwing up specific error codes every time you try to restore, it's often a sign that a physical component is failing.
- No Life After Restore: You get the "Restore Complete" message, but the device just stays dead, won't turn on, or won't hold a charge at all.
- Physical Damage: This one's a big clue. If the phone was recently dropped or got wet, there could be underlying damage that only shows up when you put it through a software-heavy process like a restore.
If you've tried every software fix in the book and your iPhone is still playing up, there's a very strong chance the problem is physical. At this point, trying to restore it over and over is unlikely to help and could even make things worse.
When you hit this wall, the smartest move is to get a professional opinion. For reliable iPhone repairs in Brisbane, bringing your device to a specialist like Screen Fixed will get you a proper diagnosis. Our technicians can quickly figure out if it's a logic board problem or another hardware fault, giving you a clear path forward to get your iPhone working again.
Disclaimer: All third-party trademarks, such as Apple, iPhone, iTunes, and Finder, are the property of their respective owners. Screen Fixed is an independent service provider and is not affiliated with Apple Inc.
iPhone Recovery Mode FAQs
Got questions about iPhone Recovery Mode? You're not alone. Here are some quick answers to the most common things people ask, so you can move forward with confidence.
Will Using Recovery Mode Erase My Data?
Not necessarily, but you need to be careful. When you connect your iPhone and the option pops up on your computer, always choose Update first. This is designed to reinstall iOS without touching your personal files and is the safest bet.
However, if the update fails and you're forced to select Restore, then yes, everything on your phone will be wiped clean. This is exactly why having a recent backup before you even think about starting this process is an absolute must.
How Long Do I Hold the Buttons to Enter Recovery Mode?
This is the one detail that trips up almost everyone. For any modern iPhone (model 8 and newer), the sequence is very specific: press and quickly release the volume up button, then immediately press and quickly release the volume down button. Finally, press and hold the side button.
Now, here's the critical part: keep holding that side button down. Don't let go when you see the Apple logo pop up. You only release it when the Recovery Mode screen—the one with the computer and cable icon—appears. Letting go too soon is the number one reason this fails.
What Should I Do If My iPhone Is Stuck On the Recovery Screen?
Seeing that recovery screen over and over can be frustrating, but don't panic. The first thing to try is a simple force restart using the button sequence for your model. If it just boots back to the same screen, it's time to reconnect it to your computer and try the Update process one more time. It's also worth checking that your USB cable isn't frayed or damaged and that your computer's software is fully up to date.
If the update fails again, choosing Restore might be your last software-based option. If the phone still gets stuck after a full restore, it's a strong indicator of a hardware fault. At that point, the problem is likely beyond a simple software fix and needs a professional diagnosis from a service like Screen Fixed Brisbane.
If you're dealing with a stubborn iPhone or suspect a hardware issue is the real culprit, the team at Screen Fixed is here to help. Book your iPhone repair in Brisbane with us today and let our experts take a look.