---
meta_title: "How to Clean Your MacBook Keyboard Safely | Screen Fixed Guide"
meta_description: "Sticky keys? Learn how to clean your MacBook keyboard the right way with our expert guide. Simple steps for dust, spills, and deep cleaning. Screen Fixed Brisbane can help!"
---
Crumbs, dust, and the occasional coffee splash—it’s a daily battle to keep your MacBook keyboard clean. If you're dealing with sticky, unresponsive keys or just a layer of grime, you're not alone. A dirty keyboard doesn't just look bad; it can seriously impact your MacBook's performance and even your health. The good news is that a simple, regular cleaning routine can prevent most issues before they start.
Before you even think about cleaning your MacBook keyboard, the golden rule is to **power it down completely**. Once it's off, a can of compressed air angled at about **75 degrees** is your best friend for blasting out loose debris. A final wipe with a lightly dampened microfibre cloth finishes the job. This simple routine is your number one defence against sticky keys and helps keep your machine running smoothly for years.
## Why Bother Cleaning Your MacBook Keyboard?
Let's be honest, we all do it. That morning coffee perched precariously close, a quick lunch over a spreadsheet, or just the slow accumulation of dust—they’re all conspiring against your MacBook's keyboard. For Aussies, whether you're in a dusty city office in Brisbane or a humid coastal home, keeping that keyboard clean is less about looks and more about performance and basic hygiene.
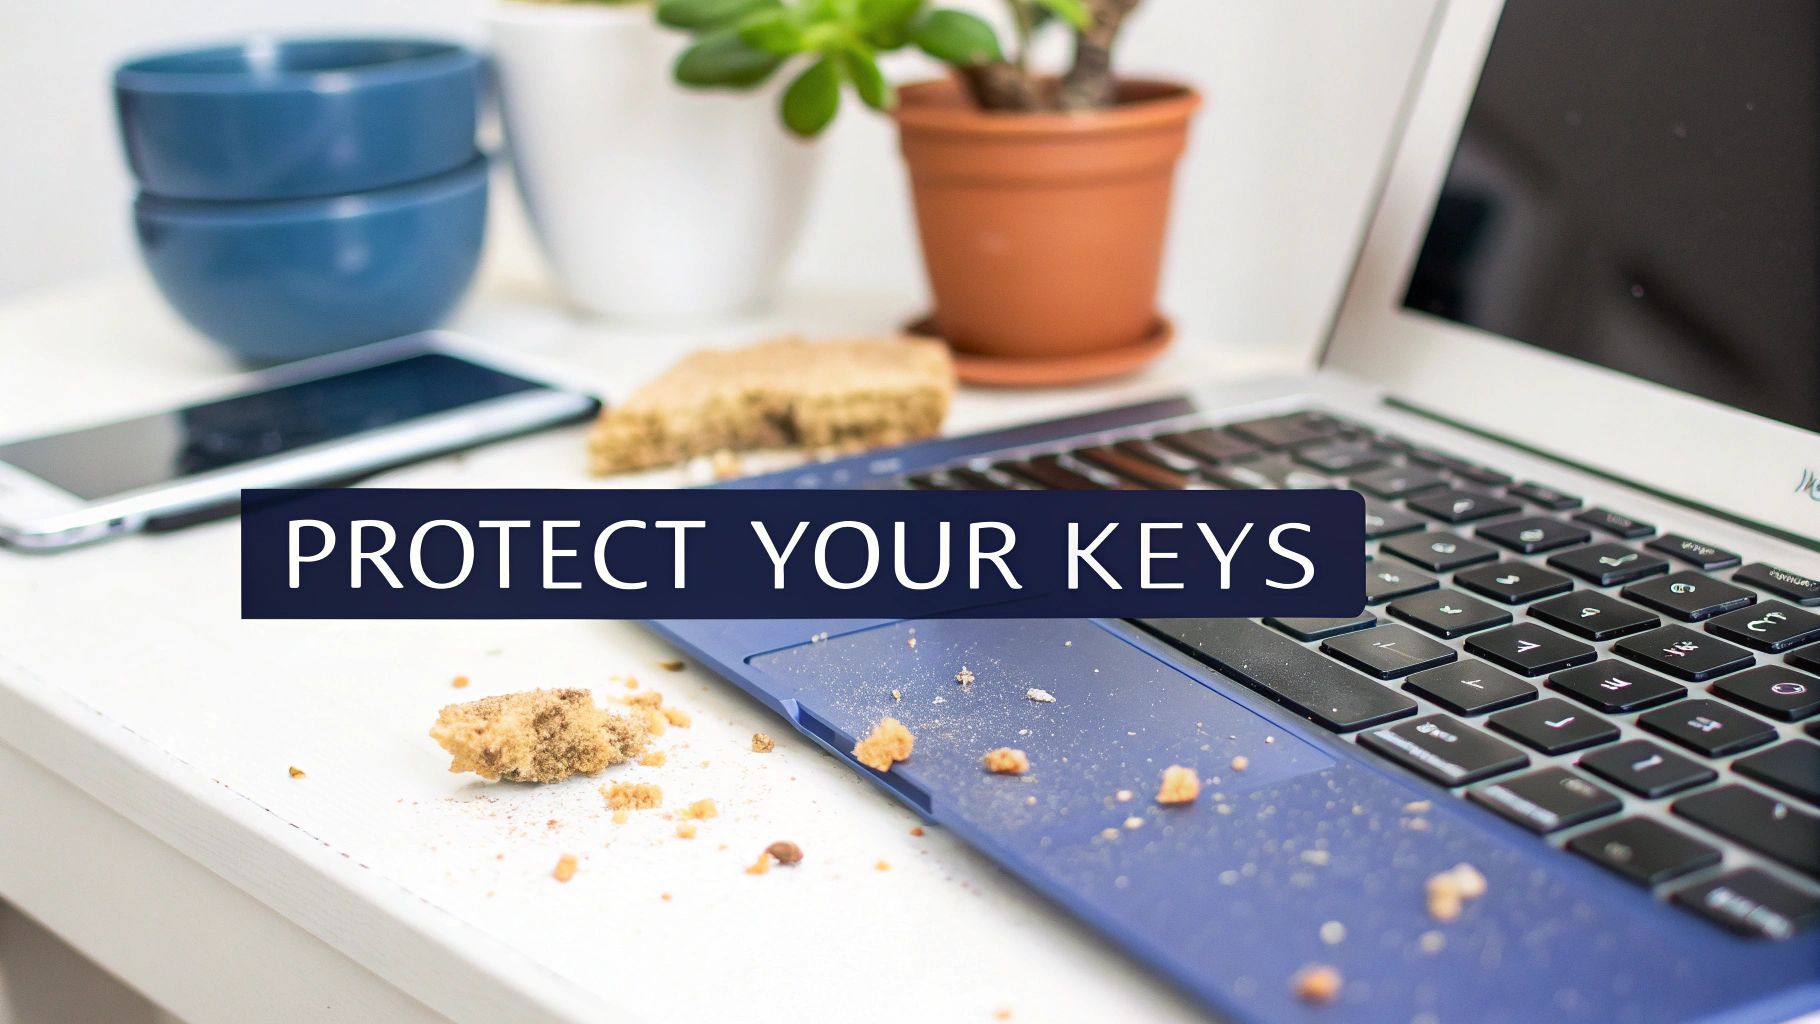
*alt="A messy desk with a MacBook keyboard covered in crumbs, highlighting the need for cleaning."*
### Preventing Sticky and Unresponsive Keys
Those tiny, seemingly harmless crumbs and dust particles have a knack for working their way under the keycaps and into the delicate mechanisms below. This build-up is the usual suspect behind some seriously frustrating keyboard problems:
* **Sticky keys** that feel mushy or don't pop back up properly.
* **Unresponsive keys** that completely ignore your keystrokes.
* **Repeating keys** that decide to type a character over and over from a single press.
These issues were a real headache for owners of MacBooks with the sensitive butterfly keyboard, manufactured between **2016** and **2019**. On those models, even the smallest speck of dust could render a key useless. Regular cleaning is your first and best line of defence, keeping your workflow smooth and uninterrupted.
> For most of us, a dodgy keyboard isn't just a minor inconvenience; it's a productivity killer. A bit of proactive cleaning is the easiest way to sidestep the drama of sticky keys and the potential repair bills that follow.
### Maintaining a Hygienic Workspace
Aside from the mechanical side of things, your keyboard can be a real hotspot for germs. It’s a surface we touch constantly all day, transferring skin oils, food debris, and whatever else is floating around. If you want to go down the rabbit hole, learning about [fomite transmission](https://virusfaq.com/2025/11/14/what-is-fomite-transmission/) really shines a light on how everyday objects, keyboards included, can spread germs.
The stats are pretty grim. Repair technicians in Australia frequently encounter keyboards harbouring **400 times more bacteria than a toilet seat**. And with so many of us working from home, coffee spills and snack crumbs have made MacBooks particularly notorious offenders.
This isn't just about keeping your gear in good nick; it’s about your own health. Knowing the risks is the first step, and it sets the scene for the safe, practical cleaning methods we're about to cover. It also explains why, when a simple wipe-down doesn't cut it, calling in a professional like **Screen Fixed Brisbane** is your safest bet.
## Getting Your MacBook Cleaning Kit Ready
Before you dive in and start cleaning your MacBook's keyboard, the first and most important job is to get your tools in order. Trust us on this one—grabbing the wrong stuff like paper towels or harsh kitchen cleaners is a fast track to scratched keys, a worn-off finish, or even worse, internal damage. A few minutes of prep now can save you a world of hurt later.

*alt="A complete MacBook keyboard cleaning kit laid out on a wooden table, including brushes, cloths, and solutions."*
The good news? You don't need a professional-level lab setup. Most of the essentials for a light clean are probably already lying around your house. For the more stubborn jobs, you'll just need to add a couple of specialist items to your arsenal.
### The Everyday Cleaning Crew
For your regular wipe-downs to deal with light dust and fingerprints, you only need a few simple things. These tools are gentle enough to use often and are brilliant for keeping that daily build-up at bay.
* **Microfibre Cloths:** Don't even think about using anything else. You'll want at least two soft, lint-free microfibre cloths. One is for the slightly damp cleaning, and the second is for drying and buffing everything to a perfect finish. Their tiny fibres are masters at trapping dust without leaving a single scratch.
* **Soft-Bristled Brush:** A small, clean brush is your best friend for getting between the keys. Something like a new, soft paintbrush or even a soft-bristled toothbrush works perfectly to sweep out crumbs and dust without damaging the delicate key mechanisms.
* **Compressed Air:** This is a non-negotiable part of the kit. It’s the only way to safely blast out the stubborn dust and particles hiding underneath the keycaps. Get a can with a thin straw nozzle—it lets you aim the air exactly where it needs to go for maximum effect.
### Stepping It Up for Spills and Grime
If you're facing down sticky keys from a coffee splash or just a really stubborn layer of grime, it's time to bring in the big guns. This is where choosing the right cleaning solution is absolutely critical.
> The most important rule to remember is to **never, ever spray liquid directly onto your keyboard**. Always put the cleaner on your cloth first, and make sure the cloth is just damp, not soaking wet.
Your best bet is **70% isopropyl alcohol (IPA)**. It’s a fantastic degreaser that cuts through oily residue like a charm and evaporates quickly, which dramatically lowers the risk of any liquid getting inside your Mac.
For an absolutely flawless, streak-free shine, some pros sometimes opt for [distilled water for cleaning](https://preptables.com/blogs/prep-tables/distilled-water-for-cleaning). Because it has no minerals, it won't leave any residue behind.
Having the right kit—from a simple cloth to specialised tools—is what separates a successful clean from a costly repair bill for MacBook owners everywhere, from Perth to our mates at **Screen Fixed Brisbane**.
### Essential MacBook Keyboard Cleaning Supplies
To make it easy, here’s a quick-glance table of the supplies we recommend. Having these on hand ensures you’re ready for anything from a quick dust-off to a deep clean after a spill, all while keeping your MacBook safe.
| Cleaning Level | Essential Tools | Recommended Fixo Product |
| ------------------- | ------------------------------------------------------------------------------------------------------------- | -------------------------------------------------------------------------------------------------------------------- |
| **Light/Routine** | 2x Microfibre Cloths, Soft Brush, Can of Compressed Air | Premium Microfibre Cleaning Cloths (3-Pack) |
| **Moderate/Sticky** | Everything from Light Clean, plus **70% Isopropyl Alcohol (IPA)** | 99.9% Isopropyl Alcohol Cleaning Solution |
| **Deep/Internal** | Everything from Moderate Clean, plus **Pentalobe Screwdriver**, Plastic Prying Tools, and Replacement Adhesive | Fixo Pro Tech Toolkit (includes screwdrivers and prying tools) |
With the right tools laid out, you're not just cleaning; you're performing proper maintenance that will keep your keyboard feeling responsive and looking new for years to come.
## Your Weekly MacBook Keyboard Maintenance Routine
A little bit of consistent, light cleaning is your absolute best defence against the gunk that builds up over time and causes bigger keyboard dramas. Think of it as preventative care. A simple, five-minute routine once a week can save you from future headaches, sticky keys, and potentially costly repairs. It’s the easiest way to keep that crisp, responsive feel your MacBook had right out of the box.
First things first, and this is non-negotiable: **completely shut down your MacBook**. Don't just close the lid or put it to sleep. Head to the Apple menu and select "Shut Down." This simple action stops you from accidentally typing gibberish into an open document and protects the sensitive electronics from any static or moisture mishaps.
### Safely Dislodging Loose Debris
Once your MacBook is fully powered off and unplugged, it's time to deal with any loose dust and crumbs. The easiest place to start is by simply turning it upside down.
Get a secure grip on your MacBook with both hands, flip it over above a bin or a towel, and give the back a few gentle taps. Gravity is your friend here, helping to dislodge any larger bits and pieces just sitting under the keys.
From there, you can get a bit more methodical. We've heard from Aussie tech experts that a specific technique can really maximise debris removal. They suggest shutting down, then flipping the device and gently tapping the keys first—this simple change can apparently boost particle removal by up to **30%**. You can learn more about these professional cleaning methods from local technicians who are in the trenches with these issues every day.
### The Gentle Sweep and Wipe
With the bigger crumbs out of the way, it's time to focus on the finer details. Grab your soft-bristled brush and gently sweep between all the keycaps. I find it helps to work across the keyboard in a set pattern, making sure you get into all the grooves where dust loves to settle.
Next, take a clean microfibre cloth and make it **lightly** damp. Seriously, it shouldn't be wet enough to drip at all. Carefully wipe down the surface of each keycap to lift off fingerprints, oils, and any lingering dust. Immediately follow up with your second, completely dry microfibre cloth to buff away any hint of moisture, leaving the keyboard looking like new.
> Remember, this weekly once-over is all about maintenance, not a deep clean. It's about stopping the small stuff from turning into a big problem. This quick process will go a long way in extending the life and responsiveness of your keyboard, making for a much better typing experience day in and day out.
## A Deep Dive on Tackling Sticky Keys and Spills
When your weekly wipe-down just doesn't cut it for a key that feels mushy or won't respond, it's time to get a bit more targeted. Sticky keys are usually the culprit when sugary drinks or greasy food gets involved, but fixing them is pretty straightforward if you're careful. The whole idea is to dissolve the gunk without letting a single drop of liquid seep into the delicate electronics underneath.
A more thorough clean is also a must when dust and debris build up over time, which is a massive issue here in Australia. Those scorching **40°C+** Sydney summers we’ve had since 2015 are notorious for pushing dust into every possible crevice. In fact, an analysis of thousands of out-of-warranty repairs showed that a staggering **62% of MacBook failures** could be traced back to keyboard debris. You can read more on how our climate impacts MacBooks over at [Ryujin Electronics](https://ryujinelectronics.com.au/news/clean-your-macbook-now-with-this-guide/).
To stop small problems from becoming big ones, this simple graphic breaks down the essential steps for a safe, weekly clean.
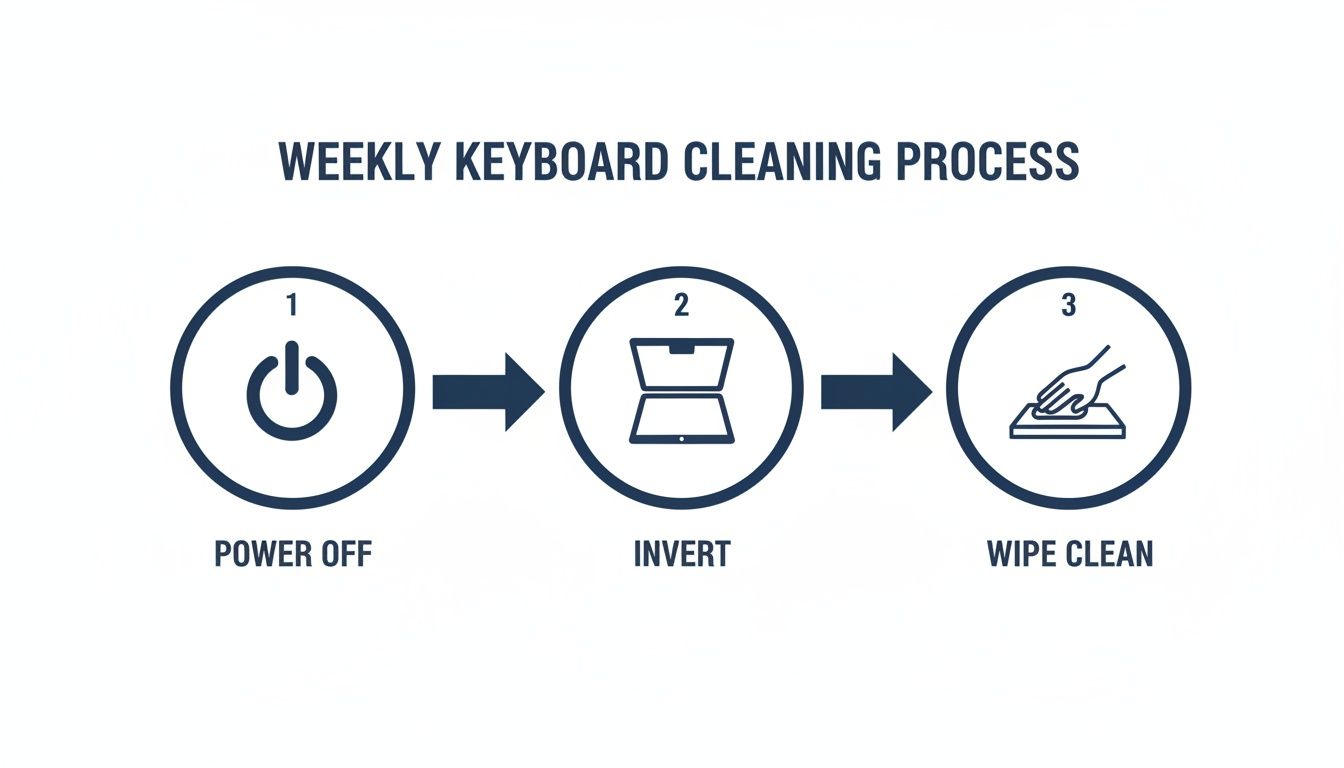
*alt="An infographic displaying the three simple steps to clean a MacBook keyboard weekly."*
This basic routine—powering off, turning it upside down to shake things loose, and a quick wipe—is the foundation of good keyboard hygiene.
### Mastering the Compressed Air Technique
For a deeper clean, nothing beats compressed air, but your technique is everything. Get it right, and you'll dislodge trapped particles. Get it wrong, and you risk forcing debris deeper or even breaking the delicate scissor or butterfly mechanisms under the keys.
First things first, always switch off your MacBook. Hold the can of compressed air upright, making sure the nozzle stays about **1.5 cm** away from the keyboard surface.
* Tilt your MacBook to a **75-degree angle**.
* Spray the air across the keyboard in a steady, left-to-right zigzag pattern.
* Now, rotate your MacBook to the right and do it again.
* Finally, rotate it to the left and give it one last pass.
This multi-angle approach is crucial. It ensures you're hitting the debris from all sides and actually clearing it out, not just pushing it around under the keys.
### Targeting Specific Sticky Spots
When you're fighting a specific sticky key, isopropyl alcohol is your best friend. The trick here is to use it very, *very* sparingly.
> Never spray any liquid directly onto your keyboard. The goal is to clean the key mechanism, not to flood the logic board.
Grab a cotton swab or the corner of a microfibre cloth and lightly dampen it with **70% isopropyl alcohol**. The swab should feel almost dry to the touch, not wet. Carefully work the swab around the edges of the sticky keycap, gently pressing the key down to help the alcohol get underneath to the mechanism. Tap the key repeatedly to work the alcohol in and dissolve whatever is causing the stickiness.
If you're dealing with a major liquid spill, that’s a different beast entirely. Our guide on [how to handle a water-damaged device](https://www.fixo.com.au/blogs/news/how-to-fix-water-damaged-phone) has the critical next steps you need to take immediately.
### A Special Warning for Butterfly Keyboards
If your MacBook is a 2016 to 2019 model, you’ve likely got a butterfly keyboard. These things are notoriously sensitive to the tiniest speck of dust. While the cleaning process is the same, you have to be extra gentle. Don't go too hard with the compressed air, and be extremely cautious with the isopropyl alcohol.
These keyboards were so problematic that they accounted for **70% of debris-related failures** that Apple’s own service program flagged in Australia. If a deep clean doesn't fix your issue, don't even think about trying to pop the keycap off—you’ll almost certainly break the fragile clips. This is a clear sign it's time to call in the professionals, like the team at **Screen Fixed Brisbane**.
## Knowing When to Call a Professional for Help
<iframe width="100%" style="aspect-ratio: 16 / 9;" src="https://www.youtube.com/embed/UXJkbViuPR8" frameborder="0" allow="autoplay; encrypted-media" allowfullscreen></iframe>
Look, sometimes even the most determined DIY cleaning session won't cut it. While a good maintenance routine can dodge most keyboard bullets, you have to know when to wave the white flag.
Pushing a fix too far can quickly turn a simple repair into a costly nightmare. Knowing when to put the tools down and call in an expert is often the smartest move you can make. It's not admitting defeat; it's protecting your investment.
These signs usually mean the problem isn't just about surface-level gunk. You could be looking at a failing keyboard assembly or, worse, an issue with the logic board underneath. Trying to brute force a solution here can cause serious, expensive damage.
### Red Flags That Scream "Get Professional Help"
If you run into any of these situations, stop what you’re doing and get some expert advice. These are clear signs the problem is beyond a simple clean.
* **A Major Liquid Spill:** This is the big one. If you've spilt anything more than a few drops of water—especially sugary drinks like coke, coffee, or alcohol—shut down your MacBook immediately. Unplug it. Liquid can start corroding the logic board in just a few hours, leading to total failure. A pro needs to get inside and perform a deep internal clean to stop long-term damage in its tracks.
* **Keys Are Still Unresponsive After Cleaning:** You’ve done it all. You’ve used the compressed air, carefully applied the isopropyl alcohol, but a key (or a whole section of them) still won't work. This almost always points to a failed switch mechanism under the keycap or a fault in the keyboard's connection to the logic board.
* **Visible Physical Damage:** If a keycap is snapped, the mechanism underneath is cracked, or the keyboard itself looks warped, cleaning isn't the answer. Trying to force a broken key back on will almost certainly break the delicate clips, guaranteeing you'll need a full keyboard replacement.
### The Dangers of Pushing Your Luck
It’s always tempting to think, "Maybe I'll just pop this one key off to see what's happening." With modern MacBooks, this is almost always a terrible idea.
The butterfly and scissor switch mechanisms are incredibly fragile and simply weren't designed to be removed by users. Breaking one of those tiny plastic clips means the key will never sit or feel right again.
> Continuing to use a MacBook after a big spill or with dead keys can create even bigger problems. A small short circuit can cascade, frying expensive components like the logic board. Suddenly, a keyboard repair turns into a bill that’s four or five times higher.
When your best cleaning efforts don't get the job done, it's time to hand it over. For those complex issues that need a proper diagnosis and component-level repair, the team at **[Screen Fixed Brisbane](https://www.screenfixed.com.au/pages/brisbane)** has the right tools and years of experience to fix the problem safely. Don't risk turning a small issue into a big one; let a professional handle it.
## Your Top MacBook Keyboard Cleaning Questions Answered
To wrap things up, let's tackle the most common questions we get about cleaning MacBook keyboards. Getting these right is often the difference between a quick fix and a trip to the repair shop. We've pulled these directly from real-world situations to give you clear, practical advice.
Think of this as your quick-reference guide for handling those tricky "what if" moments.
### How Often Should I Be Cleaning My MacBook Keyboard?
For general upkeep, a light wipe-down with a microfibre cloth once a week is a fantastic habit. It only takes a second and stops fingerprints, oils, and light dust from building up into a bigger problem.
When it comes to a deeper clean with compressed air, aim for **once every one to two months**. Of course, this isn't a hard and fast rule. If your workspace is a bit dusty, you often eat at your desk, or have a furry friend who likes to "help" you work, you might want to make it a monthly ritual. The best cue? The moment you feel even a slight change in how the keys respond, it's time for a proper clean.
### Can I Just Use Disinfectant Wipes from the Kitchen?
It's really best to avoid most general-purpose household cleaning products. Things like disinfectant wipes and all-purpose sprays often contain harsh chemicals like bleach or ammonia. These can strip the protective oleophobic coating right off your keycaps, leaving them with a permanently dull or streaky look. Even worse, the excess moisture can easily damage your screen.
> The safest bet, and what Apple themselves recommend, is to use **70% isopropyl alcohol wipes**. If you have a bottle of the solution, just apply a small amount to a lint-free cloth—never, ever spray any liquid directly onto the keyboard. That’s a fast track to serious internal damage.
### Is It Safe to Pop the Keycaps Off for Cleaning?
We strongly advise against this for almost everyone. The clips on modern MacBook keyboards, especially the butterfly and scissor mechanisms, are incredibly delicate. It takes surprisingly little force to snap one, turning a simple cleaning job into a complicated and expensive repair.
The cleaning methods we've outlined here are designed to be effective *without* needing to remove any keys. If you've tried a deep clean and still suspect a bit of debris is lodged deep inside a key mechanism, take it as a sign. It's time to consult a professional service rather than risking it. Sometimes a single stubborn key points to a bigger issue, and you can learn more about how to diagnose a [MacBook keyboard that's not working properly](https://www.fixo.com.au/blogs/news/macbook-keyboard-not-working) in our detailed guide.
### I Just Spilled a Drink on My Keyboard—What Do I Do Right Now?
Act fast. Every single second counts. Your only goal right now is to stop that liquid from reaching the logic board.
1. **Power Down Immediately:** Don't just close the lid. Hold down the power button until the MacBook shuts down completely.
2. **Unplug Everything:** Disconnect the charger, external monitors, hard drives—everything.
3. **Flip and Drain:** Turn the MacBook upside down and prop it open in a "tent" shape on a towel. Gravity is your best friend here, helping the liquid drain away from the important bits.
4. **Blot the Surface:** Use a lint-free cloth to gently blot and absorb any liquid you can see on the keyboard and chassis.
Whatever you do, don't be tempted to turn it back on to "see if it's okay". Liquid can cause corrosion over time. Get in touch with a professional repair service immediately to have it properly inspected and cleaned internally to prevent permanent damage.
---
*Disclaimer: Apple and MacBook are trademarks of Apple Inc., registered in the U.S. and other countries and regions. Screen Fixed is an independent service provider and is not affiliated with Apple Inc.*
At **Fixo**, we believe in giving you the knowledge to care for your devices. But when a problem is too big to handle on your own, our team is here with the expertise and genuine parts you need.
Book your repair with [Screen Fixed Brisbane](https://www.screenfixed.com.au/pages/brisbane) today.
