

Is your trusty MacBook Air chained to the wall socket, or does its battery life vanish before your eyes? These are classic signs that your battery is nearing the end of its life, but the good news is you can absolutely replace it. Deciding to replace your MacBook Air battery is one of the smartest and most cost-effective ways to breathe new life into an ageing laptop. If you're seeing that dreaded "Service Recommended" warning, it’s time for a change. With the right tools and a quality replacement battery, this is a job well within reach for most DIY enthusiasts.
How to Tell if Your MacBook Air Battery is on its Last Legs
It usually starts small. Your once-reliable MacBook Air now dies halfway through a presentation, or you find yourself constantly searching for a power outlet. These aren't just minor annoyances; they're clear indicators that your battery's health is declining. Before you jump straight to buying parts, it’s vital to confirm the battery is the culprit. You need to know how to recognize battery issues to avoid trying to solve a software problem with a hardware fix.
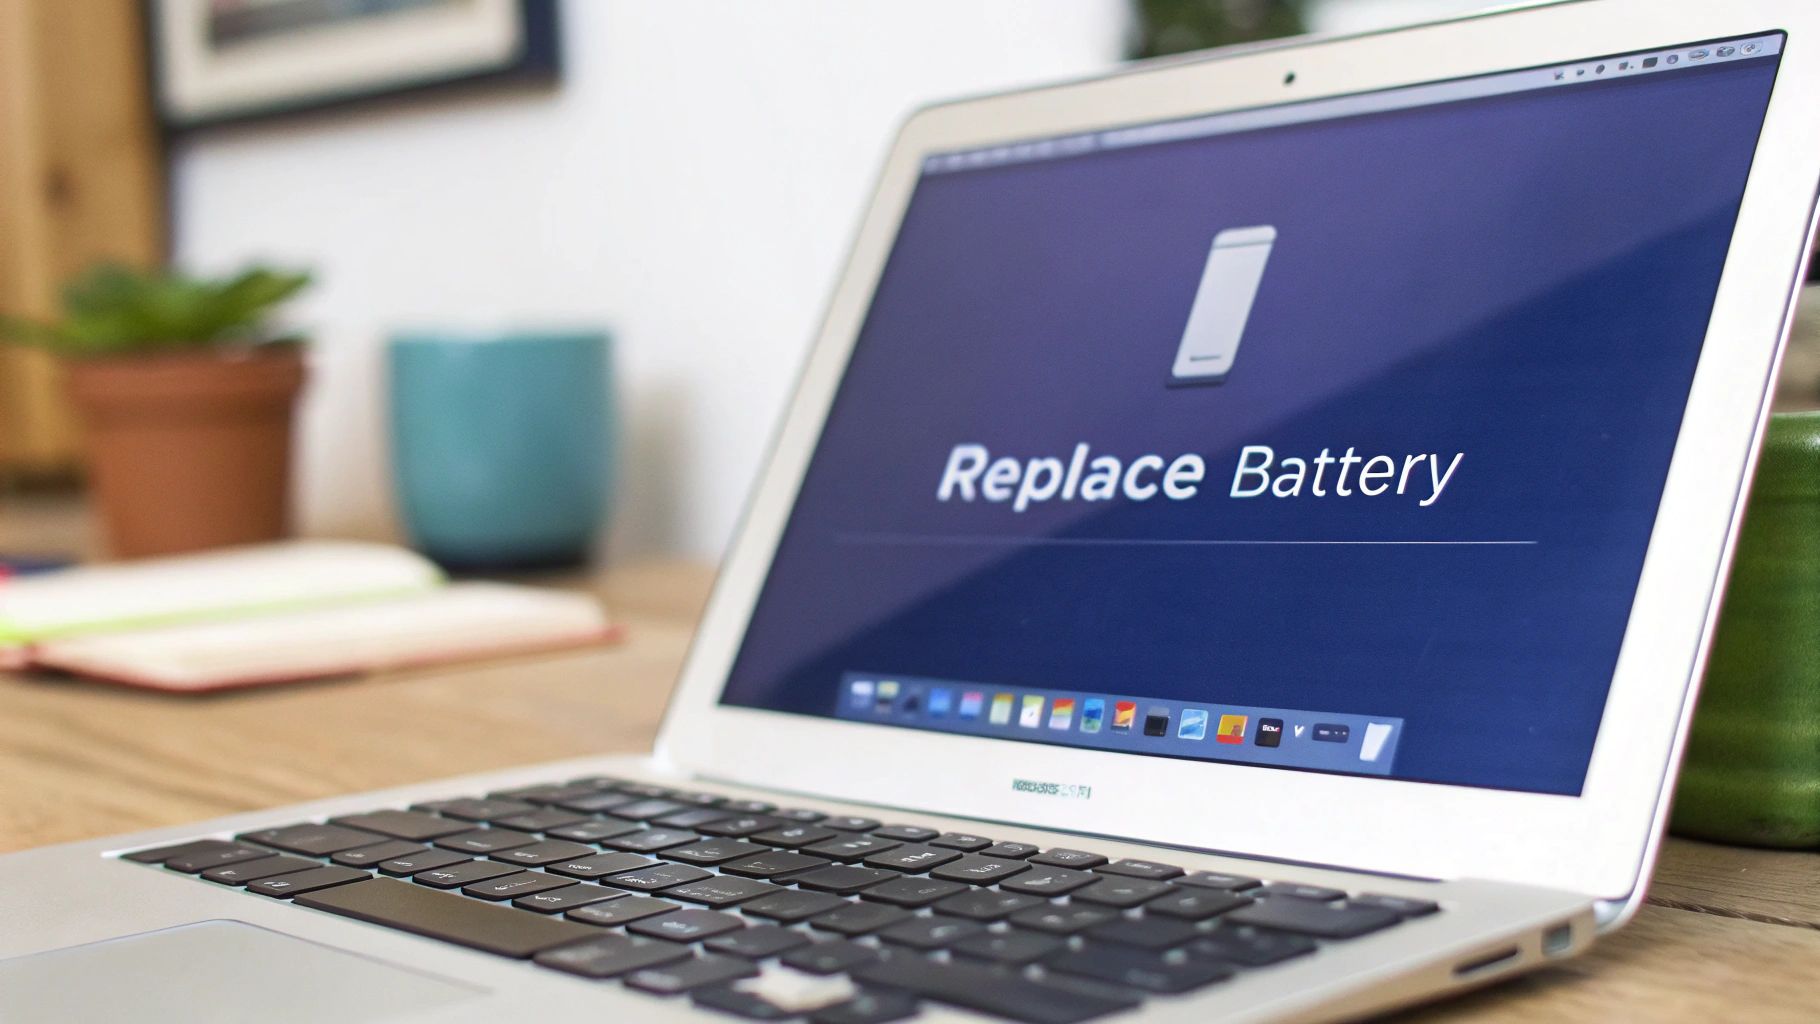 Alt: A MacBook Air shows the 'Service Recommended' battery message in Brisbane.
Spotting the Telltale Signs
A worn-out battery does more than just hold less charge—its performance can become erratic and unreliable. You might notice your MacBook shutting down unexpectedly, even when the battery meter says there's 20% or 30% left. That's a classic symptom of a battery that can no longer supply stable power.
Other dead giveaways include:
- Dramatically Shorter Runtimes: The most obvious clue. A full charge that once lasted all day now barely gets you through a couple of hours.
- The 'Service Recommended' Warning: macOS is pretty clever. When this message pops up in your battery status menu, your Mac is telling you its health has taken a serious hit.
- Sluggish Performance: A failing battery can cause your MacBook to throttle its processor to save power, making everything feel slow and clunky, especially when unplugged.
Sometimes, these symptoms can overlap with other power issues. For example, if your MacBook is not charging properly, you might have a different problem on your hands.
Let’s Get Technical: Checking Your Battery Health
Thankfully, Apple provides the tools for a proper diagnosis. The two metrics that matter most are cycle count and maximum capacity. A "cycle" is one full charge and discharge. For instance, using 50% of your battery one day and another 50% the next counts as a single cycle.
Here's how to check these stats:
- Hold down the Option key on your keyboard.
- Click the Apple menu in the top-left corner of your screen.
- Choose System Information.
- In the window that opens, find the Power section under the Hardware list.
- You'll see your current Cycle Count and Maximum Capacity listed.
Most MacBook Air models are designed to retain up to 80% of their original charge capacity after 1000 full cycles. Once you dip below that 80% mark or fly past the 1000-cycle limit, you'll start to feel the performance drop off.
A quick note from our experience: Here in Australia's warmer climate, we often see batteries degrade even faster. The heat can speed up chemical ageing inside the lithium-ion cells, sometimes cutting the real-world lifespan down for heavy users.
Common Signs Your MacBook Air Battery Needs Replacing
This table gives you a good baseline for what to expect. At Screen Fixed Brisbane, we regularly see MacBooks from the 2015-2017 era coming in with well over 900 cycles—right on schedule for a replacement.
| MacBook Air Model Year | Identifier (e.g., A1466) | Maximum Cycle Count | Common Symptoms of Failure |
|---|---|---|---|
| Mid 2013 - Early 2015 | A1465, A1466 | 1000 | "Service Recommended" warning, sudden shutdowns, very short runtime. |
| 2017 | A1466 | 1000 | Sluggish performance when unplugged, battery drains faster than it charges. |
| 2018 - 2019 | A1932 | 1000 | Failure to hold a charge, noticeable slowdowns, won't turn on without AC. |
| 2020 (M1) | A2337 | 1000 | Reduced maximum capacity (below 80%), inaccurate battery percentage. |
Choosing Your Repair Path: DIY vs Professional Service
So, you've confirmed your MacBook Air battery is on its last legs. Now for the big question: do you tackle the replacement yourself or call in a professional? There’s no single right answer. It boils down to whether you value saving money and learning a new skill, or saving time and getting a rock-solid guarantee. Let's break down what each option looks like.
The Case for a DIY Battery Replacement
Going the Do-It-Yourself route can be incredibly satisfying. For many people, the sense of accomplishment from successfully fixing their own gear is a huge win. But let’s be honest, the main driver here is usually the significant cost savings.
When you do the job yourself, you sidestep labour fees, which often make up a big chunk of a professional repair bill. With a comprehensive DIY kit, you get everything you need in one box—a high-quality battery and all the specialised tools. This not only saves you cash but also cuts out the headache of sourcing the right parts and tools individually.
We find that many of our customers in Brisbane are pleasantly surprised by how achievable the process is. With a clear guide and the right equipment, what seems like a daunting technical task becomes a straightforward weekend project.
The trade-off is that the buck stops with you. It demands patience, a steady hand, and the ability to follow instructions to the letter. You'll need to carve out an hour or two in a clean, well-lit space. For anyone who enjoys tinkering, this is an engaging challenge.
When to Call in the Professionals
On the other hand, if the thought of prying open your MacBook Air gives you cold sweats, the professional route is almost certainly for you. The biggest advantage here is the peace of mind that comes from handing your machine over to a seasoned technician.
A professional service like our MacBook Air repair in Brisbane eliminates the risks. You don't need to stress about stripping tiny screws or accidentally tearing a delicate ribbon cable. These technicians perform battery swaps day in and day out. Their experience ensures the job is done quickly and correctly, backed by a warranty on both the new battery and their labour. That assurance is invaluable, especially if your MacBook is critical for work or studies.
Naturally, this convenience comes at a premium. You’re paying for the part, the technician's time, and their skill. You'll also be without your device for a bit, which could be a few hours or a day. If you've decided the DIY path isn't for you, seeking professional computer repair services is a smart and reliable alternative.
A Clear Cost Comparison
Let’s get down to brass tacks and look at the actual numbers here in Australia. If you go directly to Apple for an out-of-warranty MacBook Air battery replacement, you're looking at a flat fee of around $159 AUD as of early 2025.
This is where DIY shines. A premium OEM-quality battery for classic models like the 2015-2017 MacBook Air 13-inch can be sourced for around $80. That’s an immediate saving of nearly $80. Even with a newer M1 2020 model, a DIY kit at $130 still keeps money in your pocket.
Ultimately, deciding whether to replace the battery yourself or hire a pro is a trade-off between your money and your time.
Getting Your Toolkit Ready for a Successful Swap
Jumping into a MacBook Air battery replacement is a satisfying project, but only if you’re properly prepared. Going in without the right gear is a recipe for frustration. To get this done smoothly and safely, having an organised workspace and the correct tools is non-negotiable. Trying to wing it with the wrong tools is the fastest way to strip screws or scratch components.
The Must-Have Tools for the Job
You don't need a massive toolkit, but what you do have needs to be precise. Apple loves its proprietary screws, and your standard Phillips head driver won't work.
Here’s a list of what you absolutely need:
- P5 Pentalobe Screwdriver: This is the hero of the operation, made for those star-shaped screws on the outside of the MacBook Air.
- T5 Torx Screwdriver: Once inside, you'll find different screws holding the battery in place. The T5 Torx is what you'll need.
- Plastic Spudger or Pry Tool: This is critical. Never use metal to pry connectors. A plastic spudger lets you safely disconnect delicate cables without risking a short circuit.
- Tweezers: The screws inside are tiny. A good pair of fine-tipped tweezers will be your best mate for handling them.
If you're curious about why Apple uses these specific screws, you can find the right Pentalobe screwdrivers for MacBook repairs in many online stores.
Sourcing a Quality Replacement Battery
This is not the place to cheap out. The market is swimming with low-quality, knock-off batteries that promise the world but fail spectacularly. They often have a shorter lifespan, can swell dangerously, and may not communicate properly with your MacBook’s power management system.
Choosing a reputable supplier is critical for both safety and performance. A premium battery from a trusted source ensures you get a component that meets strict quality standards, offering reliable power and longevity comparable to the original.
Setting Up a Safe Workspace
A good repair happens in a clean, organised, and well-lit space. Clear off a desk or table so you have plenty of room. You’ll be dealing with tiny screws, so good lighting is a must.
More importantly, protect against static electricity. An electrostatic discharge (ESD) can instantly kill sensitive electronics. Working on a non-conductive surface like a wooden table is a good start. For real peace of mind, use an anti-static wrist strap. And remember, the very first thing you should do once the case is open is disconnect the old battery. This de-energises the system and massively reduces the risk of electrical mishaps.
Your Guide to Swapping the MacBook Air Battery
Alright, with your tools laid out and a clean workspace ready, it's time to dive in. This process is completely manageable if you’re methodical and patient. We'll go through it step-by-step to guarantee a safe and successful swap. The process changes slightly depending on your model. MacBooks up to 2017 generally have a screwed-in battery, while models from 2018 onwards use strong adhesive.
The non-negotiable tools for this are a P5 Pentalobe screwdriver, a plastic spudger, and your new replacement battery.
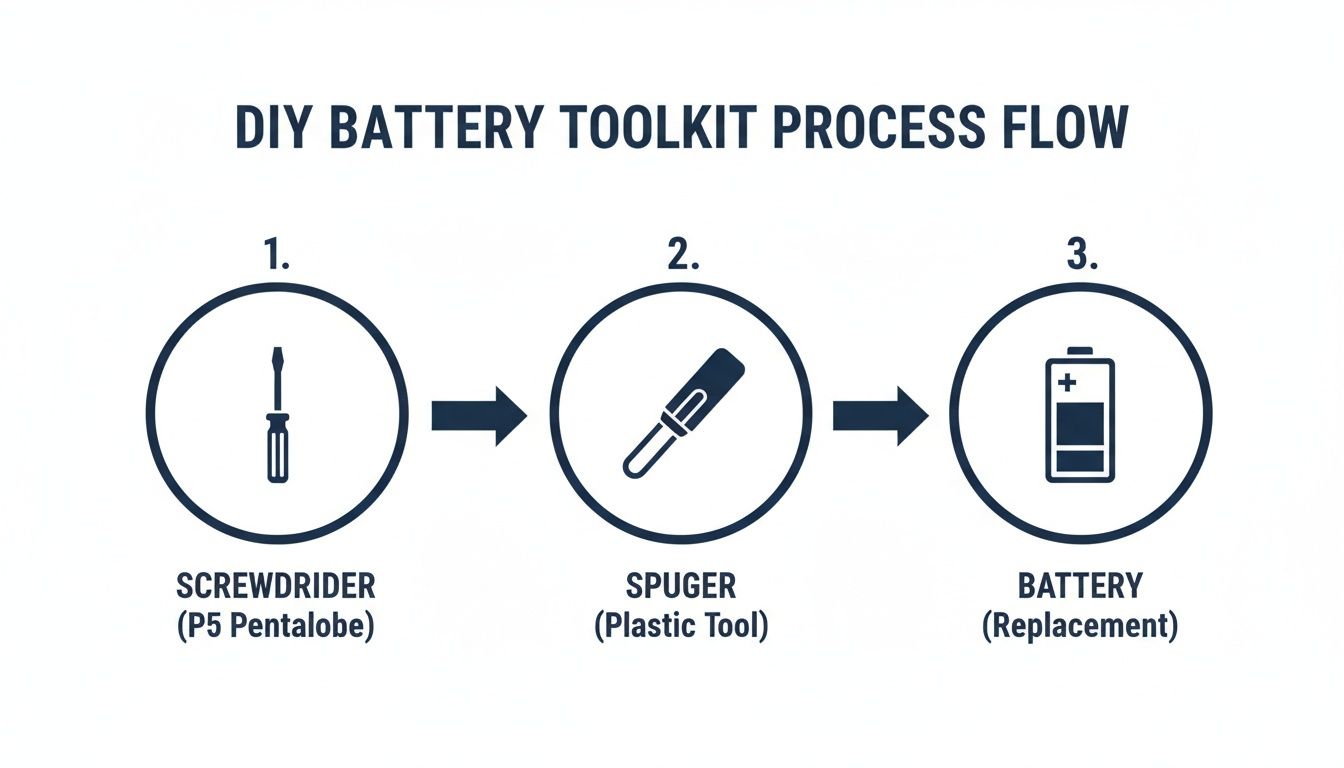 Alt: Essential tools for a MacBook Air battery replacement, including screwdrivers and a pry tool.
This just hammers home the point: a good repair starts with having the right tools for the job. No shortcuts.
Opening the Bottom Case
First, completely power down your MacBook Air. Flip it over and place it on a soft surface.
Using your P5 Pentalobe screwdriver, remove all the screws from the bottom case.
A pro tip: keep your screws organised. The two screws nearest the hinge are usually shorter. I sketch an outline of the case on paper and place each screw in its spot. This tiny prep saves a massive headache later.
Once the screws are out, use your fingernails or a thin plastic pry tool to gently lift the bottom case off, starting from the hinge side. Set the case aside.
Disconnecting the Old Battery
With the internals exposed, your first priority is to disconnect the battery. This is the most critical safety step. Look for a wide, black plug near the centre of the logic board.
Take the flat end of your plastic spudger and carefully pry straight up on the connector to pop it off. Never use a metal tool for this. Once it's disconnected, tuck the cable aside so it can't accidentally touch the connector.
This is the point of no return, but it's also what makes the rest of the job significantly safer. Double-check that the connector is fully detached before you move on.
Navigating Screws Versus Adhesive
This is where the job differs by model. For older models, the battery is held in with T5 Torx screws. Remove them, and the battery should lift right out.
For newer models with glued-in batteries, you'll need to tackle the adhesive strips. These are strong; you can't just yank the battery out.
Here’s the technique for glued-in batteries:
- Find the pull tabs: You should see black tabs at the edge of the battery cells.
- Pull slowly and steadily: Grab a tab with tweezers and pull it horizontally, keeping it flat against the battery.
- Keep a low angle: If you pull upwards, the strip will likely snap. Imagine stretching a command strip off a wall—it's the same principle.
If a strip breaks, you might need to gently pry the battery up with a plastic card after applying a tiny amount of isopropyl alcohol to dissolve the glue. Patience is key. You can learn more about working with double-tape adhesive for a deeper dive.
Installing the New Battery
Once the old battery is out, the hard part is over. Clean any dust from inside the casing. If you dealt with adhesive, ensure the surface is clean.
Carefully position the new battery, lining it up with the screw holes. For screw-in models, replace the T5 screws but don't overtighten them. Just snug is perfect.
Next, reconnect the new battery's connector to the logic board. It should click cleanly into place. Ensure it's perfectly aligned before pressing down. An improperly seated connector is the number one reason a MacBook won't power on after a battery swap.
Finally, pop the bottom case back on, ensuring it snaps securely. Re-insert all the P5 Pentalobe screws, starting with the two shorter ones by the hinge. You've now successfully completed the hardware part of your replace MacBook Air battery mission.
Calibrating Your New Battery for Peak Performance
You've done the hard part, but there's one last, crucial step: calibration. This syncs the new battery with your MacBook's software, ensuring the system can accurately read its full capacity. If you skip this, you'll likely run into wonky battery percentage readings and sudden shutdowns.
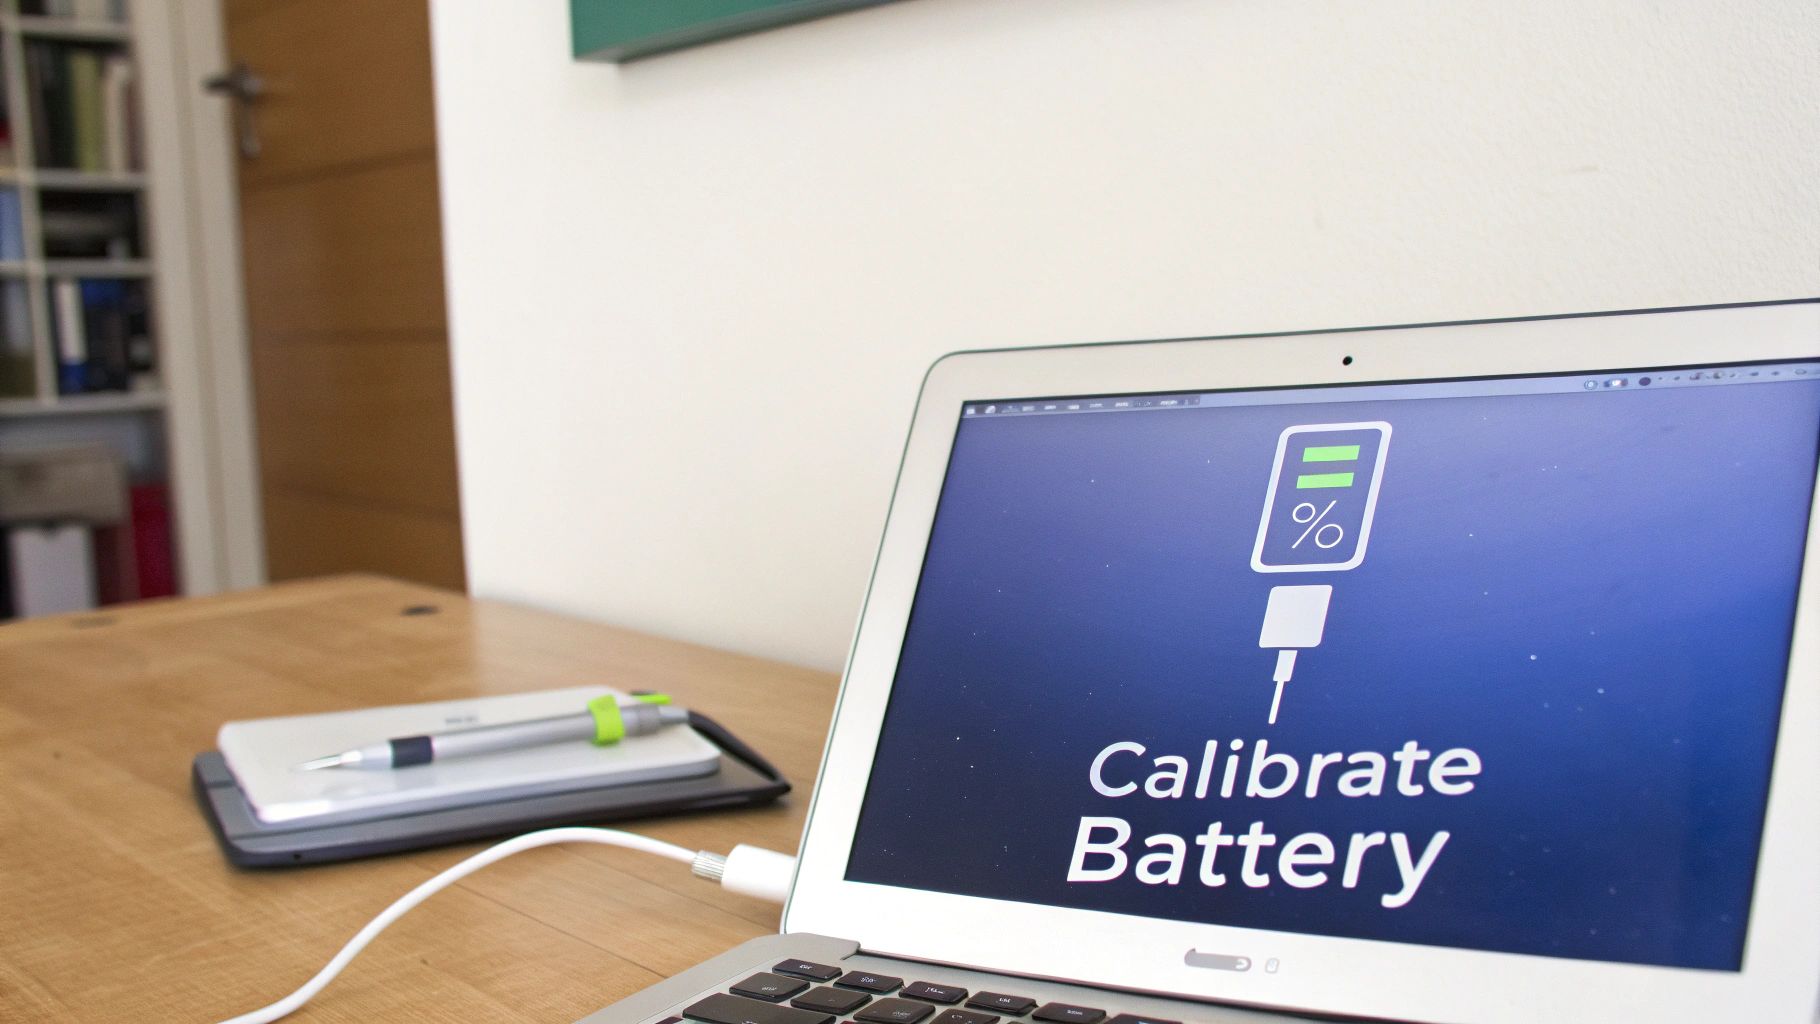 Alt: A MacBook Air undergoing battery calibration after a replacement.
The Calibration Cycle Explained
Getting your new battery calibrated is straightforward. It’s essentially one full charge-and-discharge cycle.
Here’s how to do it right:
- Charge it to 100% (and then some): Plug in your MacBook Air and let it charge to 100%. Leave it on the charger for at least another two hours.
- Run it down to zero: Unplug the charger and use your MacBook normally until it shuts itself down automatically.
- Let it rest: Once off, leave it unplugged for at least five to six hours. This gives the battery time to settle.
- Charge it back up, uninterrupted: Plug the charger back in and let it charge to 100% in one go. Now your new battery is calibrated.
This single cycle gives the System Management Controller (SMC) the data it needs to accurately manage power and show the correct battery percentage.
When to Consider an SMC Reset
The SMC is a chip that handles power management. After a battery swap, an SMC reset can be a handy troubleshooting trick if the Mac is acting strangely.
You might need an SMC reset if:
- The system isn't recognising the new battery.
- Your MacBook refuses to turn on or charge.
- The cooling fans are spinning like crazy.
For most recent MacBook models, it's as simple as shutting down and turning it back on after 30 seconds. On older models, you'll need a specific key combination at startup. The technical documentation from Apple Support is the best place to find this info.
Long-Term Care for Your New Battery
With your battery calibrated, a few good habits will help you get the most out of it. Lithium-ion batteries are happiest when used, so avoid leaving your MacBook plugged in at 100% all the time. The ideal range for battery health is generally between 20% and 80%. Making a habit of this can make a noticeable difference to its longevity.
Your Top MacBook Battery Replacement Questions Answered
Even with a great guide, it’s normal to have a few lingering questions before you dive into a DIY MacBook Air battery replacement. We’ve pulled together the most common queries to give you the confidence you need.
Will I Void My Apple Warranty by Replacing the Battery Myself?
If your MacBook Air is still under its original warranty or AppleCare+, then yes, doing the repair yourself could void that coverage. However, most MacBooks needing a new battery are well outside their warranty period anyway. In that scenario, a DIY replacement is a brilliant, cost-effective solution.
My MacBook Air Has a Glued-In Battery. Is This Still a DIY Job?
Absolutely. MacBook Air models from 2018 onwards use strong adhesive, which makes removing the battery trickier, but it's manageable with the right tools and patience.
The secret is to take your time. A small amount of adhesive remover and a slow, steady pull on the adhesive strips is all it takes. Work methodically, and you’ll get that old battery out safely.
How Do I Get Rid of My Old MacBook Air Battery?
Proper disposal is non-negotiable. Lithium-ion batteries need to be handled responsibly. Do not just toss it in your regular household bin. It's a major fire risk.
In Australia, recycling is free and simple:
- E-waste Bins: Major retailers like Officeworks have dedicated drop-off points.
- Council Recycling Centres: Your local council will have an e-waste facility.
This extra step ensures your old battery is recycled safely.
Help! My MacBook Won't Turn On After the Replacement.
First, don't panic. This is almost always a simple connection issue. The number one culprit is the battery connector not being properly seated on the logic board.
Pop the back case off again and check that the connector is pushed in all the way and has clicked firmly into place. While you're in there, check that no other small cables were knocked loose. If everything looks good, try an SMC reset. Still no luck? The expert crew at Screen Fixed Brisbane is always here to help.
Disclaimer: Apple, MacBook, MacBook Air, and macOS are trademarks of Apple Inc., registered in the U.S. and other countries. Screen Fixed is an independent service provider and is not affiliated with Apple Inc.
At Screen Fixed, we aim to empower your repair journey. Whether you choose to DIY or need a professional hand, we're here to help you get your MacBook Air running like new again. Book your repair with Screen Fixed Brisbane today