
It’s a heart-stopping moment: the sight of spiderweb cracks spreading across your MacBook Air screen. The good news is a cracked or faulty display doesn't mean you need to buy a whole new laptop. Sourcing a high-quality MacBook Air replacement screen is often a surprisingly straightforward and affordable fix, getting your device back to perfect working order without breaking the bank.
When faced with a damaged screen, you have three main paths to consider: rolling up your sleeves for a DIY (Do-It-Yourself) repair, trusting the job to a local independent expert, or going through official Apple service channels. This guide will walk you through each option so you can make an informed choice that suits your budget and needs.
Cracked MacBook Air Screen? Here Are Your Options
A damaged MacBook Air screen can feel like a total disaster, bringing everything from your uni assignments to your remote work setup to a grinding halt. Before you even think about buying a new machine, know that a repair isn't just possible—it's usually the smartest and most sustainable move.
The right path for you really depends on your budget, how quickly you need it back, and how comfortable you are getting hands-on with delicate electronics.
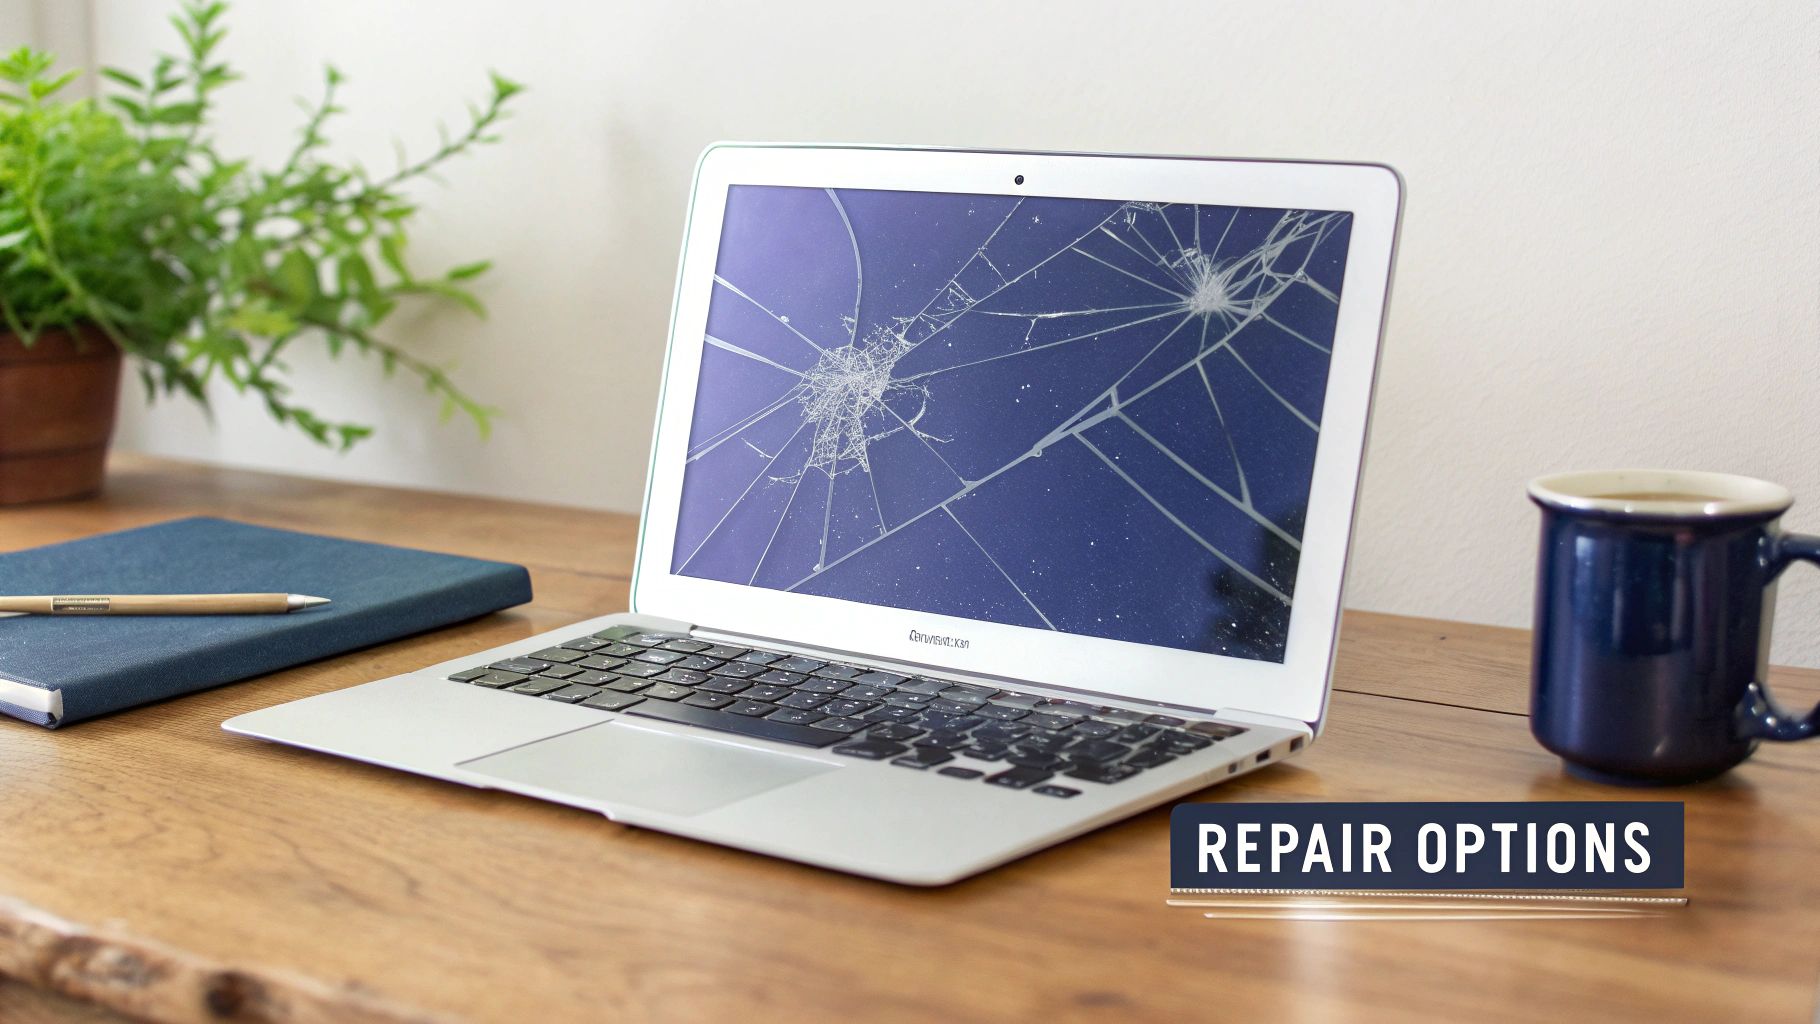
Alt: A silver MacBook Air with a severely cracked screen sits on a wooden desk, highlighting the need for a screen replacement.
Comparing Your Repair Paths
Each option offers a different mix of cost, time, and effort. Understanding these trade-offs is the first step to making a decision you won't regret.
- DIY (Do-It-Yourself) Repair: This is where you order the parts and tools yourself and tackle the job at home. It’s easily the most affordable option and offers a huge sense of accomplishment. However, it demands patience, a steady hand, and following instructions precisely.
- Independent Repair Shop: Taking your MacBook Air to a local professional is a fantastic middle ground. These technicians have the experience and specialised equipment to get the job done quickly and correctly, often for much less than Apple charges. Many of the best repairers, including experts at Screen Fixed Brisbane, rely on high-quality parts suppliers.
- Official Apple Service: Going directly to Apple or an Authorised Service Provider guarantees a genuine original part and service backed by Apple. This is a reliable option, but it’s usually the most expensive route and can mean longer waits if your device has to be sent away.
For most Australians, the decision comes down to value. A local repair shop provides a professional result without the premium Apple price tag, while a DIY fix offers maximum savings if you're willing to put in the time.
To help you decide, here’s a quick rundown of what you can expect from each option.
MacBook Air Screen Repair Options at a Glance
| Repair Option | Average Cost (AUD) | Turnaround Time | Best For |
|---|---|---|---|
| DIY Repair | $150 - $400 | 2-4 hours (plus shipping time for parts) | Tech-savvy users on a tight budget who are comfortable with detailed work. |
| Independent Repair Shop | $450 - $650 | 1-3 days (often same-day service is possible) | The best balance of cost, speed, and professional quality for most people. |
| Official Apple Service | $700 - $1,200+ | 5-10 business days (or more if shipped) | Those who prioritise an official Apple warranty over cost and time. |
As you can see, the differences in cost and time are quite significant.
Understanding the Costs and Benefits
The financial gap between these choices is huge. In Australia, a MacBook Air screen replacement from a local specialist typically falls between $450 and $650 for the most common models. This is a much more palatable figure compared to shelling out over $1,500 AUD for a brand-new MacBook Air.
It’s a common problem, too. Data from Australian service providers reveals that screen damage makes up around 35% of all MacBook repairs, which just goes to show how big the need is for reliable parts and accessible repair services. If you want a deeper dive, you can find more detail on MacBook Air screen replacement costs on Fixo.
Ultimately, whether you're a student who needs a quick fix before exams or a professional who can't afford any downtime, a broken screen is a solvable problem. By weighing up these options, you can find a solution that gets your MacBook Air back to pristine condition without emptying your wallet.
Finding the Right Screen for Your MacBook Air
Ordering a new screen for your MacBook Air can feel like a high-stakes decision. With so many models and screen types out there, picking the wrong one is a frustratingly common and expensive mistake. Let's walk through exactly how to identify your MacBook model and choose the right replacement screen with confidence.
Getting this first step right is the most critical part of the entire repair. A screen for a 2017 MacBook Air is physically and electronically different from one designed for a 2022 M2 model. The connectors are different, the resolutions don't match, and the mounting points won't align. It's not a "close enough" situation—it's an all-or-nothing compatibility challenge.
Nail Down Your Exact Model Number
Before you even start browsing for a MacBook Air replacement screen, you must find your model identifier. This is a unique number Apple assigns to each hardware generation, and it's your key to sourcing the correct part.
The easiest place to find it is printed in small text on the bottom case of your laptop. Flip your MacBook Air over and look for the text block near the hinge. Tucked in with the "Designed by Apple in California" text, you'll find a model number starting with an 'A' followed by four digits.
Here are some of the most common ones you’ll run into:
- A1466: This number covers the incredibly popular 13-inch MacBook Air models from 2013 all the way to 2017.
- A1932: This is the identifier for the first 13-inch Retina MacBook Air, released in 2018 and 2019.
- A2337: If you have the groundbreaking M1 MacBook Air from 2020, this is your model number.
Once you have this 'A' number, you have everything you need to find a perfectly compatible screen. Just enter that number into the search on a supplier website, and you’ll instantly filter out any chance of ordering the wrong part. For a deeper dive into part compatibility, check out our guide on getting a new screen for your MacBook Air.
Understanding the Different Screen Types
With your model number sorted, the next choice is the type of screen. You'll generally come across three main categories, each offering a different balance of quality, originality, and cost.
Choosing the right screen type comes down to balancing your budget with your desire for original performance. For most people, a high-quality refurbished original screen offers the best of both worlds—genuine Apple display quality without the premium price of a brand-new part.
A refurbished original screen uses a genuine Apple LCD panel that has been professionally restored with new backlights and polarisers. These screens provide the exact same colour accuracy, brightness, and performance as the one your MacBook Air originally shipped with, because the core component is an authentic Apple part. It’s a solid choice for both DIYers and professional techs who demand top-tier results.
Alternatively, you might find brand new OEM or service-pack screens. These are excellent, but they often come with a higher price tag. At the other end of the spectrum are third-party aftermarket screens. While cheaper, they can sometimes fall short in brightness or colour fidelity. For those ordering from international suppliers, knowing how to track packages from China is a useful skill, as many parts originate from there. By focusing your search on quality-tested options, you ensure your repaired MacBook Air looks and functions just as it did when you first unboxed it.
A Realistic DIY Screen Replacement Walkthrough
Ready to get your hands dirty? Taking on a MacBook Air replacement screen project yourself can be a seriously rewarding experience, not to mention it saves you a good chunk of cash. This is your practical guide to getting it done right, without the confusing technical jargon.
Think of this walkthrough less as a dry list of instructions and more as a playbook from someone who's been there. We'll cover the common pitfalls so you can sidestep them and achieve a result that looks professional. The keys here are patience and precision, not speed.
Assembling Your Toolkit
Before you even think of touching a screw, get your tools organised. Scrambling to find the right driver halfway through a repair is how small mistakes become big problems. You'll absolutely need a clean, well-lit space to work in, and make sure it's static-free.
Here’s a look at the essential tools for the job. The good news is that many of these are included in comprehensive DIY repair kits, which saves you the hassle of hunting them down one by one.
Essential Tools for MacBook Air Screen Replacement
| Tool Name | Primary Use | Fixo DIY Kit Component? |
|---|---|---|
| P5 Pentalobe Screwdriver | Removing the bottom case screws unique to Apple devices. | Yes |
| T5 Torx Screwdriver | Disconnecting internal components, including the battery and display hinges. | Yes |
| T3 Torx Screwdriver | Used for smaller screws on specific models, often for cable brackets. | Yes |
| Spudger (Nylon Tool) | Safely prying open connectors and lifting delicate ribbon cables without causing damage. | Yes |
| Suction Cup | Gently lifting the display assembly away from the body during removal. | Yes |
| Tweezers | Handling tiny screws and manipulating fine cables, especially the antenna connectors. | Yes |
| Microfibre Cloth | Cleaning surfaces and ensuring no dust is trapped under the new screen. | No |
| Magnetic Screw Mat | Keeping track of the various screws you remove, preventing catastrophic mix-ups. | No |
Having these tools ready makes the whole process feel less like a frantic ordeal and more like a manageable project. That magnetic mat, by the way, is a lifesaver. MacBook Airs use screws of varying lengths, and putting a long screw in a short hole can puncture the logic board, instantly turning your repair into a disaster. Don't risk it.
Critical Safety First Steps
With your workspace prepped, the very first thing you need to do is also the most important: disconnect the power. Working on a laptop with the battery still connected is a massive risk. It’s an easy way to cause a short circuit that can fry your logic board (the computer's main brain).
Start by completely powering down your MacBook Air—don't just close the lid. Flip it over and, using your P5 Pentalobe screwdriver, remove all the screws holding the bottom case in place. Keep track of where each screw came from; some are longer than others.
Once the back panel is off, your eyes should go straight to the battery connector. It's a wide, flat connector sitting on the logic board. Take your nylon spudger and carefully pry it straight up and away from its socket. You'll feel a little pop as it disconnects. Only now is it safe to move on.
Pro Tip: After disconnecting the battery, press and hold the power button for about 10 seconds. This is a great habit to get into, as it drains any leftover charge from the components on the logic board, giving you an extra layer of safety against accidental shorts.
Detaching the Old Display Assembly
Okay, now we can get to the main event: removing the broken screen. This part requires a delicate touch, as you'll be dealing with several small, fragile connectors.
You'll need to disconnect the main display cable, the webcam (iSight) cable, and the two tiny Wi-Fi/Bluetooth antenna cables. They're usually clustered near the hinges, sometimes tucked under small brackets held in by T3 or T5 screws.
- Display and Webcam Cables: Look for small locking tabs on their connectors. Use your spudger to flip these up, then the cables should slide out with zero force. Never, ever pull on the cables themselves.
- Antenna Cables: These are tiny coaxial connectors that pop straight up off the board. Use the flat tip of your spudger or a pair of fine-tipped tweezers to gently pry them off. They're incredibly fragile, so be gentle.
This graphic breaks down the simple process of finding your MacBook Air's exact model, which is a must-do before ordering any parts.
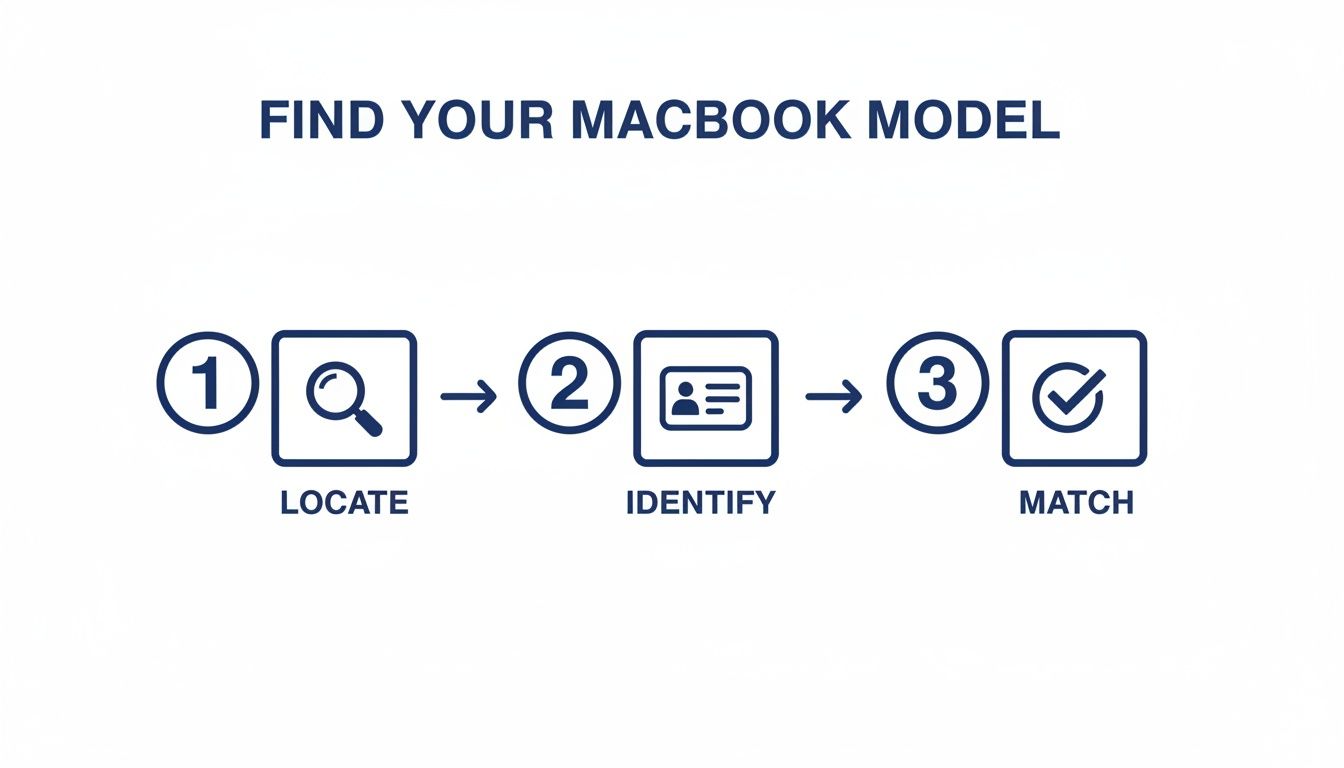
Alt: A three-step diagram showing how to find your MacBook Air model number on the bottom case to ensure you order the correct replacement screen.
This process of locating, identifying, and matching the model number ensures you get the right screen the first time, making the whole repair go smoothly.
With all cables free, the last thing holding the screen on is the hinge screws. You'll find several T5 Torx screws securing each hinge to the laptop's body. Make sure you support the display assembly as you remove the last couple of screws so it doesn't flop over. Once they're all out, you can lift the entire old display assembly clean off.
Installing and Testing the New Screen
Putting the new screen on is essentially the reverse of taking the old one off, but with a major focus on careful alignment.
Set the new MacBook Air replacement screen into position, making sure the hinges line up perfectly with the screw holes. Get the hinge screws back in first, but don't tighten them down all the way just yet. Leaving them slightly loose gives you some room to reconnect those fiddly cables without straining them.
Carefully reconnect the display, webcam, and antenna cables. The antenna connectors can be tricky—they need to be perfectly aligned before you press them down. You should feel a tiny, satisfying click when they seat properly.
Once every cable is securely back in its place, it’s the moment of truth. Temporarily reconnect the battery and power on the MacBook. You need to run a quick function check:
- Does the screen turn on with a clear, bright image?
- Any dead pixels, strange lines, or discolouration?
- Check the webcam—is it working?
- Can you connect to Wi-Fi? Does Bluetooth see other devices?
- Does the screen brightness adjust up and down correctly?
Testing everything before you screw the back cover on is non-negotiable. It's so much easier to fix a loose connection now than after it's all sealed up. If it all looks good, power it down, disconnect the battery one last time for safety, fully tighten the hinge screws, and pop the bottom case back on. You did it.
If you hit a snag or just aren't feeling confident, remember that professional help from a service like Screen Fixed Brisbane is always a solid backup plan.
Independent Repair vs Official Apple Service
When your MacBook Air screen cracks, you're faced with a choice. Do you head straight to the nearest Apple Store, or do you explore what the independent repair scene has to offer? It's a classic dilemma: the perceived safety of official service versus the undeniable value of third-party experts. Let's break down what each path really looks like.
The first thing everyone notices is the cost. It's a huge difference. Choosing an independent repair for your MacBook Air replacement screen will almost always be 40-60% cheaper than what Apple charges for their out-of-warranty service. For many people, that saving alone makes the decision simple.
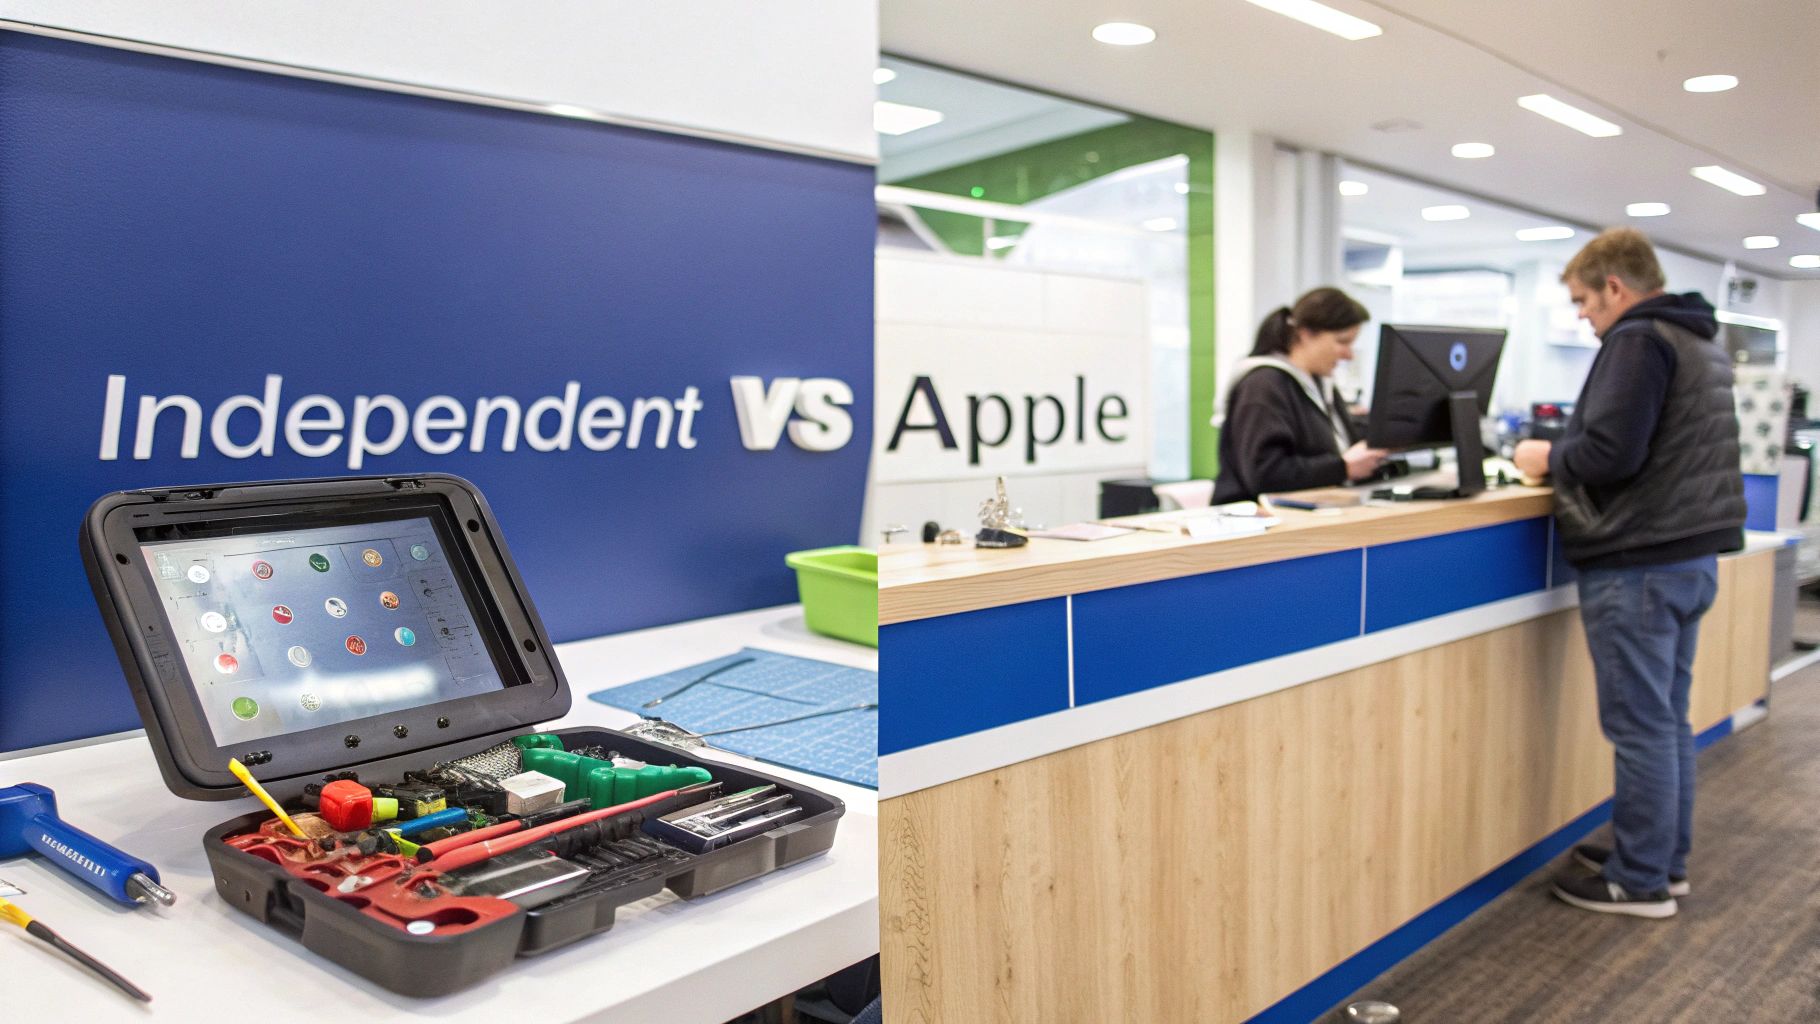
Alt: A split image showing DIY repair tools on one side and an official Apple service counter on the other, comparing repair options for a MacBook Air screen replacement.
Speed and Convenience
Price isn't everything, though. When you depend on your laptop every day, repair time matters. A lot. Apple's official route usually means booking a Genius Bar appointment, waiting for a slot, and then potentially having your MacBook sent away to a central repair hub. This can easily stretch out over several business days.
Your local independent repairer, on the other hand, can be much faster. With reliable suppliers offering same-day dispatch on quality parts, many technicians can get a screen replaced and back in your hands the same day or the next. That speed and local convenience is a massive advantage.
Understanding Part Quality
"But what about the quality of the parts?" It's a fair question, and one we hear all the time. The market has parts of all kinds, and quality varies. This is precisely why it's so important to pick a technician who knows their stuff and sources components from a trusted supplier.
For instance, high-quality refurbished original screens are a fantastic option. They use a genuine Apple LCD that has been professionally restored to perfect working order. You get the same brilliant colour, brightness, and responsiveness you expect from Apple, but without the eye-watering price tag. It's about getting that premium result without paying the premium.
The key takeaway is that "third-party" doesn't automatically mean lower quality. By working with suppliers who rigorously test their inventory, independent repair shops can deliver a fix that is visually and functionally indistinguishable from an official one.
Navigating Potential Complications
Let's be realistic about the potential hurdles, too. On the newer MacBook Air models, especially those with the M-series chips, Apple has started "pairing" the screen to the logic board with software. This means a new screen might not be fully recognised by the system, which can cause features like True Tone (automatic colour adjustment) to stop working.
This is a risk, but it's one that the independent repair community is actively solving. Experienced technicians often have the tools and know-how to navigate these software locks. In Australia, third-party screen replacements for MacBook Airs have an excellent track record, giving you near-identical quality for around $450-$650—a fraction of the official cost.
Interestingly, reports from online forums show that non-genuine displays on models from 2010-2022 have almost perfect reliability. This stands in stark contrast to the 20-30% of M1 Airs that have reportedly been bricked by Apple's own Self Service Repair program due to these pairing glitches. If you want a different perspective, our guide on MacBook Pro display replacement touches on similar issues for the Pro models.
Ultimately, the choice is yours. Apple offers a guaranteed fix, but it's often slow and expensive. Independent repair delivers an amazing blend of value, speed, and quality—as long as you choose a reputable professional using reliable parts. For most people, the savings and convenience make it the clear winner.
Know Your Repair Rights Under Australian Consumer Law
It's a frustratingly common story: your expensive MacBook fails just a few months after the standard one-year warranty expires. Many Australians assume they're out of luck and have to foot the entire bill. But that's often not the whole story, thanks to powerful protections under Australian Consumer Law (ACL).
Understanding your rights can be the difference between paying a hefty repair bill and getting a fix at no cost, especially for a premium device like a MacBook Air.
It's All About "Reasonable Lifespan"
The core idea behind the ACL is that products must be of "acceptable quality." This doesn't just mean they work out of the box; it also means they need to be durable and last for a reasonable time. When you've spent well over a thousand dollars on a high-end laptop, its "reasonable lifespan" is expected to be much longer than 12 months.
So, what does that mean for your MacBook Air replacement screen? If the display fails due to an internal defect—like flickering, random lines, or just going black for no reason—you could have a strong claim against the manufacturer, even if your MacBook is two or three years old.
There’s a catch, of course. This protection does not cover accidental damage. If you've dropped your MacBook or spilled your morning coffee on it, the ACL won't apply. In those cases, an independent repair service is going to be your most practical and cost-effective solution. While we're talking about laptop screens here, many of the same principles about screen quality apply to phones, which you can read about in our guide on understanding replacement phone screens.
How the ACL Changes the Game for MacBook Repairs
Since late 2017, the enforcement of Australian Consumer Law has significantly shifted things for MacBook Air repairs. The law provides what is essentially extended coverage for major parts, like the display, if they fail within that reasonable timeframe.
This means a screen problem on a MacBook Air you bought in 2024 could still qualify for a free repair from Apple in 2026, long after the standard warranty is a distant memory. This can add up to 24-36 months of extra protection on critical components. You'll find plenty of discussions on consumer tech forums about how consumer law provides an effective three-year warranty for this very reason.
Just knowing your rights under the ACL is empowering. When you understand that a "reasonable lifespan" is legally expected, you can advocate for yourself with confidence, whether you're at the Genius Bar or talking to a local technician.
So, Should You Push for a Warranty Claim?
Knowing your rights helps you make the smartest call. Here’s a quick breakdown to guide you:
-
You MIGHT have a claim if:
- Your screen has failed due to an internal fault (like backlight issues, vertical lines, or flickering).
- There are zero signs of physical drops or liquid damage.
- Your MacBook Air is still within what’s considered a "reasonable" age, which is often up to three years.
-
An independent repair is likely your best bet if:
- The screen is obviously cracked or shattered.
- The damage was clearly caused by a drop or impact.
- You just need the repair done quickly and without the hassle of a warranty claim.
At the end of the day, being informed gives you leverage. You can approach any service provider knowing exactly when to push for a warranty solution and when to choose the speed and value of an independent repair.
Got Questions About Your MacBook Air Screen? We Have Answers
When you're staring at a cracked MacBook Air screen, a million questions probably run through your head. Should I fix it myself? How much is this going to cost? We get it. We've heard all the common queries, so let's clear things up and help you figure out the best path forward.

Alt: A desk with a laptop and notebooks, with the text "Common Questions" overlaid, indicating answers about MacBook Air screen replacement.
How Much Does a Screen Replacement Typically Cost?
This is always the first question, and for good reason. The final cost really depends on your MacBook Air model and which repair option you choose. Here’s a rough breakdown of what you can expect to pay in Australia:
- DIY Repair: If you're hands-on and grab a quality kit, you're looking at a cost between $350 and $550. This is easily the most budget-friendly way to go.
- Independent Repair Shop: Taking it to a pro technician, like those at Screen Fixed Brisbane, will generally run between $450 and $650. It’s a solid middle ground for expert service without the premium price tag.
- Official Apple Service: Going directly to Apple is the priciest route, often costing more than $800 for newer models that are out of warranty.
The screen technology in your specific MacBook—whether it’s a non-Retina, Retina, or a newer M1/M2 model—is the biggest factor affecting the price, as the parts vary quite a bit in complexity.
Can I Just Replace the Glass Instead of the Whole Screen?
For almost any MacBook Air made from 2010 onwards, the short answer is no. Apple constructs these displays as a single, sealed unit called a 'display assembly'. The LCD panel, the front glass, and the aluminium lid are all fused together at the factory.
Because of this all-in-one design, you can't just pop off the cracked glass and stick on a new piece. You have to replace the entire top half of the laptop. It might sound like a bigger job, but it actually makes the physical swap much simpler than trying to separate layers that were never meant to come apart.
This unified assembly is precisely why getting a complete, pre-tested unit is so critical. It ensures everything from the display itself to the webcam works perfectly together right out of the box, avoiding any nasty compatibility surprises.
Will I Lose True Tone Functionality After Replacement?
This is a huge one for anyone with a newer MacBook Air (typically models from 2018 and later). True Tone, the feature that cleverly adjusts the screen’s colour to match the light around you, is electronically linked to your original screen's serial number.
To keep True Tone working, that unique serial data has to be copied from your old, broken screen and programmed onto the new one. High-quality replacement screens are built to be fully compatible, but the data transfer itself requires specialised professional tools.
A DIY repair can make it tricky to save True Tone without this equipment. The good news is that many professional technicians have the gear to perform this transfer, ensuring your new display functions exactly as it should. If True Tone is a must-have for you, going with a pro is your safest bet.
How Long Does the Repair Usually Take?
The time it takes to get your screen replaced really comes down to experience. A seasoned technician can often have the whole job done in about 60 to 90 minutes.
If this is your first time tackling a repair like this, be kind to yourself and set aside 2 to 3 hours. Rushing is the number one enemy of a successful repair and the fastest way to strip a screw or tear a tiny ribbon cable. Patience is your best friend here. On the other hand, with fast shipping on parts, a professional shop can often offer same-day or next-day service—a lifesaver if you can't be without your laptop for long.
If you've decided a professional repair is the best path for you, look no further. Book your repair with Screen Fixed Brisbane today for a fast, reliable, and affordable service.
Disclaimer: Apple, MacBook, MacBook Air, and MacBook Pro are trademarks of Apple Inc., registered in the U.S. and other countries. Fixo and Screen Fixed are independent service providers and are not affiliated with Apple Inc.