
That horrible spiderweb of cracks across your MacBook Air screen can feel like a death sentence for your laptop. Most people sigh, assume it's a write-off, and start browsing for a new machine. But hold on a moment.
Jumping straight to buying a new MacBook could be a very expensive mistake. The reality is that opting for a new screen for your MacBook Air is almost always the smarter, more cost-effective choice. It's a single fix that can breathe years of extra life into your machine for a tiny fraction of the cost of a brand-new one.
This guide will walk you through why repairing your screen makes sense, how to find the right part, and what to expect from the repair process, helping you make an informed decision.
Why Repairing Your Screen Just Makes Sense
That cracked Retina display isn't just an eyesore; it's a decision point. But before you relegate your trusty laptop to the e-waste pile, let's look at why a professional screen replacement is a surprisingly practical and affordable solution.
Alt: A silver MacBook Air with a 'SAVE MONEY' box, illustrating the cost-effectiveness of screen repair.
The Cost Breakdown: Repair vs. Replace
Let's talk numbers, because they don't lie. A shiny new MacBook Air will set you back anywhere from $1,500 to over $2,500 AUD. That’s a serious investment.
A professional screen replacement, on the other hand, is a much more palatable figure. Based on what we see every day, a high-quality replacement screen for most MacBook Air models typically falls between $450 and $650. You could literally repair your screen three or even four times before you even get close to the cost of one new laptop. If you want to dive deeper, you can discover more insights about MacBook repair costs and see how the figures stack up for yourself.
And this isn't just about the upfront savings. Your current MacBook is more than just a screen; it's the processor, battery, keyboard, and storage that you've already paid for and are probably still working perfectly. Tossing all that away for one broken part is like scrapping your car because of a flat tyre.
A professional screen replacement doesn't just fix the immediate problem. It extends the usable life of your entire device, maximising the return on your original investment.
The Sustainability Factor
Beyond your bank account, repairing your MacBook Air is also the far better choice for the planet. Every new laptop manufactured carries a heavy carbon footprint, from mining raw materials to factory production and international shipping.
When you choose to repair, you’re making a real difference.
- You're cutting down on e-waste. Repairing keeps perfectly functional electronics out of our already overflowing landfills.
- You're conserving resources. You avoid the huge amount of energy and materials needed to build a new device from scratch.
- You're supporting a circular economy. Fixing what you have promotes a much more sustainable model of use and reuse.
When you weigh the massive cost savings against the positive environmental impact, the choice becomes crystal clear. Getting a new screen for your MacBook Air isn't a temporary patch-up; it's a savvy, strategic decision that benefits your wallet and the planet. For anyone staring at a damaged display, from a DIYer to a business needing a quick fix, repair is simply the most sensible path forward.
Finding the Right Screen for Your MacBook Air
Before you even think about ordering a new screen for your MacBook Air, you need to do a little detective work. It’s a frustratingly common mistake to order the wrong part, but it's also completely avoidable. While every generation of MacBook Air might look similar on the outside, the screens and their internal connectors can be wildly different.
Getting this first step right is the key to a smooth repair, whether you're a seasoned pro at Screen Fixed Brisbane or tackling your first DIY project. The trick is to find your Mac's specific model number.
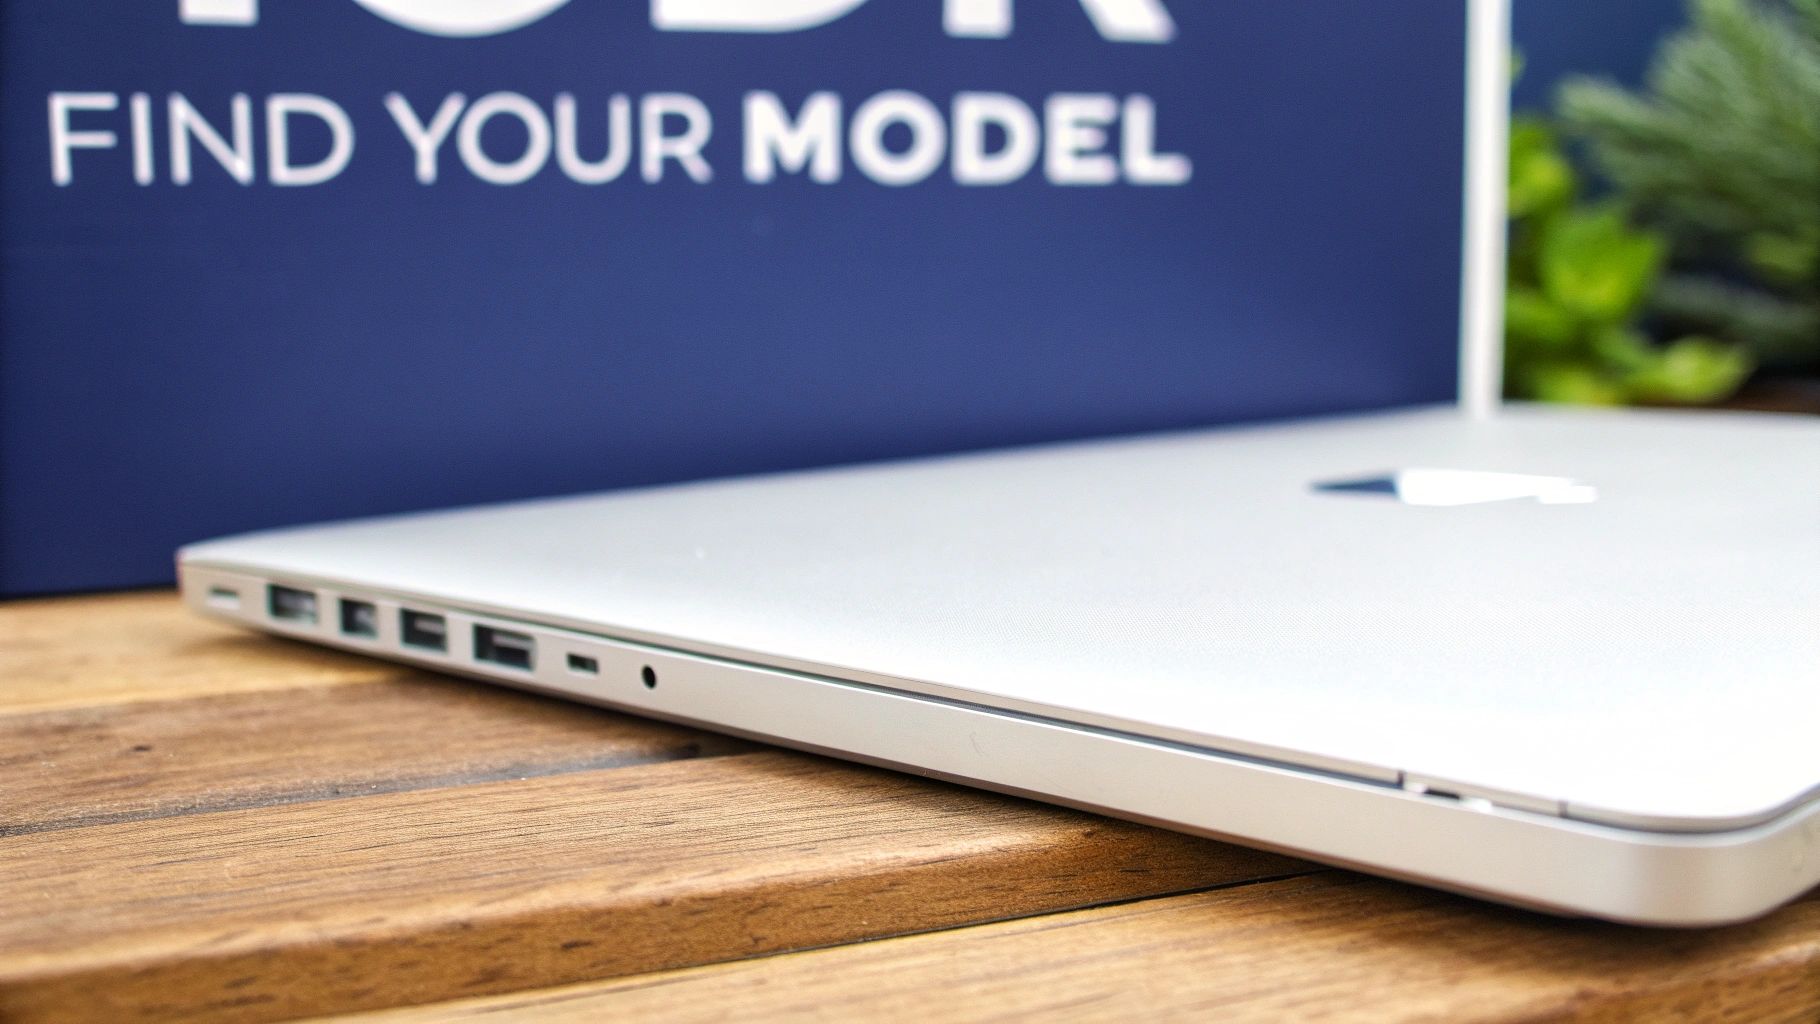
Alt: Side view of a MacBook Air showing its ports, highlighting the need to identify the correct model.
Uncovering Your MacBook Air’s Identity
Your MacBook Air has a few identifiers, but the one that matters most for screen compatibility is the Model Number. This is usually an 'A' followed by four digits (like A1466 or A2337). Think of it as the unique blueprint for your machine.
Here are the three most reliable places to find it:
- The Bottom Case: Just flip your MacBook Air over. You’ll see some tiny print near the hinge with regulatory information, and the model number is listed right there. This is the quickest physical check you can do.
- About This Mac: If your Mac still powers on, click the Apple logo in the top-left corner and choose "About This Mac." The window that pops up will show the model name and year, such as "MacBook Air (M1, 2020)". A quick Google search of that name will confirm the 'A' number.
- The Original Box: If you’ve still got it, the original packaging has a sticker with all the essential details, including the model number and serial number.
While the model number is almost always enough, you might sometimes need the EMC Number or Serial Number for absolute certainty. This is especially true for models that had mid-year hardware updates. You'll find these on the bottom case and in "About This Mac," too.
Why Model Numbers Matter So Much
You might be wondering why a screen for an A2179 won't work on an A2337 MacBook Air, even if they're both 13-inch Retina models released around the same time. The answer is in the details you can't see.
Things like connectors, display technology, and even the placement of the webcam and ambient light sensor often change between models. For example, the classic A1466 model uses an older LCD technology, while the M1 A2337 features a more advanced Liquid Retina display. Their internal wiring and logic board connections are completely different and totally incompatible.
Ordering a screen based on size alone is a recipe for disaster. Always, always confirm the exact model number to guarantee a perfect fit and function.
Understanding these differences is also important when you're choosing the replacement part itself. The display tech varies, and knowing your model helps you understand what you're actually buying. To get a better handle on this, you can learn more about the proper application of double-sided tape for repairs.
From Classic to M-Series Chips
To put this into a real-world context, let’s look at a few common models and their unique identifiers. This should give you a good idea of what to look for on your own device.
- MacBook Air (13-inch, Mid 2013 - 2017): This reliable workhorse is the A1466. It's easily recognisable by its distinct silver bezel around the screen, unlike the newer all-glass designs.
- MacBook Air (Retina, 13-inch, 2020): This is the Intel-based A2179 model. It was one of the first to introduce the edge-to-edge glass display that has since become standard.
- MacBook Air (M1, 2020): This game-changing model is the A2337. It looks identical to the A2179 on the outside, but the internal hardware, including the screen connectors, is completely different.
- MacBook Air (M2, 2022): Known as the A2681, this model brought a major chassis redesign and the now-famous screen 'notch'.
By correctly identifying your model, you aren't just buying a part; you're ensuring compatibility from the get-go. This simple check is the single most important step in getting your MacBook Air back to pristine condition without any costly headaches.
OEM vs Aftermarket: Choosing Your Next Screen
So, you’ve nailed down your exact model number. The next big decision is what kind of new screen for your MacBook Air you're going to install. This choice goes way beyond just the price tag; it's a call that will directly affect your display's performance, its lifespan, and the final quality of your repair.
It's easy to get lost in technical terms – words like OEM, service-pack, and refurbished are thrown around a lot. Let’s cut through the noise. We'll break down what each option actually means for your laptop’s brightness, colour accuracy, and long-term reliability. Getting a handle on these real-world differences will help you find that perfect sweet spot between your budget and what you expect from the finished job.
Original Equipment Manufacturer (OEM) Screens
An Original Equipment Manufacturer (OEM) or "service-pack" screen is, simply put, the best you can get. These are the very same display assemblies Apple uses when building a new MacBook Air, straight from their official suppliers like LG or Samsung. They are brand new, untouched, and have passed Apple's notoriously strict quality control.
When you opt for an OEM part, you're getting a component fresh from the factory. This is your guarantee that every single aspect of the display will perform exactly as it did the day you first opened your MacBook Air.
- Flawless Colour: You get the full P3 wide colour gamut with perfect calibration right out of the box. For anyone doing photo or video editing, this is non-negotiable.
- Peak Brightness: It will hit the maximum "nits" of brightness specified by Apple, meaning you can see your screen clearly, even in a bright room.
- Full Functionality: Features like True Tone, which adjusts the screen's warmth to match your environment, will work perfectly without any hitches.
- Built to Last: These screens are made with top-tier materials, giving you the best possible shot at a long and trouble-free lifespan.
For professional repairers or anyone who just can't compromise on quality, an OEM screen is the clear winner. It removes all the guesswork and ensures a repair that’s identical to the original.
The Smart Money: Refurbished Original Screens
A top-quality refurbished original screen is a fantastic compromise between price and performance. These are genuine Apple displays that have been professionally restored to an "as-new" state. The process usually involves taking a perfectly working original LCD panel from a device that had other problems (like a faulty logic board) and fitting it with new, high-quality backlight layers.
This isn't just a quick clean-up. The magic here is that the most important part—the original LCD that actually creates the image—is kept.
The real beauty of a properly refurbished original screen is that it keeps the pixel-perfect Retina panel. That means you get the exact same sharpness, colour depth, and viewing angles as a brand-new OEM screen, but often for a much lower price.
Going with a refurbished original is a smart way to keep that authentic Apple quality without blowing the budget. It's also the more sustainable option, as it breathes new life into a perfectly good component and keeps it out of landfill. For a lot of DIYers, this is the sweet spot for a new screen for a MacBook Air.
What About Aftermarket Screens?
Aftermarket screens are brand-new displays made by third-party companies that aren't connected to Apple. They're designed to be compatible replacements and are almost always the cheapest option you'll find. But as you'd expect, that lower cost often means making some sacrifices in quality.
While the best aftermarket screens have gotten a lot better over the years, they rarely measure up to an original display. You might notice small (or sometimes, not-so-small) differences in how things look. An aftermarket screen might not get as bright as an original, and its colours might not be as rich or accurate, leading to images that look a bit washed out.
If your laptop is just for emails, browsing the web, and watching videos, these differences might not bother you at all. But for anyone who depends on colour accuracy for their work or is just picky about display quality, an aftermarket screen could be a real letdown.
MacBook Air Replacement Screen Comparison
Here’s a straightforward breakdown to help you weigh the pros and cons of each screen type.
| Screen Type | Quality & Performance | Typical Cost (AUD) | Best For | Warranty Consideration |
|---|---|---|---|---|
| Original (OEM/Service-Pack) | Identical to the factory-installed screen. Perfect colour, brightness, and functionality. The highest quality available. | High | Professionals, photographers, designers, and users who want a perfect, no-compromise repair. | Usually comes with a comprehensive supplier warranty against manufacturing defects. |
| Refurbished Original | Uses a genuine Apple LCD panel, ensuring original sharpness and colour. May have new non-OEM backlight components. | Medium | DIY repairers and budget-conscious users who still prioritise high visual quality and authenticity. | Warranty can vary, so check with your supplier. Quality is highly dependent on the refurbisher. |
| Aftermarket | Made by third-party manufacturers. Quality can vary widely. May have lower brightness or less accurate colours. | Low | Users on a tight budget where function is more important than perfect visual fidelity. | Often has the most limited warranty. Higher potential for compatibility or longevity issues. |
At the end of the day, the right screen really comes down to your personal needs and how much you're looking to spend. By understanding what you're getting with each option, you can confidently pick the perfect new screen for your MacBook Air and get a result you'll be happy with.
How to Replace Your MacBook Air Screen
Alright, let's get our hands dirty. Tackling a screen replacement on a MacBook Air yourself can feel like a big leap, but trust me, it's an incredibly satisfying project when you break it down into manageable stages. This guide is your roadmap, walking you through everything from prepping your workspace to that magic moment of powering on your newly fixed Mac. We'll cover all the critical steps and throw in some pro tips to help you sidestep common blunders.
Preparing for a Successful Repair
Before you even think about picking up a screwdriver, the most important work happens. A clean, organised workspace isn't just nice to have; it's essential. Lay down an anti-static mat and get all your tools ready to go. A magnetic screw mat or a few labelled containers will be your best friend here—you’re about to deal with a lot of tiny screws of different lengths. Mixing them up is a classic rookie error that can cause real damage when you put everything back together.
Electrostatic discharge (ESD) protection isn't optional, it's critical. You absolutely must wear an anti-static wrist strap and connect it to a grounded metal point on the MacBook's frame. You can't see or feel static electricity, but it can fry sensitive components on the logic board in an instant. This one simple step protects your investment and stops a straightforward screen repair from spiralling into a logic board nightmare.
Think of your workspace like an operating theatre. A well-lit, organised area with every tool within easy reach dramatically cuts down the risk of mistakes, lost screws, or accidental damage to those delicate ribbon cables.
Finally, completely power down your MacBook Air. Don't just close the lid or put it to sleep—shut it down entirely. This ensures no stray current is flowing while you work.
The Disassembly Process
With your workspace prepped, it's time to open up the MacBook. The very first thing you do inside the machine is disconnect the battery. This is the single most important safety step. Even with the device off, the battery is live, and one slip of a metal tool could short a component and cause permanent damage.
Here's how the disassembly typically goes:
- Get the Bottom Case Off: Grab a P5 Pentalobe screwdriver and carefully remove the screws holding the bottom cover. Pay close attention here—the screws near the hinge are usually shorter than the rest. Keep them organised!
- Disconnect the Battery: Once you're inside, find the battery connector on the logic board. Use a plastic spudger or even your fingernail to gently lift it straight up, disconnecting it from the board. You've now safely cut the power.
- Detach Display Cables: The screen is connected to the logic board with a few small, fragile ribbon cables. They're typically held down by little brackets. Carefully unscrew the brackets, then use your spudger to gently pry up the connectors for the display, the webcam, and the Wi-Fi antennas. Never, ever pull on the cables themselves.
This flowchart gives you a clear picture of the decision you'll make when picking out a new screen for your MacBook Air replacement.
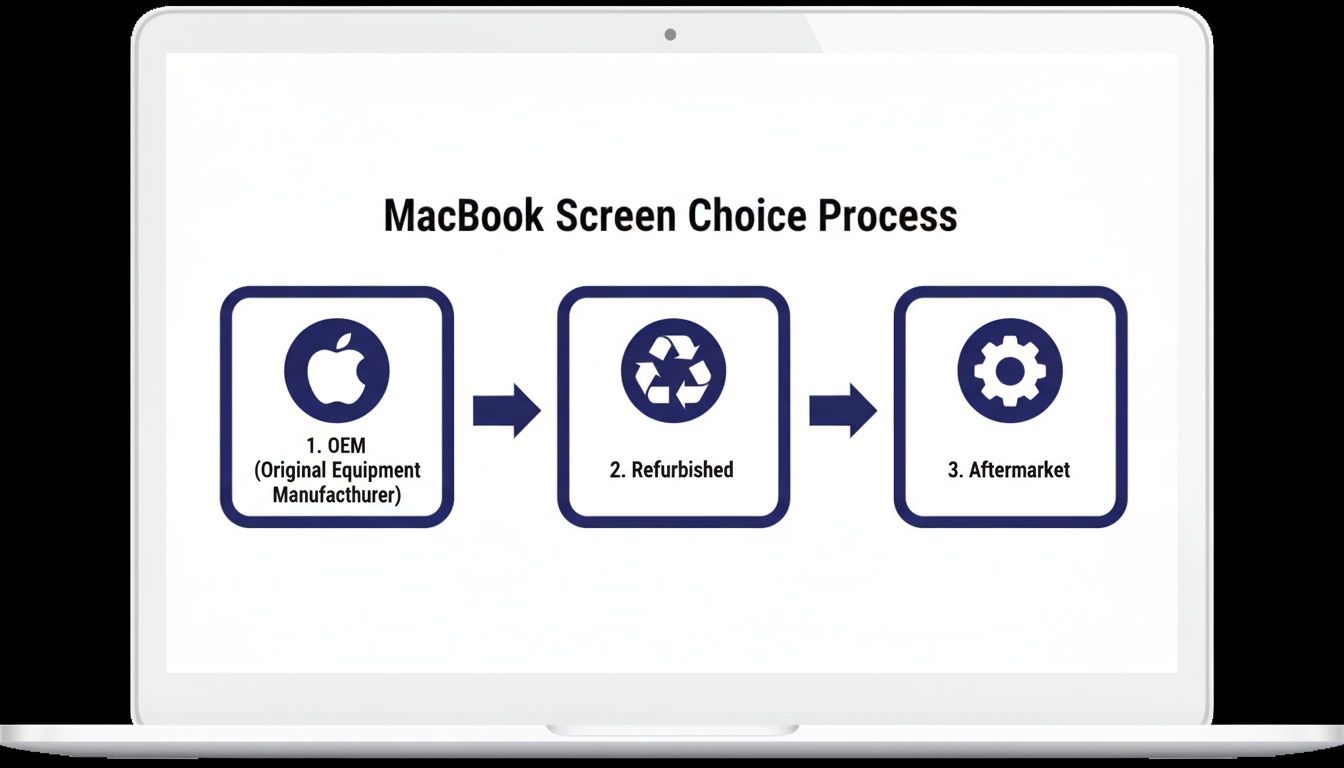
Alt: A diagram showing the three choices for a MacBook Air screen replacement: OEM, Refurbished, and Aftermarket.
As the visual shows, your choice between OEM, refurbished, or aftermarket parts will directly shape the final cost and quality of your repair.
Removing and Installing the New Display
With all the internal cables free, you can now turn your attention to the hinge assembly—the part that physically bolts the screen to the laptop's body. You'll need to remove several Torx screws from each hinge. I find it's often easier to open the laptop to about a 90-degree angle to get proper access to these. Once the screws are out, you can carefully lift the entire display assembly away from the chassis.
Now, grab your new screen for MacBook Air and line it up with the hinge mounts on the main body. The installation is pretty much the reverse of what you just did.
- Secure the Hinges: Carefully re-attach the hinge screws, but don't torque them down all the way just yet.
- Reconnect Cables: Gently reconnect the display, webcam, and antenna cables to the logic board. They should click satisfyingly into place with minimal pressure. Make sure they're perfectly lined up before you press down.
- Re-attach Brackets: Pop the metal brackets back on over the connectors and screw them in.
Before you seal everything up, now is the perfect time for a quick test run. Temporarily reconnect the battery, power on the MacBook, and check that the new display is working as expected. Test the brightness controls, scan for any dead pixels, and make sure the webcam is detected. This quick check can save you the massive headache of having to take it all apart again if a cable isn't seated quite right.
Final Assembly and Pro Tips
Once you've confirmed the new screen is firing on all cylinders, you're on the home stretch. Disconnect the battery one last time before you continue. Now you can fully tighten the hinge screws, making sure the display is properly aligned and closes smoothly without any binding.
Putting it all back together might involve dealing with fresh adhesive strips, especially around components like antenna bars or rubber gaskets. On some models, new adhesive is non-negotiable for a secure, professional fit. If you're working with parts that need new adhesive, it's well worth your time to check out a guide on adhesive application, as getting this right makes a huge difference to the final result.
Replace the bottom case, being careful to put the correct length screws back in their original spots. Once it's all sealed up, give the exterior a quick wipe to clean off any fingerprints. Now for the best part: power on your device and admire that crystal-clear new display. Doing this repair yourself not only saves a good chunk of money but also gives you an amazing sense of accomplishment.
What You Need to Know About Australian Consumer Law for Repairs
Before you even think about spending a cent on a new screen for your MacBook Air, it’s worth taking a moment to understand your rights. Many people don't realise their consumer protections in Australia often go far beyond Apple’s standard one-year warranty. This could mean you're entitled to a repair at absolutely no cost, all thanks to the guarantees under Australian Consumer Law (ACL).
So, When Does Australian Consumer Law Actually Apply?
The ACL is built on a simple premise: products must be of "acceptable quality." This means they need to be durable and free from defects for a reasonable amount of time. What's "reasonable"? Well, it depends on the product's price and what it's supposed to do. For a premium device like a MacBook Air, the expectation is that it will last much longer than just twelve months.
This law is your best friend when it comes to screen issues that aren't your fault. We're talking about things like dead pixels showing up, backlight failures, or that notorious "Staingate" delamination issue. If your screen develops a fault through no fault of your own, you likely have a strong case.
What's Considered a "Major Fault"?
Under the ACL, a problem becomes a major fault if the item is significantly different from how it was described, is substantially unfit for its purpose, or is unsafe. A screen that stops working correctly without any drops or spills could easily be classified as a major fault because, let's face it, it makes the laptop pretty useless.
If your screen issue qualifies as a major fault, the power is in your hands. You get to choose the remedy: a repair, a full replacement, or a refund. And you take this claim to the original seller, not necessarily the manufacturer.
Knowing this gives you a massive advantage when you talk to the retailer. It can be the difference between a hefty repair bill and a free fix, potentially saving you hundreds of dollars. It’s important to remember that ACL guarantees are separate from any manufacturer's warranty and can't be brushed aside.
Your Rights Don't End After Year One
It's a common misconception that once Apple's one-year warranty is up, you're on your own. That’s simply not true here in Australia. In reality, consumer law provides a safety net that can last for several years.
For Macs, this protection often extends for up to three years from the purchase date, giving you an extra two years of cover for certain faults. You can read more about these extended consumer protections to get a better handle on the full scope of your rights. This applies to a whole range of device problems, and our guide to mobile phone repairs dives into similar topics.
Common MacBook Screen Repair Questions
Alright, let's wrap things up by tackling some of the most common questions we get from customers day in and day out. Deciding to get a new screen for MacBook Air is a big step, and it's totally normal to have a few last-minute queries. This is where we clear everything up so you can move forward with confidence.
How Much Does a New Screen Cost in Australia?
This is usually the first question on everyone's mind, and for good reason. A professional, third-party screen replacement in Australia will typically set you back somewhere between $450 and $650. The final price really depends on your specific MacBook Air model and which screen you opt for—whether it’s OEM, refurbished, or a quality aftermarket part.
When you weigh that against the starting price of a brand-new MacBook Air, which is often north of $1,500 AUD, the savings are pretty clear. Even a top-of-the-line repair is a fraction of the cost of buying a whole new machine.
Can I Just Replace the Glass on My MacBook Air?
I wish I had better news, but the short answer is no. On all modern MacBook Air models, the screen is a single, fused display assembly. This means the outer glass, the digitiser (the part that registers touch), and the LCD panel are all laminated together into a sealed unit right from the factory.
This design is what gives you that beautiful, thin display with no gap for dust to sneak in. The downside? It makes separating the layers impossible without some serious industrial equipment. The only practical, reliable fix is to replace the entire display assembly. It’s the only way to guarantee a perfect, factory-quality finish for your repair.
Trying to replace just the glass is what we call a false economy. The entire screen assembly must be replaced to guarantee a high-quality repair without imperfections, dust, or damage to the delicate underlying LCD panel.
How Long Does a Screen Replacement Take?
The time it takes to fit a new screen for MacBook Air really comes down to experience. For a seasoned technician here at a place like Screen Fixed Brisbane, the whole process is surprisingly quick. We can often have it done and dusted in 45 to 90 minutes. We’ve done this hundreds of times, so the workflow is practically muscle memory.
However, if you're tackling this as a first-time DIY project, it’s smart to give yourself a bit more breathing room. We recommend setting aside a solid 2 to 3 hours. This gives you plenty of time to work carefully, follow the steps without rushing, keep all your screws organised, and properly test everything before you seal it all back up.
Will a DIY Repair Void My Apple Warranty?
Yes, this one’s a biggie. Performing a self-repair or taking your device to a third-party service will almost certainly void any of Apple's standard one-year warranty that might be left. It’s a crucial point to consider if your MacBook is still quite new.
That said, the vast majority of screen repairs are for devices that are already more than a year old, meaning the standard warranty has expired anyway. But here’s something important to remember: a third-party repair does not void your separate rights under Australian Consumer Law. If another, totally unrelated component fails down the line because of a manufacturing defect, your ACL protections should still cover you. Knowing the difference empowers you to make the best call for your situation.
At Screen Fixed, we're all about providing professional, reliable repairs for your favourite devices. From OEM-quality screens to expert technicians, we have everything you need to get your MacBook Air looking brand new again.
Book your MacBook Air screen repair with Screen Fixed Brisbane today.
Disclaimer: Apple, MacBook, MacBook Air, and Retina are trademarks of Apple Inc., registered in the U.S. and other countries. Screen Fixed is an independent service provider and is not affiliated with Apple Inc.