
That awful spiderweb of cracks spreading across your MacBook Air screen is a gut-wrenching sight. Before you start mourning your laptop and checking the prices of new ones, take a breath. A MacBook Air screen replacement is a totally viable solution that can bring your machine back to life for a lot less than you might think. This guide will walk you through your options, whether you're a DIY enthusiast or prefer leaving it to the pros.
Understanding Your MacBook Air Screen Replacement Options
When you’re staring at a damaged screen, it’s easy to panic and assume the worst—a massive repair bill or, even worse, having to buy a brand-new MacBook. The good news is, you’ve got options. It really boils down to two paths: rolling up your sleeves and doing it yourself (DIY), or handing it over to a professional.
Each approach has its own set of pros and cons, and the best choice for you will depend on your technical skills, your specific MacBook Air model, and what your budget looks like. Making an informed decision here is key to getting your Mac back in action without any extra headaches or cash.
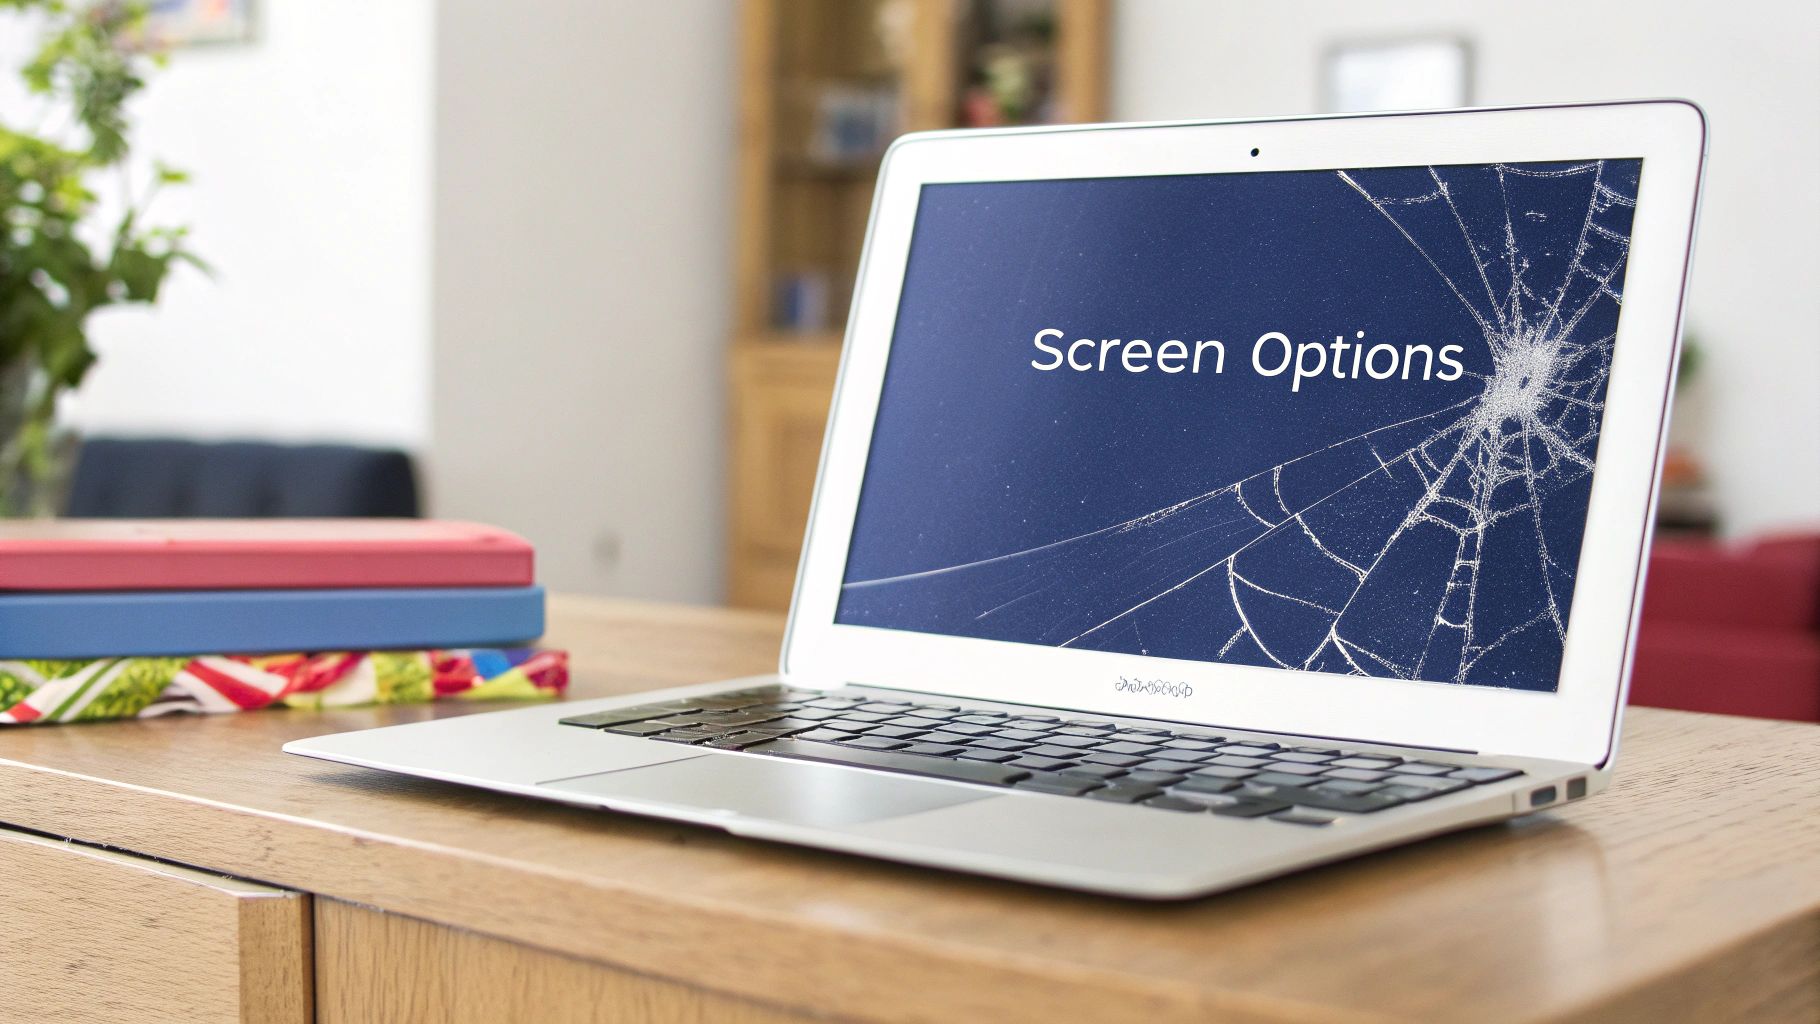
Alt text: A silver MacBook Air with a badly cracked screen on a wooden desk, highlighting the need for a screen replacement.
DIY Repair vs Professional Service
Going the DIY route can be incredibly satisfying and is almost always the cheaper option. When you source the parts yourself, you're not paying for a technician's time and labour. This path is perfect for anyone who's comfortable working with delicate electronics and has the patience to follow a detailed guide. But be warned—it's not without risk. One slip-up could turn a straightforward screen fix into a much bigger, more expensive problem.
On the flip side, a professional repair service offers pure peace of mind. Technicians at a reputable shop like Screen Fixed Brisbane have the right tools, experience, and steady hands to get the job done quickly and correctly. Sure, it costs more upfront for the labour, but it completely removes the risk of a DIY disaster. Plus, you'll usually get a warranty on the work, which is a fantastic safety net.
The real choice here isn't just about the money. It's a trade-off between cost, convenience, and risk. Be honest with yourself about your skill level—that's the most crucial first step.
The Cost Factor in Australia
Let’s talk numbers, because for most of us, the budget is a huge factor. In Australia, the cost for a MacBook Air screen replacement usually falls somewhere between $450 and $650 for common models. When you compare that to dropping over $1,500 on a new machine, it’s a no-brainer. This pricing generally includes high-quality parts from local suppliers, letting you dodge the hefty markups you’d face going through Apple's official repair channels.
You can learn more about local MacBook repair costs to see how the numbers stack up. Sourcing parts from a trusted Aussie supplier makes both the DIY and professional routes more affordable, giving you a clear path to saving your device without emptying your wallet.
Finding Your Model and Sourcing the Right Screen
Kicking off a MacBook Air screen replacement doesn’t start with a screwdriver. It starts with one crucial piece of information: your device's exact model number. Ordering the wrong screen is a frustrating and expensive mistake, and a display for an A2179 model simply won't fit or function in an A2337 chassis, no matter how similar they look. Trust us, getting this first step right is non-negotiable.
So, where do you find this vital detail? The easiest way is to just flip your MacBook Air over. You'll see a model number etched in small print on the bottom case, starting with an 'A' followed by four digits (like A1932, A2179, or A2337). This little identifier is your golden ticket to sourcing a compatible part.
If the text has rubbed off over the years, don't stress. You can also find it by clicking the Apple menu in the top-left corner and selecting "About This Mac." The overview window will show your MacBook Air's model name and year, which is also enough information to pinpoint the correct screen.
Why Model Compatibility Is Everything
The differences between MacBook Air models go way beyond just the year they were released. Apple is known for making subtle but significant tweaks to screen technology, connectors, and even the physical dimensions of the display assembly over time.
For instance, older non-Retina models like the classic A1466 use a completely different panel and cable setup compared to the Retina displays found in models from 2018 onwards. Then you have the introduction of Apple's M1 chip in models like the A2337, which brought internal changes affecting component compatibility, even if the exterior looks identical to its Intel-based predecessor.
Choosing the wrong part can lead to a host of problems. We're talking display connectors that don't fit, backlight issues, or the new screen simply refusing to turn on at all. It really pays to double-check that 'A' number before you add anything to your cart.
Sourcing Quality Screens in Australia
Once you've got your model number, the next challenge is finding a reliable part. The market is flooded with options, and you need to understand the lingo to get a screen that performs the way it should.
MacBook Air screens are notoriously fragile, a fact that comes up all the time in local repair forums. Discussions about reliable Australian suppliers are common, as technicians are always seeking trustworthy sources for out-of-warranty models. This need is highlighted by threads on platforms like iFixit that get hundreds of views from Aussies trying to navigate the complex parts market.
When sourcing a part, you'll generally come across a few main types of screens:
- OEM (Original Equipment Manufacturer): These are parts made by the same companies that supply Apple directly. They offer the highest quality, matching the original brightness, colour accuracy, and performance.
- Service-Pack: Think of these as OEM parts packaged specifically for service centres. They are a rock-solid choice for getting that factory-fresh repair quality.
- Refurbished Original: These are genuine Apple screens that have been professionally repaired. A common example is an assembly where a cracked glass top layer has been replaced while the original LCD panel remains intact.
To help you out, we've put together a quick reference table. This should make it easier to identify what kind of screen your specific MacBook Air uses.
MacBook Air Model and Screen Compatibility Guide
| Model Number (Example) | Year Range (Approx.) | Screen Type | Common Notes |
|---|---|---|---|
| A1466 | 2013-2017 | LCD (Non-Retina) | One of the most common older models. The display assembly is a single unit, but the LCD panel can be replaced separately. |
| A1932 | 2018-2019 | LCD (Retina) | First Retina model. Features True Tone technology. Different camera and cable connectors from the A1466. |
| A2179 | 2020 (Intel) | LCD (Retina) | Very similar to the A1932 but with slight internal variations. Parts are generally not cross-compatible. |
| A2337 | 2020 (M1) | LCD (Retina) | The first Apple Silicon model. While the screen looks identical to the A2179, the internal logic is different. |
This table covers some of the most popular models you'll encounter, but always confirm your exact 'A' number before buying.
Each of these display technologies has its own characteristics. For a deeper dive, check out our guide on the differences between LCD, OLED, and AMOLED replacement screens. This extra knowledge will help you make a much more informed decision when it comes time to purchase your replacement.
For both repair shops and DIY enthusiasts in Australia, finding a supplier you can trust is essential. At Fixo, we provide quality-tested components that you can rely on, ensuring your MacBook Air screen replacement goes off without a hitch. From premium service-pack screens to complete DIY kits that include all the necessary tools, we make sure you have everything you need to get that display looking perfect again.
Getting Stuck Into the Screen Replacement
Cracking open a MacBook Air for a screen replacement can feel a bit like performing surgery on a prized possession. We get it. It takes patience, a steady hand, and a whole lot of respect for the delicate tech packed inside. This is where we get our hands dirty, and believe us, good preparation is everything. Let's walk through the whole process, from setting up a safe workspace to putting it all back together, so you have a clear path to success.
First things first, let's talk about your workspace. You don't need a sterile lab, but a clean, well-lit, and organised area is an absolute must. Find a large, flat surface and cover it with a soft, lint-free mat to keep that beautiful aluminium body from getting scratched up.
More importantly, we need to talk about electrostatic discharge (ESD). That tiny spark you sometimes feel when you touch a doorknob? It's more than enough to completely fry the sensitive components on the logic board. This can turn a simple screen repair into a very expensive paperweight. Your best mate for this job is an anti-static wrist strap, properly grounded. It’s a tiny investment that offers massive protection.
The Golden Rule: Disconnect the Battery First
Before you even think about touching a screw, the battery must be disconnected. This is the single most critical safety step in any MacBook repair, no exceptions. If you leave it connected, you're working on a live circuit. One slip with a metal tool could cause a short, permanently frying the logic board or other parts.
On most MacBook Air models, the battery connector is right there in plain sight once you get the bottom case off. It's usually a wide, flat connector that you can gently pry upwards with a plastic spudger or even a fingernail. Whatever you do, don't use a metal tool here—you could cause the very short you're trying to prevent. Once it's disconnected, we always recommend pressing and holding the power button for about ten seconds just to drain any leftover power in the system.
Think of it like turning off the main water valve before fixing a leaky tap. It’s a non-negotiable first step that prevents a small problem from turning into a flood. Skipping this is the number one cause of DIY repair disasters we see.
With the MacBook safely powered down, your next job is to keep track of all those tiny screws. It is ridiculously easy to lose one of those microscopic Pentalobe or Torx screws. A magnetic project mat is a lifesaver, but even a simple ice cube tray will do the trick. Make sure you map out where each screw came from, because they are often different lengths. Putting a long screw where a short one should be can punch right through the logic board.
Sourcing the right parts is, of course, a crucial step. You need to be certain you have a compatible, high-quality screen ready to go before you even start.
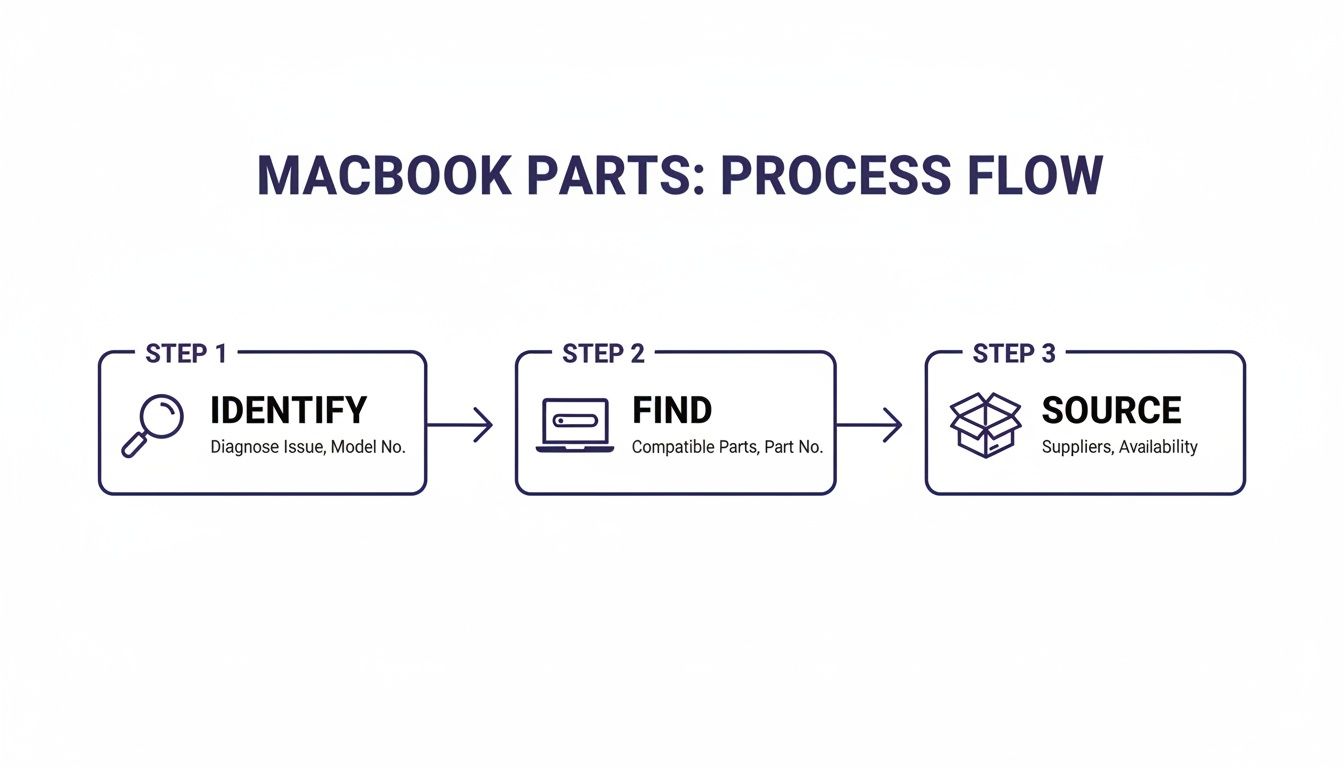
Alt text: A process flow diagram showing the three steps for MacBook parts: identify your model, find the correct part, and source it from a reliable supplier.
This simple flow—identify, find, source—is your blueprint for dodging compatibility nightmares and getting the right part the first time.
Removing the Damaged Display
Taking the display assembly off involves unplugging several very fragile ribbon cables and unscrewing the hinge mechanism. These cables handle everything from the display data (LVDS) and the camera (iSight) to the Wi-Fi antennas, which are usually tucked away inside the screen's clutch cover.
These ribbon cables connect with delicate ZIF (Zero Insertion Force) connectors. To release one, you'll need to use a spudger to flip up a tiny black or white locking tab. The cable should then slide out with zero resistance. If you have to force it, something is wrong. Tearing a cable or breaking a connector on the logic board is a nightmare scenario that’s often game-over for a DIY repair. With all the cables free, you can undo the hinge screws and lift the whole display assembly away from the body.
Installing the New Screen and Putting It All Back Together
Installing the new screen is pretty much the reverse of taking it apart, but it demands even more precision. Start by carefully positioning the new display assembly, lining up the hinges with the screw holes. We like to loosely tighten the hinge screws first to make sure everything is sitting perfectly before torquing them down.
The trickiest part of reassembly is reconnecting those ribbon cables. You have to align each cable perfectly with its connector before you even try to seat it. It should slide in smoothly. Once it's all the way in, press the ZIF locking tab back down to secure it. If you feel any resistance at all, stop. Pull the cable out and realign it. A misaligned cable can lead to bent pins, which means no video, a dead camera, or Wi-Fi problems.
Here are a few pro tips we've picked up from doing this day in and day out:
- Test Before You Seal: After connecting the new screen and the battery, but before putting the bottom case back on, do a quick power-on test. Make sure the screen lights up, the picture is clear, and the backlight works. This five-second check can save you from having to tear it all down again.
- Cable Management is Key: Make sure every cable is routed properly through its designated channel. A pinched LVDS cable is a common cause of display glitches or total failure down the road.
- Easy on the Torque: When tightening screws, especially the ones on the logic board and hinges, be gentle. Over-tightening can strip the threads or crack the board. You're aiming for snug, not strained.
The process for a MacBook Air screen replacement shares a lot of similarities with its Pro sibling. If you're looking for more visual aids or tips on handling Apple's tricky display assemblies, you can find some great insights in our guide to MacBook Pro screen replacement. Many of the core principles around cable safety apply to both machines.
Finally, once everything is reconnected and tested, you can pop the bottom case back on, using those Pentalobe screws you so carefully organised earlier. Follow these steps methodically, and you’ll turn a daunting repair into a manageable project. You'll get the satisfaction of a job well done and a MacBook Air that looks brand new.
DIY vs Professional Repair: A Realistic Cost Breakdown
When your MacBook Air screen is cracked, the first big decision is whether to roll up your sleeves and tackle the job yourself or hand it over to a pro. The choice usually boils down to a single question: what’s the real cost? This isn't just about comparing the price of parts to a technician's final invoice. You've got to consider your own time, the risks involved, and the value of your peace of mind.
Let's break down the real-world numbers so you can make a call that genuinely fits your budget, schedule, and nerve.
On the surface, going the DIY route looks like the obvious way to save a few quid. You’re only paying for the replacement screen and tools, completely sidestepping any labour costs. A quality DIY kit from a supplier like Fixo gives you everything you need in one box, making it a tempting option if you’ve got a bit of technical confidence.
But the hidden cost of any DIY project is your time. If this is your first time cracking open a MacBook, a repair that takes a seasoned pro an hour could easily turn into a whole afternoon for you. All that time spent researching, triple-checking guides, and delicately handling tiny, fragile components really adds up.
The True Cost of Parts and Labour
When you opt for a professional repair at an independent shop, you’re paying for two things: expertise and efficiency. A technician has likely done this exact repair hundreds of times. They’ve got the specialised tools and the muscle memory to get it done fast, without making rookie mistakes that could cost you big.
That labour cost, usually somewhere between $100 and $200, covers that skill and almost always includes a warranty on their work.
Here in Australia, screen replacements make up a huge portion—around 25-30%—of all MacBook services at independent shops. While the final price can vary, a professional fix is still dramatically cheaper than walking into an Apple Store. Some local repairers estimate a MacBook Air screen fix to be in the $400-$600 range, which is a massive saving compared to official channels.
The decision isn't just about saving a couple of hundred dollars. It's about weighing the upfront cost against the risk of turning a repairable laptop into a very expensive paperweight if a tiny, fragile connector gets damaged.
Factoring in Time and Logistics
Time is the one thing you can't get back. A professional service can often knock out a MacBook Air screen replacement in just a few hours, getting your machine back to you the same day. For a first-timer, that same DIY project could mean your laptop is out of commission for an entire weekend. Can you afford to be without it for that long?
You also have to think about logistics. Whether you’re sourcing parts for a DIY job or sending your device out for repair, shipping costs can creep into the total expense. It’s worth doing a bit of research on finding the best courier service for your needs in Australia to keep those costs down.
To make things a bit clearer, let’s put it all in a table.
Cost and Time Comparison: DIY vs Professional Repair
This table breaks down what you can realistically expect when deciding between doing the repair yourself with a Fixo kit or taking it to a local, independent expert.
| Factor | DIY Repair (Using Fixo Kit) | Professional Repair (Independent Shop) |
|---|---|---|
| Upfront Cost | Lower (just the cost of parts & tools) | Higher (parts + a labour fee) |
| Time Commitment | High (plan for several hours if you're a beginner) | Low (often done in 1-3 hours) |
| Risk Level | High (risk of accidentally damaging other components) | Very Low (techs are experienced and repairs are warrantied) |
| Convenience | Lower (requires research, setup, and careful work) | High (just drop it off and pick it up when it's ready) |
| Required Skill | Moderate technical skill and a lot of patience | None needed from your end |
Ultimately, whether you're a hands-on enthusiast or someone who'd rather leave it to the experts, you can get your MacBook Air looking and working like new again without breaking the bank.
Common Mistakes and How to Avoid Them
Even with the best intentions and a detailed guide in front of you, a MacBook Air screen replacement can throw a few curveballs. After seeing countless repairs come through our doors, we know that a handful of common slip-ups are responsible for most headaches. Knowing what these pitfalls are beforehand is the best way to sidestep them.
Think of this section as your safety net, built from the hard-won lessons of technicians who've been there. We’ll cover the most frequent errors—from stripping a tiny screw to frying a logic board—and give you clear, actionable advice to keep your repair on track.
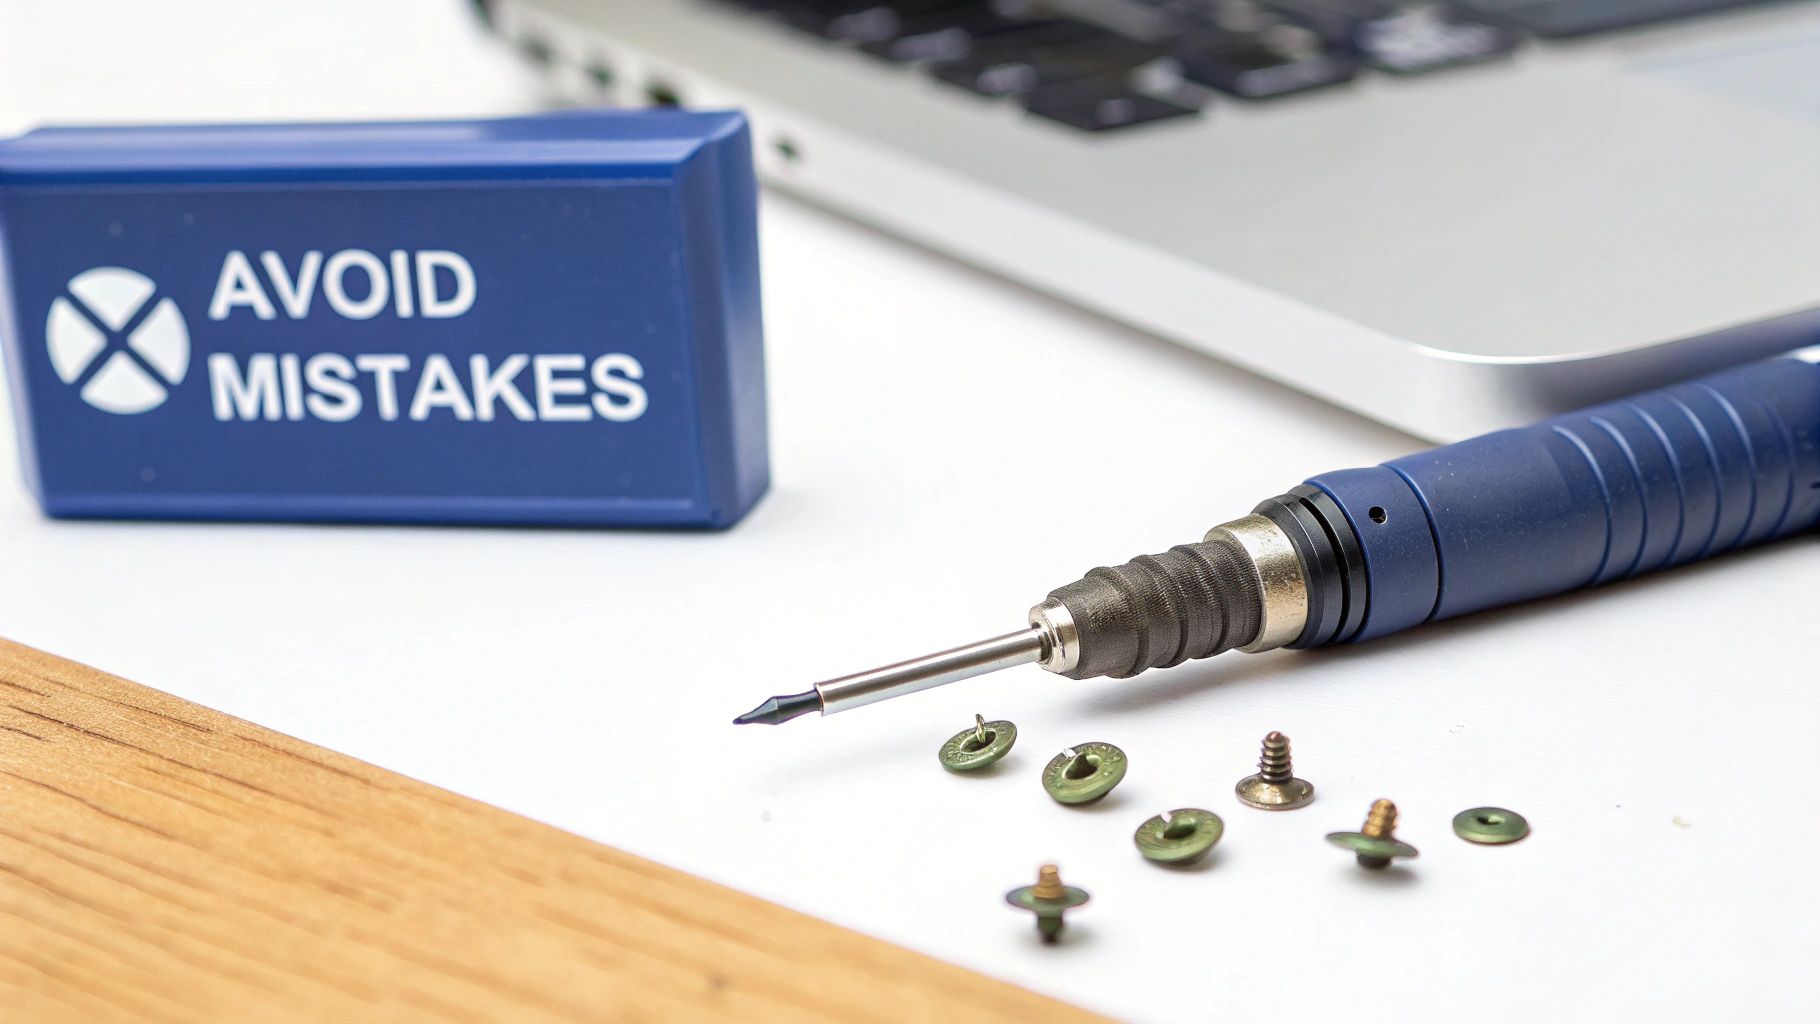
Alt text: A computer repair desk with a precision screwdriver, small screws, and a sign that says 'AVOID MISTAKES', illustrating the care needed for a MacBook Air screen replacement.
Forgetting to Disconnect the Battery First
This isn't just a suggestion; it's the golden rule of electronics repair. We mentioned it earlier, but it’s so critical it’s worth hammering home. Attempting a MacBook Air screen replacement with the battery still connected is like doing electrical work with the mains power on.
Just one slip of a metal tool can create a short circuit on the logic board, instantly frying critical components like the backlight circuit or even the CPU. This is a fatal, irreversible error that turns a straightforward screen repair into a catastrophic logic board replacement.
How to Avoid It:
- Make it your very first step. The moment that bottom case is off, your immediate priority is to gently pry up the battery connector using a plastic spudger. No excuses.
- Discharge residual power. After disconnecting, press and hold the power button for about 10 seconds. This drains any remaining charge from the capacitors, making the system completely safe to work on.
Damaging Delicate Connectors and Cables
The inside of a MacBook Air is a maze of tiny, fragile ribbon cables and zero insertion force (ZIF) connectors. These delicate parts handle everything from display data to the camera and Wi-Fi. Applying too much force here is a recipe for disaster.
A classic mistake is trying to yank a cable out before flipping up the tiny plastic latch on its ZIF connector. This can easily tear the delicate cable or, even worse, break the connector clean off the logic board—a mistake that requires expert microsoldering skills to fix.
Think of these connectors like a delicate drawbridge. The latch is the bridge that must be lifted before the cable can safely pass. Forcing it is guaranteed to cause damage.
Mismanaging Those Tiny Screws
Apple uses a whole variety of tiny, model-specific screws, and they are very often different lengths, sometimes by less than a millimetre. A frequent DIY error is mixing them all up during disassembly and hoping for the best later.
Putting a longer screw into a hole meant for a shorter one can have dire consequences. In the worst-case scenario, the screw can puncture the logic board from underneath, severing internal traces and causing permanent damage. This is known in the repair community as "long screw damage," and it's a gut-wrenching way to kill a perfectly good motherboard.
How to Avoid It:
- Use a magnetic mat. A project mat with compartments lets you map out exactly where each screw came from. It's the single best tool for ensuring everything goes back in its proper home.
- Take photos as you go. Your phone is your best friend here. Snap pictures at each stage of disassembly to create a visual record you can refer back to later.
Applying Incorrect Adhesives
Many MacBook screen repairs involve reapplying adhesive strips to secure components like the display bezel or clutch cover. Using the wrong type of adhesive can lead to a weak bond, causing parts to lift over time, or worse, making future repairs nearly impossible.
Some people might reach for super glue, but this is a terrible idea. It can damage plastics and is not designed for electronics. You need specific, double-sided electronics adhesive tape that provides a strong yet removable bond. For a deeper dive into selecting the right materials, you can find valuable information on the proper use of double-tape adhesive for these kinds of jobs.
Post-Repair Troubleshooting
Sometimes, even when you do everything right, you'll run into issues after putting it all back together. Don't panic. Most problems are caused by a few common oversights.
Here's a quick troubleshooting checklist:
- No Image on Screen: The most common culprit is a poorly seated display (LVDS) cable. Power down, disconnect the battery again, and carefully reseat the cable. Make sure that ZIF latch is securely closed.
- Backlight On, But No Picture: This often points to the same issue—a data connection problem. Double-check that LVDS cable connection on both the logic board and the display T-CON board itself.
- Camera or Wi-Fi Not Working: These functions have their own dedicated cables. Retrace your steps and ensure the iSight camera and airport antenna cables are correctly plugged in and not pinched or damaged.
By keeping these common mistakes in mind, you can approach your MacBook Air screen replacement with confidence, turning a daunting task into a successful and satisfying repair.
Your Go-To Partner for MacBook Air Repairs in Australia
Whether you're running a busy repair shop in Brisbane or diving into your first DIY project at home, one thing is non-negotiable: you need a reliable source for high-quality parts. That's exactly where Screen Fixed comes in. As an Australian-owned and operated business, we're dedicated to supporting our local repair industry from the ground up.
A successful MacBook Air screen replacement completely hinges on the quality of the components you use. That's why we’re so committed to providing premium-quality OEM and service-pack screens that meet the demanding standards of both seasoned technicians and discerning DIYers.
Supporting Australian Repair Professionals
For professional repair businesses, we get it. Consistency, speed, and cost are everything. Your reputation is built on the quality of your work, and our parts are here to make sure you can stand by every repair you complete.
We offer competitive wholesale pricing to keep your margins healthy. On top of that, our exclusive X Club membership gives trade customers even better discounts and dedicated support, helping your business thrive. With our local presence, you can finally say goodbye to lengthy international shipping delays and get the parts you need, when you need them.
Empowering the DIY Community
For the home repair enthusiasts out there, our all-in-one DIY kits are designed to set you up for success right from the start. We've taken all the guesswork out of the equation by bundling a top-tier replacement screen with every specialised tool you'll need for the job. You get it all in one convenient package, delivered straight to your door.
This approach doesn't just save you money; it gives you the immense satisfaction that comes from bringing your own device back to life. Our goal is simple: to make high-quality repairs accessible to everyone.
At the end of the day, a successful repair is a win for your wallet and the environment. By choosing to repair your MacBook Air, you're making a sustainable choice that extends the life of your device and keeps e-waste out of landfills.
With same-day dispatch for orders placed before 3 pm AEST and Click & Collect options available in major cities like Brisbane, Screen Fixed ensures you get the right parts, fast. We're here to help you nail your MacBook Air screen replacement with confidence, knowing you're backed by quality components and genuine local support.
Ready to get started on your repair? If you'd rather leave it to the experts, book your repair with Screen Fixed Brisbane today.
Disclaimer: Apple and MacBook are trademarks of Apple Inc., registered in the U.S. and other countries. Screen Fixed is an independent service provider and is not affiliated with Apple Inc.