
Meta Title: MacBook Air Screen Replacement Guide | Screen Fixed Brisbane
Meta Description: Cracked your MacBook Air screen? Our guide covers DIY repair, costs, and professional options in Brisbane. Get your MacBook Air laptop screen replacement sorted.
That gut-wrenching moment when you see a spiderweb of cracks across your MacBook Air's screen is a familiar pain. Your first thought might be to start browsing for a new laptop, but hold on. A MacBook Air laptop screen replacement is often a far more practical and wallet-friendly solution. This guide walks you through all your options, from DIY repair to professional services, helping you make a confident decision.
Your MacBook Screen Is Cracked. Now What?
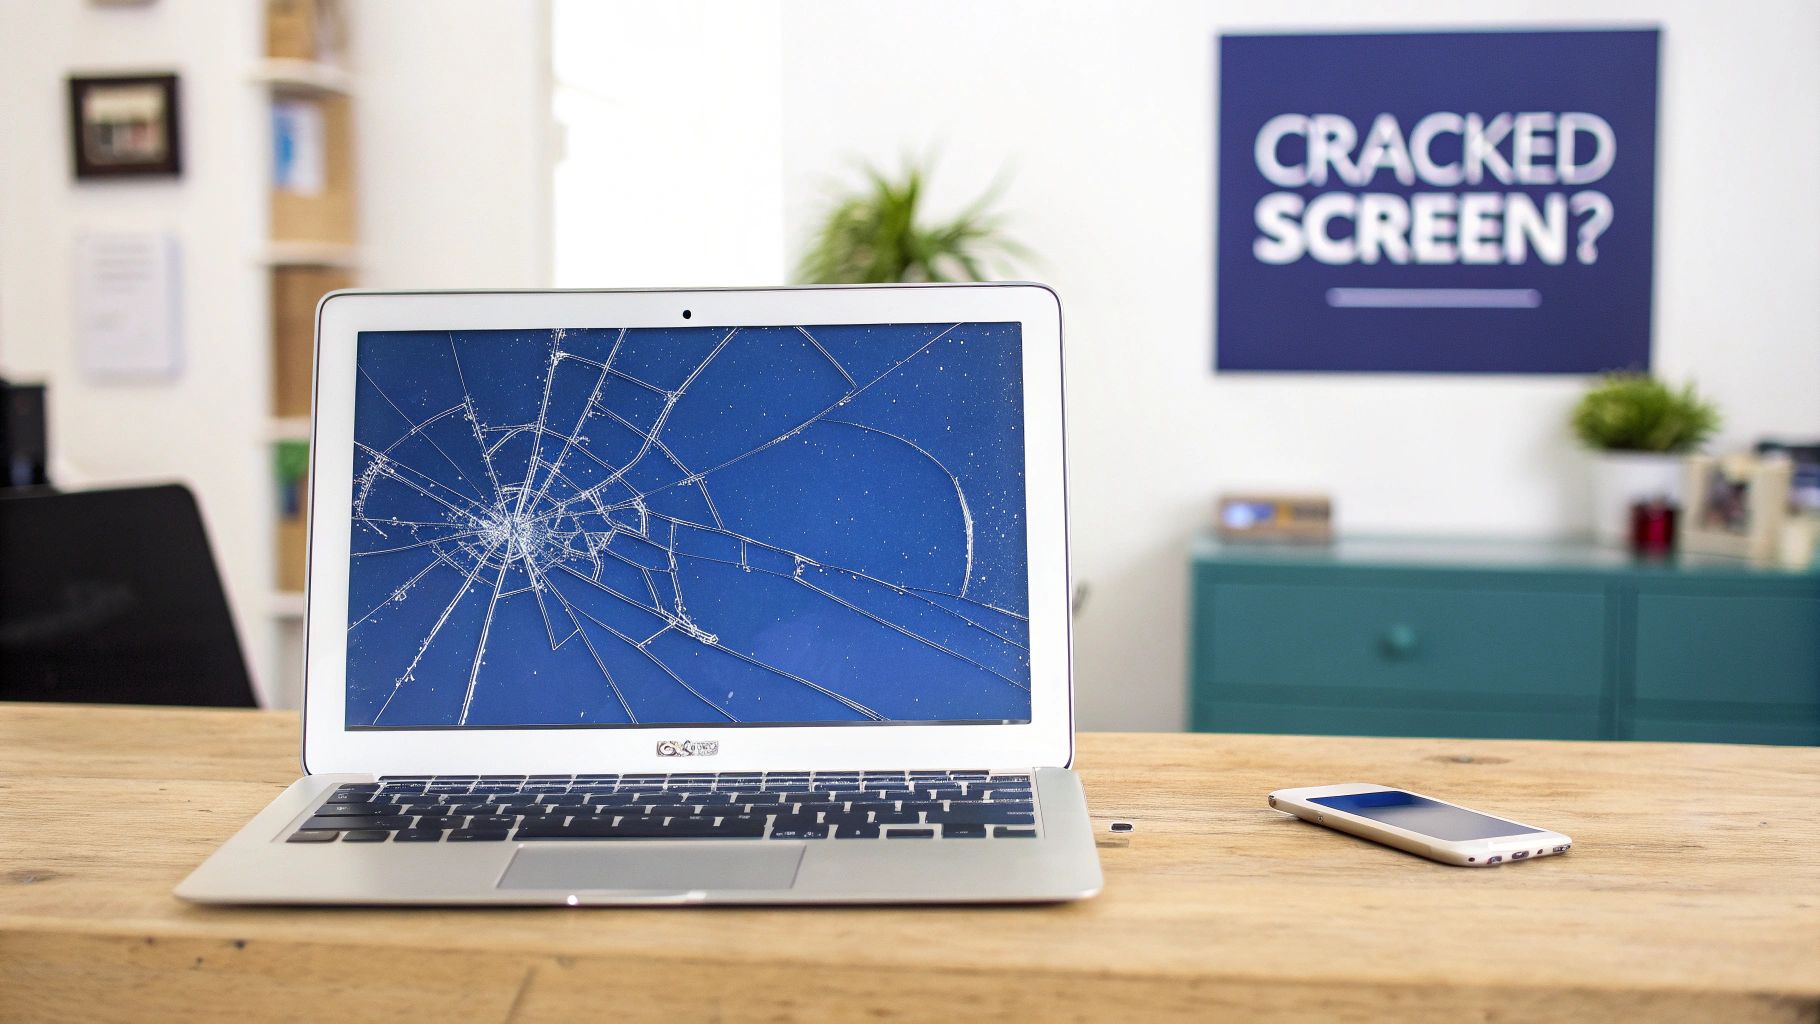
Alt text: A silver MacBook Air with a badly cracked screen on a desk, highlighting the need for a screen replacement.
Seeing a damaged screen can feel like a disaster, especially when your MacBook is your lifeline for work or uni. Before you panic, know that you have several solid paths forward. Each one offers a different balance of cost, convenience, and hands-on effort.
The first step is to take a breath and figure out what's most important to you. Are you on a tight budget? Do you need it back ASAP? Or are you feeling adventurous and ready to tackle a technical challenge to save some cash? Answering these questions will make choosing the right path much clearer.
Exploring Your Main Repair Paths
When you're faced with a broken screen, you have three main choices. You can handle the repair yourself, find a trusted independent repair service, or go straight to the source and book a repair with Apple.
Let's break down what each of these means for you:
- The DIY Approach: If you're tech-savvy and up for a challenge, a do-it-yourself repair is the most affordable option. By sourcing a high-quality replacement screen and the right tools from a supplier like Fixo, you're in complete control. It's a path that offers serious cost savings but demands patience, precision, and the ability to follow detailed instructions.
- The Independent Repair Shop: This is the middle ground and the most popular choice for most people. A professional service like Screen Fixed Brisbane combines expert knowledge with competitive pricing and a fast turnaround. You get the peace of mind that comes with an expert repair, without the premium price tag of the manufacturer.
- The Official Apple Service: Going directly to Apple guarantees you'll get an original part installed by Apple-certified technicians. This is almost always the most expensive route and can involve longer wait times, particularly if your device needs to be sent away. It’s a solid choice if your MacBook is still covered by its warranty or AppleCare+.
Why Repair Is Often the Smartest Move
In a world where we're all trying to be more sustainable, choosing to repair your device is a powerful decision. A MacBook Air laptop screen replacement extends the life of a machine that's otherwise perfectly fine, keeping complex electronics out of landfill. As noted by sustainability advocates like the team at iFixit, repair is the greener choice.
Beyond the environmental upside, it's just a financially sound move. The cost of a professional screen replacement is a fraction of the price of a brand-new MacBook Air. For a device that's still running perfectly, investing in a repair preserves its value and can save you hundreds, if not thousands, of dollars.
Decoding the Costs of a MacBook Screen Replacement
When you’re staring at a cracked MacBook screen, the first question is usually, "How much is this going to set me back?" The cost of a MacBook Air laptop screen replacement isn't one-size-fits-all; it’s a spectrum influenced by a few key things.
The good news is the Australian repair market is competitive, which helps keep prices in check. However, modern Retina displays are complex—the glass, LCD, and backlight are all fused into a single unit. This means you can't just swap out the broken glass; the entire display assembly has to be replaced, making it a significant repair.
Key Factors Influencing the Price
The final bill for your screen repair hinges on a few variables. The biggest one? Your specific MacBook Air model. A screen for a new M2 MacBook Air, for example, will cost more than one for an older Intel-based model due to newer tech and parts availability.
Another major price driver is the type of replacement screen:
- OEM (Original Equipment Manufacturer): These match the exact quality and performance of the original screen.
- Refurbished Original: Genuine Apple screens professionally restored to as-new condition, offering great quality for less.
- Aftermarket: Third-party screens that are sometimes cheaper but can vary wildly in quality, potentially affecting features like True Tone.
Finally, how you get it repaired—DIY, an independent shop, or Apple—will determine the labour costs.
A Look at the Numbers in Australia
So, what does this all mean for your bank account? For most common models in Australia, a MacBook Air screen replacement usually lands somewhere between $450 and $650. This figure reflects both the high-tech components and the skilled labour needed. You can get a better feel for specifics by checking out MacBook parts pricing from local suppliers.
While it's a decent chunk of change, this is a smart investment compared to buying a new laptop. A quality repair breathes years of extra life into your machine, preventing a perfectly good computer from becoming e-waste.
Comparing Your Repair Options Financially
To give you a clearer picture, it helps to weigh up the financial and practical trade-offs of each repair path.
Estimated Cost Comparison for MacBook Air Screen Replacement
| Repair Option | Estimated Cost (AUD) | Typical Time | Best For |
|---|---|---|---|
| DIY Repair (with Fixo Kit) | $350 - $550 | 2-4 hours | Tech-savvy users on a budget who enjoy a hands-on project. |
| Independent Repair Shop | $450 - $650 | 1-2 business days | The majority of users looking for a balance of speed, cost, and professional expertise. |
| Official Apple Service | $700+ | 3-7+ business days | Users with devices still under warranty or AppleCare+, or those who prioritise original parts above all else. |
As you can see, going the DIY route can lead to serious savings. For those who'd rather leave it to the pros, an independent service like Screen Fixed Brisbane offers a fantastic middle ground, balancing great value with professional peace of mind.
Getting the Right Replacement Screen and Tools
Diving into a MacBook Air laptop screen replacement is much more manageable with the right gear. A successful repair isn’t about luck; it’s about solid preparation. That means correctly identifying your MacBook model, understanding the screen options, and gathering a specific toolkit.
Getting this stage right is non-negotiable. A common mistake is ordering the wrong screen for a specific MacBook Air model. Taking a few extra minutes to confirm your model number (found on the bottom case, starting with an 'A') will save you a world of pain later on.
Identifying Your Exact MacBook Model
Before you add a screen to your shopping cart, you must know which MacBook Air you have. Apple has released many variations over the years, and their display assemblies are not one-size-fits-all. A screen for an M1 MacBook Air (like the A2337) simply won't work on an older Intel machine.
The most foolproof way to identify your Mac is by its model number:
- Look at the bottom case: Flip your MacBook over. You'll find the model number, like "A2179" or "A2337", etched in the fine print.
- Use 'About This Mac': If your screen is partially working, click the Apple logo in the top-left corner and choose "About This Mac". This shows the model name and year.
With that number, you can shop for a compatible replacement screen, confident it will fit and work perfectly.
Understanding Your Screen Options
When looking for a replacement, you’ll see terms like OEM, service-pack, and refurbished. The differences are straightforward and affect both your budget and repair quality.
- OEM (Original Equipment Manufacturer): Brand-new screens manufactured to the same specs as your original.
- High-Quality Refurbished Original: The sweet spot for value. These are genuine Apple screens restored to as-new condition.
- Service-Pack Screens: High-quality parts sourced through official service channels, ensuring excellent compatibility.
Apple's parts pairing policies, which link a screen to a specific logic board, make it tricky for those outside Apple’s network to use brand-new genuine screens. This is why high-quality refurbished original screens and service packs have become the go-to choice for independent repair shops and DIYers.
Gathering Your Essential Toolkit
You don't need a professional workshop, but you do need specific tools to work safely. Using the wrong screwdriver can easily strip a screw or damage a delicate connector.
A successful MacBook Air laptop screen replacement hinges on having the right tools. Investing in a quality kit isn’t just a recommendation; it’s the foundation of a smooth repair.
Here’s what you'll absolutely need:
- P5 Pentalobe Screwdriver: Essential for removing the bottom case screws.
- T3 and T5 Torx Screwdrivers: For various internal screws, like those on display hinges.
- Spudger and Plastic Prying Tools: For safely disconnecting tiny cables without scratching anything.
- Suction Cup: Helps lift the screen assembly off during removal.
For more on these tools, check out our guide on Pentalobe screwdrivers for Apple device repairs. To make things easier, Fixo offers all-in-one DIY kits that bundle a quality screen with every tool you need.
A Hands-On Guide to Replacing Your MacBook Air Screen
Alright, you’ve got your new screen and tools. Now for the main event: the actual repair. Swapping out a MacBook Air laptop screen demands precision, but it's totally doable.
Before you touch a single screw, take a deep breath. Patience is your most valuable tool. Work in a clean, well-lit area with enough space to keep parts and screws organised.
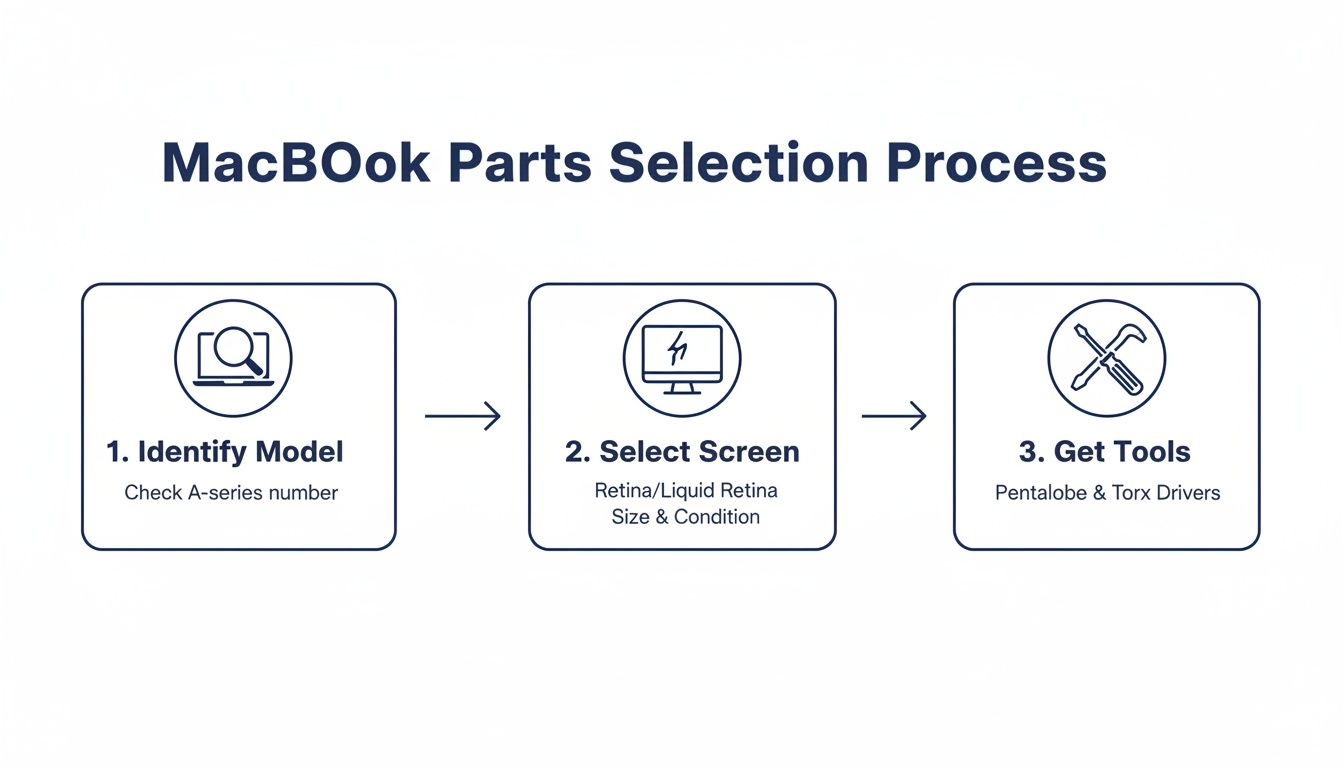
Alt text: A diagram showing the three steps for MacBook Air parts selection: identify model, select screen, and get tools.
Proper preparation is everything.
Safety First: Disconnecting The Battery
Before anything else, you must disconnect the battery. Working on a live laptop is asking for trouble. A slip with a metal tool could short out the logic board, causing permanent damage.
After using your P5 Pentalobe screwdriver to remove the bottom case, your first target is the battery connector. Use a plastic spudger to carefully pry it straight up to disconnect it. This de-energises the system, making it safe to proceed.
ESD (Electrostatic Discharge) Precaution: Your body builds up static electricity that can kill sensitive electronics. Wear an anti-static wrist strap clipped to a metal part of the MacBook's chassis. If you don't have one, frequently touch a large, unpainted metal object to ground yourself.
The Teardown: Removing The Damaged Screen
With the battery safely unplugged, it’s time to remove the old display. First, remove the small metal shields covering the display cable connectors, held by tiny T3 or T5 Torx screws. Now, use your spudger to gently pop the display, camera, and antenna cables off the logic board.
Next are the hinge screws. You'll find two or three T5 Torx screws on each hinge. Use firm, steady pressure to avoid stripping them. As you remove the last screw, the screen assembly will be free, so be ready to support its weight. Carefully lift it away.
Keeping Your Screws Organised
Screw management is crucial. MacBooks use screws of varying lengths; mixing them up can be catastrophic. Pushing a long screw into a short hole can puncture the logic board. Use a magnetic mat or a piece of paper with outlines to keep track of where each screw belongs.
Installing The New Display Assembly
Now to bring your MacBook back to life. The process is the reverse of the teardown. Set the new display assembly in place, lining up the hinges. Loosely thread one screw on each side to hold it steady, then tighten them all down.
Align each cable connector perfectly over its socket and press down gently until you feel a distinct click. Never force a connector. If it’s not clicking easily, it’s not aligned right. For some models, understanding adhesives can be beneficial; learn more in our guide on double-sided tape adhesives used in repairs.
Reassembly And Final Testing
With the cables reconnected, put their metal shields back on. Before closing it up, do a quick test. Reconnect the battery, power up the MacBook, and check the display, camera, and Wi-Fi.
If everything works, power down, disconnect the battery one last time, and screw the bottom case back on. Once it’s all buttoned up, do a final, thorough test. Congratulations! You've just pulled off a MacBook Air laptop screen replacement.
Troubleshooting Common Issues After Your Repair
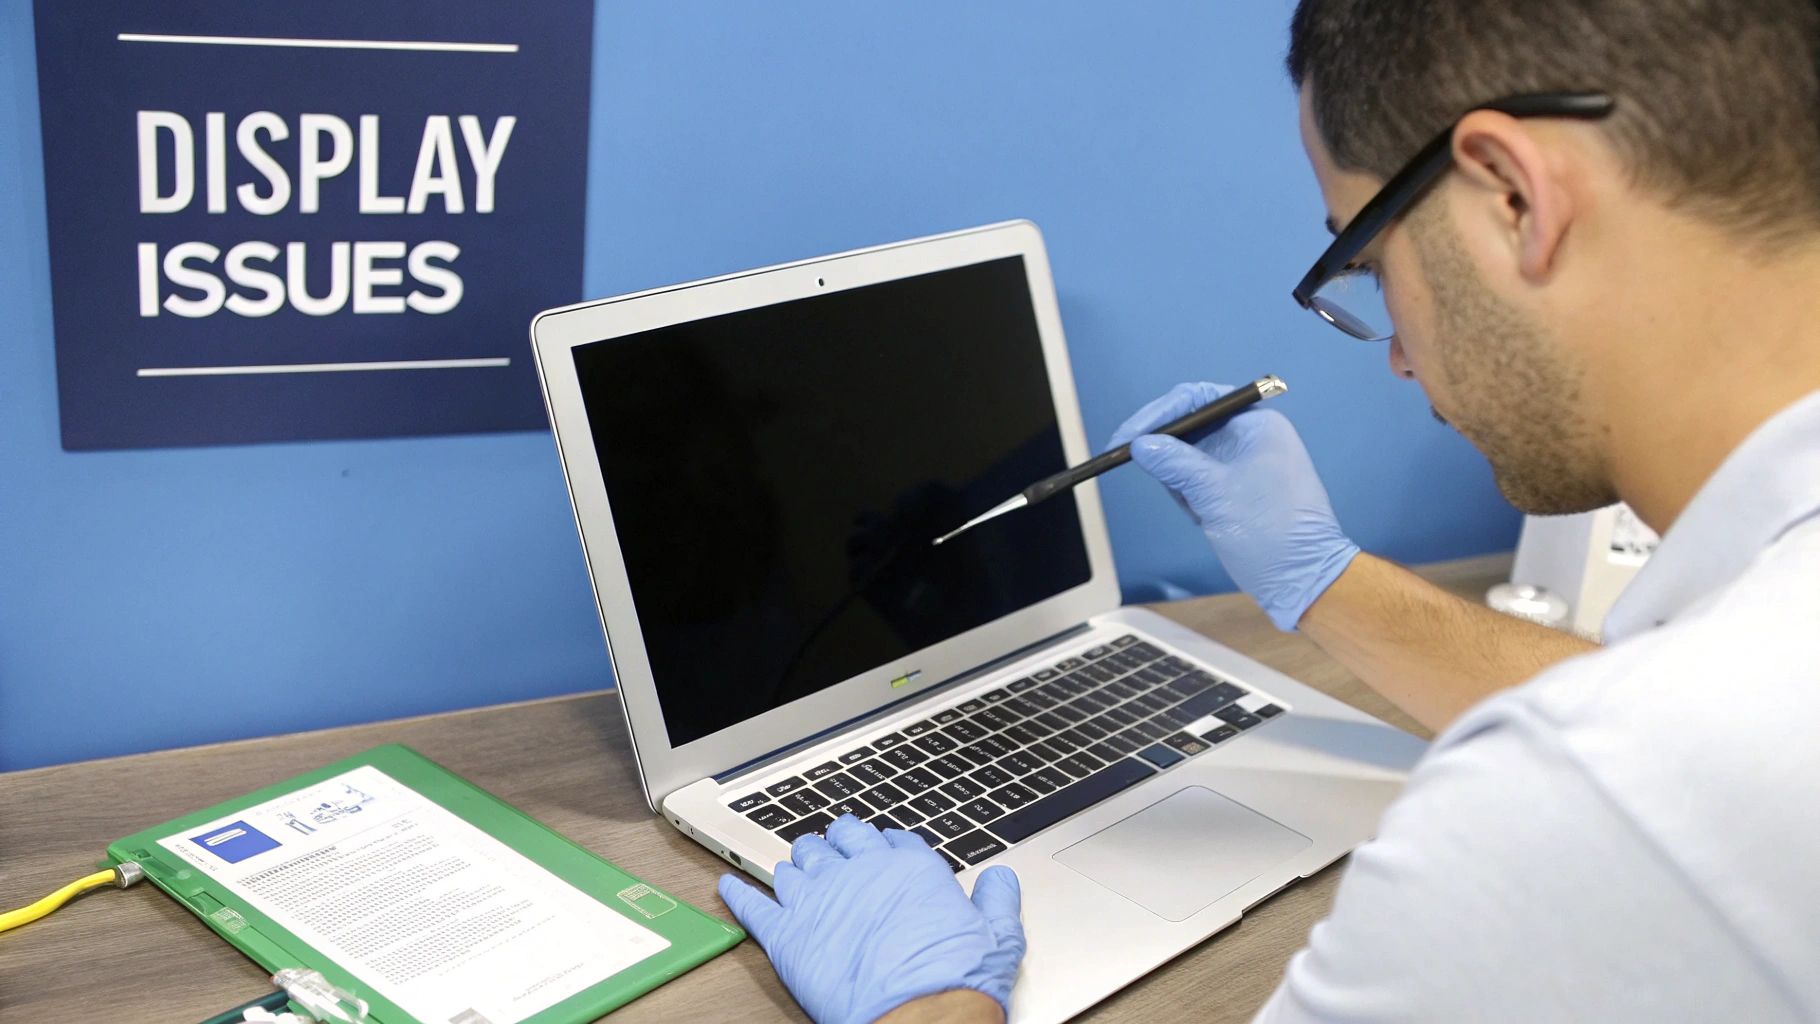
Alt text: A technician in blue gloves inspecting a MacBook Air with a dark screen during a repair in Brisbane.
Caption: MacBook Air screen replacement in Brisbane.
You’ve put your MacBook back together, but what happens when it doesn't go to plan? A blank screen or flickering backlight can feel like a huge step back, but the fix is often simple. Post-repair hiccups are common on your first MacBook Air laptop screen replacement.
The Display Is Completely Blank
A black screen after repair, even with a startup chime, usually points to a connection problem. Disconnect the power and battery, open the bottom case, and look at the display connectors.
- Re-seat the main display cable: This is almost always the culprit. It might look connected but be off by a fraction of a millimetre. Disconnect and reconnect it until you feel a solid click.
- Check for debris: A speck of dust can block a connection. Use compressed air to clean the cable and socket.
- Inspect for damage: Look for bent pins on the cable or connector. If they are bent, carefully straighten them.
Backlight Problems or Flickering
If you see a faint image but have no brightness, or the display is flickering, it's a backlight issue. This often traces back to a loose connection. Head back inside and focus on the smaller backlight cable, ensuring it's fully seated.
If re-seating cables doesn’t solve a blank screen or backlight problem, reset the SMC (System Management Controller). A quick search for an "SMC reset" for your specific MacBook Air will show you how.
Camera or Wi-Fi Is Not Working
If your FaceTime camera or Wi-Fi is offline, you may have missed one of the smaller connectors. The camera, microphone, and Wi-Fi antennas are in the display assembly. Go back in and check that each of these small cables is clicked firmly into place.
If your MacBook Air still has issues, our guide on what to do when your MacBook Air won't turn on has more advanced steps.
When to Call in the Professionals
DIY repairs are satisfying, but know your limits. If you’ve re-seated cables, done an SMC reset, and are still stuck, it's time to step back. Continuing to poke around could cause more serious damage.
Statistics show that smashed screens are the number one culprit of device damage in Australia, with many people delaying repairs due to cost concerns. You can read more about these device damage trends in Australia.
If you feel in over your head, don't risk turning a fixable problem into a permanent one. Reaching out to a professional service like Screen Fixed Brisbane means an expert technician can diagnose the issue properly and get your MacBook working perfectly again, minus the stress.
Got Questions About Your MacBook Air Screen Replacement? We've Got Answers.
Let's wrap up by tackling some common questions about MacBook Air laptop screen replacements.
Can I Just Replace the Glass on My MacBook Air Screen?
For any modern MacBook Air with a Retina display, the answer is no. The glass, LCD panel, and backlight are fused into a single, sealed unit. To get a reliable fix, you need to replace the entire display assembly. This makes the repair more straightforward and ensures a factory-fresh finish.
Will a DIY Screen Replacement Void My Apple Warranty?
Yes. If your MacBook Air is still under Apple's standard one-year warranty or AppleCare+, doing the repair yourself will void the warranty for any part you touch. If your warranty has already expired, you have nothing to lose.
How Do I Find My Exact MacBook Air Model Number?
Getting this right is crucial. Flip your MacBook over and check the fine print on the bottom case. You’re looking for a model number starting with an 'A' followed by four digits, like A2337 or A2179.
Using this "A" number is the most reliable way to match your laptop to the right replacement screen and avoid ordering a part that doesn't fit.
If your screen still works, you can also click the Apple logo in the top-left corner and select 'About This Mac' to find the model name and year.
Ready to start your repair or need expert advice on parts? Fixo has the premium components and DIY kits to get the job done right. Prefer to leave it to the experts? Book your repair with Screen Fixed Brisbane today.
Browse our full range of MacBook replacement parts at Fixo today.
Disclaimer: Apple, MacBook, and MacBook Air are trademarks of Apple Inc., registered in the U.S. and other countries. Screen Fixed is an independent service provider and is not affiliated with Apple Inc.