

Meta Title: iPhone Battery Draining Fast? Australian Fixes & Tips | Screen Fixed
Meta Description: Is your iPhone battery draining fast after an update? Learn why it happens and how to fix it with our practical guide for Australian users. Get expert tips.
It’s a scenario every iPhone owner in Australia dreads: you run the latest iOS update, excited for the new features, only to watch your battery life nosedive. It’s not in your head. This post-update battery drain is a real problem, but it’s almost never a sign that your battery has suddenly failed.
The simple truth is, your iPhone is working overtime behind the scenes right after a big software install. This intense burst of activity is just the new operating system settling in, sorting out all your existing data, photos, and apps. Think of it like moving into a new house—it takes a ton of energy to unpack everything and get it organised.
Why iOS Updates Can Suddenly Drain Your iPhone Battery
Alt text: An iPhone showing post-update battery drain issues after an iOS update.
This sudden power consumption is usually temporary, lasting anywhere from 24 to 72 hours. Once the digital dust settles, your battery life should return to normal.
The Real Reasons for Post-Update Drain
So, what's actually happening inside your phone that’s chewing through so much power? It comes down to a few key background processes that are crucial for long-term performance.
Here are the main culprits:
- Re-indexing Files and Photos: To make new features like advanced Spotlight search or photo recognition work, your iPhone has to reorganise its entire internal library. It's like a librarian cataloguing every single book, photo, and note all over again.
- App Optimisation: App developers are always playing catch-up, releasing updates to ensure their apps work perfectly with the new iOS. Your phone has to process these optimisations, which is a surprisingly power-hungry job.
- Rebuilding System Caches: The update clears out old system files and rebuilds them from scratch. This is great for keeping your phone running smoothly later on, but it requires a lot of processing power right at the start.
Key Takeaway: The battery drain you see right after an iOS update is almost always a temporary software issue, not a hardware failure. The best fix is often just a bit of patience.
How Australia's 5G Network Can Make It Worse
For us here in Australia, there's another layer to this problem: our extensive 5G network. Newer iPhones are set to "5G Auto" by default, which is a clever setting that flips between 5G and LTE to save battery. But when your phone is already working hard after an update, this constant network-hopping can be the final straw for your battery.
Considering iPhones hold a huge 28.38% market share in Australia, this is an issue affecting millions of us. Reports show that power consumption can easily jump by 20-30% in the first couple of days after a major update. Australia's high 5G adoption rate doesn't help, as the phone constantly searches for the best signal, draining the battery even faster.
As a quick fix, you can temporarily switch your phone to use only LTE. This simple change can boost your battery life by 15-25% during that critical post-update period. You can read more in this report on post-update battery drain.
Knowing what’s going on is the first step. The trick is figuring out if you're dealing with a short-term software quirk or a genuine hardware problem that might need a professional touch from a service like iPhone Repairs Brisbane.
Mastering iPhone Settings To Maximise Battery Life
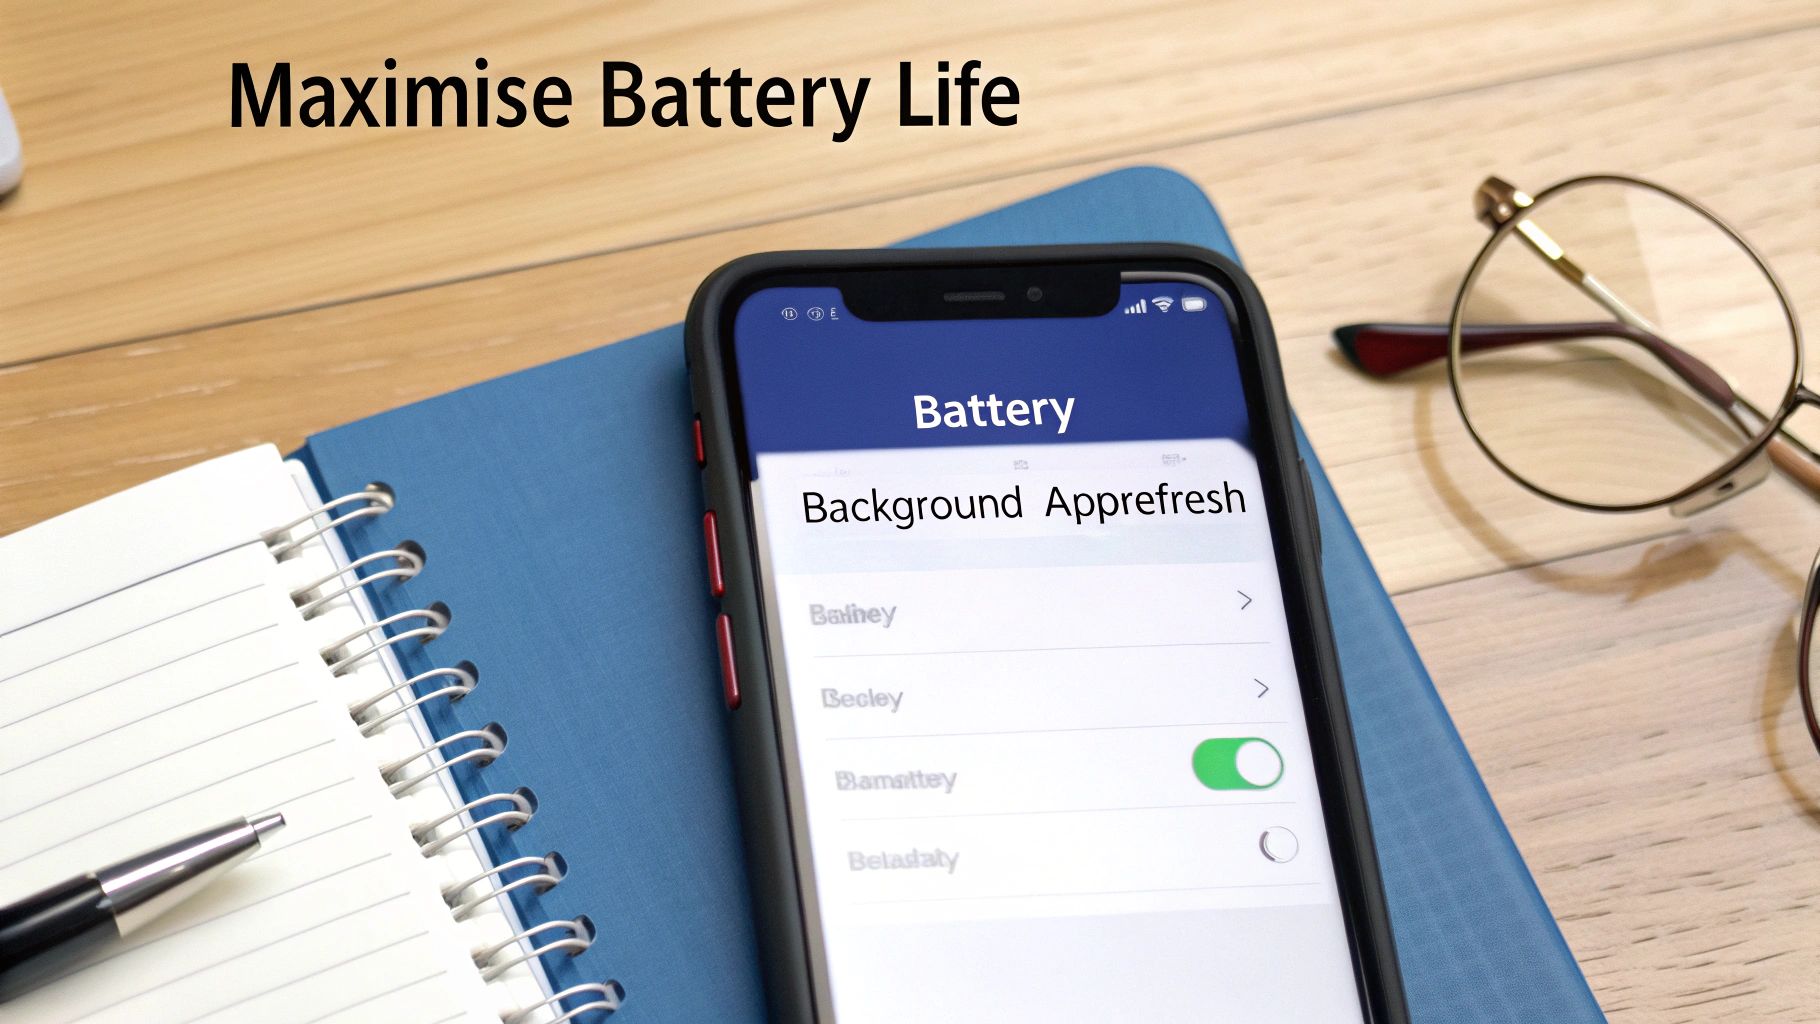
Alt text: A user adjusting iPhone battery settings to maximise battery life and stop it draining fast.
Caption: iPhone battery settings screen showing options to improve performance.
Before you even think about pricing out a new battery, it’s worth diving into the powerful controls you already have. Many people just flick on "Low Power Mode" and call it a day, but that's barely scratching the surface. Your iPhone's settings menu is packed with adjustments that can genuinely transform your daily battery life.
Think of it like tuning a car for better fuel efficiency. A few small tweaks under the bonnet can get you a lot more kilometres out of every tank. It's the same principle here—optimising your iPhone's settings can help you reclaim hours of use and stop your iphone battery draining fast.
Identify The Biggest Power Hogs
First things first, you need to play detective. iOS makes it incredibly easy to see exactly which apps are guzzling the most power. This isn't about guesswork; it's about using the hard data your phone gives you to make smart decisions.
Just head over to Settings > Battery. Scroll down a bit, and you’ll find a detailed list of apps, ranked by how much battery they’ve used over the last 24 hours or the last 10 days. Don't be shocked to see social media or streaming apps sitting at the top.
What you're really hunting for are the unexpected culprits. Is a simple weather app somehow responsible for 20% of your battery usage? That’s a massive red flag. This data gives you the power to decide if an app's convenience is truly worth its cost in battery life.
Tame Background App Refresh
Background App Refresh is one of those features that sounds great on paper. It lets apps fetch new content even when you're not using them. While it’s handy for some things, it's also a notorious battery killer, essentially giving apps permission to run silently in the background, constantly checking for updates.
You've got a few ways to tackle this:
- Turn it off completely: The most aggressive power-saving move. Apps will only update when you actually open them.
- Set to Wi-Fi only: This is a fantastic middle ground. Apps can still refresh, but only when you're on Wi-Fi, which uses far less power than mobile data.
- Manage it app-by-app: This is the most effective strategy. Be ruthless. Do you really need that game or document scanner refreshing in the background? Probably not. Go through the list and toggle it off for anything non-essential.
A common scenario we see in our Screen Fixed Brisbane workshop is customers with dozens of apps all refreshing in the background. Simply disabling this for non-critical apps can often add an extra hour or more to their daily battery life. It’s one of the first things our technicians check.
Rein In Those Location Services
Location Services are vital for things like Google Maps and Uber, but a surprising number of apps request your location without any good reason. Every single time an app pings your GPS, it uses a significant chunk of power. Add that up over a full day, and you've found a major reason why your iphone battery draining fast.
Go to Settings > Privacy & Security > Location Services. Here, you can review every single app that has requested location access. For each one, you have options:
- Never: The app is completely blocked from accessing your location.
- Ask Next Time Or When I Share: The app has to ask for permission every single time.
- While Using the App: The app can only see your location when it's open and active on your screen. This is the best setting for most apps.
- Always: The app can track your location anytime, even in the background. Only grant this for truly essential apps, like a weather widget that needs to know where you are.
Keep an eye out for the small arrow icons next to each app. A solid purple arrow means it’s used your location recently, while a hollow one means it might use it under certain conditions. It's a handy visual cue to spot the most active apps.
Quick Wins For Immediate Battery Gains
Beyond these big-ticket items, a handful of smaller tweaks can add up to make a real difference. These are the simple adjustments that many of our iPhone Repairs Brisbane customers are surprised to find so effective when they do them all together.
- Dim the Screen: Your display is one of the most power-hungry parts of your phone. Lowering the brightness or, even better, enabling "Auto-Brightness" under Settings > Accessibility > Display & Text Size can save a huge amount of juice.
- Manage Notifications: Every time a notification wakes your screen, it uses a little bit of battery. Head to Settings > Notifications and be ruthless. Turn off alerts for any app that isn't critical. Fewer interruptions mean your screen stays off more often.
- Optimise Your Display: If you have an iPhone with an OLED screen (that’s the iPhone X and newer), using a dark wallpaper and enabling Dark Mode is a game-changer. OLED pixels don't use any power to display true black, so the darker your screen is, the less energy it consumes.
Knowing When It’s Time for a New Battery
So, you’ve fine-tuned every setting and gave your iPhone a few days to settle down after the last iOS update. But you're still watching that battery percentage plummet way too fast. When you get to this point, it’s time to stop looking at software and start considering the physical health of the battery itself.
Knowing whether you're dealing with a software quirk or a genuinely worn-out battery is the most important step. It's incredibly frustrating to keep fighting a losing battle with settings when the real problem is just old hardware.
Decoding Your Battery's "Maximum Capacity"
Thankfully, your iPhone gives you a direct look at your battery's condition. Just head over to Settings > Battery > Battery Health & Charging. The number you see next to "Maximum Capacity" is a direct measure of its health compared to when it was brand new.
This isn't just some random number; it's a real indicator of how much charge the battery can physically hold. A fresh-out-of-the-box iPhone will proudly show 100%. But over time, with every charge cycle, this capacity naturally drops. It’s the unavoidable truth for all lithium-ion batteries.
The magic number you're looking for is 80%. Apple officially considers a battery "consumed" once it dips below this threshold. This is usually the point where you’ll notice a serious drop in how long your phone lasts, and you might even see performance start to take a hit.
When the capacity is low, the battery struggles to deliver the power needed for demanding tasks. This is what causes an iPhone to feel sluggish or, even worse, shut down out of nowhere—even when it says you have 20% or 30% charge left. Our guide on common signs you need an iPhone battery replacement digs into these symptoms a bit more.
Real-World Use vs. The Percentage
That "Maximum Capacity" percentage doesn't tell the whole story, though. A number on a screen can't always predict how the phone will perform in the real world, especially when everyone uses their phone differently. Your daily habits are just as important as that percentage.
Think about it this way: a professionally refurbished iPhone 14 with a battery health of 82% might sound like it’s nearly done for. But for someone working in an office who mainly uses it for calls, emails, and a bit of browsing, that phone could easily make it through a full workday, ending the day with 20-30% left. For them, a replacement isn't urgent at all.
On the other hand, take a delivery driver who's constantly using GPS, streaming videos on their break, and playing games to wind down. That same 82% battery might be completely dead by lunchtime. It just goes to show that your personal usage is a massive factor.
The Telltale Signs of a Failing Battery
Beyond the number in your settings, your iPhone will start giving you some pretty clear clues that its battery is on the way out. If you notice any of these, it's a strong sign a replacement is on the cards:
- Unexpected Shutdowns: Your phone just dies, even when the battery icon shows a decent amount of charge. This is classic behaviour for a weak battery, especially in the cold or when using something power-hungry like the camera.
- Sluggish Performance: Apps are slow to open, scrolling feels jittery, and the whole phone just feels like it's wading through mud. This is Apple's performance management kicking in to stop the processor from drawing too much power and causing a shutdown.
- Doesn't Hold a Charge: You unplug your phone at 100%, but a couple of hours later it's nearly dead with hardly any use.
- Only Works When Plugged In: This is the most obvious sign. The battery has completely given up and can no longer hold any meaningful charge on its own.
Recognising these warning signs helps you make a smart decision, turning what could be a future emergency into a simple, planned repair.
A Practical Guide to DIY iPhone Battery Replacement
If you’ve run through all the software fixes and your battery health is still letting you down, it might be time for a change. For anyone with a bit of technical confidence, replacing the battery yourself can be a really satisfying and wallet-friendly job.
Taking on a repair yourself puts you in the driver's seat, but it's crucial to go in with the right gear and a solid plan. A good quality DIY kit is essential. It’ll have the specific pentalobe screwdrivers, spudgers, and suction cups you need to get inside your iPhone without cracking the screen or stripping a screw. Working in a clean, well-lit space with a magnetic screw mat will also save you a massive headache.
Preparing Your Workspace and Tools
Before you touch a screw, get your setup right. Lay down a soft, lint-free cloth to keep your screen safe from scratches. Get your tools organised so everything is where you need it. The tiny screws inside an iPhone are ridiculously easy to lose, and worse, they're often different lengths. Mixing them up can cause irreversible damage to the logic board.
A decent DIY kit should have:
- A Pentalobe Screwdriver for the two screws at the bottom of the iPhone.
- A Tri-Point Screwdriver for internal screws on newer models.
- A Phillips Head Screwdriver for various other internal bits.
- A plastic Spudger and Opening Picks to safely pry the casing open and disconnect cables without shorting anything.
- A Suction Cup to help lift the screen assembly.
- Tweezers for handling those fiddly little connectors and screws.
A pro tip from our repair benches in Brisbane: take photos at every single step of the disassembly. This creates a visual map you can check back on, making sure every screw and bracket goes back exactly where it belongs.
Opening The Device and Disconnecting The Old Battery
With your workspace prepped, the first real step is to power down your iPhone completely. Then, remove the two screws on either side of the charging port. Next, gently place the suction cup on the lower part of the screen and pull up just enough to create a tiny gap. Slide a plastic opening pick into this gap and carefully work it along the edges to release the clips holding the screen assembly.
Watch out for the delicate ribbon cables connecting the screen to the logic board—they are super fragile. Open the phone like you're opening a book, making sure not to put any stress on those connections. Once you're inside, the most important step is to disconnect the battery. This cuts the power to the device and prevents accidental short circuits. Find the battery connector, remove its protective bracket, and use a plastic spudger to gently lift the connector straight up off its socket.
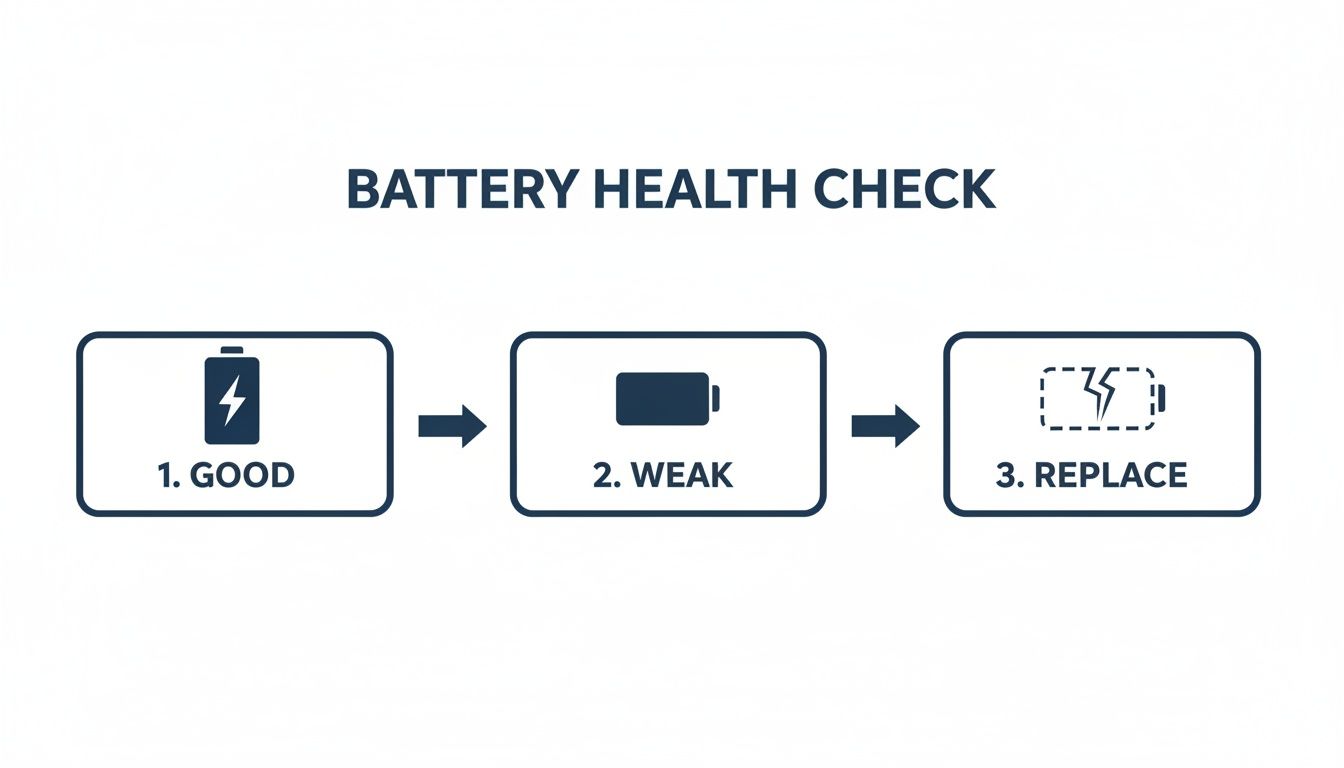
Alt text: An infographic showing the stages of iPhone battery health, from good to weak to replace.
Caption: This infographic shows how battery health degrades over time.
This process flow illustrates that while a battery might seem "weak," it's the final stage of degradation that truly impacts your iPhone's daily performance.
Removing The Old Battery and Installing The New One
Now for the trickiest bit: the adhesive strips holding the battery down. These things are strong, and getting them out requires patience. You’ll see small black tabs at the bottom of the battery. The trick is to pull these tabs slowly and steadily at a low, flat angle. If you yank them too hard or too fast, they’ll snap, and you’ll be forced to carefully pry the battery out—a risky move that could puncture it.
Once the old battery is out, you're ready to install the new one. Most replacement kits come with fresh adhesive strips. Apply them to the new battery, line it up correctly in the housing, and press it firmly into place. Now, reconnect the battery connector to the logic board. Before you seal everything up, it's a good idea to reconnect the screen, power the phone on, and check that the new battery is being recognised.
After confirming it works, power the phone down again, disconnect the battery for safety, re-secure any brackets you removed, and carefully snap the screen back into place. Finally, pop the two pentalobe screws back in at the bottom, and the physical work is done.
Calibrating Your New Battery For Peak Performance
Fitting a new battery is a huge win, but the job isn't quite finished. To get the best performance and longevity out of your replacement, there’s one final, crucial step: calibration.
Think of it like resetting the fuel gauge in your car. This simple process introduces the new battery to your iPhone's software, making sure they communicate perfectly. Without it, your iPhone might think the new "tank" is smaller than it really is, leading to incorrect percentage readings and unexpected shutdowns.
Properly calibrating the battery ensures the software knows exactly what 100% and 0% actually mean, giving you reliable performance from day one. The process itself is straightforward and doesn't require any special tools—just a bit of patience.
The Essential Calibration Cycle
To get your new battery dialled in, you need to complete one full charge-and-discharge cycle. It's a mostly hands-off process you can easily kick off before you go to bed.
Here’s the rundown:
- Drain it completely: Use your iPhone until it shuts down on its own.
- Let it rest: Once it's off, leave it alone for at least 3-4 hours. This lets the battery chemistry settle and ensures any residual charge is gone.
- Charge it fully (and then some): Plug your iPhone in and let it charge to 100% without interruption. Crucially, once it hits 100%, leave it on the charger for another 2-3 hours. This "trickle charge" makes sure the battery is truly at its maximum capacity.
- Restart your device: After the extended charge, unplug it and perform a hard restart. For most modern iPhones, that means pressing and quickly releasing the volume up button, then the volume down button, then pressing and holding the side button until the Apple logo appears.
That's it. This simple cycle syncs your iPhone’s power management system with the new battery's real-world capacity.
A well-calibrated battery provides more accurate readings and helps prevent the frustrating experience of your phone dying when it says you still have charge left. It’s the final polish on a successful DIY repair.
Long-Term Habits For A Healthy Battery
Once calibrated, a few good habits can dramatically extend your new battery's lifespan and stop your iphone battery draining fast in the long run. The main goal is to reduce stress on the battery. Lithium-ion batteries degrade faster when they're exposed to extreme temperatures or kept at very high or low charge levels for long periods.
This is a big deal here in Australia, where iPhone loyalty is incredibly strong, with an 85-88% retention rate according to market data like the Australian mobile market landscape on redsearch.com.au. That loyalty is often tied to device performance, and battery health is a massive part of the experience.
Here are a few pro tips to keep that new battery happy:
- Avoid Extreme Temperatures: This is the big one. Never leave your phone cooking in a hot car or sitting in direct sunlight. Heat is the number one enemy of battery health.
- Use Optimised Battery Charging: This is a brilliant feature baked right into iOS (you'll find it in Settings > Battery > Battery Health & Charging). It learns your daily charging routine and holds off on charging past 80% until just before you need it.
- The 20-80% Rule: While it’s not always practical, try to keep your battery's charge level between 20% and 80%. This "sweet spot" minimises stress and can seriously prolong its lifespan.
Following these aftercare steps ensures you get maximum value from your repair. It’s not just about swapping a part; it's about protecting your investment.
Your iPhone Battery Replacement Questions Answered
When it comes to iPhone repairs, a lot of questions can pop up. If you're dealing with an iPhone battery draining fast, getting the right information is the first step. We've pulled together the most common questions our technicians get asked to give you clear, no-nonsense answers.
Will Replacing My iPhone Battery Affect Its Water Resistance?
In short, yes. The moment an iPhone is opened, the original factory water-resistant seal is broken. A professional repairer will always apply a fresh, high-quality adhesive seal during reassembly. This does a great job of restoring protection against things like dust or a minor splash of rain. But it's really important to understand that the phone can't be considered fully waterproof anymore.
Why Does My iPhone Show A "Non-Genuine Battery" Warning?
This is a really common one. On newer models (iPhone XS and later), Apple has software that "pairs" the original battery to the phone's logic board. If anyone other than Apple replaces it, a service message will appear in your settings.
Here's what matters: This warning has zero impact on your new battery's performance, safety, or lifespan. Your iPhone will work perfectly. The only real difference is you might not see the "Maximum Capacity" percentage under the Battery Health settings.
How Do I Safely Dispose Of An Old iPhone Battery In Australia?
You should never toss lithium-ion batteries in your regular household rubbish bin. They're a potential fire risk and contain materials that shouldn't end up in landfill. In Australia, recycling them is free and simple. Your best options are retail drop-off points (like Officeworks), your local council's e-waste facilities, or the official MobileMuster recycling program.
Can I Get My iPhone Battery Replaced Professionally In Brisbane?
Of course. While DIY is a solid option if you're feeling adventurous, a professional service is the fastest and most reliable way to get it done. A good technician can swap a battery out quickly and make sure every tiny screw and connector goes back exactly where it should.
For anyone needing professional iPhone repairs in Brisbane, our team can usually handle a battery replacement on the same day. It's the best way to get your phone back to 100% without the stress of tackling the repair yourself.
When your iPhone battery is draining fast and you need a reliable, professional solution, Screen Fixed is here to help.
Book your repair with Screen Fixed Brisbane today.
Disclaimer: iPhone and Apple are trademarks of Apple Inc., registered in the U.S. and other countries. Screen Fixed is an independent repair service and is not affiliated with Apple Inc.