
Meta Title: iPhone Battery Draining Quickly? Here Are 6 Real Fixes
Meta Description: Is your iPhone battery draining quickly? Learn to diagnose the issue, adjust settings, and decide if it's time for a battery replacement in Brisbane.
That gut-wrenching moment when you see your iPhone drop from 100% to 50% before you’ve even had lunch is a problem we all know too well. Most of the time, an iPhone battery draining quickly is down to a software gremlin—maybe a recent iOS update is still settling in, or a rogue app is having a party in the background. But sometimes, it’s just a straightforward sign that your battery has put in the hard yards and is nearing retirement. This guide will walk you through diagnosing the cause, implementing effective solutions, and knowing when it's time for a professional fix.
Diagnosing Your Draining iPhone Battery
Watching that battery percentage nosedive is one of modern life’s little annoyances. Before you even think about upgrading your phone, it’s crucial to get to the root of the problem. When we’re troubleshooting battery issues in the workshop, we always narrow it down to two main areas: software behaviour and the physical health of the battery itself.
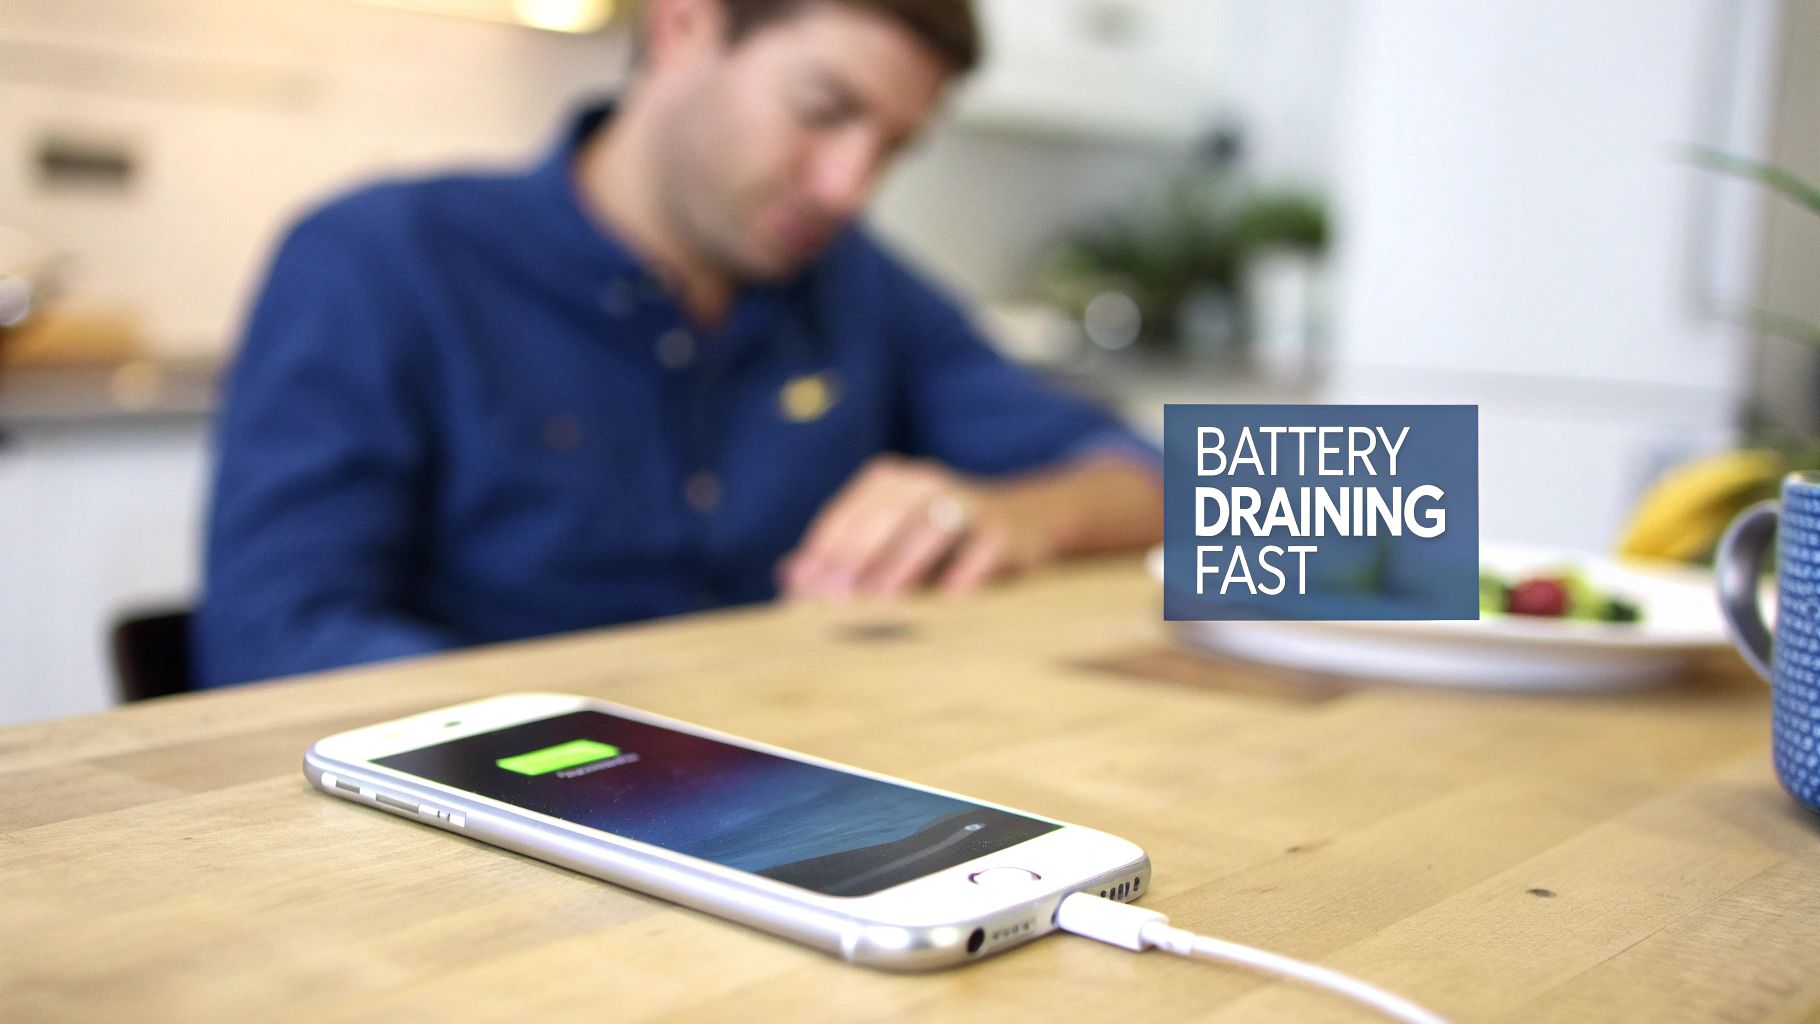
Alt text: An iPhone showing a red battery icon, with text overlay reading 'BATTERY DRAINING FAST'.
Caption: iPhone 13 battery issues can often be solved with simple software tweaks.
Sometimes the symptoms can point you directly to the cause. We've put together this quick table to help you identify what might be going on with your device and where to look first in this guide.
Quick Diagnosis: Common iPhone Battery Drain Symptoms
| Symptom | Most Likely Cause | Recommended First Action |
|---|---|---|
| Sudden drops in percentage (e.g., 40% to 10%) | Degraded battery health | Check your battery's 'Maximum Capacity' percentage. |
| Drains quickly after an iOS update | Software re-indexing | Wait 24-48 hours. If it persists, check app usage. |
| Phone gets unusually warm while draining | A specific app running in the background | Investigate app usage under Settings > Battery. |
| Drains overnight even when not in use | Background app refresh or poor signal | Disable background refresh for non-essential apps. |
| Dies before reaching 1% | Battery calibration issue or severe degradation | Perform a hard reset and check battery health. |
This table is a great starting point, but let's dig a little deeper into how you can investigate these issues yourself.
Uncovering Software and App Issues
More often than not, the real culprit is an app or system process that’s gone a bit haywire. Thankfully, your iPhone is pretty good at snitching on whatever is chewing through its power. You just need to know where to look.
Head over to Settings > Battery. Here, you’ll find a detailed breakdown of which apps have been the biggest power hogs over the last 24 hours or the last 10 days. This is your main clue.
If a social media or streaming app is sitting at the top with a high percentage of "Background Activity," you’ve likely found your energy vampire. It’s also completely normal for your battery to drain a bit faster right after a major iOS update. Your iPhone is busy re-indexing files and optimising everything behind the scenes, a process that usually settles down after a day or two. If it doesn't, something else might be at play.
Key Takeaway: A software-related battery drain is often fixable. By identifying and managing power-hungry apps or giving your iPhone time to adjust after an update, you can often restore your battery life without needing a hardware repair.
Checking Your Battery's Physical Health
Software aside, you have to remember that your battery is a consumable part. It’s not designed to last forever. Every time you charge it, its ability to hold that charge degrades just a tiny bit. Over hundreds of cycles, this adds up.
Apple gives you a simple way to check its health.
You can find this vital stat under Settings > Battery > Battery Health & Charging. The number you’re looking for is “Maximum Capacity.” This percentage tells you how much charge your battery can hold compared to when it was brand new.
Here’s a rough guide to what it means:
- 100% to 90%: Your battery is in great shape. No worries here.
- 89% to 80%: You're probably starting to notice it doesn't last the full day like it used to.
- Below 80%: Apple officially considers the battery "significantly degraded." At this point, your iPhone might even start throttling its performance (making it run slower) to prevent unexpected shutdowns during demanding tasks.
If you’re seeing low battery health and you’re running into problems getting it to charge in the first place, check out our guide on what to do if your phone is not charging properly. It can help you figure out if the problem lies with the battery, the charging port, or something else entirely.
Mastering iPhone Settings to Stop Battery Drain
Flipping on Low Power Mode is a decent quick fix, but let's be honest—it’s like putting a bandage on a bigger problem. The real culprits are often the background settings that quietly sip away at your battery all day long. Getting a handle on these is the key to reclaiming hours of use and finally stopping that frustrating midday power dive.

Alt text: An iPhone on a desk with a banner that says 'ADJUST SETTINGS' to improve battery life.
More often than not, the features designed for our convenience—like apps fetching new data before you even open them—are the ones doing the most damage. Let’s get in there and dial these settings in for a real, noticeable improvement in your iPhone’s endurance.
Tame Background App Refresh
Background App Refresh is a classic battery hog. It lets apps check for new content and updates even when you’re not using them. While that's great for your messaging apps, it's a massive power drain for the dozens of others that simply don't need to be running 24/7.
Seriously, think about it. Does your favourite airline app or that document scanner really need to be active in the background? Probably not. Being selective here can make a huge impact.
- Head over to Settings > General > Background App Refresh.
- You could turn it off completely for maximum savings, but a more practical approach is to just go through the list and toggle it off for any app that isn't absolutely essential.
This single adjustment can dramatically cut down the background activity that's causing your iPhone battery to drain so quickly. It basically stops apps from waking up your phone without your permission.
Fine-Tune Location Services
Another major power consumer is Location Services. So many apps ask for access to your location, but very few actually need it around the clock. Giving an app "Always" access means your iPhone's GPS is working overtime, often for no good reason.
Jump into Settings > Privacy & Security > Location Services. Take a moment to scroll through that list and ask yourself if each app genuinely needs to know where you are.
A great rule of thumb is to set location access to "While Using the App" instead of "Always." For apps that have no business knowing your location—like a simple game or photo editor—just set it to "Never."
Optimise Your Display and Connectivity
Your iPhone's screen is one of its most power-hungry parts, but a few small tweaks here can make a surprising difference. First, make sure Auto-Brightness is enabled under Settings > Accessibility > Display & Text Size. Next, shorten your Auto-Lock time to 30 seconds or 1 minute under Settings > Display & Brightness to stop the screen from staying on unnecessarily.
For those of us here in Australia, connectivity settings are also a big one. In many cities and regional areas, 5G coverage from networks like Telstra and Optus can still be a bit patchy. When your iPhone is constantly hunting for a spotty 5G signal, it burns through a significant amount of battery.
Switching your mobile data settings can give you a massive boost.
- Go to Settings > Mobile.
- Tap on Mobile Data Options > Voice & Data.
- Change the setting from 5G Auto to 4G/LTE.
You’ll find the 4G network is more than fast enough for everyday tasks, and your battery will definitely thank you for the stability. These small changes really do add up. For more advanced tips, especially for newer models, our guide on improving iPhone 14 Pro battery life goes into even more detail. Beyond system-level tweaks, remember that how you manage specific apps matters too; for instance, properly optimizing your VoIP app usage on iPhone can prevent unnecessary power drain from communication tools.
How iOS Updates Can Tank Your Battery Life
It’s a story I hear all the time. You install the latest iOS update, excited for all the new bells and whistles, only to watch your battery percentage nosedive. If you've ever found yourself thinking, "My iPhone battery is draining like crazy ever since I updated," trust me, you're not alone. This sudden battery drain is frustrating, but it’s usually temporary and part of a completely normal, albeit power-hungry, process.
Think of a major iOS update like reorganising a massive library from top to bottom. Once the initial install is done, your iPhone gets incredibly busy behind the scenes. It has to re-index every single file for Spotlight search, scan your entire photo library to recognise faces and objects, and recalibrate a heap of system settings. All this heavy lifting chews through processing power, which in turn, drains your battery much faster than usual.
This post-update battery drain is a well-documented thing. Major updates often trigger a wave of complaints from users who notice a sudden dip in performance. A classic example happened after a significant iOS rollout, which led to a whopping 251% spike in online searches for battery issues among Australian iPhone users.
Experts confirmed this is exactly what you'd expect to see. The device's systems are working overtime, often guzzling 20-30% more power for the first 24-48 hours. You can read more about how users react to post-update battery drain and what it really means for your phone.
What to Do After an iOS Update
Look, patience is the main thing here, but you can definitely help your iPhone settle in a bit faster. After you’ve updated, run through this simple checklist to minimise the impact and get back to normal battery life.
- Keep It Charged and on Wi-Fi: For the first night or two after an update, just leave your iPhone plugged in and connected to a stable Wi-Fi network. This gives it all the power it needs to finish its background tasks without you stressing about the battery dying.
- Give It a Day or Two: Most of this intense background activity sorts itself out within 24 to 48 hours. Try to resist the urge to dive into the settings and start changing everything. Just use your phone normally and let it do its thing.
- A Good Old-Fashioned Restart: Sometimes, a simple restart is all it takes. It can clear out any minor software glitches that might have popped up during the update process, giving the system a clean slate.
When an Update Exposes a Bigger Problem
While the post-update drain is usually temporary, every now and then a major software update can be the final straw for an already aging battery. If your battery's health was already hovering just above that 80% mark, the extra strain from the update process might just be enough to push it over the edge.
If your battery life hasn't bounced back to normal after a couple of days, it's a strong sign that the update has simply highlighted a pre-existing hardware issue. In this case, the rapid drain isn't really the update's fault—it's just a very clear indicator that it's time to check your battery's health.
Checking Your Battery Health and When to Replace It
While software glitches and settings can definitely hammer your iPhone's battery, more often than not, the real culprit is the physical health of the battery itself. Think of it as a consumable part—like the tyres on a car—it just wears out over time. Understanding its current condition is the first, and most important, step to getting your phone back to lasting all day.
Let's dig into the health report your iPhone generates for you.
You’ll find everything you need by heading over to Settings > Battery > Battery Health & Charging. This screen gives you two critical pieces of information that tell the complete story of your battery's life so far.
What "Maximum Capacity" Really Means
The number you want to pay attention to here is Maximum Capacity. This percentage shows you how much charge your battery can hold compared to when it was fresh out of the box. A new iPhone will sit at a healthy 100%, but with every single charge cycle, that number slowly ticks downward.
Apple’s official line is that any battery with less than 80% Maximum Capacity is considered worn out. At this stage, you're not imagining things—it genuinely won't last as long, and you might find it gets a bit unreliable, especially when you're pushing it hard with apps or games.
Understanding "Peak Performance Capability"
Right below that capacity percentage, you’ll find a message about Peak Performance Capability. If your battery is in good nick, it will simply say it’s supporting normal peak performance. Easy.
However, once the battery starts to degrade, this message changes. You might see a warning that your iPhone shut down unexpectedly because the battery couldn't supply the power needed for a demanding task. When that happens, iOS cleverly steps in and applies performance management (which many people call "throttling," or slowing down the phone) to stop it from happening again. This is the classic "my old iPhone feels so slow" problem—it's the phone protecting itself from a failing battery.
A Tip From The Trenches: Honestly, for most people who use their phone a lot, the real pain point isn't 80%. In our Brisbane repair shops, we see customers coming in frustrated with battery life once the capacity dips to around the 85% mark. If you wait until it hits 80%, you've probably already put up with a sluggish, frustrating phone for months.
The Australian Climate Is a Battery Killer
Here in Australia, our climate really does a number on iPhone batteries. The intense heat we get in summer, particularly in the big cities, speeds up the chemical ageing process inside the lithium-ion cells. The result? They lose capacity much faster than they would in cooler parts of the world.
For Aussie iPhone users, this means the battery's health can drop by an extra 25-30% each year compared to phones used in more temperate climates. This can push a heavy user’s device down to that critical 80% threshold in as little as 18-24 months. Data from local repairs shows a huge number of iPhones we service have battery health below 85%, which is exactly when people start noticing that rapid drain. If you want to get into the nitty-gritty, you can discover more insights about iPhone battery life in Australia.
This accelerated wear and tear means you'll likely need a new battery sooner than you'd expect. If your capacity is hovering in the low 80s and you can't make it through the day, a fresh battery will feel like a brand-new phone.
Your Guide to a DIY iPhone Battery Replacement
For anyone who's a bit hands-on, replacing your own iPhone battery can be incredibly satisfying. It’s a great way to save some money and bring a device you use every single day back to life. A phone with a battery that drains way too quickly is a pain, but turning that frustration into a successful weekend project feels fantastic. This guide is your starting point, covering all the essentials to get the job done right.
But let's be clear: a battery swap isn't just about pulling one part out and popping another one in. You've got to do it safely and correctly. We'll go over the specific tools you'll need, why sourcing a high-quality battery is so important, and the safety steps that are absolutely non-negotiable.
Assembling Your Toolkit
The first rule of any successful repair is having the right tools. Trying to make do with the wrong screwdriver is a surefire way to strip screws or damage your phone, turning a straightforward job into a complete nightmare. You really do need a proper toolkit.
Most decent DIY kits will give you everything you need, including:
- Pentalobe Screwdriver: This is for those two tiny screws you see on either side of the charging port. Nothing else will work.
- Tri-Point Screwdriver: Essential for various internal screws on newer iPhone models.
- Suction Cup and Pry Tools: These are used to carefully lift the screen away from the phone's frame without cracking it.
- Spudger: A non-conductive tool that’s perfect for gently disconnecting those delicate ribbon cables, especially the battery connector.
- Adhesive Strips: You'll need fresh, pre-cut strips to secure the new battery and properly seal the screen when you're done.
Using these specific tools makes the whole process smoother and massively reduces the risk of accidentally frying something important inside your phone.
Key Steps and Safety Precautions
While the exact layout changes between iPhone models, the general process is pretty similar. It all starts with opening the device, which is usually the most nerve-wracking part of the whole operation.
Once you're inside, the most critical safety step is to disconnect the old battery connector before you touch anything else. This simple action prevents short circuits that could instantly kill the logic board.
After it's disconnected, you'll tackle the old adhesive strips holding the battery in place—sometimes they come out clean, other times they put up a fight. With the old battery out, you'll position the new one, apply fresh adhesive, reconnect everything in reverse order, and carefully seal the phone back up. For a more detailed walkthrough, our comprehensive guide shows you how to replace an iPhone battery with clear, step-by-step visuals.
This flowchart breaks down the decision-making process, from checking your battery's health to figuring out your next move.
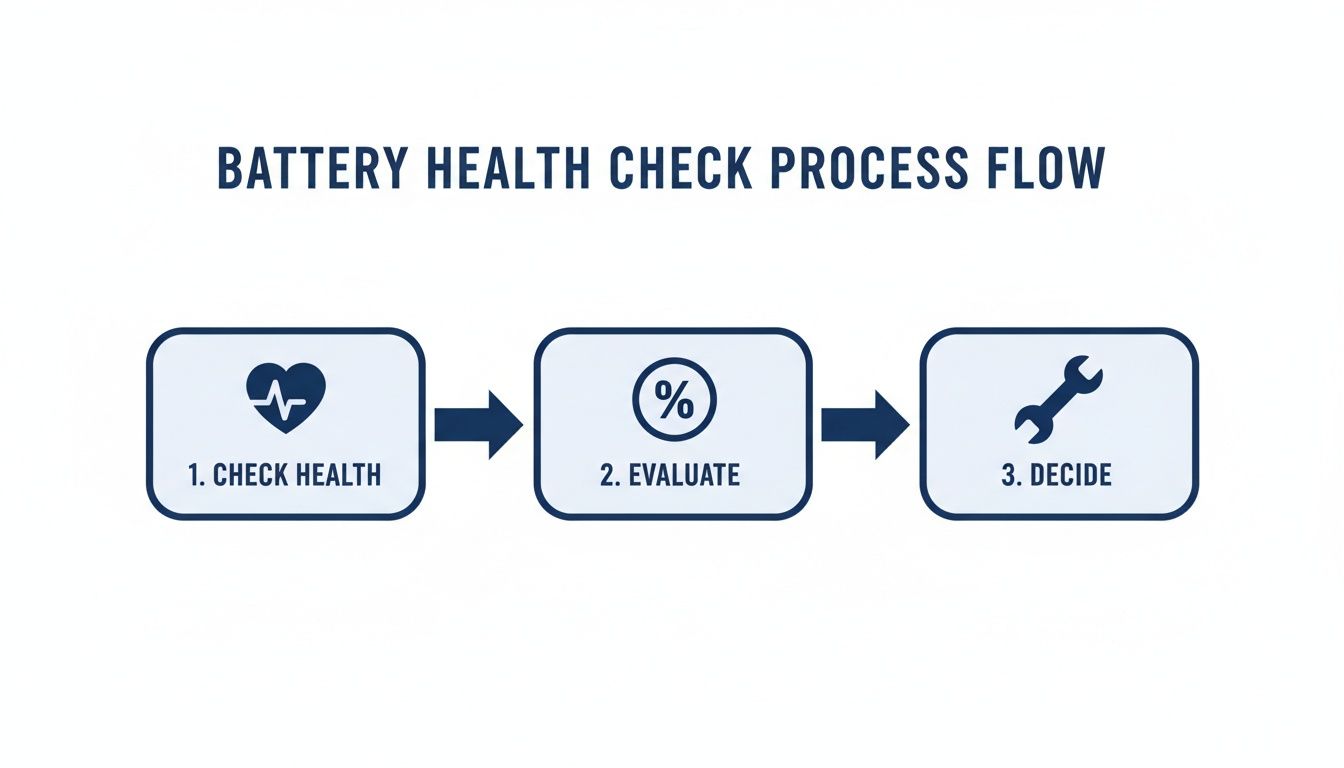
Alt text: A three-step flowchart showing how to check iPhone battery health, evaluate the results, and decide on the next action.
As you can see, it all comes down to evaluating that maximum capacity percentage. That number is what tells you whether a DIY replacement is the right call.
Crucial Safety Tip: Whatever you do, never puncture a lithium-ion battery. A punctured battery can release dangerous chemicals and even catch fire. Work slowly, use the correct non-metallic pry tools, and handle the old battery with genuine care. If you feel any serious resistance when trying to remove it, stop. Take a moment to reassess before you apply more force. Your safety comes first.
When To Trust a Professional for Your iPhone Repair
While a DIY battery replacement is a great option for many, it’s not always the right path. Sometimes, an iPhone battery draining quickly isn’t just a tired battery—it can point to a much more complex issue under the hood. Knowing when to put the tools down and call in a pro is key to avoiding more damage and a whole lot of frustration.
Let's be honest, confidence is the biggest factor here. If the idea of prying open your phone and handling tiny, delicate components makes you nervous, it’s always safer to trust an expert. One simple slip can turn a straightforward battery swap into a seriously expensive logic board repair.
Signs You Need an Expert Technician
There are a few clear giveaways that your battery problem is beyond a simple DIY fix.
If you’ve already gone through the trouble of replacing the battery yourself but the rapid drain continues, that’s a major red flag. This often points to a deeper fault on the logic board, where a specific microchip responsible for power management might be failing. Fixing that requires specialised micro-soldering skills and diagnostic gear that only professional technicians have.
You also need to consider any other damage to your device. If your battery woes are paired with a cracked screen, a dodgy charging port, or signs of water damage, it’s far more efficient and safer to have a professional tackle all the repairs at once. They can properly assess the full extent of the damage and ensure every component is working perfectly before sealing the device back up.
A professional repair isn’t just about swapping a part; it’s about proper diagnostics. A good technician will find the root cause of the problem, making sure you don’t waste money on a new battery when the real issue is something else entirely.
Finding Reliable iPhone Repairs in Brisbane
When you decide to go the professional route, picking the right repair service is critical. You need a technician who not only has the expertise but also uses high-quality parts. Trust me, using cheap, low-grade batteries will only land you back in the same spot with poor performance in just a few months.
For reliable iPhone Repairs Brisbane, look for shops that are transparent about the parts they use and offer a solid warranty on their work. Experienced technicians can perform a battery replacement quickly and safely—often in under an hour—giving you a dependable, long-lasting solution that gets your phone’s performance back to its best.
Whether you’re tackling the repair yourself or seeking expert help, Screen Fixed is here to support you with high-quality parts and professional service. Book your repair with Screen Fixed Brisbane today and get your iPhone running like new again.
Disclaimer: All third-party trademarks, such as Apple and iPhone, are the property of their respective owners. Screen Fixed is not affiliated with, sponsored by, or endorsed by these companies.