
Is your iPhone battery draining faster than it used to? A dying battery doesn't just mean your phone runs out of juice quickly; it can trigger a whole host of performance issues that are easy to mistake for something else. If your phone feels sluggish or shuts down unexpectedly, a worn-out battery is often the culprit. Knowing what to look for is the first real step in deciding whether it's time for a replacement.
The most obvious sign, of course, is a battery that can't hold a charge. You might leave home with 100%, barely use your phone, and still be scrambling for a charger by lunchtime. This is a classic symptom of chemical ageing in lithium-ion batteries.
But the problems can be more subtle and seriously frustrating.
- Unexpected Shutdowns: Your iPhone might just die on you, even when it says there's 30% or 40% charge left. This is notorious for happening in the cold, as a weak battery can't supply the stable voltage needed to function in lower temperatures.
- Sluggish Performance: Ever feel like opening apps, scrolling through websites, or even typing is happening in slow motion? An old battery struggles to provide enough power for demanding tasks, forcing iOS to slow down the processor to prevent a sudden shutdown. It's a built-in safety feature, but it makes your phone feel ancient.
- Apps Crashing: If your apps are constantly freezing or closing for no reason, it could be the battery failing to deliver consistent power when the app needs it most.
Checking Your Battery Health in iOS
Thankfully, Apple provides a built-in tool to get a clear picture of your battery's health. It's the best way to get a definitive answer without any guesswork.
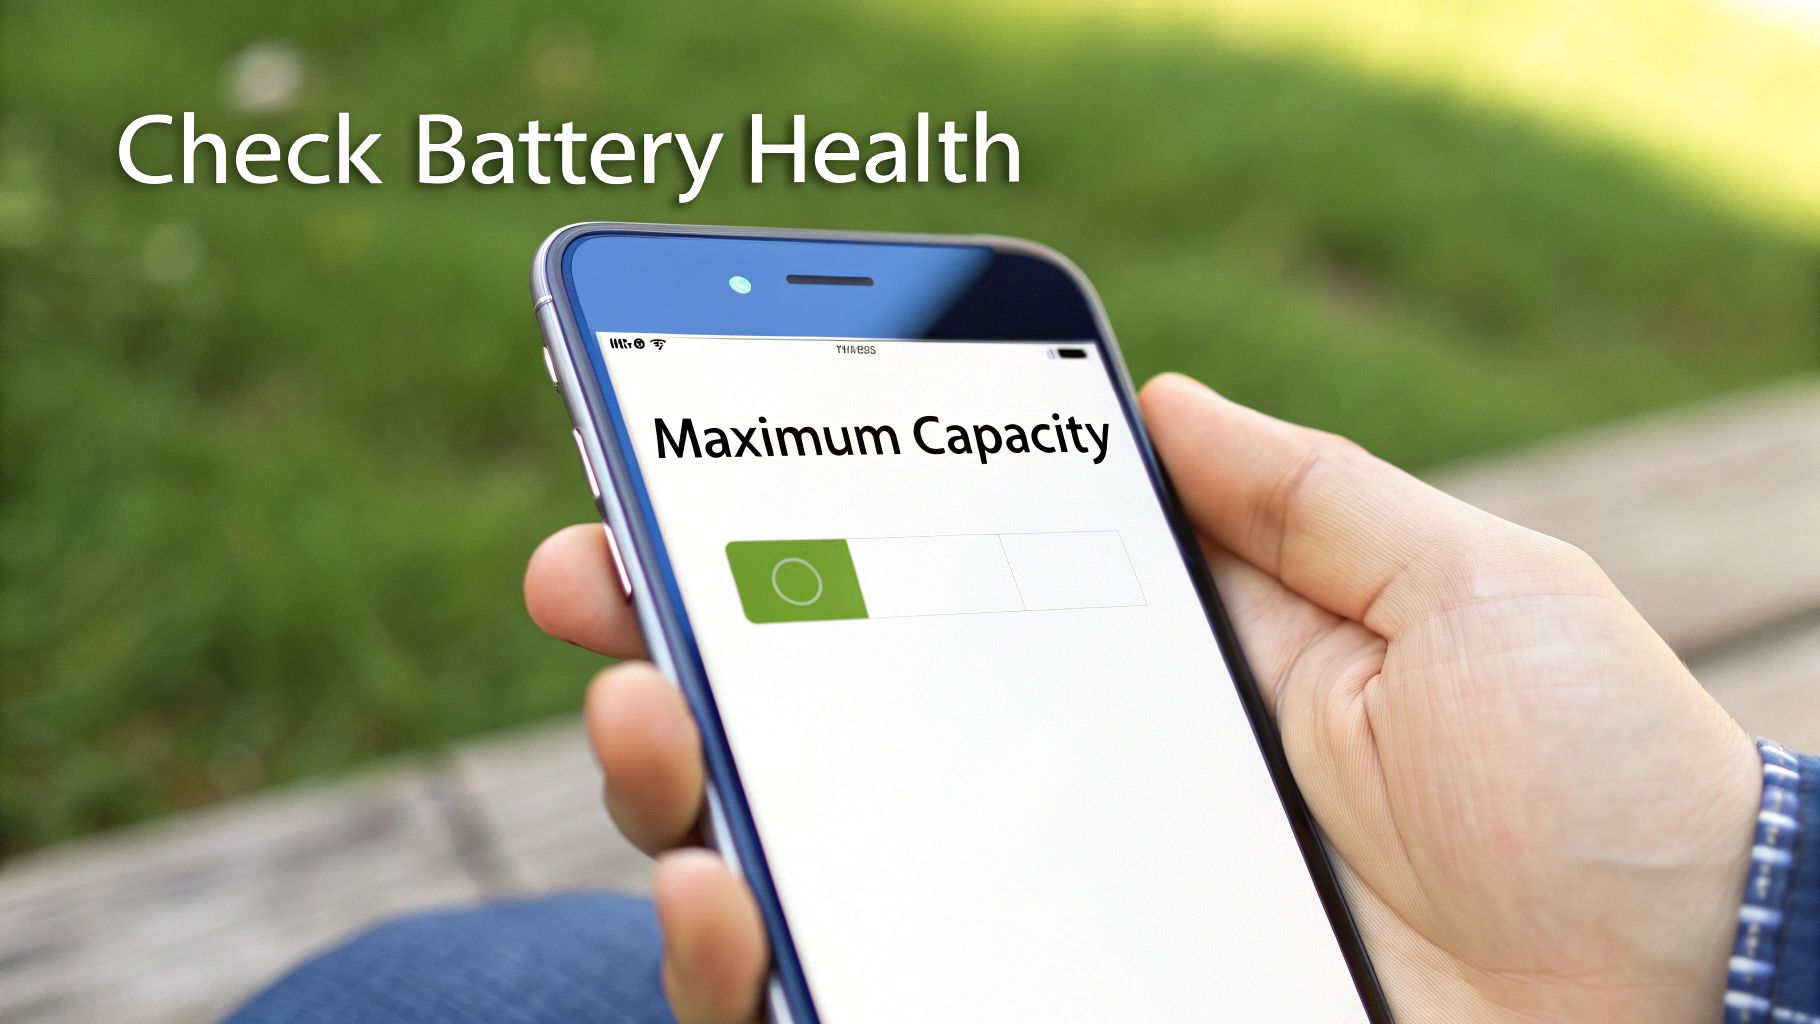
Just head over to Settings > Battery > Battery Health & Charging. You'll find two critical pieces of information here:
- Maximum Capacity: This percentage shows your battery's capacity compared to when it was new. A brand-new iPhone will be at 100%. Over time, this number naturally drops. Once it dips below 80%, you’ll really start to notice performance problems, and it’s generally the right time for a replacement.
- Peak Performance Capability: This little section tells you if the battery can still handle your phone's top performance needs. If it's degraded, you'll likely see a message saying that performance management has been applied to stop your phone from shutting down unexpectedly.
Apple designs its batteries to hold up to 80% of their original capacity after a set number of full charge cycles. For iPhone 14 models and older, that’s usually around 500 cycles. The iPhone 15 series got a nice upgrade, designed to maintain 80% capacity for up to 1,000 cycles under ideal conditions.
Making the Call
If your phone is showing the symptoms we've talked about and its maximum capacity is hovering around or below that 80% mark, a battery replacement is almost certainly the solution. It’s a surprisingly affordable way to breathe new life into your iPhone, potentially giving you another couple of years of use out of it.
By choosing to replace the battery yourself, you're also taking part in the wider Right to Repair movement, which champions our right to fix our own electronics and cut down on e-waste. But if cracking open your phone sounds a bit too daunting, getting professional help for iPhone repairs in Brisbane is a safe bet to ensure the job gets done right.
Getting Your Toolkit Ready for a Successful Repair
Trying to replace an iPhone battery without the right tools is a recipe for disaster. You might end up with something that works, but it's more likely you'll end up with a mess. Seriously, improvising with whatever you find in your tool drawer is a surefire way to strip a screw, crack your screen, or worse, damage something delicate inside the phone.
Think of this as prepping for a small, precise operation. You need a clean, well-lit space and a specific set of instruments, each with its own job. Rushing this stage or trying to cheap out on your toolkit is where most DIY repairs fail before they even start.
The Tools You Absolutely Cannot Do Without
While different iPhone models have their own little quirks, there’s a core set of tools that you'll need for almost any battery replacement. It might be tempting to grab a cheap, generic kit from a discount store, but low-quality tools can create much more expensive problems. Poorly made screwdrivers, for instance, are notorious for chewing up the tiny, soft screw heads inside an iPhone.
Let's run through what you'll need to have on hand.
H3: Essential Tools for iPhone Battery Replacement
Before you even think about opening up your iPhone, it’s crucial to make sure you have every tool you need lined up and ready to go. This isn't a job where you can pause halfway through to find a missing screwdriver. Here's a quick checklist of the must-have items that will make your battery replacement go smoothly.
| Tool Name | Primary Use | Where to Buy |
|---|---|---|
| Pentalobe P2 Screwdriver | Removing the two proprietary screws on either side of the charging port. | Included in most dedicated iPhone repair kits from specialist suppliers. |
| Phillips #000 Screwdriver | For most of the internal screws holding down brackets, shields, and connectors. | A standard in any good quality electronics repair kit. |
| Tri-Point Y000 Screwdriver | Securing brackets over display connectors and other components on iPhone 7 & newer. | Found in kits specifically designed for modern iPhones. |
| Plastic Prying Tools (Spudgers) | Safely disconnecting delicate ribbon cables and connectors without causing shorts. | Always included in battery replacement kits; never substitute with metal. |
| Suction Cup | To get a good grip and gently lift the screen away from the phone's frame. | A key component of any screen opening toolset. |
| Fine-Tipped Tweezers | Handling tiny screws and manoeuvring small components with precision. | Essential for any detailed electronics work. |
| iOpener or Heat Gun/Hairdryer | Gently softening the waterproof adhesive that seals the screen to the frame. | iOpeners are safer, but a hairdryer on low heat can work in a pinch. |
Having these specific tools isn’t just a recommendation; it’s a necessity. Each one is designed to handle a specific part of the disassembly and reassembly process without causing accidental damage.
A common mistake I see all the time is people underestimating how important specialised screwdrivers are. Those Pentalobe screws, in particular, are an Apple-specific design meant to stop people from casually tinkering. You can learn more about why the right Pentalobe screwdrivers are essential for iPhone repairs in our detailed guide.
H3: Set Up a Smart, Safe Workspace
Your environment is just as critical as your tools. Attempting this kind of repair on a messy desk or, even worse, your couch, is just asking for trouble. Those tiny screws, some smaller than a grain of rice, have a magical ability to disappear the second they're dropped.
To set yourself up for a stress-free repair, get your workspace sorted:
- Decent Lighting: You absolutely need a bright, direct light source, like a good desk lamp. You have to be able to see exactly what you're working with, from tiny connectors to minuscule screws.
- A Magnetic Screw Mat: This thing is a lifesaver, trust me. A magnetic mat lets you place screws in an organised way, stops them from rolling away, and helps you remember exactly where each one goes when it's time to put everything back together.
- ESD Safety: Static electricity is the silent killer of electronics. It's best to work on a wooden or plastic surface (avoid metal or carpet) and think about using an anti-static wrist strap to ground yourself. This prevents any accidental static discharge from frying the logic board.
H3: Don't Skimp on the Replacement Battery
Finally, let's talk about the battery itself. The market is absolutely flooded with cheap, low-grade counterfeit batteries that can be a real safety hazard. They often have completely false capacity claims, lack the proper safety circuits, and can end up swelling or even catching fire.
Always, always buy your replacement battery kit from a reputable Australian supplier. A good kit won't just include a high-quality battery, but also the pre-cut adhesive strips you need to secure it properly inside the phone. Look for suppliers who offer a solid warranty and have good reviews—it's the best way to ensure you're getting a part that's both safe and reliable.
Opening Your iPhone and Accessing the Battery
Okay, this is where the real work begins. We're about to open up your iPhone, a process that definitely calls for a steady hand and a bit of patience. Don't be put off, though. If you follow these steps methodically, you'll get inside without causing any damage. Think of it less as surgery and more like solving a well-built puzzle.
Before you even think about picking up a screwdriver, the absolute first thing you must do is completely power down your iPhone. Press and hold the side button and one of the volume buttons until the "slide to power off" slider appears, then do what it says. I can't stress this enough: never work on a device that's still on. It’s the quickest route to a short circuit, turning a simple battery swap into a nightmare logic board repair.
H3: Gently Softening the Adhesive Seal
Modern iPhones are sealed up tight with a strong, water-resistant adhesive that runs around the edge of the screen. To get past it, we need to soften that glue first. You can use a specialised tool like an iOpener (a gel pack you heat in the microwave) or just a regular hairdryer on a low setting.
Carefully apply gentle, even heat around the edges of the screen for about a minute. The aim here is to make the adhesive gooey and pliable, not to cook your phone's internals. Make sure you don't hold the heat in one spot for too long, as you risk damaging the display or even the battery itself.
Once the adhesive has softened a bit, it’s time to create a small opening. Stick a suction cup onto the screen near the bottom edge, but stay on the flat part. Pull up with firm, steady pressure to create a tiny gap between the screen assembly and the phone's frame.
This infographic breaks down the essential tools you'll need, from the right screwdrivers to the plastic prying tools that keep your phone's delicate parts safe.
Having the right tool for each job—screws, prying, and keeping things organised—is non-negotiable if you want this repair to be a success.
As soon as you see that tiny gap, slide a thin prying tool or a plastic pick into the opening. From there, you can gently work your way around the edges of the phone, slicing through the softened glue as you go.
Pro Tip: Whatever you do, don't jam your prying tool too deep inside the phone. The display cables run along the side (usually the right on older models, left on newer ones) and they are incredibly easy to tear. A deep pry can sever them in an instant.
H3: Disconnecting Power Is Your Top Priority
Once you’ve cut through the adhesive all the way around, don't just rip the screen off! It’s still attached by several very delicate ribbon cables. How you open it depends on the model:
- iPhone 7 and newer: These open from the side, like opening a book.
- Older models (iPhone 6s and earlier): These hinge at the top and open from the bottom.
Your first job once you're inside is always the same: disconnect the battery. This kills the power to the logic board and prevents any accidental shorts while you’re poking around. You'll find the battery connector hidden under a small metal bracket held down by a few tiny screws (often a mix of Phillips and Tri-Point heads).
Carefully remove those screws, making sure to keep them organised on your magnetic mat. Next, grab a plastic prying tool (a spudger is perfect for this) and gently pop the battery connector straight up and off its socket. Never use a metal tool for this step—you could easily cause a spark and fry the board.
With the battery unplugged, your iPhone is now safe to work on. You can move on to removing the other brackets and disconnecting the display and sensor cables. Go slowly, paying close attention to where each screw came from. Mixing them up during reassembly can cause serious, sometimes irreparable, damage.
H3: Taming the Infamous Battery Adhesive Strips
Welcome to what is often the most frustrating part of the whole job: removing the old battery. Apple uses incredibly strong, stretchy adhesive strips to hold its batteries in place. If you try to just pry the battery out, you'll almost certainly bend or puncture it, which is a serious fire hazard with lithium-ion batteries.
The right way to do this requires finesse, not brute force. Look for the small black tabs at the bottom edge of the battery. Your goal is to grab a tab with tweezers and pull it slowly and steadily, at a very low angle, away from the battery.
The trick is to maintain a slow, constant pull. The strip will stretch out to many times its original length, kind of like a 3M Command strip.
- Try your best to keep the strip from twisting or wrinkling as you pull it.
- If a strip snaps, you’ll have to resort to plan B: carefully slide a plastic card under the battery and add a few drops of isopropyl alcohol to dissolve the remaining adhesive. Gently pry it up from there.
Patience is everything here. Rushing this step is the number one reason DIY repairs go south. Once all the adhesive strips are out, the old battery should lift out easily, making way for the new one. If you find yourself really struggling, it might be a good time to call in a professional service for iPhone Repairs Brisbane before a small job turns into a big problem.
Installing the New Battery and Reassembling Your Device
Alright, you've got the old battery out – great job. You're on the home stretch now, but don't get ahead of yourself. Reassembly needs the same slow-and-steady approach you used to take the phone apart. It’s more than just doing everything in reverse; you need to be methodical to get a perfect, functional seal.

First things first, prep the battery bay. Get in there and make sure every last scrap of the old adhesive is gone. You need a completely clean surface for the new battery to sit flush and stay put.
H3: Applying New Adhesive and Seating the Battery
Your new battery kit should have come with some pre-cut adhesive strips. These are custom-made for your iPhone model and are absolutely essential for holding the new battery securely. Without them, it'll just rattle around inside the case.
Getting these strips on correctly is a crucial checkpoint. You’ll usually peel the backing off one side, carefully line up the strips inside the battery housing, and press them down firmly. Then you can peel off the top layer. For a more detailed look at this, our guide on using double-sided tape adhesive for phone repairs is a great resource.
With the adhesive ready, gently lower the new battery into place. Make sure the connector is pointing the right way, toward its socket on the logic board, but don't connect it just yet. Give the battery a gentle press to make sure it sticks firmly to the adhesive.
H3: Reconnecting Cables in the Right Order
The order you reconnect the internal cables in is incredibly important. If you mix this up, you could end up with a dead screen or, even worse, a damaged logic board. The golden rule here is simple: the battery is always last.
Here’s the right way to do it:
- Display and Digitiser Cables: Get the screen cables connected first. These connectors are tiny and delicate, so you need to align them perfectly over the sockets. Press down gently with the flat end of a spudger until you feel a soft click.
- Front Sensor Assembly Cable: Next up is the cable for the front-facing camera and earpiece speaker. Again, be gentle with this one.
- Replace the Brackets: With all the screen and sensor cables reconnected, it's time to put the metal brackets back on that hold them in place. Make sure you use the exact same screws you took out from each spot.
- Connect the Battery: And finally, connect the new battery. Line up the connector and press it down firmly with your spudger.
Following this specific order prevents any power from flowing through the logic board while you're working with the sensitive display connectors. It’s a simple precaution that prevents a world of potential problems.
H3: Sealing Up Your iPhone
With everything hooked back up, it's time to close up your device. Before you snap the screen on, take a second to apply the new water-resistant seal around the edge of the frame. Most decent DIY kits include one, and it’s a critical step to restore some of your iPhone's original protection against dust and moisture.
Carefully line up the top of the screen with the frame, then slowly work your way down each side. Apply gentle, even pressure until you hear it click securely into place. Whatever you do, avoid pressing hard in the centre of the screen—that’s a good way to cause bright spots or even crack the display.
To finish the job, reinstall the two Pentalobe screws at the bottom, on either side of the charging port. Don't go crazy tightening them; just snug is perfect. That's the physical reassembly complete.
Choosing to do an iPhone battery replacement yourself is a smart move, especially for us Aussies. Data shows Australians replace their phones every 22 months on average. Swapping a battery for around A$79-A$109 is a far better deal than forking out over A$1,000 for a new phone. If you've made it this far, you’ve just saved yourself some serious cash and given your device a new lease on life.
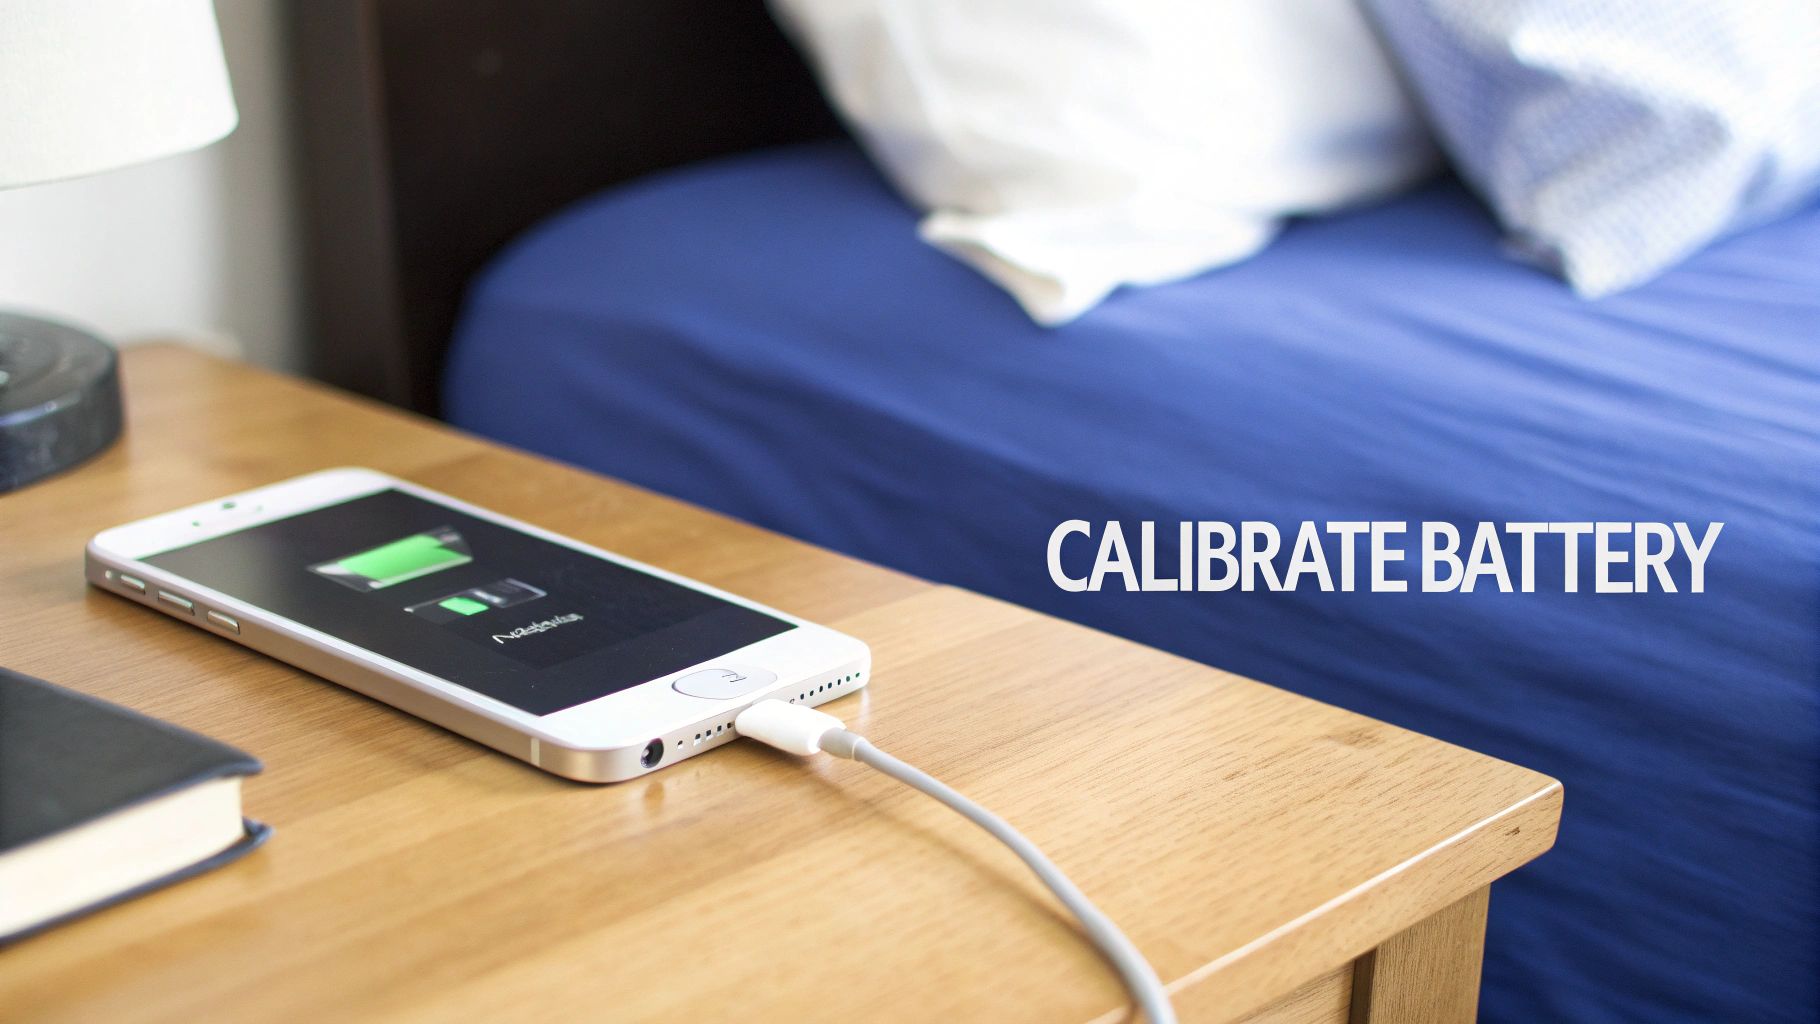
Calibrating Your New Battery for Peak Performance
Right, so the new battery is in and your iPhone has powered on. Job done? Not quite. What you do in these first few hours is critical for the long-term health and accuracy of your new battery. You need to calibrate it, which is really just a simple way of teaching iOS how to read the new power levels correctly.
Think of it as introducing your new battery to your phone's software. This straightforward but vital process syncs the battery's internal gauge with your iPhone's operating system. If you skip this, you’re setting yourself up for some frustrating issues down the track, like the battery percentage jumping all over the place or your phone dying unexpectedly even when it says it has 20% charge left.
H3: The Calibration Cycle
The process itself is easy and just requires a bit of patience. It’s all about a full charge-and-discharge cycle that sets the battery’s upper and lower limits in the software.
Here’s what you need to do:
- Run it down completely: Just use your iPhone normally until it runs out of juice and shuts itself off.
- Let it rest: Leave the phone turned off for at least three hours. This makes sure any tiny bit of residual charge is truly gone.
- Charge it up, uninterrupted: Plug your phone in and let it charge all the way to 100%. It’s really important that you don't use it while it's charging.
- Give it a little extra: Once it hits 100%, keep it on the charger for another two hours. This is called a trickle charge, and it ensures the battery is genuinely at its maximum capacity.
After you've done all that, a quick restart is all it takes. Your new battery is now properly calibrated. For a deeper dive into this, check out our detailed guide on how to calibrate an iPhone battery in a few easy steps.
H3: What About That Battery Warning Message?
If you've just replaced the battery on an iPhone XR or any newer model, you've probably noticed a "Service" warning or a "Non-Genuine Battery" message popping up in your settings. Don't panic—this is completely normal for a DIY repair.
This message appears because the new battery isn't electronically "paired" to your iPhone's logic board, a process that only Apple and its authorised service providers can perform. The main thing to remember is that this warning does not affect your phone's performance or the battery's health in any way. It’s just a notification. The battery will charge, hold power, and work perfectly. The only real downside is that it stops you from seeing the "Maximum Capacity" percentage in your settings.
Your phone will work exactly as it should, but you'll lose the convenience of the "Battery Health" screen. For most people, this is a small price to pay for a significant cost saving on the repair.
H3: Pro Tips for a Long Battery Lifespan
Now that you've put in the hard work, you'll want that new battery to last as long as possible. A few good habits can make a massive difference to its long-term health.
- Avoid Extreme Temperatures: Lithium-ion batteries absolutely hate extreme heat and cold. Never leave your phone cooking in a hot car or out in the freezing cold, as this can permanently slash its capacity.
- The 20-80% Rule: This is a big one. Try to keep your battery's charge level between 20% and 80%. Constantly charging it to 100% or letting it die completely puts unnecessary stress on the battery cells. Short, frequent top-ups are much healthier than one long overnight charge.
By following these simple guidelines, you can make sure the effort you put into your how to replace iPhone battery project pays off for years to come.
What to Do When Your DIY Repair Goes Wrong
Even with the steadiest hands and the best online guide, a DIY repair can sometimes hit a snag. That heart-sinking moment when your iPhone refuses to power on after you’ve put it all back together is a classic, but don't panic just yet. More often than not, the fix is simpler than you might think and doesn't mean you've bricked your device.
Before you assume the worst, take a deep breath and run through some basic diagnostics. The most common culprit behind post-repair problems isn't a broken component; it's usually just a connection that isn't seated quite right.
H3: Common Problems and Simple Fixes
A few issues tend to pop up all the time after a DIY battery swap. Luckily, most of them point back to the same couple of root causes.
- The Phone Won't Turn On: This is easily the most common and scary problem. Before you do anything else, plug it into a charger for at least 15 minutes. Your new battery might have shipped completely dead. If that doesn’t kick it into life, the issue is almost certainly a loose connector.
- An Unresponsive Screen: What if the phone seems to be on (you might hear sounds or feel vibrations) but the screen stays black? This is a dead giveaway that the display connectors have likely come slightly loose during the repair.
- Strange Lines on the Display: Seeing vertical or horizontal lines across your screen also points directly to a poorly seated display cable.
In almost all of these situations, the solution is to carefully reopen the phone, disconnect the battery first (always!), and then reseat every single connector you previously unplugged. Press each one down firmly until you feel a satisfying little click, making sure it's perfectly aligned.
A connector that looks right but isn't fully clicked into place is the number one reason for a failed DIY repair. It’s a simple mistake that can mimic a much more serious hardware failure, so always double-check your connections before closing the phone up.
H3: Knowing When to Call for Backup
Part of a successful repair is knowing your limits. If you've meticulously re-seated all the connectors, checked for any obvious damage, and your phone still isn't behaving, it's probably time to put the tools down. Continuing to poke around without professional experience can quickly turn a small, fixable issue into a very costly one.
This is where getting an expert to take a look makes all the difference. It's possible a tiny component was accidentally knocked off the board during the repair, or maybe an underlying issue was present that the battery swap just happened to reveal. If you feel like you're in over your head, seeking professional help for iPhone repairs in Brisbane is the smartest move you can make.
The history of iPhone batteries is complicated. Back in 2017, many Australians paid A$119 for a new battery to fix performance problems, not realising Apple was intentionally throttling older phones. After a public apology, Apple offered an A$80 credit to affected customers and dropped the replacement price to just A$39 through 2018. As reported on itnews.com.au, the whole saga really highlighted the importance of clear communication and professional service.
Recognising you need a hand isn't a failure—it's just smart. If your DIY project has gone a bit sideways, our technicians at Screen Fixed Brisbane can properly diagnose the problem and get your device working perfectly again, giving you that much-needed peace of mind.
Disclaimer: iPhone and Apple are trademarks of Apple Inc., registered in the U.S. and other countries. Screen Fixed is an independent repair service and is not affiliated with Apple Inc.
Whether you need a repair fixed or just want an expert to handle the job from the start, Screen Fixed is here to help. Book your repair with Screen Fixed Brisbane today.