
Meta Title: How to Fix iPhone Back Glass: A Complete Guide | Screen Fixed Meta Description: Cracked your iPhone back glass? Our guide walks you through DIY repair options vs. professional fixes to save you time and money. Learn more today.
That spiderweb crack on the back of your iPhone isn't just an eyesore; it's a ticking clock on a much bigger, more expensive problem. Deciding to fix your iPhone's back glass is less about looks and more about protecting the delicate, pricey tech packed inside from dust, moisture, and even more damage. Let's walk through what you need to know.
Why a Cracked Back Glass Is More Than Just a Cosmetic Issue
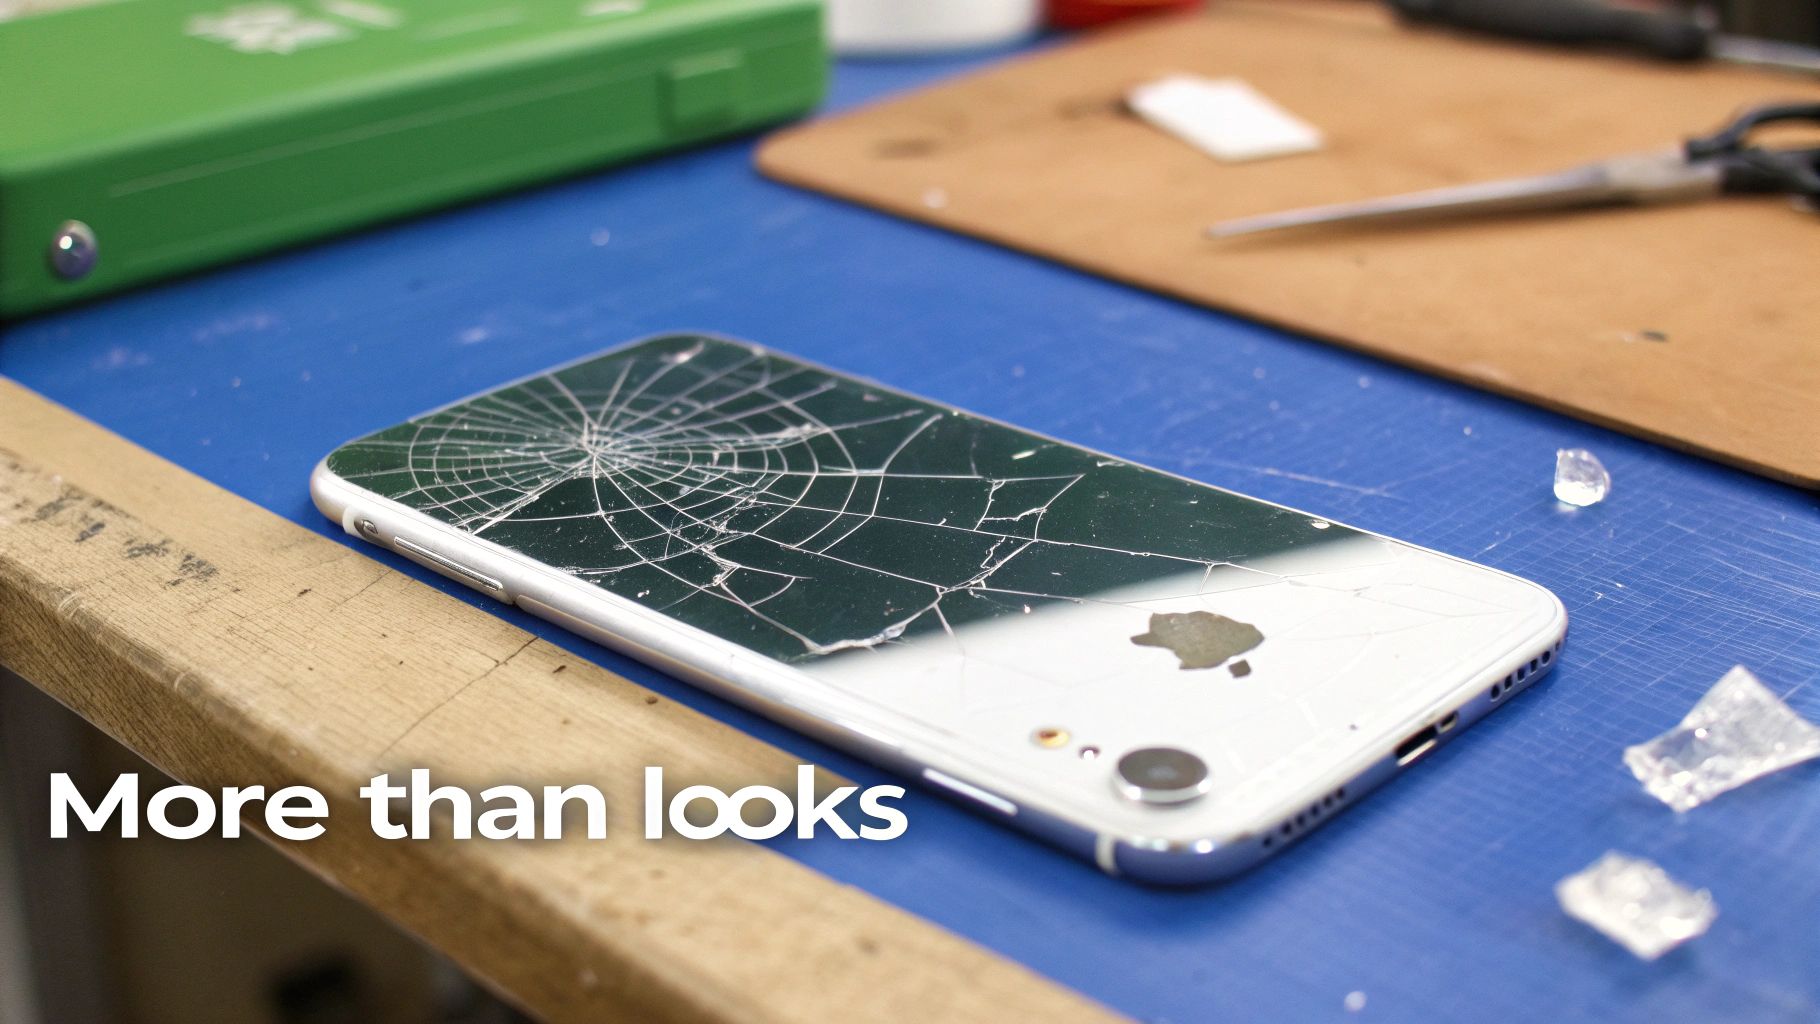 iPhone back glass shattered, showing the need for a timely repair.
It’s a story we hear all the time from iPhone owners in Brisbane and right across Australia. One clumsy moment, a slip from your hand onto the pavement, and that slick glass back is now a mosaic of fractures. It's tempting to just slap a case on it and pretend it never happened, but that broken panel is a serious liability.
The glass on modern iPhones isn't just there to look good. It's a key part of the phone's structural integrity and functionality. When it breaks, you're looking at a lot more than a simple cosmetic flaw.
The Hidden Dangers of a Broken Back
A compromised back panel is like leaving your front door wide open. It exposes all the sensitive internal components of your iPhone to the elements. Dust, dirt, and especially moisture can now sneak their way inside, leading to failures far more serious than the crack itself.
Even a tiny bit of liquid getting through those cracks can cause short circuits, corrode the logic board, or damage the battery and the all-important wireless charging coil. Those internal repairs are significantly more complex and expensive than swapping out the back glass.
Beyond the risk from the elements, a shattered back actually weakens the phone's entire frame. That glass provides rigidity. Without it, the device is far more likely to bend or suffer even greater damage if you drop it again. This loss of structural integrity puts extra stress on the display and all the internal connections.
Your Two Paths to a Solution
When you decide it's time to fix your iPhone's back glass, you've basically got two options: take it to a professional or tackle the repair yourself. For many, a professional repair offers peace of mind, but it definitely comes with a higher price tag.
The DIY path, while it requires patience and a steady hand, can be a really rewarding and cost-effective alternative. With the right tools and guidance, you can get your iPhone looking brand new again without ever leaving the house. This guide is designed to be your go-to companion through that process, giving you clear, actionable steps to get the job done right. It's a project that demands care, but the satisfaction of a successful repair is hard to beat.
Understanding the Scope of the Problem
Cracked back glass has become an incredibly common issue. This is mostly because modern phone design has shifted towards that premium feel and wireless charging capability, which requires a non-metallic back. In fact, iPhone back glass damage is one of the most frequent repairs we see in the Australian mobile repair industry.
Typically, professional repairs can cost anywhere from $169 to $229, depending on the model and who you go to. These figures really highlight why a DIY solution is so appealing. You can dive deeper into a detailed breakdown of common iPhone repairs to see how things stack up.
Ultimately, dealing with a broken back panel promptly is the smart move. It not only prevents more expensive damage down the road but also gets rid of the simple safety hazard of handling a phone covered in sharp glass shards. Whether you opt for a pro service for your iPhone repairs in Brisbane or decide to roll up your sleeves and do it yourself, taking action is the most important step.
Choosing Your Repair Strategy and Essential Toolkit
Before you even think about picking up a tool, the first real step in fixing your iPhone's back glass is making a big decision. You've got two main paths you can take: the delicate 'glass-only' replacement or the more direct 'full housing' swap. Each route has its own set of challenges and benefits, and your choice here will define the entire repair job ahead of you.
This isn't just a small detail; it's the difference between a painstaking, time-intensive operation and a larger, but often simpler, component exchange. Making the right call for your skill level and patience is absolutely critical for a successful repair.
Glass Only Repair vs Full Housing Replacement
The 'glass-only' repair is exactly what it sounds like. You'll be methodically chipping away the shattered glass from the phone's original frame and then bonding a new glass panel in its place. This approach is definitely cheaper on parts, but it demands a serious amount of time and patience. Apple uses an incredibly tough epoxy, so separating thousands of tiny glass shards from it without frying the wireless charging coil underneath is a true test of a steady hand.
On the flip side, a 'full housing' replacement means swapping out the entire back assembly of the phone. This includes the metal frame, the pre-installed back glass, and often the smaller bits and pieces like buttons and flex cables. While the part itself costs more, the repair is generally much faster and less prone to costly mistakes since you get to skip the whole process of chipping away old glass.
If you're still leaning towards the glass-only method, you can get a better sense of what's involved in our detailed guide to replacing iPhone back glass. It takes a much deeper dive into the specific techniques needed for this precise task.
For most first-time DIYers, we almost always suggest the full housing replacement. The higher part cost is a smart trade-off for a much lower risk of damaging the phone and a far less frustrating afternoon. It’s the closest you can get to a factory-fresh finish from your own workbench. To make the decision easier, let's break down how these two approaches stack up against each other.
Back Glass Only vs Full Housing Replacement
This table gives you a practical look at the two repair methods, helping you pick the one that best fits your budget, time, and comfort level with delicate repairs.
| Consideration | Back Glass Only Repair | Full Housing Replacement |
|---|---|---|
| Difficulty Level | Very High - Requires extreme patience and precision. | Moderate - Involves more disassembly but less delicate work. |
| Time Required | 3-6 hours, depending on the model and shatter pattern. | 1-3 hours, as you are replacing larger components. |
| Cost of Parts | Low - You are only purchasing the back glass panel. | High - The entire housing assembly is more expensive. |
| Risk of Damage | High - Big risk of damaging the wireless coil or frame. | Low - Less risk of incidental damage during glass removal. |
| Final Finish | Good, but achieving a perfect factory seal can be tough. | Excellent - The new housing provides a factory-quality look and feel. |
Once you've weighed your options and feel confident in your choice, it’s time to move on to the next critical step.
Your Essential Repair Toolkit
After you’ve locked in your strategy, gathering the right tools is completely non-negotiable. Trying to fix iPhone back glass without the proper gear is just asking for trouble. It's like trying to cook a gourmet meal with nothing but a butter knife—it’s not going to end well.
You'll need a specific set of tools for heating, prying, and handling all the tiny components inside. Here’s a checklist of the absolute must-haves for this job:
- Heat Gun or iOpener: A reliable heat source is crucial for softening the powerful adhesive holding the glass to the frame. A heat gun gives you more precise control, but an iOpener is a safer, microwaveable option if you're worried about overheating things.
- Safety Glasses and Gloves: This is not optional. You’ll be dealing with tiny, razor-sharp shards of glass that can easily go flying. Protect your eyes and hands at all times.
- Metal Pry Tools and Spudgers: You'll need an assortment of thin, strong tools to carefully get under the glass and lift it away from the frame. A mix of metal and plastic spudgers is perfect for this.
- Precision Screwdriver Set: iPhones are full of small, proprietary screws. A quality kit with Pentalobe (P2), Phillips (#000), and Tri-point (Y000) bits is essential for any internal work.
- Isopropyl Alcohol and Cleaning Cloths: This is for the make-or-break step of cleaning every last bit of old adhesive off the frame. A clean surface is vital for making sure the new glass or housing bonds properly.
- Strong Adhesive or Pre-Cut Sheets: For a glass-only repair, you'll need a good quality glue like B-7000 or a pre-cut adhesive sticker made for your specific iPhone model to get a clean, solid seal.
- Clamps or Heavy Books: After applying the new glass, you need to apply consistent, even pressure for several hours to let the adhesive cure properly and form a strong bond.
Having this toolkit ready to go before you start makes the whole process smoother. The last thing you want is to have to pause your iPhone repairs in Brisbane midway through a delicate step to hunt down a tool you forgot.
A Practical Guide to Removing the Broken Glass
This is where your patience will truly be tested. Removing the shattered back glass is a slow, methodical process that separates a successful DIY repair from a disaster. Forget about quick fixes; this part of the job requires care and precision to avoid damaging the delicate components just beneath the surface.
Before you even think about applying heat, safety has to be your top priority. You'll be dealing with tiny, razor-sharp shards of glass, so wearing safety glasses and protective gloves is non-negotiable. It only takes one small piece of flying glass to cause a serious injury.
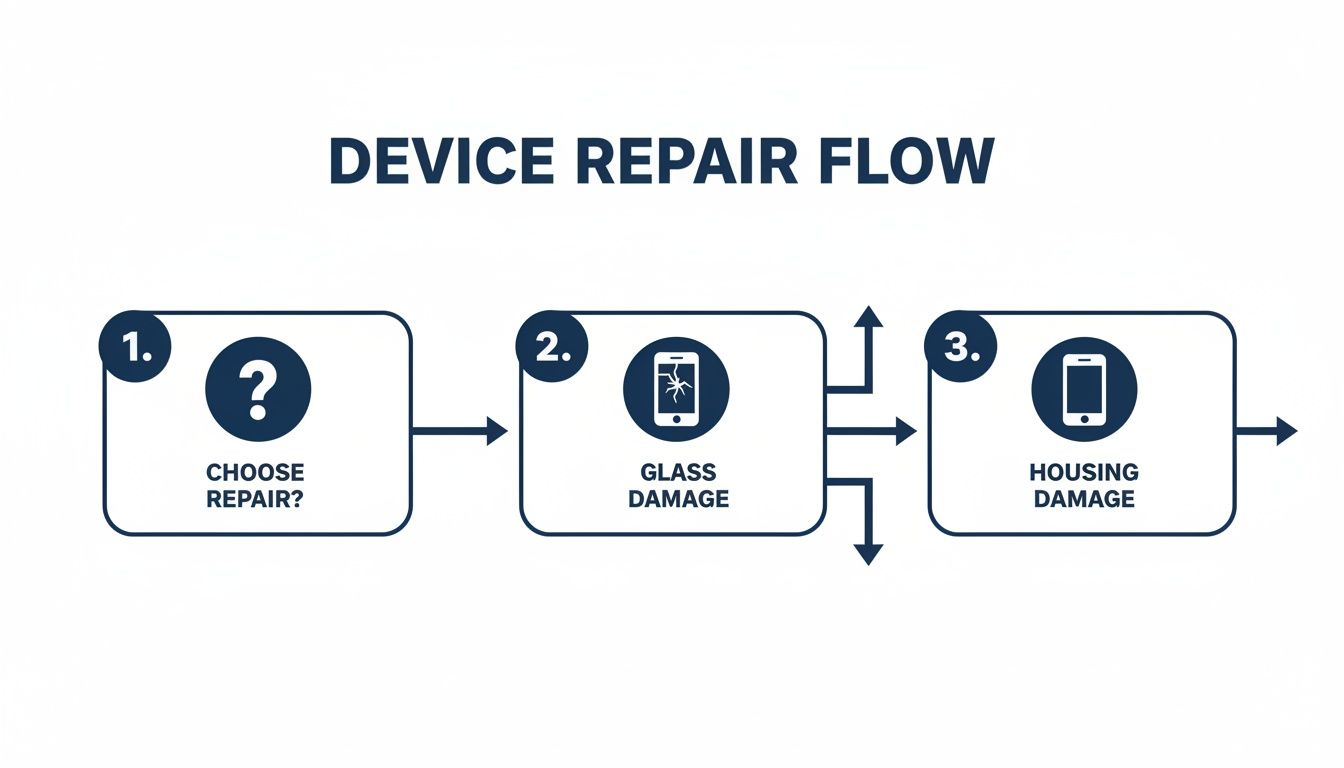 Deciding between a glass-only repair and a full housing replacement for an iPhone.
This decision-making flow helps visualise whether a glass-only or full housing replacement is the more suitable path for your repair. Ultimately, the infographic highlights that your choice depends heavily on your comfort with intricate, high-risk work versus a more straightforward component swap.
Mastering the Heat Application
The secret to getting the glass off is softening the powerful epoxy adhesive that Apple uses. This requires a reliable heat source, like a heat gun, applied correctly. The goal is to make the adhesive pliable without overheating and frying sensitive parts like the wireless charging coil, battery, or logic board.
Start by applying heat evenly around the outer edges of the iPhone. Keep the heat gun moving constantly in a sweeping motion, never letting it linger on one spot for more than a couple of seconds. A good rule of thumb is to heat the glass until it’s hot to the touch but not so hot that you can’t keep your finger on it for a second. This is generally the right temperature to start working the adhesive without causing harm.
Once the edges are heated, you can begin the slow process of prying.
The Art of Chipping Away the Shards
With the adhesive softened, grab a thin metal pry tool and carefully slide it under the edge of the glass. Your initial goal is just to create a small opening. From there, you'll work your way across the entire back, piece by piece. This is very much a chipping process, not a peeling one. You will be breaking off small chunks of glass and adhesive as you go.
- Work from the outside in: Start at the edges and slowly move toward the centre of the phone.
- Reapply heat as needed: The adhesive will cool down and harden quickly. You'll need to periodically reapply heat to the area you are working on to keep it soft.
- Be extra careful around the camera: The camera lens housing is a delicate area. Use smaller, more precise tools and gentle movements here to avoid scratching the lenses.
- Listen for the right sounds: You’ll hear a light crackling or crunching sound as the glass separates from the adhesive. A loud cracking sound may mean you are applying too much force and risk damaging the frame.
This stage demands patience. Rushing will almost certainly lead to damaging the frame or, worse, the wireless charging coil that sits directly under the glass. A bent or scraped coil will prevent your iPhone from charging wirelessly, turning a cosmetic repair into a functional one.
The Professional Approach: Laser Precision
While the heat gun method is effective for a DIY project, it’s worth knowing how professional repair shops, like those offering expert iPhone repairs in Brisbane, handle this. Many top-tier shops now use specialised laser machines to fix iPhone back glass.
These machines use a high-powered laser to precisely burn away the adhesive layer through the glass, without damaging the frame or internal components. Once the laser has done its work, the shattered glass can be removed with much less effort and risk.
This technology is a major reason why professional repairs can be completed so much faster and with a consistently perfect finish. It eliminates most of the manual labour and guesswork involved in the heating and prying process, ensuring a clean and precise removal every time. For more information, you can find a technical breakdown on laser separation technology from a source like Semiconductor Today.
Understanding the cost landscape of these repairs is also important. The Australian iPhone repair market has significant price variations, with costs fluctuating depending on whether you opt for aftermarket parts or genuine components. You can learn more about how repair costs are structured by exploring these industry insights.
Prepping the Frame for a Flawless Installation
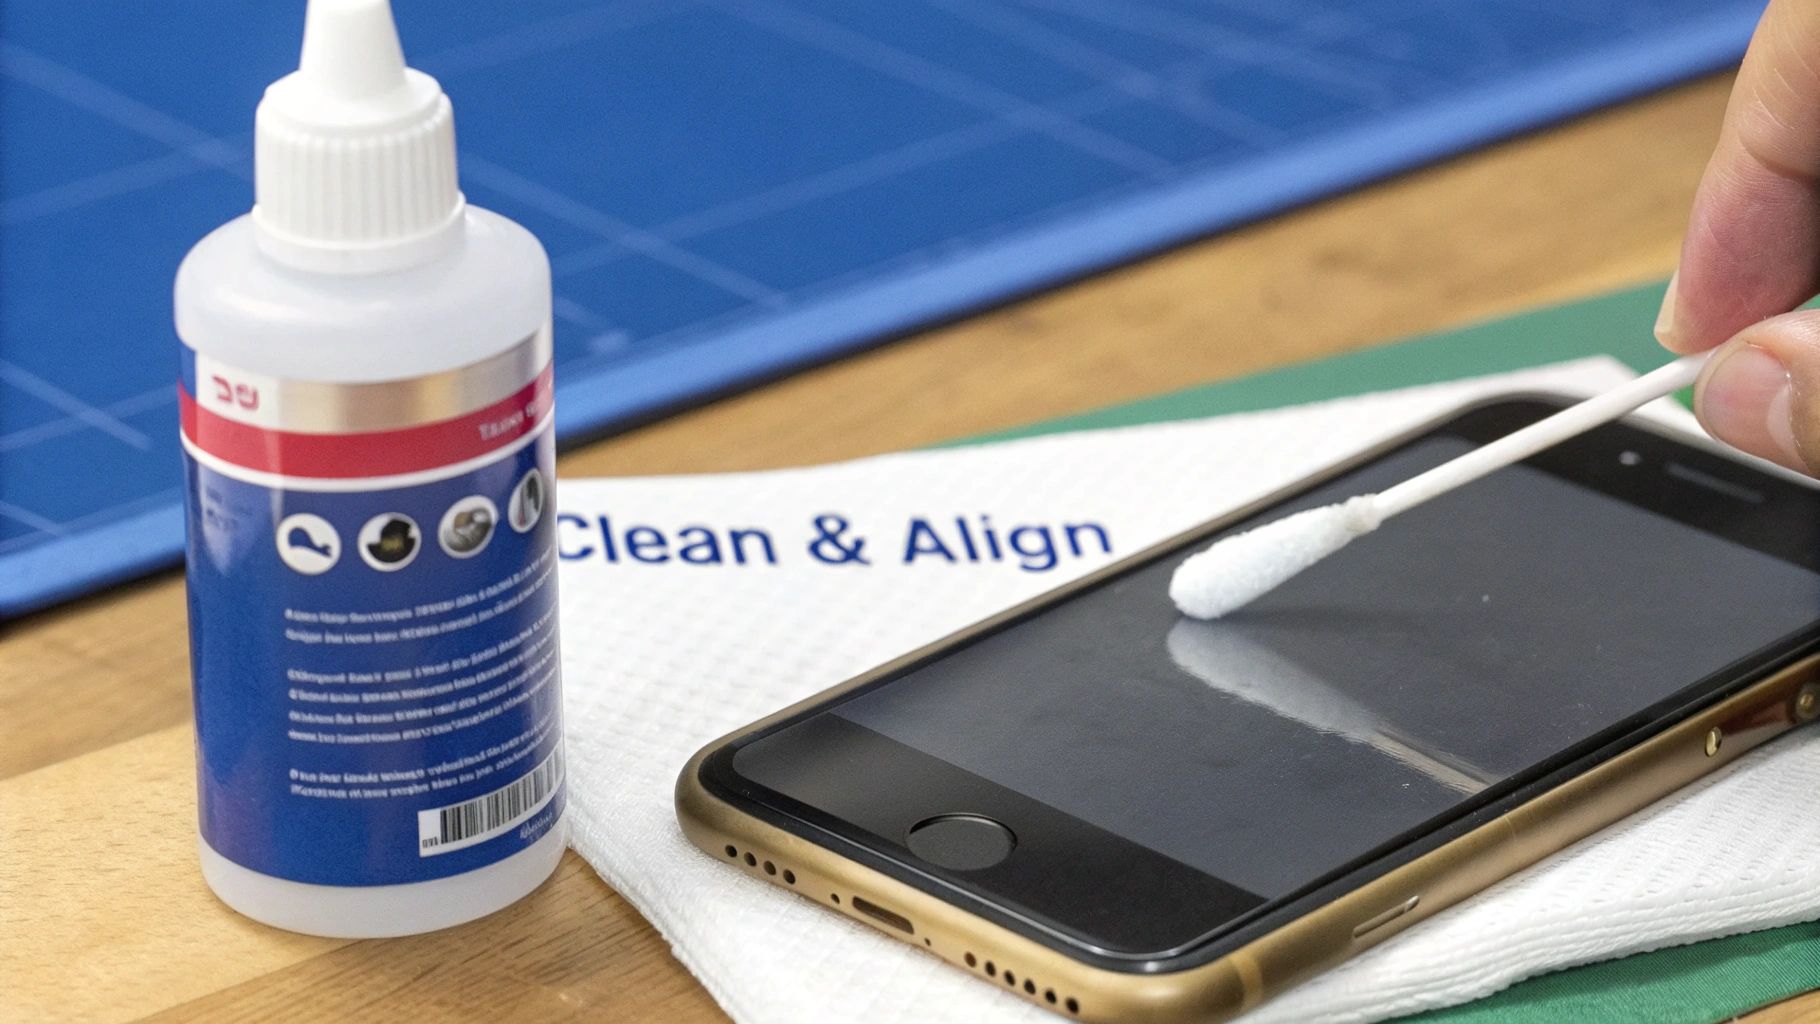 Cleaning an iPhone frame thoroughly before installing new back glass.
You’ve done the hard part and wrestled the shattered glass off the frame. Now comes what is arguably the most critical step for a repair that actually lasts. A perfectly prepped frame is completely non-negotiable. It’s the foundation for your new back glass, and any shortcuts here will absolutely come back to haunt you.
This stage is what separates an amateur job from a professional-quality finish. It's a bit like painting a wall; you wouldn't just slap a new coat of paint over dirt and expect it to look good or last. Every last speck of old adhesive and microscopic glass dust has to go.
Achieving a Pristine Surface
Your best friends for this job are patience and isopropyl alcohol (IPA). Grab a microfibre cloth, dampen it lightly with IPA, and start wiping down the entire surface where the old glass was. Your goal is to dissolve and lift every bit of that leftover adhesive.
For the really stubborn bits, a plastic spudger can work wonders to gently scrape away the gunk. Just be sure to avoid using metal tools directly on the frame, as it's easy to scratch the anodised finish.
- Focus on the corners: Old adhesive loves to hide in the tight corners of the frame. Dip a cotton swab in IPA to really get in there and clean them out.
- Check the camera bezel: This area is super important. Make sure it's completely free of any debris so the new glass can sit perfectly flush.
- Do a final inspection: When you think you're done, hold the frame up to a bright light and look at it from different angles. See any shiny spots? That's leftover adhesive, and you need to go back over it.
This part can feel tedious, but a clean surface means the new adhesive will form a powerful, even bond, which is vital for durability and getting that near-factory seal.
Choosing Your Adhesive Method
With the frame looking spotless, it’s time to decide how you’re going to attach the new glass. You’ve really got two main options here, each with its own pros and cons. The right choice often comes down to your confidence level and the type of finish you want.
The most common and user-friendly method is a pre-cut adhesive frame. These are basically thin, double-sided stickers perfectly shaped for your specific iPhone model. They take all the guesswork out of the application and guarantee an even layer of adhesive right where you need it.
Alternatively, you could use a liquid adhesive like B-7000 glue. This can give you a stronger bond, but it demands a very steady hand. If you apply too much, you'll have glue seeping out the sides, creating a mess that's a nightmare to clean up. For anyone tackling their first fix iPhone back glass repair, we always recommend using a pre-cut adhesive frame.
Applying the New Adhesive
If you've gone with a pre-cut adhesive frame, the process is straightforward. Carefully peel off one side of the protective film, align it precisely with the iPhone’s frame, and press it down firmly. Work your way around all the edges to ensure there are no trapped air bubbles.
Once it's on, take a spudger and rub along the entire adhesive strip to activate the pressure-sensitive bond. Crucially, leave the top protective layer on until the very last second before placing the new back glass. This keeps dust and fingerprints off the sticky surface. To get a better handle on these materials, check out our guide on the science behind the double-tape adhesive we use in phone repairs.
Opting for liquid glue? Apply a very thin, continuous bead around the entire perimeter of the frame. Be extremely careful here—a little goes a long way. Any excess will just get squeezed out when you press the new glass on. With that done, you're ready for the final step of installation.
Testing, Final Assembly, and Looking After Your Repair
You're on the home stretch, but this isn't the time to rush. The care you take putting everything back together and testing your work is what makes the difference between a good repair and a great one. Getting the components reconnected safely and running a full systems check gives you the peace of mind that the job is done right.
With the new glass sitting perfectly, the first thing to do is reconnect the battery. You must use plastic tools for this step to prevent any chance of a short circuit. Once the battery is back in, secure any other bits and pieces you disconnected, making sure every last screw goes back exactly where it came from.
The All-Important Systems Check
Before you seal the phone up for good, it's a smart move to do a quick power-on test. If the screen comes to life, you know you're on the right track. Now you can gently press the new back glass into its final position, applying smooth, even pressure around the edges.
Once it's sealed, it's time for a proper function test. Run through this checklist to be sure nothing was disturbed during the repair.
- Wireless Charging: Pop the phone on a Qi charging pad. It should connect immediately.
- Cameras: Open up the camera app. Test both the front and rear cameras, check the autofocus, and take a quick photo using the flash.
- Buttons: Click the volume up, volume down, and side buttons. They should feel responsive.
- Signal Strength: Check your Wi-Fi and mobile reception bars. Make a quick test call to check the microphone and earpiece are working properly.
Running through these checks methodically confirms your device is 100% functional and that nothing was accidentally knocked out of place.
Post-Repair Care for a Lasting Fix
Your freshly repaired iPhone needs a little time for everything to set properly. The adhesive requires time to fully cure and create the strongest possible bond. We strongly recommend clamping the phone or placing it under a stack of heavy books for at least 8-12 hours—overnight is ideal. This consistent pressure is key to achieving a tight, long-lasting seal. You can get a better understanding of the curing process in our deep dive into the properties of UV adhesive glue.
Remember, being patient during the curing stage is non-negotiable. Using your phone too soon or shoving it into a tight case can shift the glass before the bond is permanent.
Finally, invest in a quality protective case. It is hands down the best way to protect your newly restored iPhone from another accident. A good case with raised edges offers excellent shock absorption, protecting both the screen and your brand-new back glass.
Choosing to fix iPhone back glass yourself is a savvy economic move. Repairing a phone extends its lifespan by an average of 2-3 years, which is a massive win for reducing e-waste and saving you money compared to a new device.
Got Questions About Your iPhone Back Glass Repair?
Once you've gone through the whole process of fixing an iPhone back glass, it's totally normal to have a few questions. It's a tricky job, and it's smart to think about what happens after the repair is done. We get asked a lot of the same things by DIYers and even seasoned techs across Australia. Let's clear up some of that confusion.
Will My iPhone Still Be Water Resistant After the Repair?
This is the big one, and the honest answer is no. When you replace the back glass yourself, you almost certainly lose the original factory water-resistance seals.
While a good quality adhesive creates a solid barrier against dust and the odd splash, you can't consider the phone waterproof anymore. Even most professional repair shops outside of Apple's network will give you the same warning. To be safe, just keep it away from liquids after the repair.
Can I Still Use Wireless Charging After Replacing the Glass?
Yep, absolutely. As long as you were careful during the removal, your wireless charging will work just fine. The charging coil is a separate part that sits right under the glass; it's not actually part of the glass panel itself.
As long as you didn't puncture or scrape the coil while chipping away the old, shattered glass, it'll function exactly as it did before. All quality replacement back glass is made to be fully compatible with Qi wireless charging.
How Long Should I Let the New Adhesive Cure?
Patience is your best friend here. The exact curing time can change depending on the adhesive you're using, but a good rule of thumb is to clamp the device and leave it for a minimum of 4-6 hours.
But if you want the strongest possible bond that will actually last, our professional advice is to let it cure overnight. Giving it a solid 12 hours before you use the phone ensures that bond is rock-solid and won't start lifting later on.
Is a Laser Machine Really Better for Glass Removal?
For a professional repair shop that's doing several of these a day, like Screen Fixed Brisbane, a laser machine is an absolute game-changer. It automates the messy process of burning through that super-strong factory adhesive, making glass removal faster, safer, and way more precise.
For a one-off DIY job, though? It’s just not a practical investment. The heat gun method we've covered works perfectly well if you have the patience to do it right. But for any business that needs efficiency and perfect results every time, a laser machine has become an essential bit of kit. It drastically cuts down the risk of damaging the frame or internals.
Disclaimer: Apple and iPhone are trademarks of Apple Inc., registered in the U.S. and other countries. Screen Fixed is an independent repair service and is not affiliated with Apple Inc.
If a DIY repair seems too daunting, trust the experts at Screen Fixed. Our technicians in Brisbane and across Australia are equipped with the best tools and high-quality parts to get your iPhone looking and feeling new again. Don't let a cracked back compromise your phone's safety and performance.
Book your repair with Screen Fixed Brisbane today