
It happens in a flash. One second, your iPhone is in your hand; the next, it's on the floor, and that beautiful, sleek glass back is a spiderweb of cracks. When you need to replace an iPhone glass back, you've got two main choices: tackle a tricky DIY repair that demands special tools and a lot of patience, or opt for a fast, reliable professional service that guarantees it’ll look brand new again. This guide will walk you through both paths so you can make the best choice for your phone and your wallet.
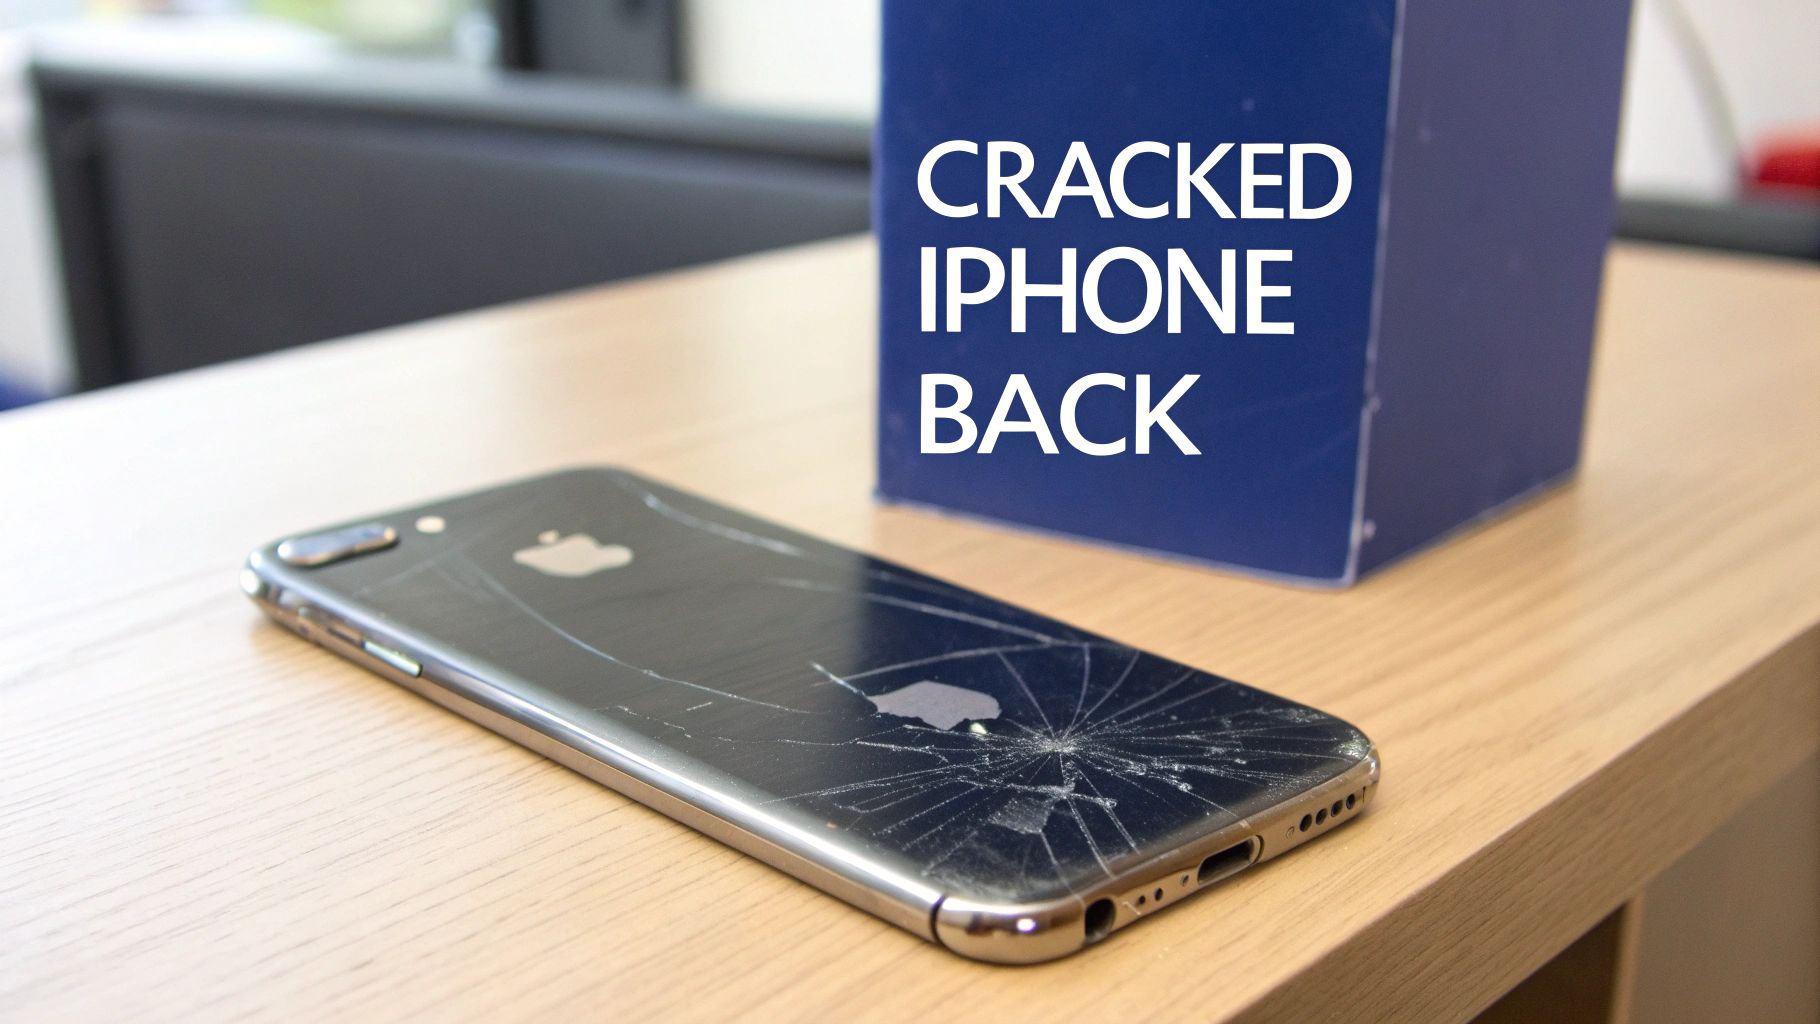
Alt text: A black iPhone with a shattered glass back lying on a wooden desk, next to a blue sign stating "CRACKED IPHONE BACK".
Caption: A common sight for many iPhone users in Brisbane after an accidental drop.
The Problem: Understanding the Damage
That sinking feeling you get when you see the damage is about more than just a cosmetic flaw. A cracked iPhone back is a serious problem, turning a premium piece of tech into a fragile liability and compromising your device in several ways. That smooth glass isn't just for looks; it's a vital part of the iPhone's design and function. Ignoring the damage might seem like the easy option, especially if the phone still works. But leaving it unfixed is just asking for much bigger, more expensive problems down the line.
The Hidden Risks of a Cracked iPhone Back
You can't just slap a case on a broken back panel and forget about it. The risks are very real and can easily lead to more costly repairs or, worst-case scenario, a completely dead phone. Here’s what you're up against:
- Loss of Water Resistance: Modern iPhones are built to handle splashes and quick dunks. The tiniest crack completely shatters that seal, leaving your phone vulnerable to permanent damage from rain, spills, or even just humidity.
- Compromised Structural Integrity: The back glass adds crucial rigidity to the iPhone's frame. Once it's fractured, the whole structure is weaker and more susceptible to bending or further damage from even minor impacts.
- Internal Component Exposure: Those cracks are open doors for dust, dirt, and moisture to get inside and mess with the sensitive electronics. This can lead to short circuits, camera failures, and even logic board damage.
- Wireless Charging and NFC Failure: The wireless charging coil and the NFC antenna (for Apple Pay) sit right under that glass. Sharp glass shards can easily sever their delicate connections, killing these essential features for good.
Your Two Paths to a Perfect Fix
When you decide it’s time to replace the iPhone glass back, you’re at a fork in the road. One path is the hands-on, do-it-yourself (DIY) approach. This route can be satisfying, but it's packed with technical hurdles and the very real risk of causing even more damage. The other path leads to a professional repair service. Technicians at a shop like Screen Fixed Brisbane have the specialised tools, high-quality parts, and hands-on experience to get the job done right—safely and quickly.
The Solution: DIY vs. Professional Repair
When your iPhone's back glass shatters, the first big question is always the same: should you try to fix it yourself or hand it over to a professional? It’s tempting to go the DIY route—let’s be honest, saving some cash always sounds good. But before you jump on that cheap online kit, it's worth taking a moment to weigh the true costs and risks. The path you choose can be the difference between a phone that looks factory-fresh and a costly mistake that leaves you with an even bigger headache.
The Real Price of a DIY Repair
On the surface, a DIY back glass replacement looks like a bargain. You can find kits online for under $50, which is a lot more appealing than a professional repair quote. The problem is, this initial price is deceptive and completely ignores the hidden costs and significant risks you're taking on.
The biggest danger is damaging other components. The wireless charging coil and NFC antenna are bonded directly beneath the glass, and it is incredibly easy to slice through their fragile flex cables while scraping off shattered pieces. One slip of a prying tool could also scratch the camera lenses or gouge the frame, instantly turning a cosmetic fix into a functional nightmare. If you damage one of those parts, the replacement cost will blow way past what you would have paid for a professional service in the first place.
Then there's the seal. Getting that factory-perfect, water-resistant seal with home tools is next to impossible. Professional shops use specialised laser machines that vaporise the incredibly strong adhesive without damaging the frame or internals. Without that gear, you're stuck with a heat gun and manual scraping—a process that’s not only tedious but also loaded with risk.
Why a Professional Service Offers Real Value
Choosing a professional service like Screen Fixed Brisbane isn't just about paying someone to do the job; it's an investment in peace of mind, quality, and your time. Technicians do this exact repair every single day. They have the experience and the right tools to handle the complexities of different iPhone models without breaking a sweat.
The game-changer is the use of industrial-grade laser machines. This technology allows for the precise removal of the old adhesive and broken glass without ever needing to open up the device or risk touching the sensitive parts inside. It’s safer, faster, and gives a finish that’s indistinguishable from the original. You can learn more about the efficiency of professional back glass replacement services and see how they stack up.
DIY vs Professional iPhone Back Glass Repair Comparison
| Factor | DIY Repair | Professional Service (e.g., Screen Fixed) |
|---|---|---|
| Initial Cost | Low (around $25-$50 for a kit) | Higher (varies by model, but typically $99-$299) |
| Total Time | Several hours, potentially longer for beginners | Usually 30-60 minutes |
| Risk of Damage | High risk of damaging components like the wireless charging coil, NFC, or camera lenses | Extremely low, as specialists use laser machines and have extensive experience |
| Required Tools | Heat gun, prying tools, adhesive—often low-quality tools included in kits | Industrial-grade laser machines, precision tools, and high-quality parts |
| Final Result | Often results in an imperfect seal, compromising water resistance and aesthetics | A factory-perfect finish with a restored water-resistant seal |
| Warranty | None. If you break something else, you’re on your own | Typically includes a warranty on both the part and the labour for peace of mind |
| Expertise Needed | Requires significant technical skill, patience, and a steady hand | None required from you—just hand over the device |
Ultimately, a DIY repair might save you a bit of money if everything goes perfectly, but the odds are stacked against a first-timer. A professional iPhone Repairs Brisbane service offers a guaranteed outcome, a warranty on the work, and the confidence that your expensive device is in safe hands.
Your DIY Guide to Replacing iPhone Back Glass
Deciding to tackle an iPhone back glass replacement yourself is a gutsy move. Your success comes down to having the right tools for the job. Grabbing a cheap, incomplete kit from a random online seller is usually the first step toward a much more expensive problem. This repair is all about precision and control.
The Essential Tools for the Job
Before you touch your phone, get your toolkit sorted. Having everything laid out and ready to go makes the process smoother and massively reduces the chance of a costly mistake. Here are the must-haves:
- A Quality Heat Gun: This is your most important tool. Apple uses an incredibly strong adhesive. A hairdryer won't cut it; you need a heat gun with adjustable temperature settings to soften the glue without frying the delicate parts inside.
- Safety Glasses and Gloves: This isn't optional. When that back glass shatters, it creates tiny shards that can easily fly into your eyes or get stuck in your skin. Safety first, always.
- Plastic Prying Tools (Spudgers): Using metal tools on the iPhone’s frame is a surefire way to scratch and gouge it. A good set of anti-static plastic prying tools and picks lets you get under the glass and lift it away without damaging the finish.
- A Fine-Tipped Metal Pry Tool: While plastic is key for the frame, you'll need a thin, tough metal tool to chip away at the really stubborn, shattered bits of glass. Be extremely careful with this one.
- High-Purity Isopropyl Alcohol (99%): To get a professional finish, every last speck of old adhesive has to go. Isopropyl alcohol is perfect for dissolving the leftover gunk without harming the electronics.
- B-7000 or T-7000 Adhesive: This is what the pros use. It's a flexible, waterproof glue that creates a super strong bond. It's worth learning about the different types of adhesives in phone repair, including how double-sided tape stacks up, to make the best choice.
The Step-by-Step Removal Process
Alright, you've got your tools laid out. Now for the hard part. To successfully replace the iPhone glass back, you're going to need patience and a methodical approach.
- Prepare and Apply Heat: Set your heat gun to a low-to-medium setting (around 80-100°C). Move the heat gun in constant circles around the edges of the iPhone, keeping it about 5-10 centimetres away. Don't hold it in one spot for too long.
- Painstakingly Remove Shattered Glass: This is where your safety glasses and gloves are non-negotiable. Using your plastic prying tools, find a fractured corner and gently slide a thin pick underneath. You'll almost certainly need to reheat the glass several times. Be prepared for the glass to come off in tiny, sharp shards.
- Clean Meticulously for a Perfect Seal: Once all the broken glass is gone, you're only halfway done. The single most common failure in a DIY back glass repair is a bad seal caused by leftover gunk. Grab your isopropyl alcohol and a lint-free cloth and scrub the frame until it is perfectly clean.
- Apply Adhesive and Seat the New Glass: With the frame pristine, run a thin, continuous bead of B-7000 adhesive along the inner edge. Gently lower the new panel onto the frame, starting from one end. Make sure it sits completely flush all the way around. Use clamps (with a soft cloth to prevent scratches) or a stack of heavy books to apply gentle, even pressure for several hours while the adhesive cures.
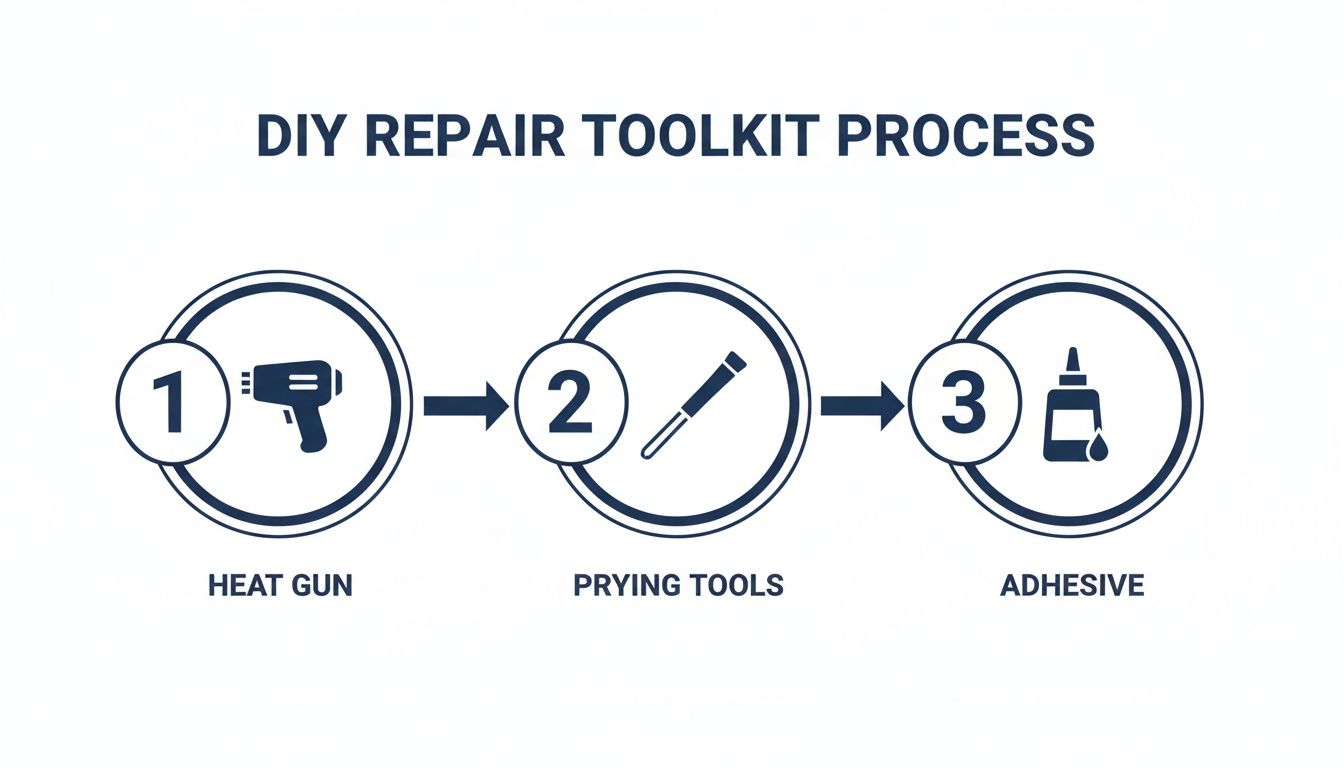
Alt text: A diagram illustrating a DIY repair toolkit process with three steps: heat gun, prying tools, and adhesive.
Caption: The three core stages of a DIY iPhone back glass replacement.
Common DIY Blunders (and How to Sidestep Them)
The margin for error is razor-thin. Knowing where others have gone wrong is the best way to get it right.
- Overheating: Applying too much heat is the biggest mistake. It can cause irreversible damage to the battery or screen. Keep the heat gun moving and work in short bursts.
- Slicing a Hidden Flex Cable: The wireless charging coil and NFC antenna are incredibly fragile. Avoid any deep prying in the centre of the phone.
- Leaving Old Gunk Behind: If you don't remove every single speck of the old adhesive, the new back glass will never sit flush, compromising its look and water resistance. If you're struggling, a professional service like iPhone Repairs Brisbane is the safer bet.
Conclusion: Why Professional Repair Is Often The Smarter Choice
After weighing the risks, the value of a professional becomes clear. Leaving it to the experts isn't just about convenience—it's about protecting your investment.

Alt text: A technician meticulously repairs a smartphone on a workbench, surrounded by specialized tools and equipment.
Caption: A Screen Fixed technician performing an iPhone 13 back glass replacement in Brisbane.
The biggest advantage is specialised equipment. Technicians at Screen Fixed Brisbane use industrial-grade laser machines that you can't replicate at home. This tech vaporises the tough factory adhesive with pinpoint accuracy, removing the shattered glass without ever having to open the device. You can read more about the cost-effectiveness of laser repair services to see just how much you can save compared to Apple's official, and often much more expensive, solutions.
A professional repair removes the guesswork. You get a flawless finish, restored water resistance, and a warranty that covers both the new part and the labour. That peace of mind is invaluable when dealing with a device that costs well over a thousand dollars.
Choosing a professional service isn’t admitting defeat; it’s making a smart, pragmatic choice to protect your phone. Don’t risk a costly mistake for the sake of a tricky DIY project.
Book your repair with Screen Fixed Brisbane today and let our experts restore your iPhone to its original glory, safely and swiftly.
Disclaimer: Screen Fixed is an independent repair service and is not affiliated with Apple Inc. iPhone and Apple are trademarks of Apple Inc.