
That sinking feeling when your Samsung tablet's screen stays black is all too familiar, but don't jump to the worst conclusion just yet. More often than not, the solution is surprisingly simple and doesn't involve a trip to the repair shop. This guide will walk you through the steps to diagnose and fix the issue, from basic checks to more advanced solutions, so you can get your tablet working again.
Before we start tinkering with anything complex, we need to go through the basics—the foundational checks that solve the vast majority of these power-on issues. This is about more than just plugging it in; it's a methodical process to rule out the simple stuff first.
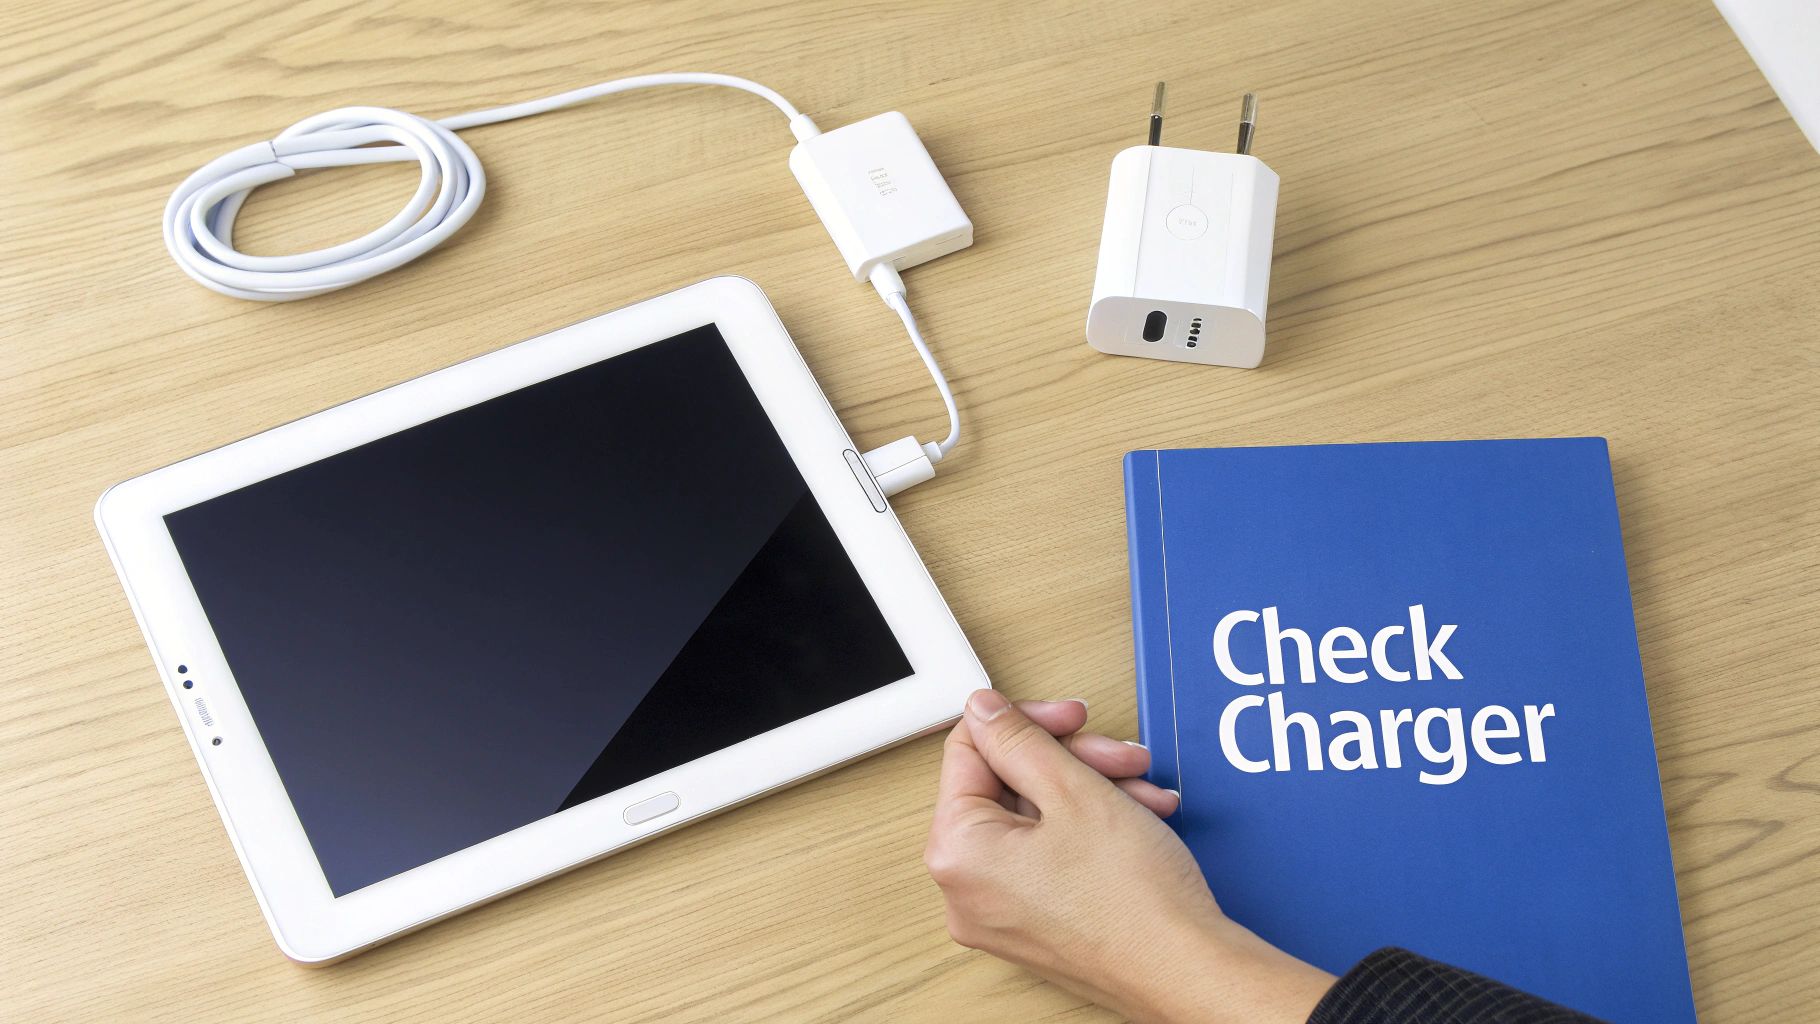
Check Your Charging Gear Thoroughly
Let's start with the most common culprits: the cable and the power adapter. A frayed USB-C cable or a dodgy adapter is frequently the source of the problem. Find another charging set that you know for a fact is working—maybe the one from your phone—and give that a try.
While you're at it, take a close look at the tablet's charging port. You'd be surprised how often a bit of pocket lint or dust can get wedged in there, preventing a solid connection. If you see any debris, gently clean it out with something non-metallic, like a wooden toothpick. A blocked port is an easy fix that's often overlooked.
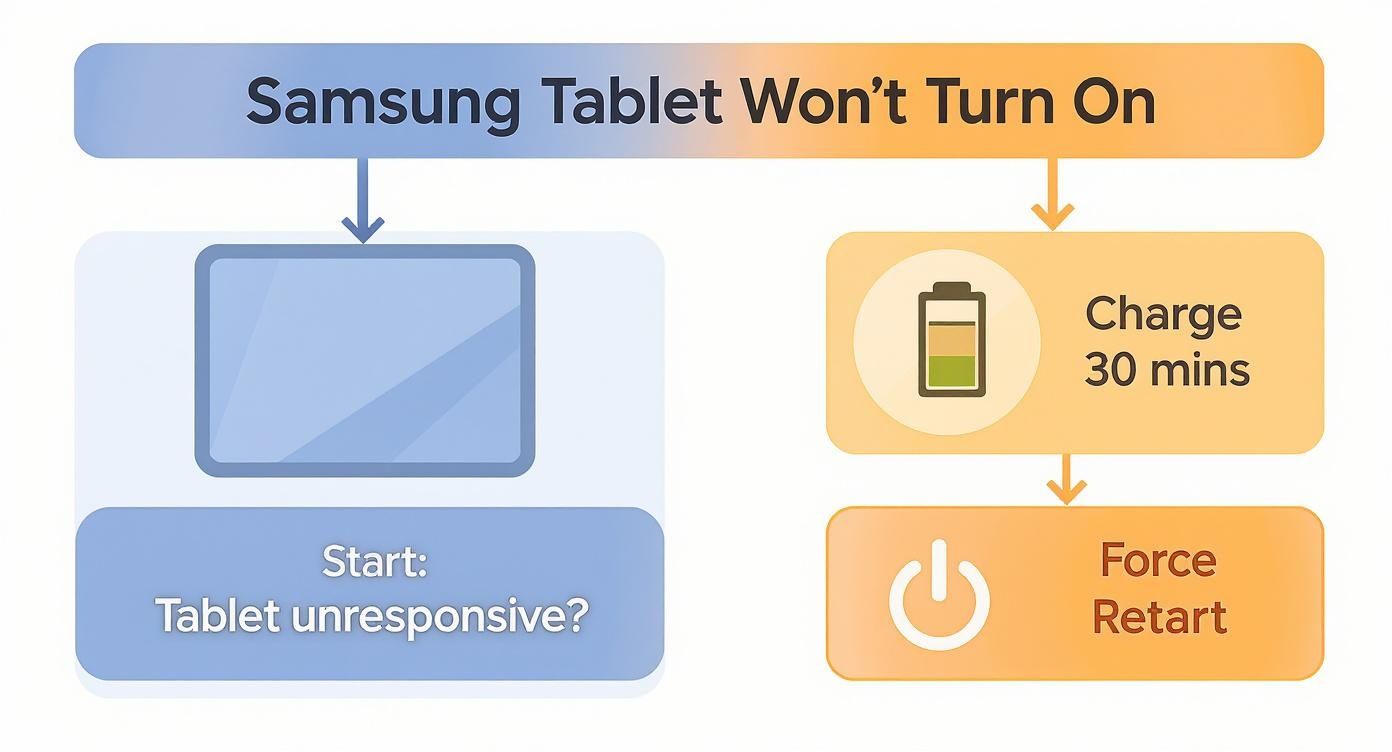
Key Takeaway: A dead tablet isn't always a broken tablet. A surprising number of "won't turn on" issues are simply due to a completely drained battery that needs a solid, uninterrupted charge from a reliable power source.
The Critical 30-Minute Charge Test
Once you've got a known-good cable and adapter, plug your tablet in and leave it alone for at least 30 minutes. Don't be tempted to check on it every five minutes. A completely flat battery needs a good chunk of time to build up enough juice just to show signs of life. Patience is your best friend here.
After half an hour, you should hopefully see a charging icon on the screen. If it's still a black void, don't unplug it. It's time to move on to the next step while it continues to draw power.
Perform a Force Restart
If a good charging session didn't wake it up, a force restart (also known as a soft reset) is the next logical move. This is a classic trick for unresponsive electronics and it won't delete any of your data. Think of it as a way to jolt a frozen operating system back into action.
Here's how to do it:
- Press and hold the Power button and the Volume Down button at the same time.
- Keep holding them for about 10–15 seconds.
- Don't let go until you feel a vibration or see the Samsung logo appear on the screen.
This simple key combination works wonders and is one of the most effective quick fixes for unresponsive devices like a Nintendo Switch or, in this case, your Samsung tablet.
In Australia, these kinds of power and battery issues are incredibly common. One survey revealed that for the 18% of Galaxy tablet owners who experienced a power-on failure, a staggering 55% of those cases were traced back to either a completely drained battery or faulty charging gear.
Tackling Software Glitches and System Errors
So, you've checked the charger, cable, and port, and the forced restart didn't coax your tablet back to life. What now? It's time to shift our focus from the physical hardware to the software running inside. Often, the culprit isn't a broken component but a glitch in the operating system, a misbehaving app update, or a corrupted system file preventing your Samsung Galaxy tablet from booting up properly.
These software snags can be maddening because there's nothing obvious to point to. But the upside is that Android has some powerful, built-in recovery tools designed for exactly these situations, and you don't need any special gear to use them.
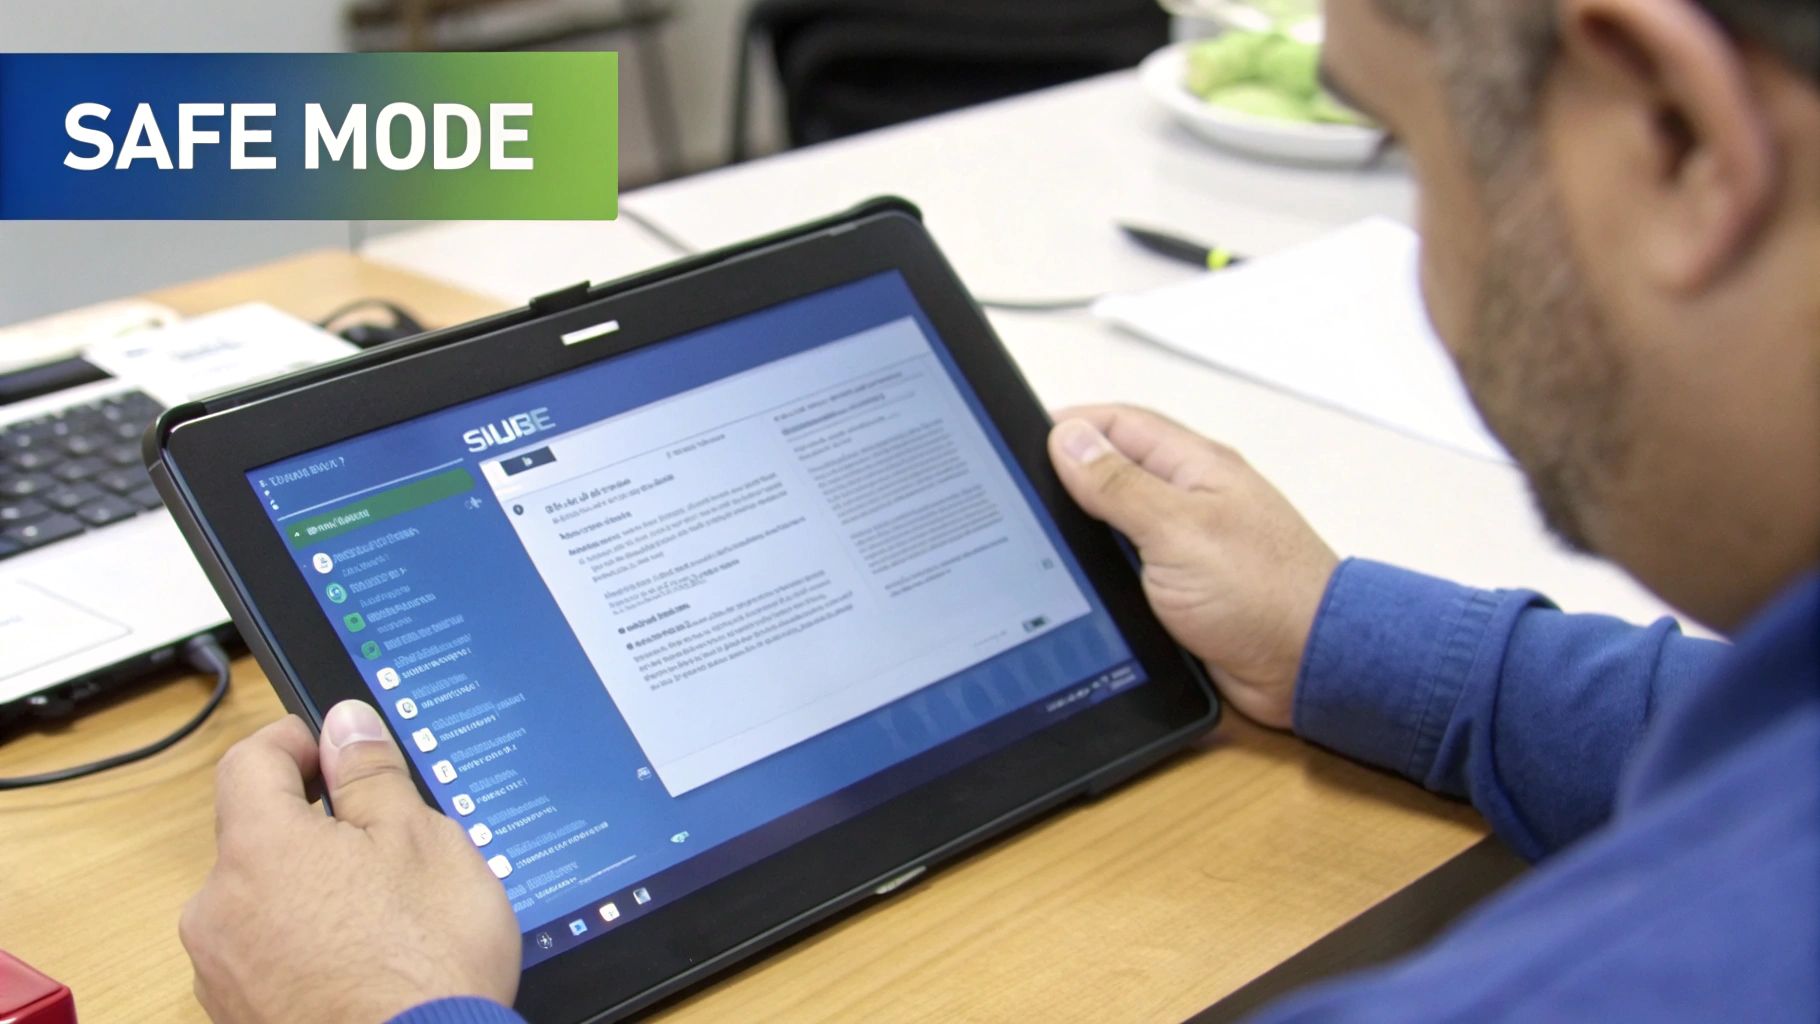
Booting into Safe Mode to Find the Troublemaker
Your first port of call in the software troubleshooting world should be Safe Mode. Think of it as a diagnostic startup for your tablet. It loads only the bare-bones operating system files and temporarily disables every third-party app you've installed. This is an incredibly effective way to isolate the problem.
If your tablet springs to life in Safe Mode, you have a massive clue: a recently installed or updated app is almost certainly the cause. From here, the fix is usually a process of elimination—start uninstalling your newest apps one by one, rebooting normally after each, until the issue vanishes.
Getting into Safe Mode on most Samsung Galaxy tablets is straightforward:
- Press and hold the Power button until you see the power-off option on the screen.
- Now, tap and hold your finger on the Power off icon.
- After a moment, it will transform into a Safe Mode icon. Tap it to confirm.
Your tablet will restart, and you should see the words "Safe Mode" tucked away in a corner of the screen.
Wiping the Cache Partition in Recovery Mode
What if Safe Mode doesn't help or your tablet won't even get that far? The next trick up our sleeve is to clear the system cache. Your tablet constantly stores temporary files (the cache) to help things load faster. Over time, these files can get corrupted and cause all sorts of headaches, including startup failures.
Don't worry, wiping the cache partition is a completely safe process. It will not delete any of your personal data, such as photos, apps, or contacts. It just clears out the temporary system junk, forcing the tablet to create fresh, clean files. To do this, you'll need to enter Recovery Mode.
The button combo can differ slightly between models, but this is the most common method:
- Make sure the tablet is completely off.
- Press and hold the Power button and the Volume Up button at the same time.
- Let go of both buttons as soon as you see the Samsung logo appear.
This brings up a simple, text-based menu. Use the Volume buttons to scroll down to Wipe cache partition and press the Power button to select it. Confirm your choice, wait for it to finish, and then select Reboot system now.
The Factory Reset: A Last Resort
If you've tried everything else and your Samsung tablet is still playing dead, the factory reset is your final software-based option. Be warned: this is the nuclear option. It will erase everything on your tablet—apps, photos, settings, the lot—and return it to its original factory state.
This action is irreversible. Only proceed if you have a backup of your important files or if you've accepted that the data is likely lost.
A factory reset is the ultimate fix for deep-seated software corruption that the other methods can't touch. You perform this from the same Recovery Mode menu you used to wipe the cache.
Data from Samsung Australia service centres shows that software is a major player in these situations. Around 30% of tablets that refuse to power on are victims of software crashes, often triggered by app updates. The good news? Roughly 60% of these devices are brought back from the brink using Safe Mode or Recovery Mode. You can discover more about these recovery insights and see how these tools help users dodge unnecessary repair bills.
If even a full factory reset fails to fix the problem, it’s almost a certainty that you're dealing with a hardware fault. At this point, it's time to start looking at physical components or get in touch with a professional service for Samsung tablet repairs.
Identifying Potential Hardware Failures
So, you've tried Safe Mode, you've attempted a factory reset, and your Samsung tablet is still playing dead. When the usual software fixes don't work, it's a pretty strong clue that the problem isn't in the code, but in the physical components. It’s time to shift gears from software troubleshooting to a bit of hardware detective work. Don’t stress—you don’t need an engineering degree for this part, just a methodical approach and a sharp eye for the signs of a component calling it quits.
Many people hear "hardware issue" and immediately think of a complicated, wallet-draining repair. But that's not always how it plays out. By taking a closer look at a few key areas, you can often pinpoint the exact culprit. This helps you figure out if it's something you can handle yourself or if it’s time to bring in the pros. Let's start with the most common point of failure: the battery.
Investigating the Battery and Charging Port
Think of the battery as the heart of your tablet. And just like any heart, it can get weaker over time. A dying battery rarely just stops working out of the blue; it usually gives you some pretty clear warning signs first. Knowing what to look for is key when your Samsung Galaxy tablet won't turn on.
Does your tablet only spring to life when it’s plugged in? And does it die the very instant you pull the plug? That’s a textbook sign of a battery that’s lost its ability to hold a charge. Another dead giveaway is a tablet that shuts down without warning, even when the battery meter was showing plenty of juice left just moments before.
While you're checking the power, give that charging port another, more careful look. We already talked about clearing out lint, but now you’re hunting for signs of actual physical damage.
- Bent Pins: Grab a torch and peer inside the port. Can you see any pins that look bent, broken, or out of place?
- Loose Fit: When you plug the charging cable in, does it feel wobbly or loose? A solid connection is non-negotiable for proper charging.
- Visible Damage: Check the plastic housing around the port itself for any cracks or chips.
A busted port can stop the battery from charging altogether, making you think the battery is shot when it's really just the connection point.
Checking the Power Button and Display
Next up on the diagnostic checklist are the physical buttons, especially the power button. It's one of the most-used parts of your tablet, and it can definitely wear out after a few years. A quick physical check can reveal a lot.
Go ahead and press the power button. Does it feel mushy, sticky, or stuck in? Does it still have that satisfying 'click' when you push it? If the button feels off or doesn't spring back, the internal switch might be broken. That would explain why none of the force restart tricks are working—the tablet simply isn't getting the signal to turn on.
Finally, let's consider the display. It's possible the tablet is actually turning on, but you just can't see it because the screen is dead. The internals could be chugging along just fine, but if the display is gone, you'd never know.
Pro Tip: Find a quiet room, hold the power button down for about 10-15 seconds, and listen intently. Put the tablet right up to your ear. A faint vibration, a tiny buzz, or a quiet boot-up sound is a massive clue that your tablet is on, but the screen isn't working.
Data from Australian repair shops often points to hardware as the main offender when a Samsung Galaxy tablet won't turn on. In fact, roughly 32% of these cases trace back to battery degradation, particularly in devices over three years old. Another 18% are due to motherboard faults or something as simple as a loose internal battery connection. This is exactly why technicians often start by just disconnecting and reconnecting the battery—a simple step that revives about 20% of apparently dead tablets. You can get a better sense of how common these problems are from insights from user discussions on official forums.
If your detective work points to a faulty battery, a sticky power button, or a damaged port, you now have a clear direction. These are all very fixable problems. For anyone in Queensland running into these issues, the crew at Screen Fixed Brisbane has the expertise to diagnose and sort out these hardware faults with precision. Pinpointing the issue yourself gives you a huge head start when you're looking for a professional repair.
A Realistic Guide to DIY Component Replacement
For anyone comfortable with the idea of opening up their electronics, tackling a component replacement yourself can be a seriously rewarding and budget-friendly fix. If your troubleshooting points to a dead battery or a busted power button, a DIY repair is definitely an option. This guide is here to give you a practical, no-nonsense look at what you’re getting into, with a big focus on safety and doing it right the first time.
Before you even think about ordering parts, you need to get your toolkit sorted. Trying to open a modern tablet with a kitchen knife and a standard screwdriver is a surefire recipe for disaster. These devices are packed tight with delicate bits and pieces, and using the wrong tools will almost certainly cause more harm than good.
Gathering Your Essential Tools
You don't need a professional-grade workshop, but a few key items are non-negotiable for a safe and successful repair. Think of these as your ticket to the world of DIY electronics repair.
Your basic kit should include:
- Precision Screwdriver Set: Tablets are full of tiny screws, often Phillips or Pentalobe heads. A good set with magnetic tips is an absolute lifesaver.
- Plastic Spudgers and Opening Picks: These are your best friends for safely prying open the tablet's casing without scratching or cracking the frame. Never, ever use metal tools for prying.
- Suction Cup: A small suction cup gives you the leverage you need to gently lift the screen assembly off the body, creating that first crucial gap for your plastic picks.
- Anti-Static Wrist Strap or Mat: Static electricity is the invisible killer of circuit boards. Grounding yourself is a critical step to avoid accidentally frying the motherboard.
- Isopropyl Alcohol and Cotton Swabs: You'll need these for cleaning off old adhesive and any other gunk before sealing the device back up.
These tools aren't just suggestions; they're essential for avoiding the common mistakes that can turn a simple fix into a much bigger, more expensive problem.
Crucial Safety Warning: The absolute first step in any internal repair, without exception, is to disconnect the battery. Working on a device with the battery still connected is incredibly risky. It can easily lead to a short circuit that permanently damages the motherboard or other components.
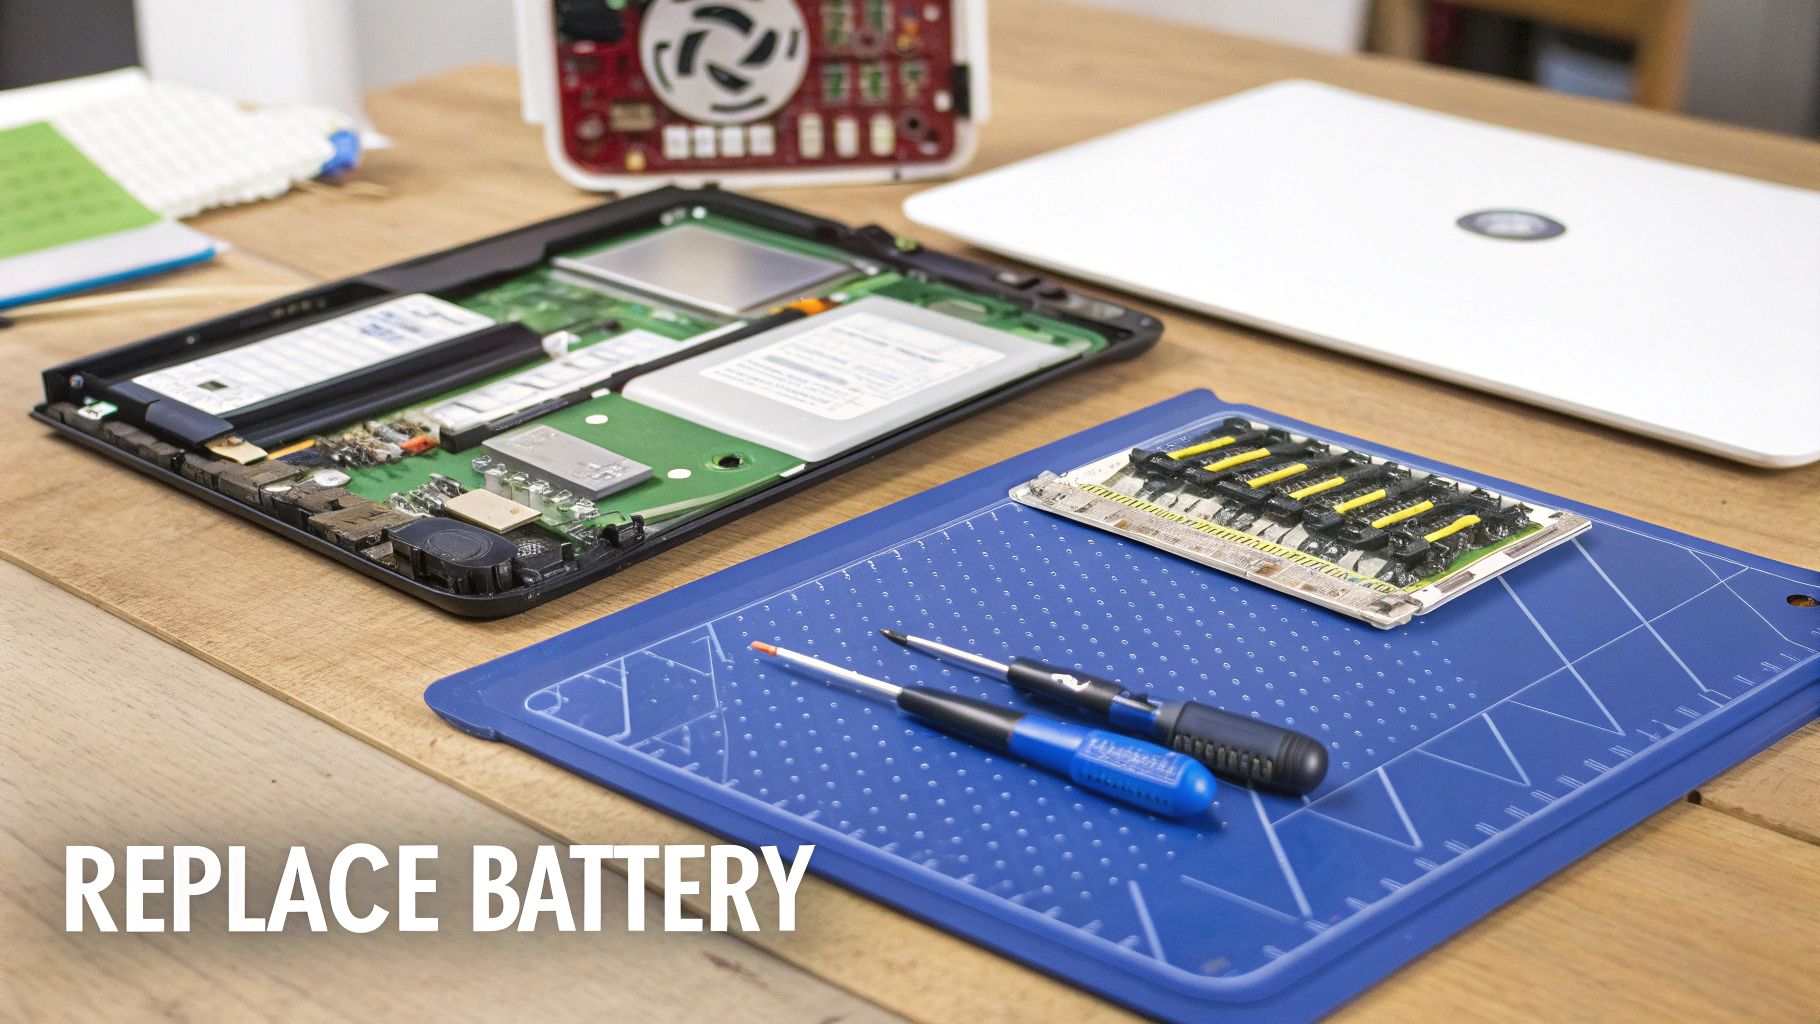
A Walkthrough of a Battery Replacement
The most common DIY job for a "samsung galaxy tablet wont turn on" issue is a battery swap. It's a great first project for an aspiring DIYer because it’s relatively straightforward, but it teaches you the core skills you'll need for more complicated repairs.
Let's break down the general process.
First, you’ll have to get the tablet open. For most Samsung Galaxy Tabs, this means carefully heating the edges of the screen with a heat gun or a hairdryer on a low setting. This softens the adhesive holding the screen to the frame. Once it's warm, use your suction cup to create a tiny gap, then slide your plastic picks around the edge to slice through the adhesive and free the display. Take your time here—rushing this step is the easiest way to crack the screen.
With the screen assembly lifted (be careful, it's still attached by fragile ribbon cables), you can see the internals. Your next task is to find the battery connector on the motherboard. It's usually under a small metal bracket held in by a few screws. Remove that bracket, then use a plastic spudger to gently pop the battery connector straight up off the board. Now the tablet is safe to work on.
The old battery is often stuck in place with strong adhesive strips. You might need to apply a little isopropyl alcohol around the edges of the battery to loosen the glue. Gently and evenly pry the old battery out, making sure not to bend or puncture it—lithium-ion batteries can be dangerous if they're damaged. Once it's out, you can pop in the new one, reconnect it, and work backwards to seal your tablet back up. For a more detailed guide, you can find some great tips in our article on Samsung battery replacement.
While replacing a battery is achievable, you have to be honest about the risks. One slip with a tool can slice a ribbon cable, and too much pressure can crack the delicate screen. It’s a job that demands patience and a steady hand. If you open your tablet and feel like you're in over your head, there’s absolutely no shame in stopping and getting a professional to finish the job.
Knowing When to Seek Professional Tablet Repair
Sometimes, the smartest and most cost-effective move you can make is admitting a problem is beyond your toolkit. While DIY repairs can be incredibly satisfying, some issues need specialised tools, steady hands, and years of experience to get right.
Pushing your limits on a complex repair can quickly turn a fixable problem into a permanent, expensive paperweight. Learning to spot the red flags that signal it's time to call in a professional is a crucial skill for any device owner.
This is especially true when you suspect the issue is more than just a dead battery. If you’ve worked through all the software and basic hardware checks, and your Samsung Galaxy tablet still won't turn on, you might be looking at a more serious internal failure.
Signs It’s Time for an Expert
Certain symptoms are clear indicators that the fault lies deep within the tablet's circuitry. Trying to fix these without proper training is like performing surgery with a butter knife—you're just going to cause more damage.
Keep an eye out for these warning signs:
- No Power, Even with a New Battery: You successfully replaced the battery, but the tablet is still completely dead. This often points to a failure on the motherboard or with the power management integrated circuit (PMIC).
- Visible Charging Port Damage: If the pins inside the USB-C port look bent, broken, or corroded, it’s not just a simple clean-out job. This usually requires micro-soldering to replace the port, a delicate task that needs a microscope and specialised equipment.
- Signs of Liquid Damage: If the tablet took a splash, even a small one, corrosion could be silently spreading across the motherboard. Professionals have ultrasonic cleaners and diagnostic tools to properly treat this hidden damage.
- A Faint Buzz but a Black Screen: You can hear or feel the tablet turning on (a slight vibration, perhaps?), but the display stays black. This suggests a faulty display controller on the motherboard or a damaged screen connector, not just a dead screen.
DIY vs Professional Repair Decision Guide
Deciding whether to tackle a repair yourself or hand it over to a pro can be tricky. This table should help you weigh the options based on what your tablet is doing (or not doing).
| Symptom | Common Cause | Recommended Path (DIY or Pro) |
|---|---|---|
| Tablet won't charge or turn on | Faulty cable, charger, or dirty port | DIY: Start here. Try different cables/chargers and clean the port carefully. |
| Stuck on the Samsung logo | Software glitch | DIY: A soft reset or entering recovery mode to clear the cache is a good first step. |
| Completely unresponsive | Dead battery | DIY (with caution): If you're comfortable opening your device, a battery replacement is a common and achievable repair. |
| Won't turn on after a new battery | Motherboard or PMIC issue | Pro: This points to a deeper logic board failure that requires expert diagnosis and micro-soldering skills. |
| Won't turn on after being dropped | Dislodged connector or screen failure | Pro: Internal connections could be damaged. A professional can safely diagnose without causing further harm. |
| No power after getting wet | Liquid damage and corrosion | Pro: Don't try to charge it! A professional needs to perform a full internal clean and diagnostic immediately. |
| Charging port pins are visibly bent | Physical port damage | Pro: This requires a micro-soldering job to replace the port, which is not a DIY-friendly task. |
Ultimately, if your troubleshooting hits a wall or you suspect the problem is with the logic board, it’s time to call for backup.
The Value of Professional Diagnostics
One of the biggest advantages of using a professional service is getting an accurate diagnosis. Technicians have access to tools that can test individual components, pinpointing the exact point of failure. This saves you from the expensive guesswork of buying and replacing parts that weren't the problem in the first place.
When your Samsung Galaxy tablet won't turn on, a professional diagnosis is the difference between a targeted repair and blind guesswork. Technicians can identify a single, tiny, faulty capacitor on the motherboard, saving you from replacing the entire board.
A reputable repair shop doesn't just swap parts; they solve problems. They also provide a warranty on their work, giving you peace of mind that the fix will last—something you just don't get when you go the DIY route. For complex electronic repairs, that expertise is invaluable. To get a better handle on what to expect, check out our guide on how to find affordable phone screen repair services near you.
At the end of the day, knowing when to step back is key. If you're facing a potential motherboard issue or any repair that requires soldering, your best bet is to entrust your device to those who fix these problems every single day. For expert help, you can book your repair with Screen Fixed Brisbane today.
Common Questions About Unresponsive Samsung Tablets
Even after you've tried all the troubleshooting tricks, it's totally normal to still have questions when your tech gives up the ghost. When a Samsung Galaxy tablet won't turn on, the frustration usually leads to the same handful of worries. We've pulled together the most common questions our technicians hear and laid out some clear, straightforward answers to help you figure out what's going on.
Think of this as demystifying the problem, giving you the clarity needed to make a smart decision about your device.
Why Did My Samsung Tablet Suddenly Stop Working?
A tablet that just dies without warning is a story we hear all the time. It almost always comes down to one of two things. The first, and most common, is a battery that's gone completely flat. If it's totally drained, it needs a solid, uninterrupted charge for at least 30 minutes before it has enough juice to even show the charging icon.
The other likely culprit is a simple software crash. The Android operating system can sometimes freeze with a black screen, making it look like the tablet is dead. This is why a force restart (holding the Power and Volume Down buttons together) is so effective—it cuts the power to the processor, forcing a reboot that often snaps it right out of the freeze.
Can I Get My Data Back If the Tablet Wont Turn On?
This is often the number one concern, and the answer really depends on what’s causing the problem. If it's a straightforward hardware fault—like a dead battery, a busted charging port, or even a failed screen—your data is almost certainly safe.
Once a technician swaps out the broken component, the tablet should fire up like normal, giving you access to all your photos, apps, and files. Your data lives on the internal storage chip, which is a completely separate part.
Data Recovery Takeaway: The only real threat to your data is a serious software corruption that requires a full factory reset. That action will wipe everything. If a hardware fix brings the tablet back to life, your data should be right there waiting for you.
However, if the issue is a deep-seated software problem that can only be fixed with a factory reset from Recovery Mode, any data not backed up to a service like Samsung Cloud or Google Drive will unfortunately be gone. In some rare cases, professional data recovery services might be able to pull information from a device that won't boot, but this is a very specialised and often expensive route to take.
What's the Typical Cost to Fix a Samsung Tablet That Wont Turn On?
Repair costs can swing wildly, from a minor annoyance to a major expense. It all comes down to what part has failed. On the low end of the scale, it could just be a dodgy charging cable, which only costs a few dollars to replace.
A professional battery replacement is a very common and reasonably priced repair that can add years to an older tablet's life. Fixing a damaged charging port is also a standard procedure for any experienced technician.
The price starts to climb if the motherboard is the problem. Logic board repairs demand micro-soldering skills and a serious level of expertise. In some situations, if a critical chip on the board has failed, the repair cost can get uncomfortably close to the price of a refurbished or even a new tablet. This is exactly why getting a proper diagnosis and a firm quote upfront is so crucial. A trusted repair expert, like the team at Screen Fixed Brisbane, will always diagnose the issue first, so you know precisely what you're dealing with before you commit to the repair.
Disclaimer: Samsung Galaxy is a trademark of Samsung Electronics. Screen Fixed is an independent repair service and is not affiliated with Samsung.