
Meta Title: S21 Ultra Screen Replacement Guide | Screen Fixed Australia
Meta Description: Cracked your Samsung S21 Ultra screen? Our guide covers DIY tips, repair costs in Australia, and professional replacement options to fix your phone fast.
A cracked screen on your Samsung S21 Ultra is more than just an eyesore—it can bring your digital life to a grinding halt. You’re left wondering if it’s a simple crack or a critical display failure that needs a full replacement. It’s a common problem we see, but figuring out the next step can be confusing.
This guide will walk you through everything you need to know about an S21 Ultra screen replacement. We’ll explain how to diagnose the damage, compare the risks of a DIY repair with the benefits of a professional service, and help you get your premium device back to pristine condition, whether you're in Brisbane or elsewhere in Australia.
How to Tell If Your S21 Ultra Screen Needs Replacing
A cracked screen is the most obvious red flag, but it’s definitely not the only one. Sometimes, the real damage is lurking underneath the glass, affecting the delicate components that make your screen work. Getting the diagnosis right before you start ordering parts is key to a successful repair.
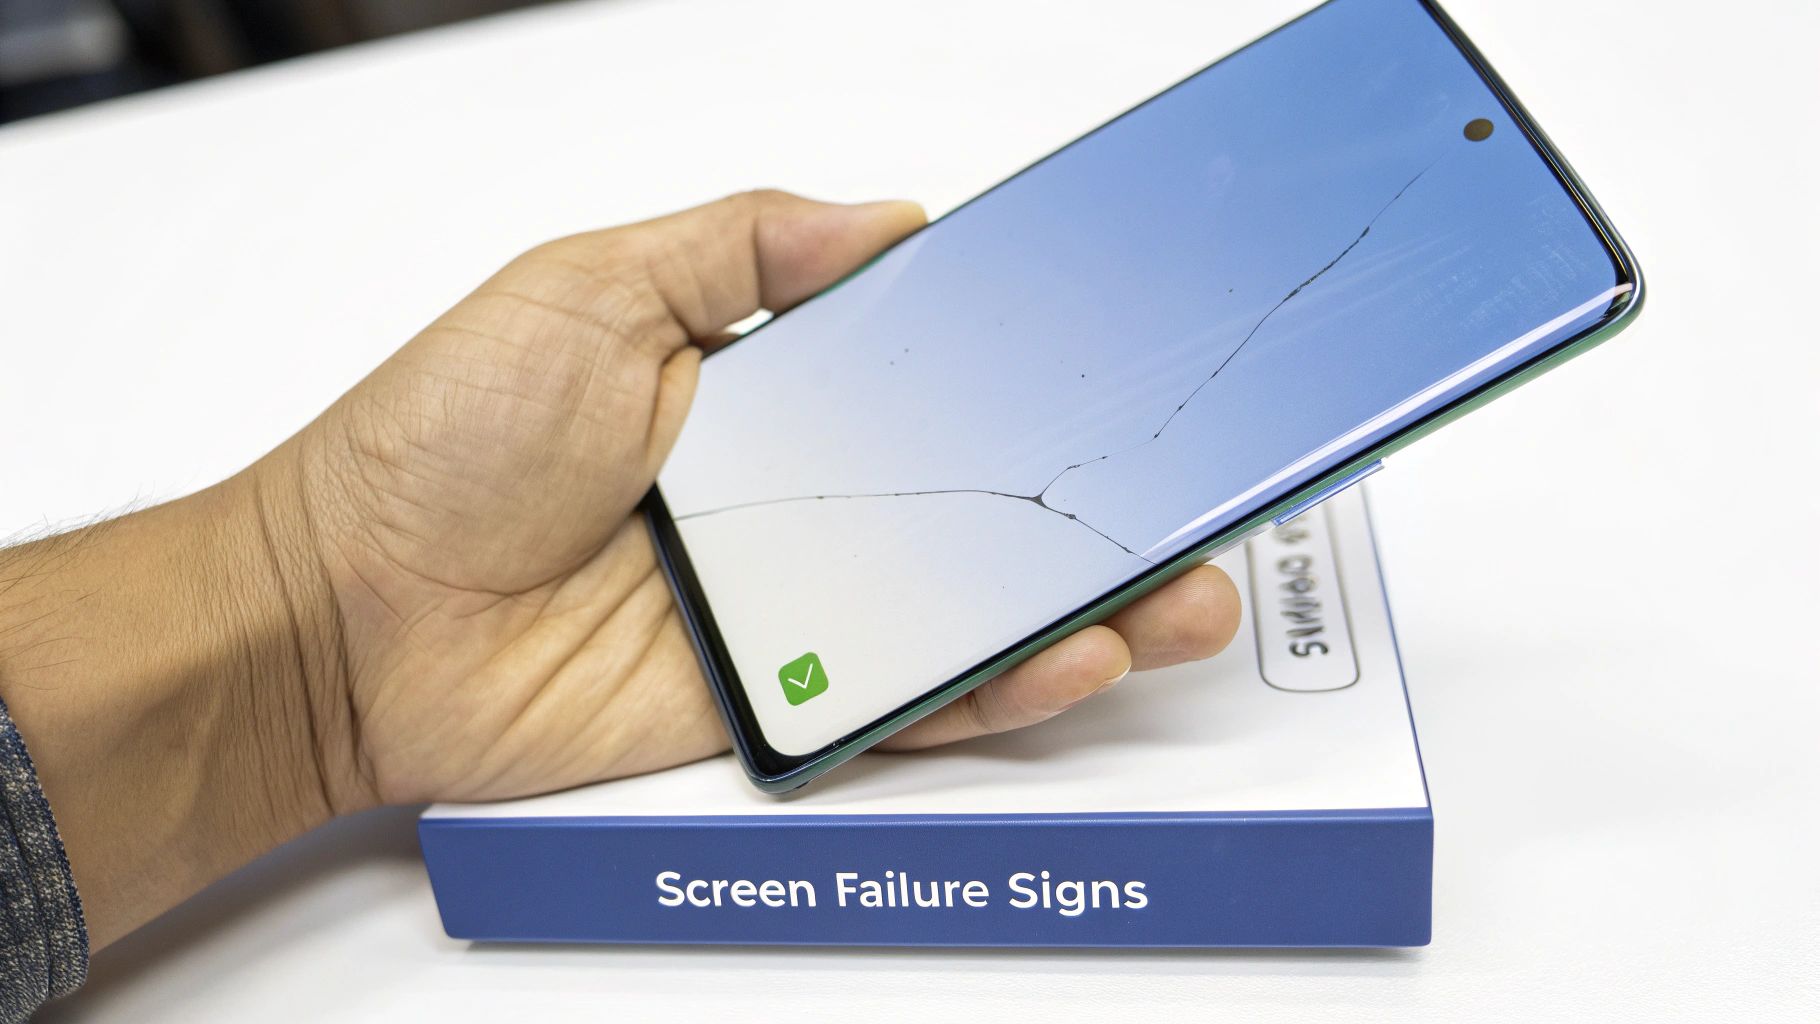
Samsung S21 Ultra with a cracked screen, a common sign replacement is needed.
This matters because almost all of these problems require replacing the entire screen assembly—that's the glass and the OLED panel, which are fused together from the factory. A simple glass-only swap isn't on the cards for these phones.
Look Beyond the Obvious Cracks
A spiderweb of shattered glass is a dead giveaway, and it’s no surprise that physical damage is the top cause of screen failures here in Australia. Despite the tough Gorilla Glass, drops and impacts are still the main culprits. In fact, our local repair data shows that cracked glass alone makes up over 70% of Galaxy S21 Ultra repair jobs, directly messing with touch control and visual clarity. If you want to dive deeper, this informative article from Digimob breaks down more common causes.
But a phone can look perfectly fine on the outside and still have serious internal issues. You need to pay close attention to how the device behaves to understand the true extent of the damage.
Diagnosing Touch and Display Issues
If the glass is intact but your phone is acting up, you're likely dealing with a damaged digitiser or OLED panel. The digitiser is the invisible grid that senses your touch, and the OLED panel is what creates the vibrant image you see. When one of them goes, the symptoms are hard to miss.
Here are the critical warning signs to watch for:
- Unresponsive Areas: Are there spots on the screen that just don't react to your finger? A classic test is to drag an app icon all over the display. If it suddenly drops, you've found a dead zone.
- "Ghost" Touches: Is your phone acting possessed, opening apps or typing on its own? This phantom behaviour is a textbook sign of a faulty digitiser.
- Flickering or Discolouration: A screen that flickers, especially on low brightness, often means the OLED panel is on its way out. You might also spot an odd green, pink, or yellow tint that wasn't there before.
- Black Spots or Coloured Lines: These are the most severe symptoms. Black splotches, which often start small and grow, mean the OLED pixels in that area are dead and gone. Bright vertical lines—usually green, pink, or white—signal a critical failure in the display's connection.
To make it even clearer, here’s a quick checklist to help you pinpoint the issue.
Screen Damage Assessment Checklist
| Symptom | Potential Cause | Likely Repair Needed |
|---|---|---|
| Cracked/Shattered Glass | Physical impact (drop, pressure) | Full screen assembly replacement |
| "Dead Zones" on Screen | Damaged digitiser from impact | Full screen assembly replacement |
| "Ghost" or Phantom Touches | Faulty digitiser, often after a drop | Full screen assembly replacement |
| Flickering or Screen Tints | Failing OLED panel connections | Full screen assembly replacement |
| Black "Ink" Spots | Dead OLED pixels from severe impact | Full screen assembly replacement |
| Vertical Coloured Lines | Damaged flex cable or OLED panel | Full screen assembly replacement |
As you can see, the outcome is usually the same. Once the delicate layers beneath the glass are compromised, a full replacement is the only way forward.
Key Takeaway: Any of these display or touch abnormalities, from ghost touches to a single coloured line, confirm that the damage goes beyond the surface glass. A full S21 Ultra screen replacement is the only reliable solution.
Finding the Right Replacement Screen and Parts
Alright, so you’ve confirmed the screen is a goner and a full S21 Ultra screen replacement is on the cards. Now comes the most important part of the whole process: getting the right replacement part. This isn’t the time to just grab the cheapest screen you can find online. The quality of that new screen will make or break your repair, dictating everything from how colours pop to how the screen responds to your touch. A bad choice here can easily turn a straightforward job into a complete headache.
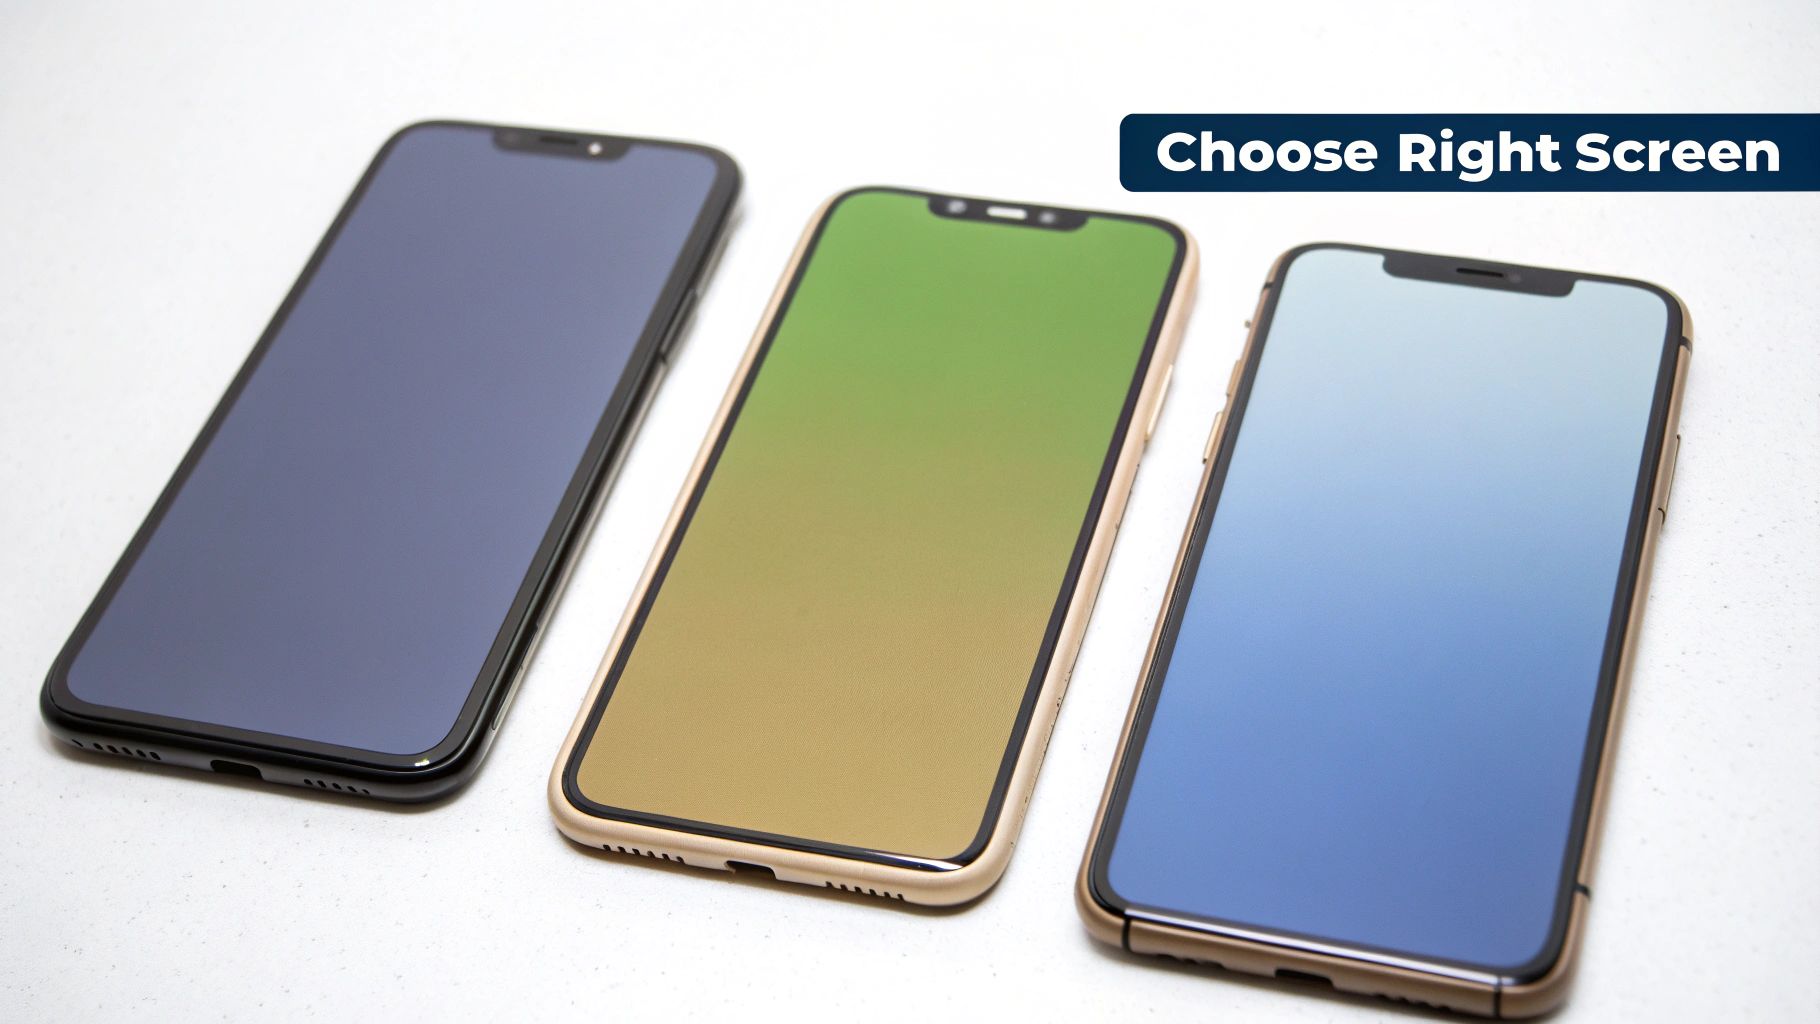
Choosing between OEM and aftermarket screens is a critical step for a successful S21 Ultra repair.
The market is absolutely flooded with different replacement parts, and trust me, they are not all created equal. Understanding what you're actually buying is the first step to making sure your S21 Ultra looks and feels factory-fresh after the repair.
OEM vs Aftermarket Screens
When you start looking for a screen, you'll see a few terms thrown around: OEM, Service Pack, and Aftermarket. Knowing what these mean is crucial.
- OEM (Original Equipment Manufacturer): This is the good stuff. These are parts made by the very same factories that supply Samsung. They deliver identical performance, giving you the same vibrant colours, deep blacks, and perfect touch sensitivity you're used to. For a high-end phone like the S21 Ultra, this is really the only way to go.
- Service Pack: Think of this as an OEM screen plus a bonus. It typically comes pre-assembled with the phone's frame. This makes the job a bit easier because you don't have to painstakingly transfer over small components from the old frame to the new screen, which seriously cuts down the risk of damaging something delicate.
- Aftermarket: These are screens made by third-party companies. While some decent aftermarket parts exist, many are a huge step down in quality. You're often looking at duller colours, lower brightness, laggy touch response, and a much higher chance of the part failing down the track.
Honestly, for a premium device like the S21 Ultra, cheaping out on a low-grade aftermarket screen is a massive mistake. The drop in quality is usually obvious the second you turn it on and can completely ruin the experience you paid top dollar for.
Identifying Trustworthy Suppliers
Finding a reliable parts supplier here in Australia is just as important as choosing the right type of screen. The online marketplace is a bit of a wild west, full of sellers promising "genuine" parts that are anything but. When you're looking online, it's natural to wonder whether AliExpress can be trusted for parts, because the quality can be a total lottery.
To steer clear of fakes and duds, look for suppliers with a solid local presence and good reviews from other repair techs. A reputable supplier will be upfront about the quality of their parts, making it clear whether you're buying OEM, Service Pack, or aftermarket.
Expert Tip: If you see a screen advertised at a price that seems too good to be true, it almost certainly is. Genuine S21 Ultra OLED panels are expensive to make. A rock-bottom price is a massive red flag for a counterfeit or poor-quality part.
The True Cost of a Cheap Screen
Going for that cheap aftermarket screen might save you a bit of cash initially, but it often ends up costing you more in the long run, either in frustration or in having to do the repair all over again.
Here’s a simple breakdown of what you're trading off:
| Feature | OEM / Service Pack | Low-Quality Aftermarket |
|---|---|---|
| Display Quality | Identical to the original: vibrant colours, high brightness, and true blacks. | Often has washed-out colours, lower max brightness, and poor viewing angles. |
| Touch Response | Smooth, accurate, and responsive, fully supporting all gestures. | Can suffer from lag, "ghost" touches, or have dead spots. |
| Durability | Made with high-quality glass (like Gorilla Glass) for proper scratch and impact resistance. | Uses cheaper, less durable glass that's far more likely to crack and scratch. |
| Compatibility | Guaranteed to work with every feature, especially the in-display fingerprint sensor. | Fingerprint sensor support is often unreliable or just doesn't work at all. |
At the end of the day, investing in a high-quality OEM or Service Pack screen is the only way to properly restore your S21 Ultra to its former glory. Choosing quality parts is the absolute foundation of a successful, long-lasting repair.
Pre-Repair Essentials for a Successful Outcome
Jumping straight into an S21 Ultra screen replacement without prepping is like trying to bake a cake without preheating the oven—you’re just setting yourself up for a disappointing result. Before you even think about picking up a tool, a few foundational steps are completely non-negotiable. They're there to protect your data, your device, and you from totally unnecessary risks.
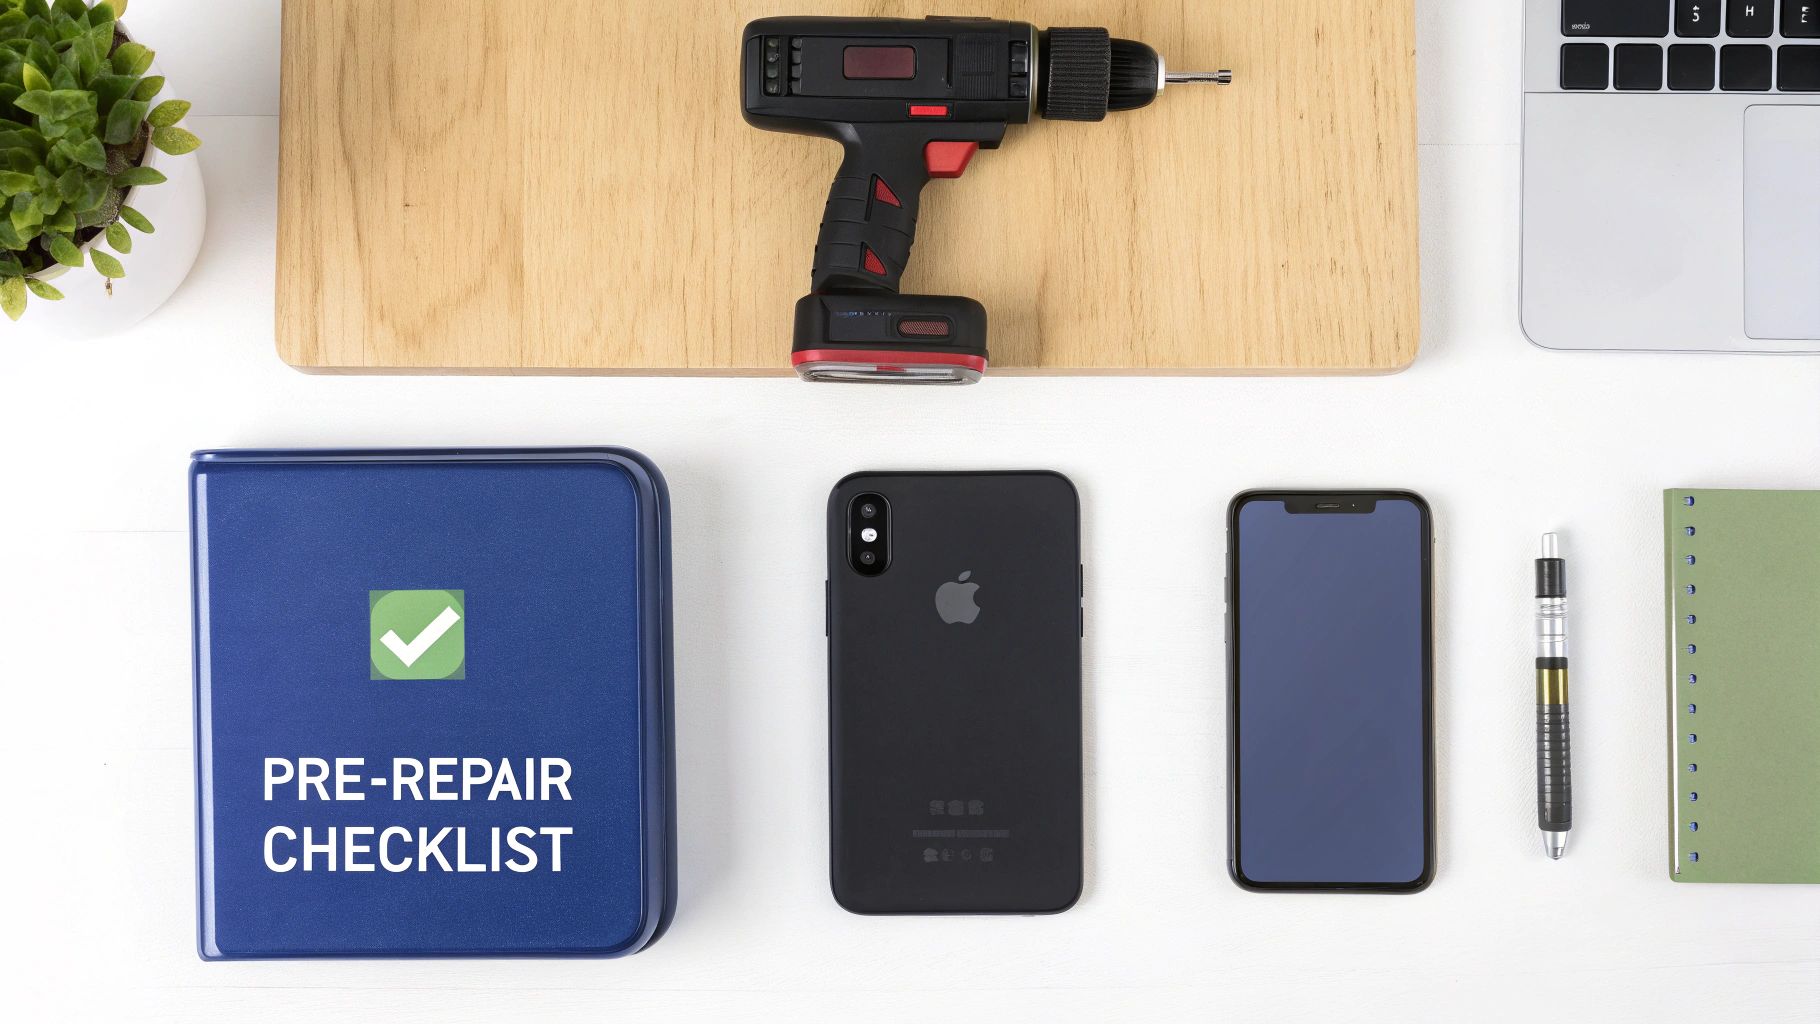
A well-organised workspace with the right tools is essential for a safe repair.
Think of this part as your pre-flight checklist. Rushing past these essentials can turn what should be a manageable repair into a complete disaster, potentially leading to lost data or even more damage to your very expensive phone.
Safeguard Your Data First
Honestly, this is the most critical step, and it’s one you absolutely cannot skip. Your S21 Ultra holds a huge part of your life—photos, contacts, messages, you name it. During any repair, there's always a small but very real risk of something going sideways that could wipe it all.
A complete backup is your only safety net. Whether you use Samsung Smart Switch on a PC, back up to Google Drive, or use another cloud service, make sure everything is saved before you start. It only takes a few minutes but can save you a world of regret.
Prioritise Battery Safety
Lithium-ion batteries, like the one in your S21 Ultra, are pretty stable most of the time. The catch is that a fully charged battery contains a serious amount of stored energy. If you accidentally puncture it with a sharp tool during disassembly—which is easier to do than you might think—it can lead to a dangerous thermal event, creating intense heat or even a fire.
To dramatically reduce this risk, always discharge your phone’s battery to below 25% before starting the repair. This is an industry-standard safety protocol that minimises the potential for a hazardous chemical reaction if the battery gets compromised.
Organise Your Workspace and Tools
A cluttered, poorly lit workspace is just asking for lost screws and damaged components. You need a clean, flat surface with plenty of light to see all the tiny, delicate parts you'll be handling. A magnetic mat or even just a few small containers can be a lifesaver for keeping track of the various screws, which often differ in length and must go back to their exact original spots.
Beyond the basics, your success really hinges on having the right tools for the job. A single Phillips head screwdriver just won't cut it for a modern smartphone.
Here’s a practical list of what you’ll actually need:
- iOpener or Heat Gun: Absolutely essential for softening the strong adhesive holding the back glass in place. A hairdryer can work in a pinch, but it offers far less control over the temperature.
- Suction Handle: This gives you the leverage needed to create that crucial initial opening between the back cover and the frame.
- Opening Picks: Thin plastic picks are your best friend for slicing through the adhesive around the edges without scratching or cracking the glass.
- Phillips #00 Screwdriver: This will be the main driver you'll use for most of the internal screws.
- Spudger or Plastic Pry Tool: A non-conductive tool used for safely disconnecting delicate flex cables, like the one for the battery. Never use metal for this.
- Tweezers: Invaluable for handling those tiny screws and manipulating small components that are impossible to manage with your fingers.
Having these specific tools on hand makes the whole process smoother and, more importantly, safer. Trying to improvise with random household items is a classic mistake that often leads to broken connectors or scratched parts.
A Realistic Walkthrough of the DIY Replacement
Alright, you've done your homework, lined up your parts and tools, and you’re mentally braced to dive in. This section is a straight-up guide to the actual process of an S21 Ultra screen replacement. We’ll break down the riskiest steps, sharing practical tips straight from our technicians to help you handle the tricky parts. Think of this less as a simple checklist and more as a real-world look at the challenges you're about to face.
Tackling the Back Glass Removal
This is ground zero for most DIY repairs going sideways. The S21 Ultra's back glass is bonded with an incredibly strong, waterproof adhesive. Getting it off without a spiderweb of cracks demands patience, carefully controlled heat, and a gentle touch.
Start by applying heat evenly around the edges of the back cover with a heat gun or an iOpener. You're aiming for a temperature that's hot to the touch but not scorching—around 80-90°C is the sweet spot. Rushing this is a recipe for disaster; spend a good few minutes warming that adhesive until it softens up.
Once it's heated, press a suction cup near the bottom edge and give it a gentle lift to create a tiny opening. That's your way in. Slide a thin opening pick into this gap and slowly work it along the bottom edge, slicing through the gooey glue.
Pro Tip: Never, ever force the pick. If you feel serious resistance, stop immediately and hit that spot with more heat. Trying to muscle through it will crack the glass, turning a screen repair into a much bigger, more expensive headache.
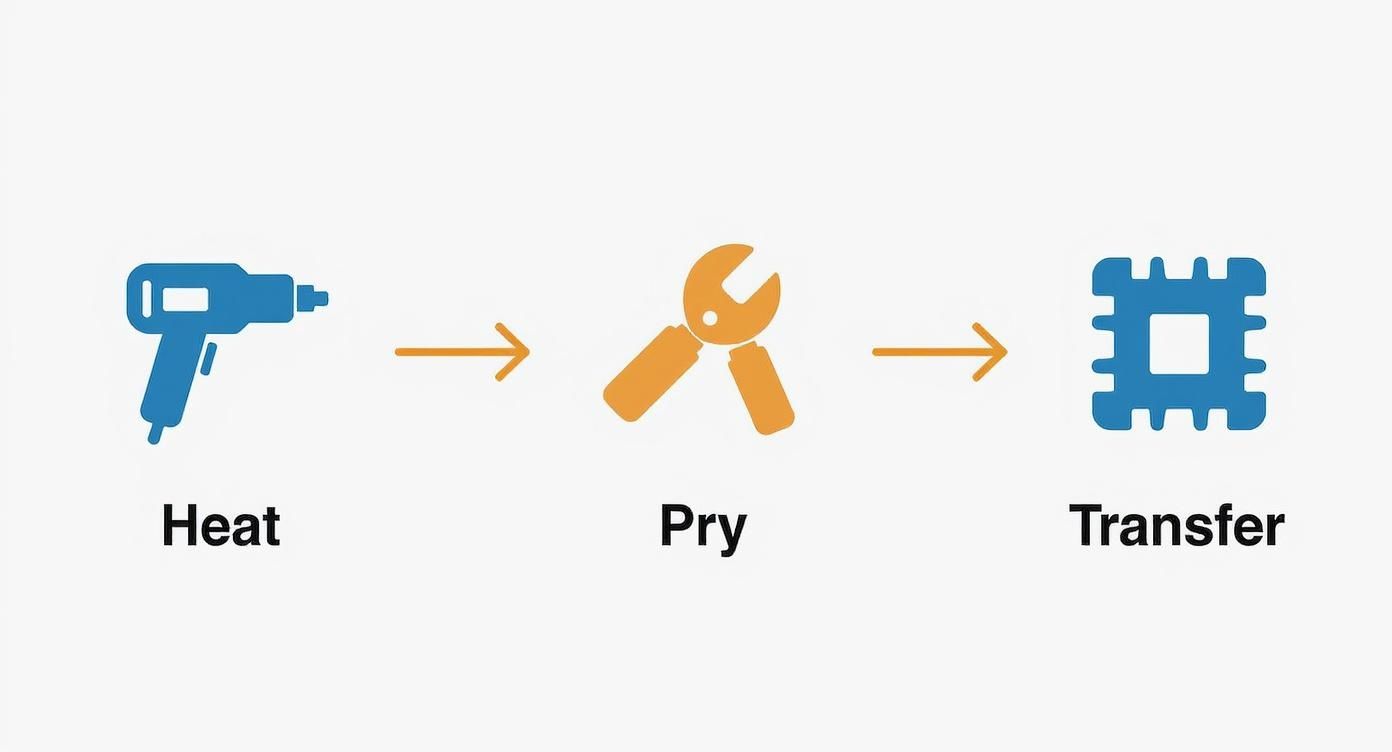
Continue this rhythm—heat, pry, slice—as you work your way up both sides. The corners and the area around that massive camera bump are always extra stubborn, so take your time there.
Navigating the Phone's Internals
With the back glass finally off, you'll get your first look at the phone's insides. The next job is to remove the wireless charging coil and the upper mid-frame assembly. They’re held in by a bunch of small Phillips head screws.
This is where a magnetic mat really earns its keep. You’ll be removing over a dozen screws, and keeping them organised is absolutely critical. Losing one, or worse, putting a long screw into a short hole during reassembly, can kill the logic board permanently.
Once the screws are out, carefully lift the wireless charging pad. It’s attached by a single press-fit connector; use a plastic spudger to gently pop it free. Next, the upper plastic cover protecting the main board comes off.
The Delicate Disconnects
Now you're at the heart of the phone. The very first thing you need to do is disconnect the battery. Always. Disconnecting it before you touch anything else prevents accidental short circuits. Use the flat end of your spudger to lift the battery connector straight up from its socket on the logic board.
With the battery safely disconnected, you can move on to the other flex cables. These are the flat, ribbon-like cables connecting the screen, cameras, and charging port to the main board. They are extremely delicate.
- Screen Flex Cable: This is the main connection for the old display. Pop it off gently.
- Sub-Board Interconnect Cable: This links the main logic board to the daughterboard at the bottom, which handles the charging port and microphone.
- 5G Antenna Cables: These are tiny coaxial cables that snap onto the board. Use fine-tipped tweezers to carefully lift them straight off their connectors.
Be methodical here. Only disconnect what's absolutely necessary to get the logic board and battery out for the transfer to your new screen assembly.
Transferring Critical Components
If you're using a service pack screen that comes with a new frame, your main task is to migrate all the key components from the old frame to the new one. This is a meticulous process that requires a very steady hand.
The primary parts you'll need to move over include:
- The entire logic board assembly.
- The battery (this is usually glued down tight and requires careful prying).
- The front-facing camera.
- The earpiece speaker assembly.
- The vibration motor.
- The charging port daughterboard.
The earpiece speaker can be especially tricky, as it's often secured with its own adhesive. A tiny amount of isopropyl alcohol can help soften the glue, making it easier to lift out without causing damage. If you want to see similar component transfers on a related model, our guide on the Samsung Galaxy S22 screen replacement covers many of the same techniques.
A Word of Caution: Removing the battery is a high-risk step. If you bend or puncture the battery while prying, you risk a thermal event (a fire). Use plastic tools, work slowly, and apply a bit of isopropyl alcohol around the edges to weaken the adhesive strips underneath.
Reassembly and Final Testing
Once every component is securely in the new screen and frame, reassembly is basically the reverse of what you just did. Reconnect all the flex cables, making sure each one gives a satisfying "click" as it seats into place. A loose connection is one of the most common reasons a new screen doesn't work after a repair.
Secure the logic board, then reinstall the upper mid-frame and wireless charging coil. The very last connection you should make is the battery. Before you seal everything up, do a quick "soft test." Power the device on and check the essentials:
- Does the new screen display a clear image?
- Does touch work across the entire display?
- Do the front and rear cameras function?
- Can you hear audio from the earpiece speaker?
If it all checks out, power the phone down for the last time. Apply a new pre-cut adhesive gasket to the frame, carefully align the back glass, and press it down firmly. We recommend using clamps or a stack of books to apply gentle, even pressure for at least 30 minutes to help the new adhesive cure. This final step is crucial for getting the best possible seal, but remember—it will not restore the phone's original IP68 water resistance.
DIY vs Professional Repair: The True Cost Breakdown
So, you're weighing your options. Do you dive in and replace that S21 Ultra screen yourself, or do you hand it over to a professional? It’s a classic dilemma: the satisfaction (and potential savings) of a DIY job versus the peace of mind and speed you get from an expert.
Before you make a call, it's crucial to understand that the "true cost" isn't just the price tag on a new screen. It's a combination of money, your time, and the very real risk of turning one broken part into several. Let's break down what each path really involves.
Calculating the Full DIY Investment
On the surface, going the DIY route looks like the obvious money-saver. You buy the part, you do the work, and you pocket the difference in labour costs. Simple, right? Not so fast. The expenses add up quicker than you'd think.
Here's what you're really looking at:
- The Screen Itself: A genuine OEM or service pack screen for the S21 Ultra is a premium component. You'll be spending a fair bit to get a quality part that doesn't compromise on display performance or fingerprint sensor accuracy.
- The Right Tools: As we covered earlier, you can't do this with just a screwdriver from the junk drawer. A proper kit with a heat gun, quality pry tools, spudgers, and tweezers is a must. That alone can set you back another $30 to $60.
- Proper Adhesives: To get that factory seal back, you need a pre-cut adhesive gasket for the back glass. Cutting corners here is a recipe for a phone that's wide open to dust and moisture.
- Your Time: This is the biggest hidden cost. For someone doing this for the first time, this repair can easily chew up 3-5 hours—and that's assuming everything goes off without a hitch. What's that time worth to you?
Once you tally it all up, the initial savings don't look quite as dramatic. And that brings us to the biggest factor of all: risk.
The Hidden Costs and Risks of DIY
Every DIY repair has its moments of truth, but with a sophisticated device like the S21 Ultra, the stakes are considerably higher. One wrong move can have expensive consequences that completely wipe out any money you thought you were saving.
The single biggest risk in a DIY S21 Ultra screen replacement is collateral damage. Tearing a tiny flex cable, cracking the back glass while prying, or accidentally puncturing the battery can instantly add hundreds of dollars to your repair bill. Your cost-saving project just became a financial headache.
This is where things can go south. The main high-risk stages are applying heat, prying the phone open, and transferring all those tiny, sensitive components from the old screen frame to the new one.
Transferring components like the logic board is a high-risk step in DIY repairs.
Each step carries its own unique danger, from cosmetic scuffs during prying to catastrophic component failure during the transfer.
The Value of a Professional Service
Now, let's consider the professional route. The cost for a professional Samsung Galaxy S21 Ultra screen replacement in Australia varies. Going directly through Samsung often lands around the $440 AUD mark. Reputable third-party shops can be more competitive, typically ranging from $309 to $429 AUD, depending on the exact parts used.
When you pay for a professional repair, you're buying more than just a new screen; you're buying certainty.
The price is all-inclusive and covers:
- A premium-quality OEM or service pack screen.
- The skill of a trained technician who does these repairs day in, day out.
- Access to professional-grade tools you just don't have at home.
- A solid warranty covering both the new part and the labour.
There's no risk of needing to buy a second screen if the first one has a defect, and zero chance you'll be on the hook for any accidental damage during the repair. The job is usually done in about an hour, and you walk out with a phone that works perfectly, backed by a guarantee.
DIY vs Professional S21 Ultra Screen Repair Cost Breakdown
To put it all in perspective, here's a side-by-side comparison.
| Factor | DIY Repair | Professional Repair (e.g., Screen Fixed) |
|---|---|---|
| Monetary Cost | ~$250-$350 (screen + tools + adhesive) | ~$309 - $429 (all-inclusive) |
| Time Investment | 3-5 hours (or more for beginners) | ~1 hour |
| Risk of Damage | High (risk of damaging other components) | Zero (technician assumes all risk) |
| Warranty | Part-only (if any), no labour | Comprehensive warranty on part and labour |
| Required Skill | High level of technical skill needed | None required from you |
Ultimately, while DIY repair can save you a bit of money upfront if everything goes perfectly, the professional option offers a guaranteed outcome without the stress, risk, or time commitment. If you want to explore pricing further, our guide on Samsung screen replacement costs can give you even more clarity.
Got Questions About Your S21 Ultra Screen Repair? We've Got Answers
Even after walking through the whole process, it's totally normal to have a few questions rattling around. We get them all the time from folks at our Brisbane workshops. Here, we'll tackle the most common ones head-on, giving you that last bit of clarity before you jump into the repair.
Think of this as the crucial info that often gets glossed over in standard guides but can really shape your expectations and the final result.
Will My Phone Still Be Water Resistant After a Screen Replacement?
Let's be upfront: realistically, no. The original IP68-rated seal is created under precise factory conditions that are impossible to perfectly replicate once the phone's been opened. While we (and any reputable shop) use high-quality, professional-grade adhesives to seal everything back up as tightly as possible, it's always best practice to assume the water resistance is compromised.
For your own peace of mind after any repair, just treat your S21 Ultra as if it's no longer water-resistant. It's a simple mental shift that can save you from a world of hurt down the line.
Can I Just Replace the Glass Instead of the Whole Screen?
For the S21 Ultra, this is almost always a hard no. The top layer of glass isn't just sitting there; it's molecularly bonded to the delicate Dynamic AMOLED panel underneath. Trying to separate them without destroying the display requires incredibly specialised, expensive machinery and still comes with an extremely high risk of failure.
The industry standard—and the only truly reliable repair—is to replace the entire screen assembly. This is a single, pre-fused unit containing both the glass and the OLED display, guaranteeing a perfect, factory-quality finish without the massive risk of ruining the panel.
How Long Does a Professional Repair Take?
Speed is one of the biggest perks of going pro. An experienced technician can usually knock out a full S21 Ultra screen replacement in about 60 to 90 minutes.
This quick turnaround is only possible because they have all the right tools, premium parts, and years of experience right at their fingertips. A DIY attempt, especially your first time, could easily stretch into several frustrating hours and has a much higher chance of hitting a snag.
Will My Fingerprint Sensor Still Work After the Repair?
Yes, it absolutely should, but this comes with a huge catch: you must use a high-quality OEM or service pack screen. The S21 Ultra's advanced ultrasonic in-display fingerprint sensor is a sophisticated bit of tech that's tightly integrated with the screen assembly itself.
Cheaper, low-quality aftermarket screens often lack the proper hardware or calibration to support this feature, which means it simply won't work. On top of that, the sensor often needs a software recalibration after a new screen is installed—a step that professionals are equipped to handle. Using a trusted service like Screen Fixed Brisbane means we only use parts that are fully compatible with all of your phone's original features, especially that crucial fingerprint sensor.
Ready to get your S21 Ultra looking and working like new again without the hassle? The expert technicians at Screen Fixed offer fast, reliable, and warrantied screen replacements. Book your repair with Screen Fixed Brisbane today.
Disclaimer: Samsung, Galaxy S21 Ultra, and Gorilla Glass are trademarks of their respective owners. Screen Fixed is an independent repair service and is not affiliated with Samsung.