
A cracked MacBook Air screen feels like a catastrophe. Your connection to work, study, and social life is suddenly shattered. But a Mac Air screen replacement is more achievable and affordable than you might think. You have three main paths: the premium Apple service, a cost-effective independent repair shop, or a hands-on DIY project. Each option has its own pros and cons regarding price, turnaround time, and warranty. This guide will help you understand the best choice for your situation.
Understanding Your MacBook Air Screen Replacement Options
alt text: A silver MacBook Air with a cracked screen on a desk, illustrating the need for screen replacement.
That gut-wrenching moment you see your MacBook Air's display broken is a common problem, but the solution is within reach. Understanding the pros and cons of each repair avenue will help you make a smart decision that fits your budget and schedule. The three main routes are heading to an official Apple Store, using a trusted third-party repair service, or giving it a go yourself.
H3: The Official Apple Store Route
For many, the first thought is to go directly to Apple. This way, you’re guaranteed an original equipment manufacturer (OEM) part, fitted by technicians who are Apple-certified. The quality is top-notch, and the repair includes a solid warranty, which definitely gives you peace of mind.
However, that premium service comes at a premium price. It’s almost always the most expensive option. The turnaround time can also be a real drawback, sometimes taking several days or even weeks if they have to send your MacBook away.
H3: Independent Repair Shops
This is where a trusted local expert offers a compelling middle ground. Shops like Screen Fixed Brisbane provide a more personal—and often much faster—service. The biggest advantage here is the cost; independent repairs are usually significantly cheaper than what Apple will charge.
Of course, quality is everything. It’s vital to pick a reputable shop that uses high-grade replacement parts and backs their work with a warranty. This approach strikes a fantastic balance between affordability, speed, and reliability. You can often have your MacBook back in a day or two, minimising downtime for your work or studies.
H3: The DIY Repair Path
If you're tech-savvy and feeling adventurous, a DIY Mac Air screen replacement can be a rewarding project that saves you a good chunk of money. This involves sourcing the replacement screen and all the necessary tools yourself and following a detailed guide to perform the job at home.
The biggest draw of a DIY fix is the cost—you're only paying for the parts. But this path carries the most risk. One tiny slip-up, like tearing a delicate cable or stripping a screw, can lead to much bigger, more expensive problems.
This option is really for those with patience, a steady hand, and ideally some experience with electronics. Before you even think about starting, it helps to understand the different screen technologies you might be dealing with. For a deeper dive, you can learn about the difference between LCD, OLED, and AMOLED replacement screens in our detailed guide.
No matter which path you decide on, the first step is always the same: figuring out your exact MacBook Air model. This is crucial as it determines which replacement parts will work and influences the cost and difficulty of the repair.
Understanding the Cost of Screen Repair in Australia
The first question on everyone's mind after cracking their screen is simple: "How much is this going to set me back?" Figuring out the cost for a Mac Air screen replacement in Australia isn't always straightforward, as prices can swing wildly depending on a few key factors. The final figure really comes down to your MacBook's specific model, the type of parts used, and where you take it—an official Apple service centre or an independent repair shop.
Generally, you'll find that official Apple repairs sit at the premium end of the spectrum. On the other hand, independent specialists, like our team at Screen Fixed Brisbane, can often provide more budget-friendly solutions. Let's break down what you can expect to pay and what those costs actually cover.
H3: Why Do Retina Screens Cost More?
One of the biggest factors influencing the price is whether your MacBook Air has a Retina display. On the older, non-Retina models (usually those made before 2018), the front glass and the LCD panel were separate pieces. With all Retina models, these are laminated together into a single, sealed display assembly.
This fused design makes the laptop thinner and reduces glare, but it also makes the repair far more complex. You can't just replace the cracked glass; the entire screen unit has to be swapped out. This integrated assembly is a much more expensive part, which is directly reflected in the higher repair bill for all modern MacBook Airs.
H3: Breaking Down the Repair Bill
When you get a quote for a screen replacement, the price isn't just for the new screen. It’s a combination of a few different things that all contribute to a proper, reliable repair.
- Parts: This is the cost of the replacement screen assembly itself. It's the biggest chunk of the bill, and the price varies based on whether it's an OEM (Original Equipment Manufacturer) part or a high-quality aftermarket equivalent.
- Labour: This covers the technician's time and expertise. A proper Mac Air screen replacement is a delicate procedure. It involves carefully disconnecting tiny, fragile cables and ensuring everything is reassembled perfectly.
- Warranty: Any reputable repair service will stand by their work with a warranty. This is your safety net—if something goes wrong with the new screen because of a defect in the part or the workmanship, you're covered.
It's crucial to see the price as a reflection of the total value you receive. A cheaper quote might seem appealing, but if it comes with a low-quality part or no warranty, it could end up costing you more in the long run.
H3: Cost Comparison: Apple vs Third-Party Shops
In Australia, the cost for a MacBook Air screen replacement can vary significantly. Going through an official Apple Store for a Retina display model can set you back anywhere between $455 and $755 AUD. This price usually includes a hefty accidental damage service fee plus labour, reflecting the premium parts and warranty Apple provides. While it's the gold standard for quality, it's also the most expensive route. You can get a feel for what others have paid by checking out discussions on the Apple Support Communities.
This is where independent repair shops offer a great alternative. Specialists can often perform the exact same repair for a fraction of the cost, typically ranging from $250 to $600 AUD. The price difference comes down to the model, part availability, and whether it’s a simple glass fix on an old model or a full display replacement on a newer one. For anyone with a device out of warranty, this can be a massive saving.
To give you a clearer picture, here’s a general comparison of what you might expect to pay.
H3: Estimated MacBook Air Screen Replacement Costs in Australia
This table compares the typical costs for screen replacement across different service providers for various MacBook Air models, helping you understand your potential investment.
| MacBook Air Model | Official Apple Store (Estimated Cost) | Third-Party Repair Shop (Estimated Cost) | DIY Parts Cost (Estimated) |
|---|---|---|---|
| Non-Retina | N/A (Often Obsolete) | $250 - $450 | $150 - $250 |
| Retina (M1) | $550 - $750 | $400 - $600 | $300 - $450 |
| Retina (M2/M3) | $600 - $800+ | $500 - $700 | $400 - $550 |
As you can see, the DIY route is the cheapest, but it also carries the most risk if you're not experienced. Ultimately, the right choice depends on your budget, your confidence in doing the repair yourself, and how much you value the peace of mind that comes with a professional service and warranty.
A Realistic Guide to DIY Screen Replacement
For those with a steady hand and some patience, taking on a DIY Mac Air screen replacement can be an empowering project. It's not just about saving money; it's about getting to know your machine and taking control of its lifespan. But let's be clear—this is a path that demands respect for the delicate electronics you're about to handle.
This guide will walk you through the practical side of a DIY repair. We’ll go beyond a simple checklist and dig into the why behind each step, from picking the right screwdriver to carefully navigating the maze of internal components. With the right preparation, you can turn that cracked screen into a success story.
H3: Gathering Your Essential Toolkit
Jumping into a repair without the correct tools is asking for trouble. You might be tempted to use a standard screwdriver set, but Apple uses proprietary screws for a reason: to make this difficult. Forcing the wrong tool will almost certainly lead to stripped screws, turning a straightforward job into a nightmare.
Here’s what you absolutely need on your workbench:
- Pentalobe P5 Screwdriver: This is non-negotiable for opening the bottom case of any modern MacBook Air.
- Torx T3, T5, and T8 Screwdrivers: Inside, you'll find various Torx screws holding down components like the battery connector and hinge covers.
- High-Quality Suction Cup: A strong, reliable suction cup is key for gently separating the screen assembly without causing damage.
- Plastic Prying Tools (Spudgers): Metal tools can easily scratch the aluminium case or short-circuit the logic board. Plastic spudgers are your best friend for safely disconnecting delicate ribbon cables.
- Magnetic Project Mat: One of the biggest challenges is keeping track of dozens of tiny, different-sized screws. A magnetic mat lets you place each screw where it came from, making reassembly smooth and error-free.
Using the right screwdriver is more than just a suggestion; it’s a critical first step. To understand why these specific tools are so important for Apple products, check out our guide on pentalobe screwdrivers for iPhone and MacBook repairs.
H3: Sourcing a Reliable Replacement Screen
The success of your repair hinges on the quality of the replacement part. The market is flooded with options, from cheap knock-offs to premium, refurbished original displays. A poor-quality screen can lead to issues like strange colours, dead pixels, or a display that fails after a few weeks.
Look for a supplier who is transparent about the part's grade and origin. Your best bet is an OEM (Original Equipment Manufacturer) or a "service-pack" screen, which is the same quality Apple installs. Refurbished original screens are another excellent choice, as they use a genuine Apple LCD with new glass. Avoid sellers who are vague about quality or offer prices that seem too good to be true—they almost always are.
Pro Tip: Before you buy, double-check your MacBook Air's model number. You'll find it in tiny print on the bottom case, starting with an 'A' followed by four numbers. This ensures you get a screen assembly that’s a perfect match.
H3: The Repair Process Step-by-Step
With your tools and new screen laid out, it’s time to begin. The key is to work slowly, methodically, and in a clean, well-lit space. Rushing is the enemy of a successful repair.

alt text: A black screen on a MacBook Air, representing a non-functional display before replacement.
The DIY route offers the lowest cost, but that assumes you have the time and skill to get it done without creating new problems.
1. Power Down and Disconnect the Battery
Your absolute first step, before a single screw comes out, is to completely disconnect the battery. Pop open the bottom case with your P5 pentalobe screwdriver. Look for the battery connector on the logic board and gently pry it straight up with a plastic spudger. Skipping this critical step risks shorting the logic board—a far more expensive problem to fix.
2. Detach the Display Assembly
Next are the display connectors, usually hiding under a small metal cover held in by a few Torx screws. Remove the cover, then use your spudger to carefully pop off the delicate ribbon cables for the display, camera, and Wi-Fi antenna. They disconnect like tiny Lego pieces, so be gentle.
After that, you'll need to unscrew the hinge clamps that secure the display to the body. These are typically held by several T8 Torx screws on each side. Support the screen as you remove the last few screws, then you can carefully lift the entire display assembly away.
3. Installing the New Screen and Reassembly
Putting the new screen on is essentially the reverse of what you just did. Align the hinges carefully and screw them back into place. Reconnect the display, camera, and antenna cables, making sure each one gives a satisfying click as it seats into its socket. The very last thing you should do before closing it all up is reconnect the battery.
Power on your MacBook Air to test the new screen before you put all the bottom screws back in. Check the colours, ensure the brightness control works, and see if the camera is functioning. Once you’ve confirmed everything is working perfectly, you can screw the back panel on and give yourself a well-deserved pat on the back.
Disclaimer: Apple, MacBook, MacBook Air, and Retina are trademarks of Apple Inc., registered in the U.S. and other countries. Screen Fixed is an independent service provider and is not affiliated with Apple Inc.
How to Avoid Common DIY Repair Mistakes
Taking on a Mac Air screen replacement is one thing, but getting it done right without any collateral damage is another challenge entirely. This section is your safety net, built from the hard-earned lessons of countless repairs. We're going to walk through the most common slip-ups that can turn a straightforward fix into a total disaster.
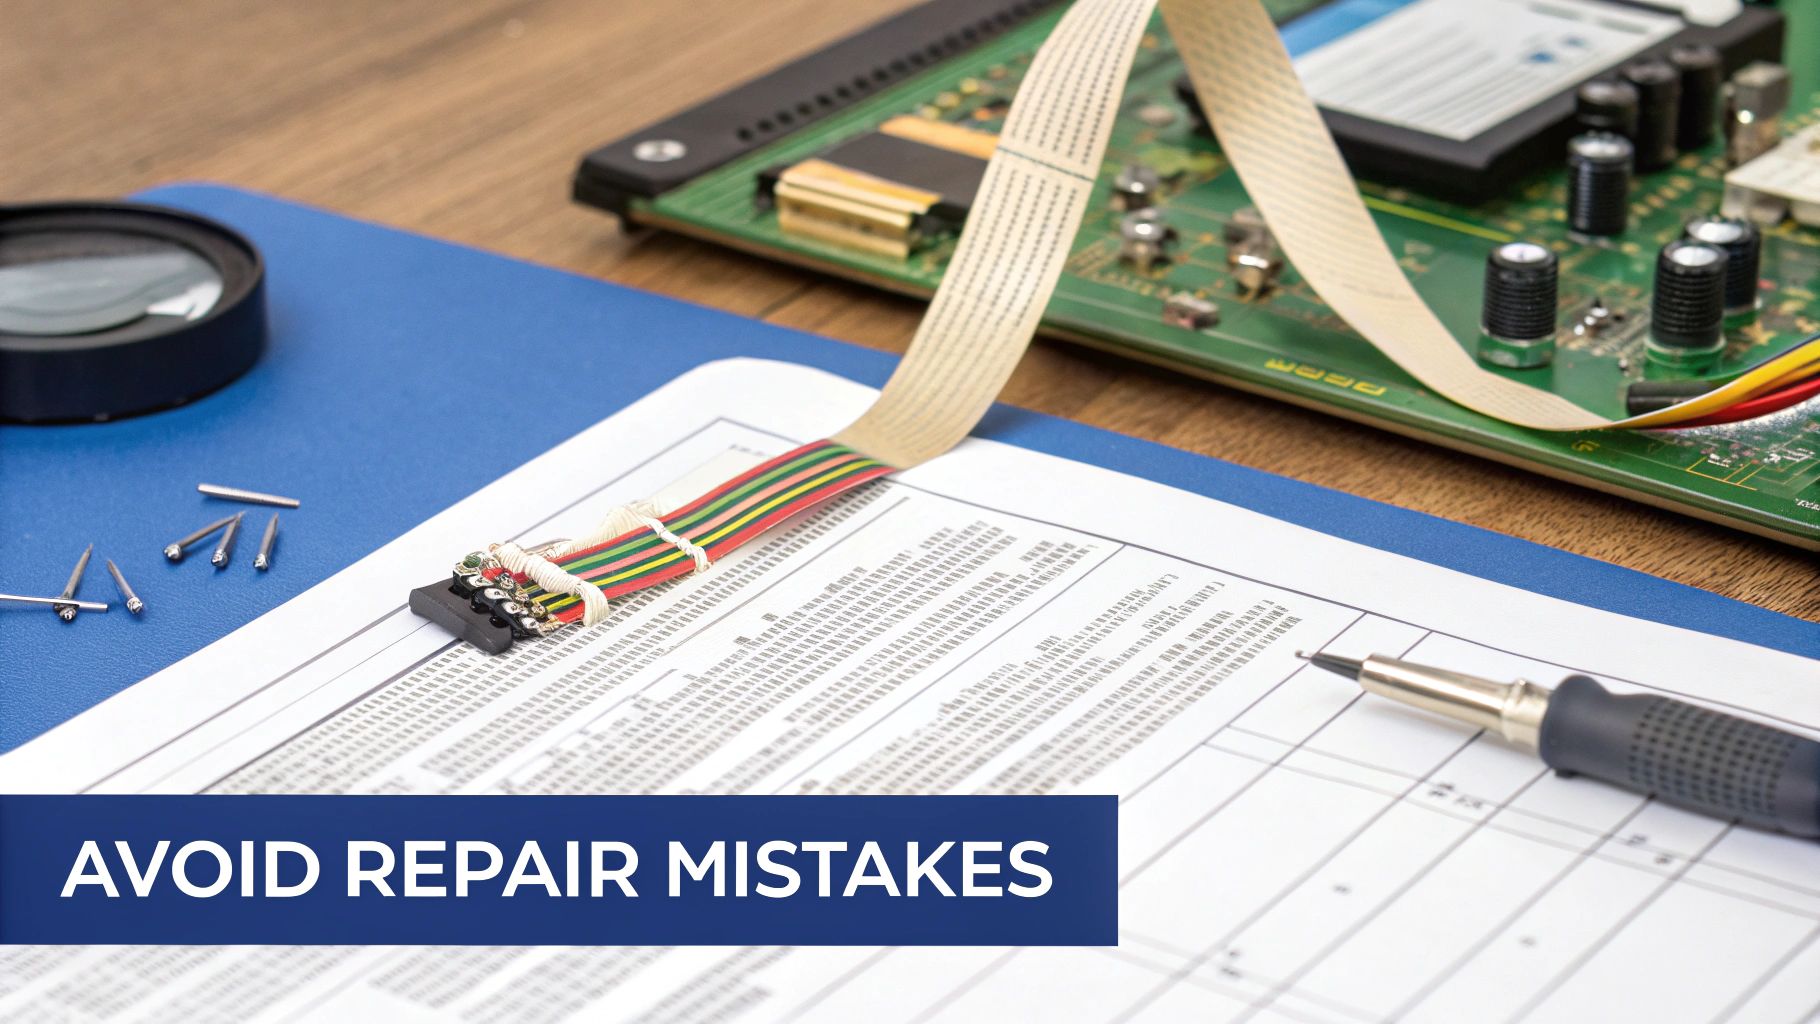
alt text: A close-up of electronic repair tools on a desk, highlighting the precision required for MacBook repairs.
Think of this as having a seasoned technician looking over your shoulder. We'll give you the inside scoop to help you navigate the tricky parts of the repair so you don’t end up with a bigger problem than you started with.
H3: Mishandling Tiny Screws and Cables
By far, the most frequent and frustrating mistake is damaging the tiny screws and delicate ribbon cables inside your MacBook Air. These parts are incredibly fragile and need a steady, precise touch.
Using the wrong size screwdriver is the quickest way to strip a screw head. Once that’s done, getting it out becomes a real challenge. You must match your Pentalobe and Torx screwdrivers to the exact screw you're working on.
Ribbon cables, especially for the display and backlight, can tear easily. Never use metal tools to pry them off. Use a plastic spudger and apply even, gentle pressure to pop them vertically off their sockets.
A torn backlight cable is one of the most common DIY disasters. This tiny cable is easy to snag, and if you damage it, you'll have a brand new screen that won't light up. That leaves you trying to micro-solder it back together or buying another whole screen assembly.
Here’s how to sidestep these issues:
- Use a magnetic mat: It keeps every screw organised and stops you from mixing them up.
- Work slowly: Rushing leads to slips and mistakes. Take your time with every single connection.
- Never force anything: If a part doesn’t seem to fit or a cable won’t connect easily, stop and re-evaluate what you're doing.
H3: Forgetting to Transfer Key Components
Another classic pitfall is forgetting to move essential components from the old screen assembly to the new one. The Wi-Fi antenna, for instance, is often integrated right into the screen's bezel.
If you don't carefully transfer this antenna over, you'll button everything up only to find your MacBook has terrible—or zero—wireless reception. The same goes for the camera module and ambient light sensor on certain models.
Before you dispose of the old screen, lay it side-by-side with the new one. Methodically check and move every single small board, cable, and component across. This simple double-check can save you the headache of reopening your device.
H3: Ignoring Software and Pairing Issues
With newer MacBook Air models, the hardware and software are more interconnected than ever. A feature like True Tone, for example, relies on an ambient light sensor that's calibrated to the original screen from the factory. Swapping the screen without the right tools can permanently disable this feature.
Data from Australian repair services shows this is a growing problem. The True Tone feature, which adjusts screen colour based on ambient lighting, often requires a genuine Apple part or a specially programmed replacement to work after a swap. For a better idea of repair costs and the complexities involved in Australia, you can explore detailed insights on local service offerings.
While this is less of an issue for older models, it’s definitely something to be aware of. When buying a replacement screen, check if the seller mentions compatibility with features like True Tone. If you're tackling a newer model and want to keep all its features intact, going with a professional repair service is the smarter move.
When a Professional Repair Is the Smarter Choice
While the DIY route can be a rewarding challenge, there are times when handing your MacBook to a professional is the smartest, safest, and most practical decision. Choosing an expert for your Mac Air screen replacement isn’t giving up; it’s making an informed choice to protect your investment and guarantee a perfect outcome.
Modern MacBooks are intricate machines. One wrong move during a screen repair can cascade into a logic board crisis—a far more expensive and complicated problem. If you feel even the slightest hesitation, lack the specific tools, or just don’t have time for a meticulous, multi-hour project, calling in a pro is the right move.
H3: When Expertise Is Non-Negotiable
Sometimes, the complexity of the device itself makes the decision for you. Newer MacBook Air models, especially those with features like True Tone, present significant hurdles for even seasoned DIY enthusiasts.
The screens in these modern laptops are often software-paired to the logic board at the factory. This means simply swapping the physical screen isn't enough. Specialised tools are often needed to calibrate the new display and retain full functionality. Skip this step, and you could permanently lose features you paid for. This is where professional services become invaluable, as technicians have the proper equipment and knowledge to handle these crucial software-level challenges.
Additionally, if there's any sign of damage beyond the screen—like a dented corner on the aluminium housing—a professional assessment is essential. A technician can spot and address underlying problems that might not be obvious, ensuring a comprehensive and lasting repair.
H3: The Value of Time and Peace of Mind
Let's not forget that your time is valuable. A DIY screen replacement can easily consume an entire afternoon, if not longer, especially if it’s your first time. That doesn't even factor in the time spent researching the right model and ordering parts.
A professional repair condenses this entire process into a simple drop-off and pick-up. Technicians perform these repairs daily, allowing them to complete the job efficiently and correctly—often within 24 to 48 hours.
This speed is a huge plus, but the real benefit is the peace of mind that comes with a professional warranty. When an expert replaces your screen, they stand by their work. If any issues pop up with the new part or the installation, you’re covered. This safety net eliminates the financial risk of a DIY repair, where a single mistake could leave you with a non-functional device and no one to turn to.
H3: The Hidden Costs of DIY
While the upfront cost of parts for a DIY repair seems lower, there are hidden expenses. The cost of a quality tool kit, the risk of ordering the wrong part, and the potential for causing further damage can quickly add up. A simple slip could damage the logic board or delicate ribbon cables, leading to costs that far exceed the price of a professional repair.
Data from Australian repair shops shows that screen issues are a major reason people seek MacBook maintenance. Screen-related fixes on even older models can cost between AUD 250 and AUD 440—a significant investment. Choosing a professional ensures you get a fixed, predictable cost without the risk of surprise expenses from a DIY attempt gone wrong.
If you're weighing your options, our guide on a MacBook Pro display replacement provides further insight into the complexities involved with Apple's higher-end models.
Answering Your MacBook Screen Repair Questions
Let's wrap up by tackling some of the most common questions we get about MacBook Air screen replacements. These are the quick, practical answers drawn from our day-to-day experience helping people just like you.
H3: Can I Just Replace the Glass on My MacBook Air?
This is a very common question, and the short answer is almost always no.
On older MacBook Air models—the ones with the thick silver bezel—the glass and the LCD panel are technically separate. However, trying to split them apart without shattering the fragile LCD is extremely difficult and requires specialised machinery.
For any of the newer Retina models, it's a definite no. The screen components are all laminated into one sealed unit. This is what makes the display so thin and crisp, but it also means you can't separate the layers.
That's why replacing the entire display assembly is the only reliable way to do the job properly. A "glass-only" fix is a huge gamble that often leads to more problems. It’s a service that reputable shops like Screen Fixed Brisbane avoid because the failure rate is just too high.
H3: Will a Third-Party Screen Affect My MacBook's Performance?
A high-quality replacement screen from a trusted supplier won't affect your MacBook's general performance. Things like processing speed and responsiveness are completely separate. The display itself should look and feel just like the original, with the same resolution, colour accuracy, and brightness.
The real variable here is the quality of the replacement part. This is why choosing an experienced repair service that sources good parts is so crucial.
One thing to know about newer Macs is a feature called True Tone. This can sometimes be disabled if a non-genuine screen is fitted without the right calibration tools. We are across these technical details and use parts that ensure we maintain full functionality wherever possible.
H3: How Long Does a Professional Screen Replacement Take?
Turnaround time is one of the biggest advantages of using an independent repairer. While an official service can take days or even weeks, a good local expert can get you sorted out much faster.
Here at our Screen Fixed Brisbane repair centre, we aim to complete most screen replacements within 24-48 hours, depending on the model and parts availability. For some of the more common models, we can often get it done on the same day. This is a huge benefit for students and professionals who can't be without their laptops.
H3: Is It Worth Fixing an Older MacBook Air Screen?
This usually comes down to simple economics. If the repair cost is approaching the price of a good second-hand or new replacement, then it may be time to upgrade. But for many older models, a screen replacement is absolutely the right move.
Here's why:
- It's Cheaper: A professional Mac Air screen replacement is still far more affordable than buying a new machine.
- It's Sustainable: Repairing your device is a much better choice for the planet, keeping e-waste out of landfill.
- It Still Works Great: If your older MacBook Air handles your daily tasks just fine, there’s no real need to replace the whole thing. Fixing the screen brings it back to full working order.
Often, a new screen can breathe new life into an older MacBook, giving you several more years of solid use. If you want to dive deeper into the tech, you can find great info on display technologies and how they affect repairs and performance.
At Screen Fixed, we are dedicated to providing reliable, high-quality repairs that save you time and money. If you're stuck with a cracked or faulty MacBook Air screen, our expert technicians in Brisbane are here to help.
Book your Mac Air screen replacement with Screen Fixed today!