
That gut-wrenching moment your iPad Pro screen cracks is usually followed by a second jolt: seeing the official repair quote. While going to a professional is always a solid choice, deciding to replace the screen on your iPad Pro yourself can be a rewarding—and much cheaper—alternative.
This guide is here to turn what looks like a complex job into a project you can actually pull off, covering everything from the parts and tools you'll need to the exact steps for getting it done right.
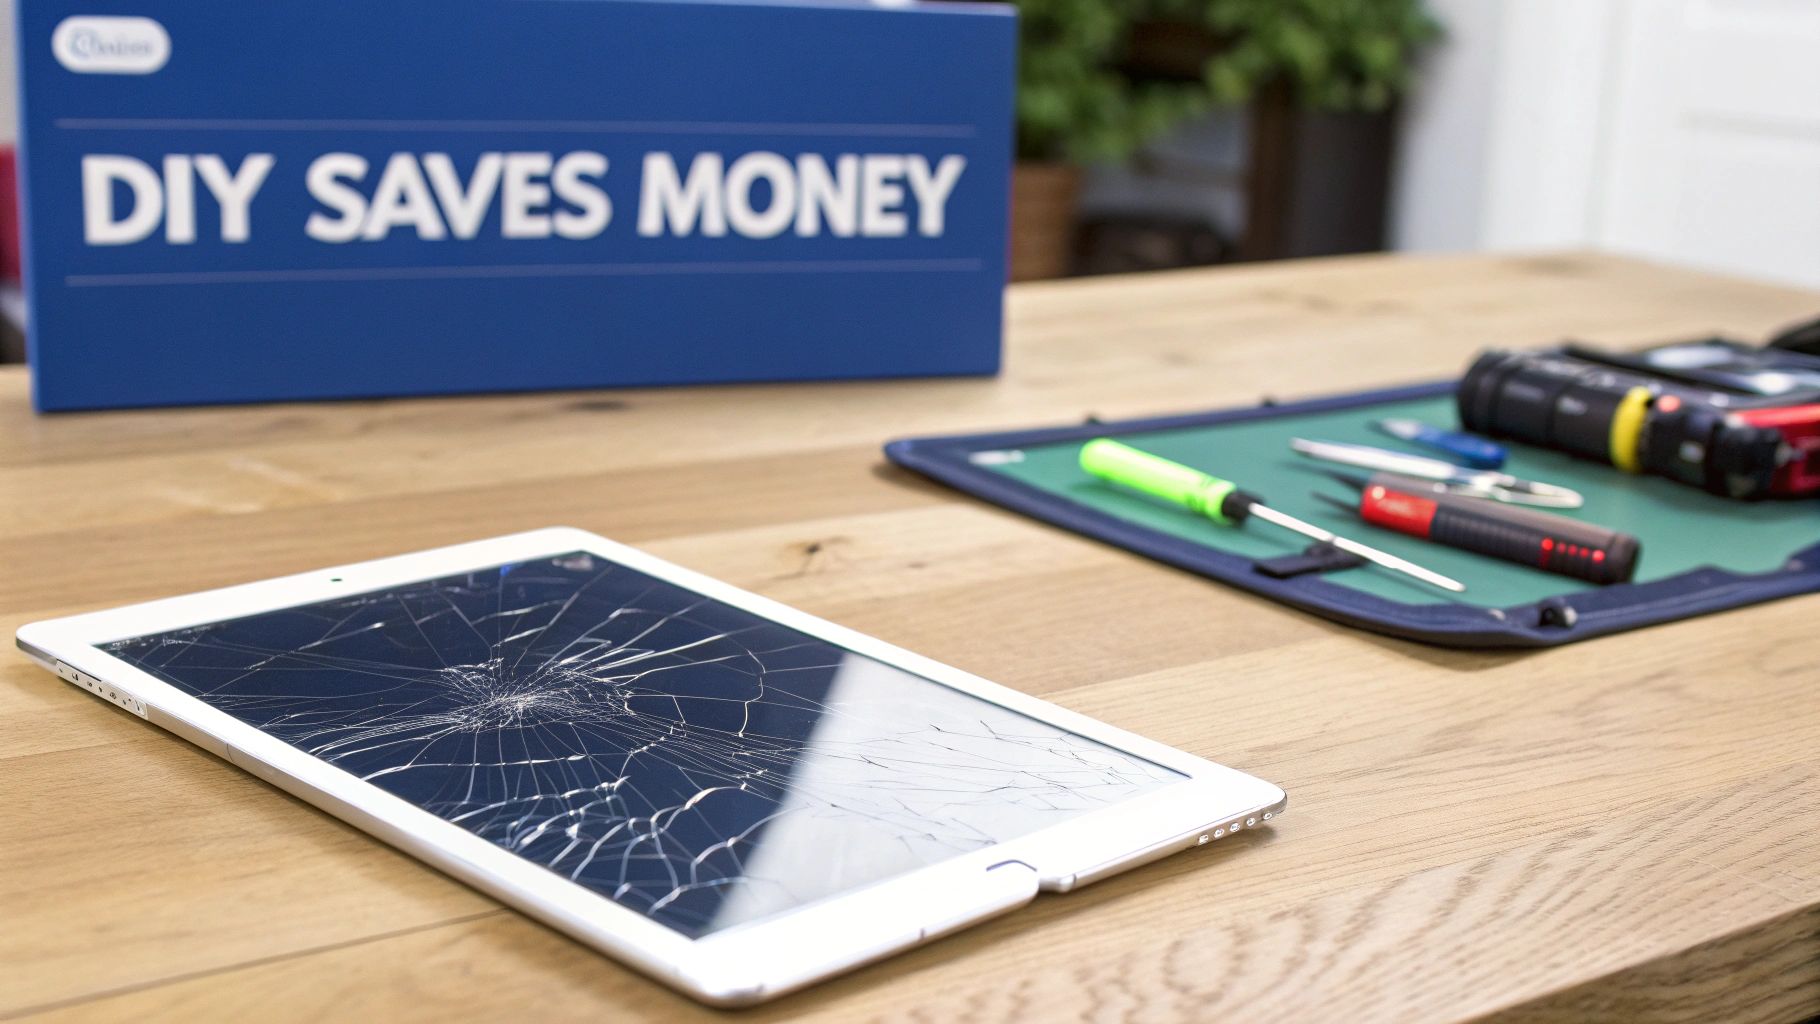 Alt: A cracked iPad Pro screen next to DIY repair tools on a wooden desk, signifying the choice to replace the screen at home.
A cracked screen feels like a total disaster, but it’s definitely not the end for your iPad Pro. The high cost of official repairs often leads people to wonder: should I just do it myself? The answer really boils down to balancing cost, time, and your comfort level with detailed technical work.
Is a DIY iPad Pro Screen Repair Really Worth It?
The number one reason to go the DIY route is the huge cost saving. Here in Australia, a professional screen replacement for an iPad Pro can set you back anywhere from $400 to $650 AUD, depending on the model. Taking the job on yourself can slash that bill significantly.
But it's not just about the money. There’s a real sense of achievement that comes from fixing your own gear. Nailing a complex repair like an iPad Pro screen replacement builds confidence and gives you a much better appreciation for the tech you use every day.
More Than Just a Cheaper Fix
Fixing your device instead of replacing it is also a great move for the planet. Every tablet that gets a new lease on life is one less piece of e-waste. By choosing to repair your iPad Pro, you're helping to minimise the environmental impact of electronic waste. You're extending the lifespan of a premium device and shrinking your carbon footprint.
Keep in mind that while a DIY repair is cheaper, it does demand a steady hand and patience. The iPad Pro is a finely engineered device, and its internals are full of delicate components that are easy to damage if you’re not careful.
That said, with the right tools, good-quality parts, and a clear guide, it’s a project that's well within reach for most people. At Screen Fixed, we're here to support the DIY community with reliable parts and expert advice. This guide is designed to give you all the information you need to make the right call and, if you decide to go for it, to help you succeed.
Getting Your Tools and Parts in Order
Before you even think about prying that broken screen off, preparation is key. A successful iPad Pro screen replacement is all about the groundwork. Diving in without the right tools and a quality screen is a surefire way to turn a straightforward repair into a very expensive paperweight.
This part of the process is about setting yourself up for success. A little effort now will save you a massive headache later.
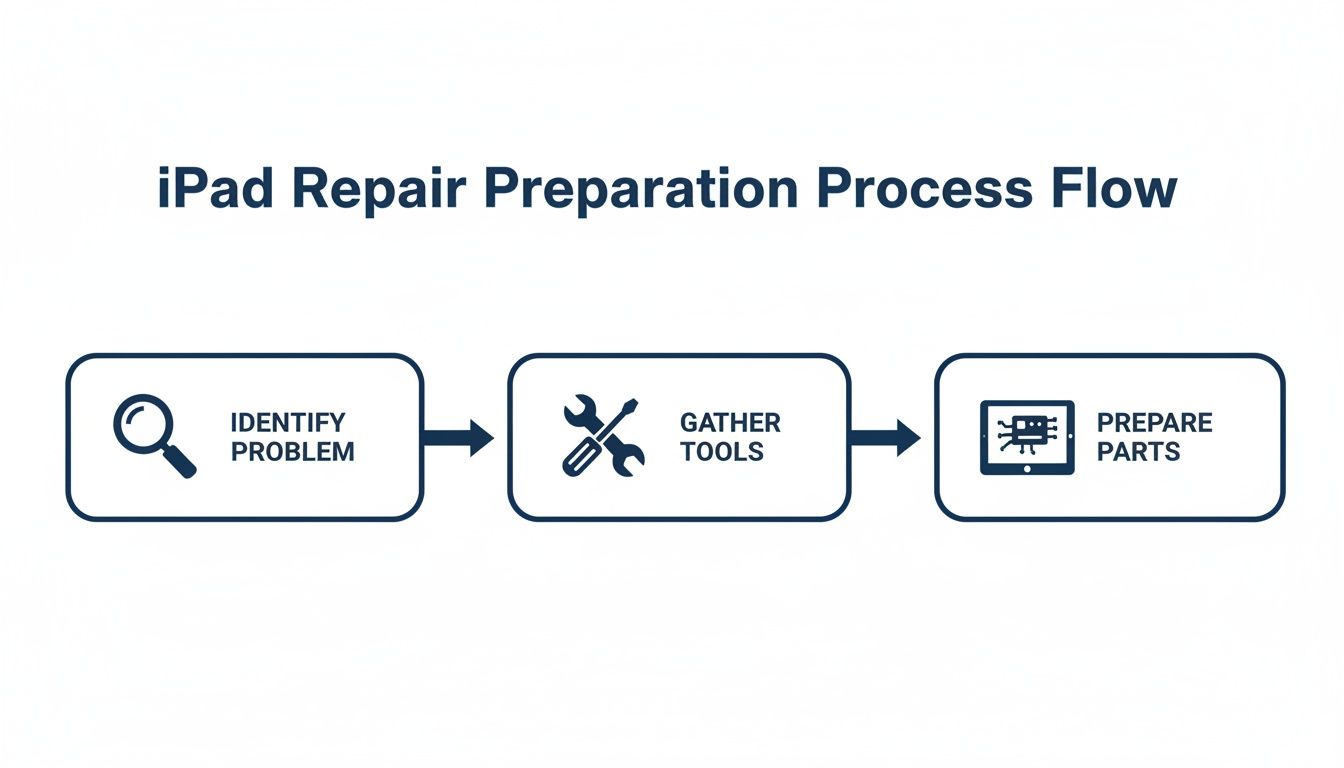 Alt: A flowchart showing the three key stages to prepare for an iPad Pro screen replacement: Identify Problem, Gather Tools, and Prepare Parts.
First, Know Your iPad Pro Model
This is the absolute first, non-negotiable step. Different iPad Pro models might look almost identical, but internally, they can be very different, with unique screen specifications and connector placements.
To find your model number, flip your iPad over. In the tiny print on the back, you’ll spot a model number starting with an "A," like A2378 for a 12.9-inch iPad Pro (5th generation, Wi-Fi). You must cross-reference this number to make sure you're buying the exact screen assembly for your specific device.
Getting this wrong is the most common and costly mistake DIYers make. Always double-check your model number before adding parts to your shopping cart.
Building Your Essential Toolkit
Once you know which iPad you're working with, it’s time to get your tools together. Using purpose-built tools is crucial to prevent stripped screws, scratched frames, and damaged components. Your toolkit is what stands between that cracked screen and a perfect, like-new repair.
Essential Toolkit for Your iPad Pro Screen Replacement
Here's a checklist of the required tools and parts to ensure you're fully prepared.
| Item | Purpose | Our Recommendation |
|---|---|---|
| Heat Source | Softens the tough adhesive holding the screen to the frame. | An iOpener provides controlled heat, but a heat gun or hairdryer on a low setting works too. |
| Prying Tools | Safely separates the screen from the metal chassis without scratching. | A mix of plastic opening picks and a spudger is essential. Avoid metal tools. |
| Suction Cups | Provides leverage to gently lift the screen assembly off the frame. | A pair of heavy-duty suction cups will give you the grip you need. |
| Screwdriver Set | For removing the tiny Phillips and tri-point screws inside. | A quality precision set with magnetic tips is a lifesaver for handling tiny screws. |
| Tweezers | For manipulating delicate ribbon cables and picking up small components. | A pair of angled tweezers offers the best control for tight spaces. |
| Anti-Static Wrist Strap | Prevents static discharge from damaging the logic board. | This is cheap insurance against accidentally damaging your device's motherboard. |
| Replacement Screen | The new display assembly for your specific iPad Pro model. | We recommend Service-Pack or OEM-Quality for the best results. |
| Adhesive Strips | Pre-cut adhesive to properly seal the new screen and maintain a tight bond. | Don't reuse old adhesive. Get a set specifically cut for your model. |
Sourcing the Right Replacement Screen
The replacement screen is the star of the show, and its quality will define the final result. You’ll come across a few different grades of screens, and knowing the difference is crucial. For a deeper dive, check out this guide to buying iPad replacement parts in Australia.
Here are the main options you'll see:
- Service-Pack or OEM-Quality Screens: This is the top tier. These screens match the original Apple display in colour, brightness, and touch response. For a premium device like an iPad Pro, this is what we strongly recommend.
- Refurbished Original Displays: These are genuine Apple LCD or OLED panels that have had their cracked front glass professionally replaced. You get the original visual quality, often at a slightly lower price.
- Aftermarket Screens: These are the cheapest screens, made by third-party manufacturers. While the price is tempting, they often involve a trade-off in display quality and durability.
When searching online, the lowest price can be alluring. It's normal to question whether you can you trust platforms like AliExpress for purchasing replacement parts. Sourcing from a reputable local supplier ensures you get a quality-tested part backed by people you can talk to.
Setting Up a Clean, Organised Workspace
Your repair environment matters. Find a clean, flat, well-lit table where you won't be disturbed. A light-coloured surface is a huge help for spotting any tiny screws that try to escape.
Use a magnetic mat or small bowls to keep your screws organised. The screws inside an iPad Pro are different lengths, and forcing a long screw into a short hole can cause irreversible damage. Take a moment to map out where each screw came from—it will save you a world of pain during reassembly.
Navigating the Disassembly with Confidence
This is where the real work begins. Taking apart an iPad Pro isn't just following steps; it's a delicate operation that calls for a steady hand and patience.
Mastering Heat Application
The first challenge is the strong adhesive Apple uses to secure the screen. Your mission is to soften it just enough to break the seal without damaging the delicate electronics underneath, like the battery or Face ID sensors.
Gently warm the edges of the display, keeping your heat source moving constantly to spread the warmth evenly. You're aiming for a temperature that's warm to the touch, but not too hot. Heat one section for about 30-45 seconds before moving along. Patience is everything here.
Pro Tip: Start the heating process on the side opposite the camera assembly. This area has fewer fragile flex cables, giving you a safer entry point to start prying.
The Delicate Dance of Prying the Screen
Once the adhesive has softened, create an opening. Place a suction cup near a heated edge and pull up with firm, steady pressure to create a tiny gap.
Slide a thin plastic pick into the gap. If you feel too much resistance, back off and apply more heat. With the first pick in, work your way around the iPad, carefully slicing through the adhesive.
- Listen and Feel: You'll hear and feel the adhesive letting go.
- Use Multiple Picks: Leave picks behind as you go to stop the adhesive from re-sealing.
- Watch Out for Cables: The flex cables connecting the display are fragile. On most iPad Pro models, they run along one of the long edges. Be extra careful here and don't push your pick in too deep.
The Golden Rule: Disconnect the Battery First
Before touching any connector inside the iPad, you must disconnect the battery. This is the single most important step in the entire process, as it prevents accidental short circuits that can permanently damage the logic board.
Once the screen is lifted (open it gently like a book), you'll see a metal shield covering the battery and display connectors. Remove the screws holding it down. Then, use a plastic spudger to carefully pry the battery connector straight up off its socket. Only when the battery is disconnected is it safe to proceed.
Keeping Track of Every Single Screw
An iPad Pro is packed with tiny screws of different lengths. Mixing them up can be disastrous during reassembly. Forcing a long screw into a short hole can crack your new screen from behind.
This is why a magnetic mat or labelled containers are essential. As you remove each screw, place it on the mat in the exact pattern you removed it in. This creates a visual map that makes putting it all back together much easier. Many top technicians in Brisbane rely on this to stay efficient and avoid expensive mistakes when they replace a screen on an iPad Pro.
This careful, organised method is a hallmark of quality repair work. You can dig deeper into repair costs and options and find out how much Apple charges to replace an iPad screen in Australia. With the screen safely off and the battery unplugged, you're ready to prep the frame for its new display.
Disclaimer: iPad Pro, Face ID, and Apple are trademarks of Apple Inc. Screen Fixed is an independent repair service and is not affiliated with Apple Inc.
Installing the New Screen and Reassembly
The old shattered screen is gone. This is where the magic happens, but it's also where finesse is crucial. Every component needs to line up perfectly for that flawless, factory-fresh finish.
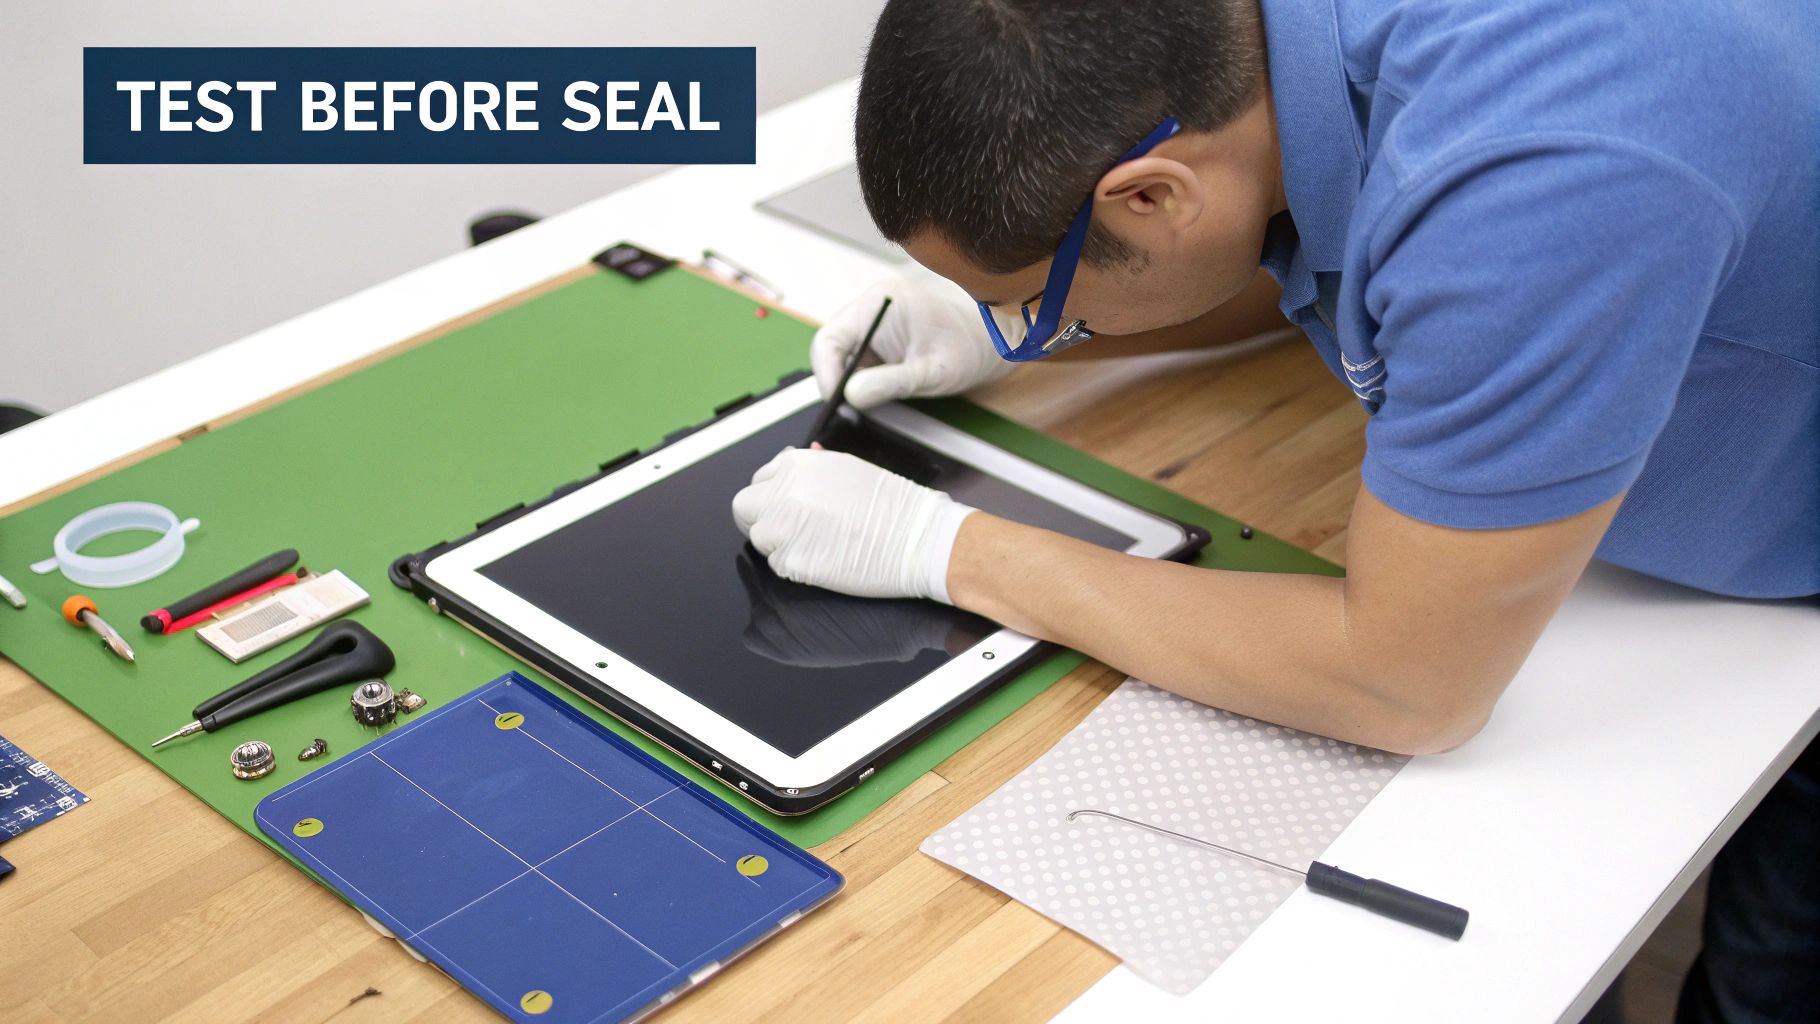 Caption: An expert technician in Brisbane carefully tests a new iPad Pro screen before the final seal.
Patience here is what separates a botched job from a professional-grade repair. Let's focus on the details that make a huge difference.
Preparing the Frame for a Perfect Seal
This is a commonly overlooked step: cleaning the frame. The edges of the iPad's chassis will have remnants of the old adhesive. If you just place the new screen on top, you're asking for trouble—think uneven fits and a weak seal.
Grab some isopropyl alcohol (99% is best) and a lint-free cloth. Meticulously work your way around the entire perimeter, wiping away every last spec of old adhesive. A plastic spudger can help you scrape off stubborn bits, but be gentle.
A perfectly clean frame is the foundation of a solid, long-lasting repair. It’s the only way the new adhesive can form a strong, even bond.
The Delicate Transfer of Critical Components
Steady your hands. A few vital components are attached to your old screen assembly, and you have to move them to the new one. The most important of these is the Face ID sensor array.
These components are cryptographically paired to your iPad's logic board. If you damage them, Face ID is gone forever. There's no software fix.
Work slowly and methodically:
- Gentle Heat: Apply a little heat to the front of the old screen where the sensors are to soften the adhesive.
- Pry with Care: Use a thin plastic tool to very gently pry the sensor array away from its bracket. Do not use metal tools here.
- Clean and Reinstall: Once it's free, make sure the sensor is clean before placing it into the bracket on the new screen. The alignment must be perfect for Face ID to work.
The All-Important Pre-Seal Test
Before you reach for the new adhesive, you have to do a test run. This step is non-negotiable.
Carefully connect the new screen's flex cables to the logic board. Reconnect the battery cable. Now, power on the iPad and put the new display through its paces.
Here's your checklist:
- Touch Functionality: Swipe everywhere. Open and close apps, test every corner of the screen.
- Display Quality: Look for dead pixels, lines, or any discolouration.
- Face ID: Test Face ID to confirm your sensor transfer was a success.
- True Tone: If your model has it, check the display settings to ensure it is working.
If anything is acting up, now is your chance to fix it. The most common cause is a loose cable. Power down, disconnect the battery, and carefully reseat the display connectors.
Applying New Adhesive for a Factory Finish
Once you've confirmed everything works perfectly, it's time to seal it up. Power down the iPad and disconnect the battery one last time. For this, you’ll use pre-cut adhesive strips made for your iPad Pro model. Don't use generic tape or liquid glue. To understand why the right adhesive is so important, check out this guide on the role of double-sided tape adhesive in phone repairs.
Applying it is a precise job:
- Peel the backing from one side of an adhesive strip.
- Carefully line it up along the edge of the iPad's frame.
- Press it down firmly with a spudger.
- Repeat for all sides.
With the adhesive ready, peel off the final protective film. Reconnect the display and battery cables one last time and secure any shields. Now, carefully lower the new screen into place, starting from one end and gently pressing it down until it sits perfectly flush.
Apply firm, even pressure around all edges to activate the adhesive. Many technicians use special clamps or a stack of books to hold the screen down for about 30 minutes to ensure the strongest possible bond.
Post-Repair Checks and Troubleshooting
You’ve sealed the new screen, and your iPad Pro looks whole again. But the job isn't quite finished. This final stage is all about quality control.
Your Essential Quality Control Checklist
After powering your iPad back on, it’s time to be systematic. This is the same process a professional at a repair shop like Screen Fixed Brisbane would follow.
Your post-repair inspection should cover:
- Full Touch and Digitiser Response: Open a drawing app and scribble across the entire screen. Watch for any dead spots where the line breaks.
- Display Quality and Colour Accuracy: Pull up a high-resolution image. Look for any bright or dark spots (dead or stuck pixels) or backlight bleeding.
- Brightness and True Tone: Slide the brightness control up and down. Check Settings > Display & Brightness to make sure True Tone is working.
- Face ID and Front Camera: Test Face ID multiple times. Open the Camera app and switch to the front-facing camera to ensure it produces a clear image.
- ProMotion and Apple Pencil: On compatible models, scroll quickly to check for the smooth 120Hz ProMotion performance. Test your Apple Pencil's pairing and pressure sensitivity.
Troubleshooting Common Post-Repair Glitches
Even with careful work, things can go wrong. The good news is that most post-repair problems are caused by simple, fixable issues.
A non-responsive screen or "ghost touching" is a frequent headache. In 9 out of 10 cases, this is because a display cable isn't fully seated. The fix is to carefully reopen the iPad, disconnect the battery, and reseat the display cables until you feel a firm "click."
Perhaps the most feared issue is a non-functional Face ID. If you were extremely careful, the problem is almost certainly a loose connection. However, if that fragile flex cable was torn or creased, the damage may unfortunately be permanent.
If you hit a snag, the table below is a good starting point.
iPad Pro Screen Replacement Troubleshooting Guide
This table provides quick solutions for common issues after installing a new screen.
| Symptom | Potential Cause | Recommended Action |
|---|---|---|
| No display or backlight | Battery not reconnected; display cable loose. | Reopen, disconnect the battery, then firmly reconnect all display cables and the battery. |
| "Ghost touch" or unresponsive areas | Digitiser cable is partially loose; static buildup. | Reseat the digitiser flex cable. A full power cycle can sometimes resolve static issues. |
| Vertical or horizontal lines | Damaged display flex cable or a loose connection. | Power off immediately. Inspect flex cables for tears and reseat the connectors. |
| Face ID not working | Sensor array cable is loose; sensor misaligned or damaged. | Reopen and check the Face ID cable connection. Ensure the sensor is perfectly aligned. |
| True Tone is missing | Incompatible screen; data not transferred from the original screen. | This requires specialised tools to copy data. Ensure you bought a premium screen that supports this feature. |
Remember, the golden rule of troubleshooting is to always disconnect the battery before touching any internal components.
Still Have Questions?
Deciding to replace the screen on an iPad Pro yourself is a big step, and it’s normal to have a few questions.
Will I Void My Apple Warranty?
Yes. Any unauthorised repair on your iPad Pro will void Apple's standard warranty. If your device is still covered, your best bet is to go through Apple's official channels first. However, once that warranty has expired, a DIY repair becomes a practical way to fix a damaged screen.
Can I Keep True Tone After the Repair?
Keeping your True Tone function is possible, but it requires a special programming tool to read data from the original screen's chip and write it to the new one. Most DIY repairs will skip this step. Professional repair shops in Brisbane will usually include this data transfer as part of the service.
Without transferring this data, your new screen will work perfectly, but the True Tone option will be missing from your settings. For many, it's a small trade-off for the significant cost savings.
What if Face ID Stops Working?
If Face ID has stopped working, the issue almost always points to a loose or damaged flex cable. The entire Face ID sensor assembly is incredibly fragile and digitally paired to your iPad's logic board. Your first move should be to reopen the iPad and double-check that the sensor's connector is seated properly. If that tiny cable was torn or creased, the damage might be permanent.
Whether you're looking for reliable parts for your iPad Pro repair or decide you'd rather leave it to the professionals, Screen Fixed has your back. If you’re not confident in tackling the repair yourself, book your repair with Screen Fixed Brisbane today and let our experts handle it for you.