
When your MacBook Pro screen cracks or gives up the ghost, the first question that pops into your head is, "How much is this going to sting?" It’s a frustrating problem, but there isn't a simple one-size-fits-all answer. The cost of a new screen can swing wildly, with several key factors coming into play. Understanding what drives the price is crucial for making a smart decision, whether you're thinking of a DIY job or seeking a professional repair here in Brisbane.
A MacBook Pro screen replacement can be a serious investment. In Australia, you can expect out-of-warranty repairs to range anywhere from around AU$455 to a hefty AU$1,800. Often, choosing to go with a trusted independent repairer like Screen Fixed Brisbane instead of an authorised provider can end up saving you hundreds.
Decoding the True Cost of a MacBook Pro Screen Replacement
The biggest single factor dictating the cost is, without a doubt, the specific model of your MacBook Pro. Every new generation Apple rolls out introduces more advanced display technology. We've gone from the early Retina screens to the complex integrated Touch Bar models and now the stunning M-series displays, and each one has its own price tag for parts and labour.
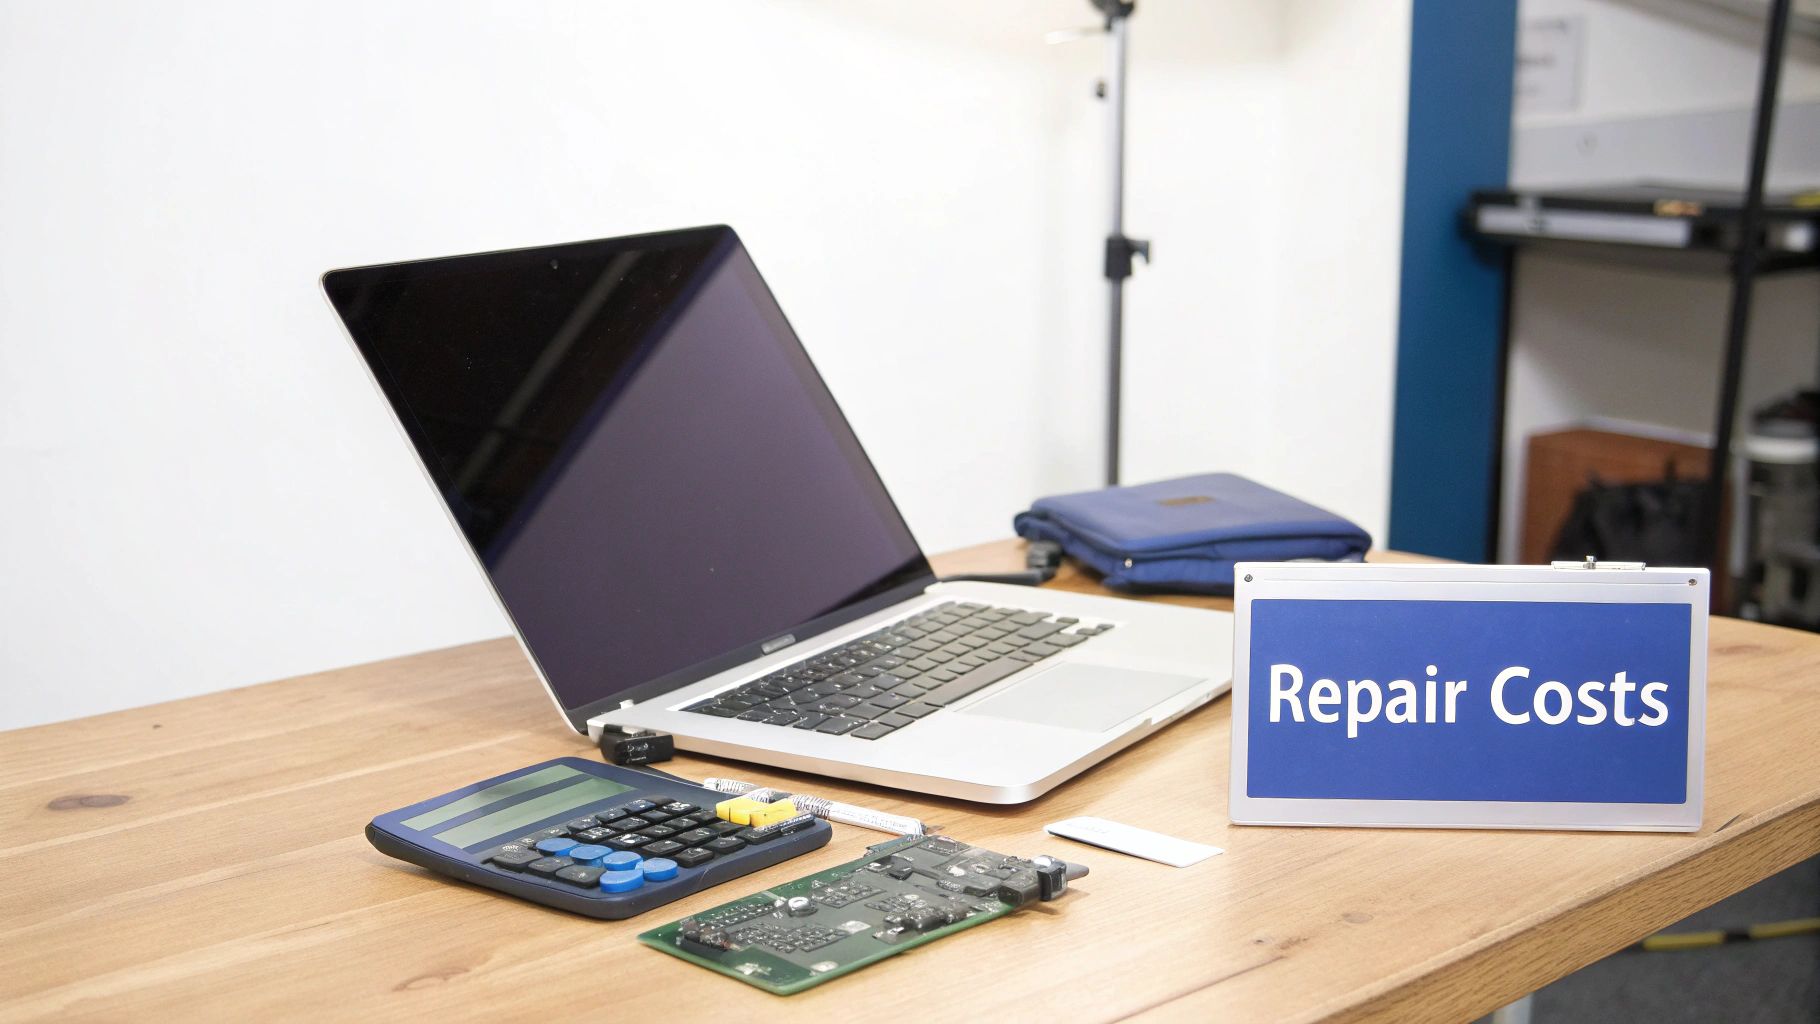
Alt text: A calculator showing repair costs next to a MacBook Pro, symbolising the expense of a laptop screen replacement.
Why Model and Age Heavily Impact Repair Costs
Generally speaking, older MacBook Pro models—especially those released before 2017—tend to have more affordable replacement screens. The catch, however, is that as these devices get older, finding high-quality, reliable parts can become a real challenge.
On the flip side, the latest models packed with features like ProMotion and mini-LED backlighting use incredibly sophisticated and expensive display assemblies. This technological complexity naturally pushes the repair bill higher. The price gap between fixing a 13-inch non-Touch Bar model and a 16-inch M2 Pro model can be absolutely massive. For a more detailed look at a specific model, there are guides on the replacement screen cost for a late 2017 13" MacBook.
Authorised vs. Independent Repair: The Price Divide
Your choice of repair provider is another massive piece of the puzzle. Going to an Apple Authorised Service Provider guarantees you'll get original parts and a manufacturer-backed warranty, but you'll definitely pay a premium for the privilege. Independent repair shops, like Screen Fixed, are the more budget-friendly alternative, often delivering the same quality work for a fraction of the cost.
Take a look at the estimated costs below to see just how much you could save by opting for an independent expert.
Estimated MacBook Pro Screen Replacement Costs in Australia (Out of Warranty)
| MacBook Pro Model | Authorised Provider Cost (Est.) | Independent Repairer Cost (Est.) | Potential Savings |
|---|---|---|---|
| 13-inch (2017-2022) | AU$950 – AU$1,200 | AU$650 – AU$850 | AU$300 – AU$350 |
| 15-inch (2016-2019) | AU$1,100 – AU$1,400 | AU$750 – AU$950 | AU$350 – AU$450 |
| 16-inch (Intel, 2019) | AU$1,300 – AU$1,500 | AU$900 – AU$1,100 | AU$400 – AU$400 |
| 14-inch (M1/M2/M3) | AU$1,500 – AU$1,800+ | AU$1,100 – AU$1,400 | AU$400 – AU$400+ |
| 16-inch (M1/M2/M3) | AU$1,600 – AU$1,800+ | AU$1,200 – AU$1,500 | AU$400 – AU$400+ |
As you can see, the savings are significant. For a 13‑inch 2017–2022 model, an independent shop in Brisbane, Sydney, or Melbourne could save you 20–40% compared to authorised channels. This makes independent repair an incredibly attractive option for most people.
For both DIY repairers and professional workshops, the best way to manage costs is by sourcing quality parts directly from a trusted supplier like Fixo. This gives you access to reliable components without paying the steep markup charged by authorised service centres.
At the end of the day, the cost of a new screen boils down to the complexity of the part and the labour involved. If the repair cost just doesn't make sense for an older MacBook, don't just let it collect dust. You can responsibly recycle your MacBook to mitigate its environmental impact, ensuring valuable materials are recovered and kept out of landfill.
Finding Your Model and Sourcing the Correct Screen
Starting a MacBook Pro screen replacement is a bit like surgery; you absolutely need the right instrument for the job. Ordering the wrong display is a common, frustrating, and seriously expensive mistake. The first, and arguably most important, step is to get the exact model number of your MacBook Pro.
This isn't just about knowing you have a "13-inch MacBook Pro." Apple has pushed out dozens of variations over the years, each with subtle but critical differences in their display assemblies. Get this wrong, and the part simply won't fit or connect properly.
How to Find Your Exact Model Number
The most reliable way to identify your machine is by finding its model identifier, often called the A-number. This code is your golden ticket to sourcing the right part.
You can find it in a couple of places:
- On the bottom case: Flip your MacBook Pro over. You'll see fine print etched into the aluminium chassis. Look for "Model A" followed by four numbers (e.g., A1708, A2159, or A2338).
- On the original packaging: If you’ve still got the box your MacBook came in, the model number will be clearly printed on the label.
Once you have this A-number, you've unlocked the key to finding a compatible screen. A quick search for "MacBook Pro A2338 screen" will give you far more accurate results than a generic one ever could.
Navigating Retina, Touch Bar, and Other Variations
Knowing the A-number is crucial, but it also helps to understand the key tech differences that can throw a spanner in the works, even between models released in the same year. Misidentifying these features is where a lot of people go wrong.
For instance, between 2016 and 2020, Apple made 13-inch and 15-inch MacBook Pros both with and without the Touch Bar. These two versions use completely different display assemblies with unique connectors. A screen built for a Touch Bar model will not work on a non-Touch Bar machine, and vice versa. It’s a classic trap.
Pro Tip: Look closely at the top display bezel. Models with a Touch Bar almost always have a slightly different camera and ambient light sensor layout. Always compare product images from your supplier with your actual damaged screen before you hit "buy".
Another key term you'll see is Retina display. While almost all MacBook Pros since 2012 have Retina screens, the resolutions and underlying tech have changed. Always cross-reference your A-number with the supplier's compatibility list to make sure the resolution and features like True Tone will function correctly.
Spotting Quality Parts from Cheap Imitations
The market is flooded with replacement screens of all sorts of quality. A cheap, low-grade screen might save you a few dollars upfront, but it often leads to dodgy colour accuracy, backlight bleeding, or it just fails prematurely. For repair shops in Brisbane and across Australia, using a subpar part can wreck your reputation.
Here’s what to look for in a high-quality replacement:
- OEM or Service-Pack Quality: These terms mean the parts meet or are identical to Apple's original specs. This is what you want.
- Correct Connectors: Inspect the ribbon cable connectors in the product photos. Low-quality parts often have flimsy or poorly made connectors that can be easily damaged during installation.
- Foam and Adhesives: A quality assembly will come with pre-installed foam pads and adhesive strips that match the original design, ensuring a snug and secure fit.
When you're sourcing the correct screen, it helps to understand the bigger picture of how these components are managed. The world of inventory analytics for electronics parts gives you a glimpse into how suppliers handle massive catalogues, influencing part availability and pricing for everyone from huge distributors to local repair techs. This complex supply chain is exactly why sourcing from a reliable Australian supplier who gets these details is so important—it's the best way to get a quality, compatible part every time.
Setting Up Your Workspace and Essential Toolkit
A successful MacBook Pro screen replacement is about more than just the quality of the new display; it's just as much about preparation. Trying to jump into this delicate procedure without the right setup is like attempting surgery on a kitchen table. You might get it done, but the risk of a costly mistake skyrockets. A clean, organised workspace and the correct tools are non-negotiable if you want to protect your device from further damage.
This isn't just about having a screwdriver. It's about having the right one. Apple is famous for using proprietary screws to secure its devices, which means your standard toolkit from the garage simply won't cut it. Trying to force a tool that doesn't fit is the quickest way to strip a screw head, turning a straightforward repair into a massive headache.
This decision tree can help you visualise the first steps of figuring out your screen type, which is a crucial check before you even think about tools.
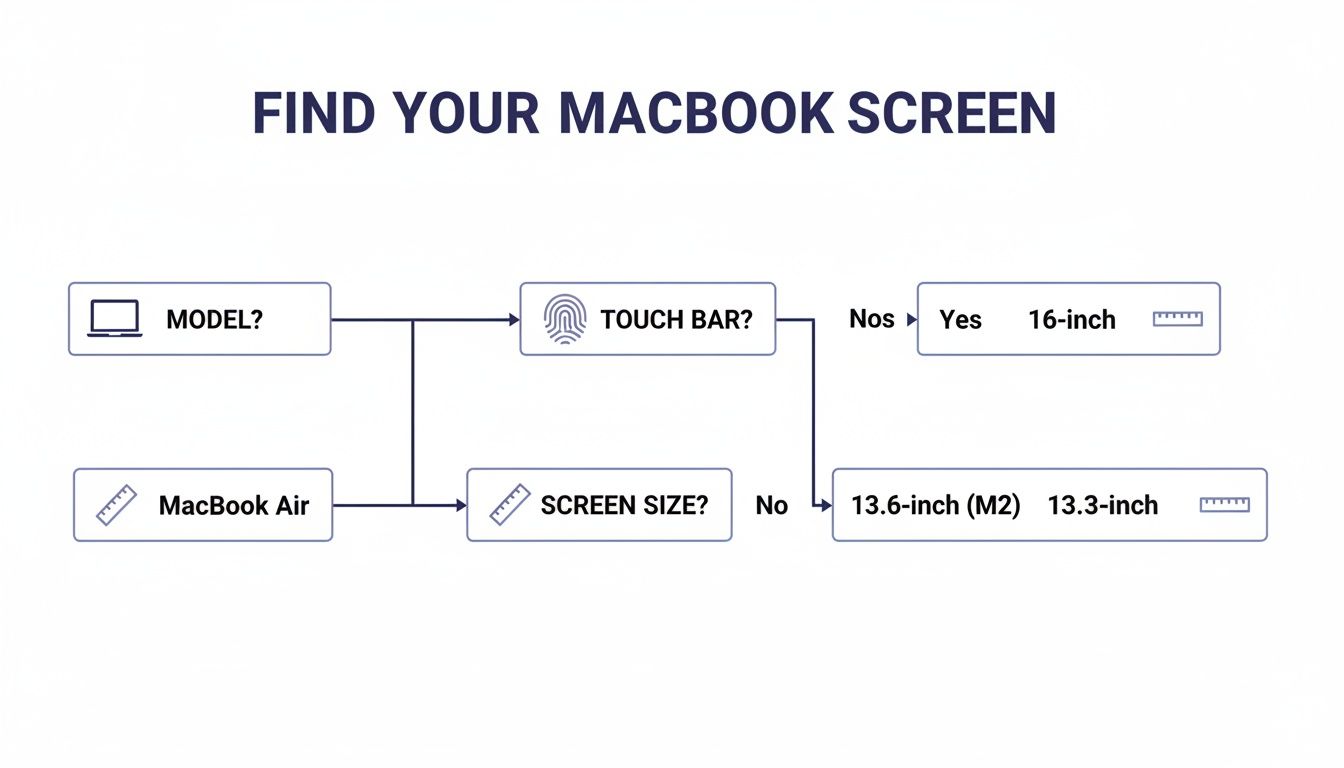
Alt text: A flowchart guiding users on how to identify their MacBook Pro screen size and model for a correct replacement.
As you can see, identifying the model is critical, as it directly impacts the components and, therefore, the tools you'll need for the job.
Your Essential MacBook Repair Toolkit
Putting your toolkit together is the first real, hands-on step. While you can buy comprehensive kits, understanding what each tool does will help you work more efficiently and safely. A small investment here can prevent much bigger costs down the line.
Here’s the core list of tools you’ll need to get started:
- Pentalobe P5 Screwdriver: This is your key to the bottom case screws. No other screwdriver will work without causing damage. You can learn more about the specific role of Pentalobe screwdrivers for iPhone and MacBook repairs in our detailed guide.
- Torx T3, T5, and T8 Screwdrivers: Inside the MacBook, you'll run into various sizes of Torx screws holding down everything from the logic board to the hinge mechanisms.
- Plastic Spudger or Pry Tool: Absolutely essential for safely disconnecting delicate ribbon cables and prying components apart without scratching the internals. A metal tool can easily short-circuit the logic board, so steer clear.
- Suction Cup: This small but mighty tool helps create a gap between the display and the body, giving you a starting point to pry it open without force.
- Tweezers: You'll be dealing with tiny screws and minuscule cable connectors. A good pair of angled tweezers is particularly useful for grabbing and placing them with precision.
Pro Tip: An ice cube tray or a magnetic screw mat is an absolute lifesaver. You'll be removing dozens of tiny, easily lost screws of different lengths. Keeping them organised is critical for a smooth reassembly. Mismatching screws can permanently damage your logic board.
Creating a Safe and Organised Workspace
Your environment is just as important as your tools. The biggest unseen threat during any electronics repair is electrostatic discharge (ESD). A tiny spark from your body, often unfelt, can be enough to permanently fry the sensitive microchips on the logic board.
To prevent this, work on a non-conductive surface like a wooden desk or a rubber mat. For professionals and serious DIYers, an anti-static wrist strap connected to a grounded metal object is best practice. At a bare minimum, touch a large metal object before you start to discharge any static buildup.
Good lighting is also a must. A bright, direct light source, like a desk lamp, will help you see the tiny components and connectors clearly, which reduces eye strain and the chance of making a mistake. Make sure you have enough space to lay out your tools and the MacBook parts without everything getting cluttered. The more organised your space, the more focused you can be on the delicate task ahead. At our Screen Fixed Brisbane workshop, we make this setup a priority for every single repair.
A Careful Guide to Removing the Damaged Display
With your workspace prepped and tools at the ready, it's time to dive into the most critical phase of the repair: removing the broken display. This procedure demands patience and a steady hand. Honestly, rushing through these steps is the fastest way to turn a simple screen issue into a logic board disaster, so take your time and follow along closely.
Our first priority is always safety—both for you and the delicate electronics inside your MacBook Pro. This means the single most important action you will take is to completely power down the device and, crucially, disconnect the battery the moment you have access to it.
The First Step: Powering Down and Opening the Case
Before a single screw comes out, shut down your MacBook Pro completely. Don't just close the lid; go to the Apple menu and select "Shut Down." This ensures no background processes can cause data corruption or electrical shorts when you start unplugging things.
Next, grab your Pentalobe P5 screwdriver and carefully remove all the screws securing the bottom case. Keep in mind that these screws are often different lengths, especially on newer models. A magnetic screw mat is your best friend here. Use it to map out exactly where each screw came from so you can put them back in the correct holes later on.
Once all the screws are out, use a suction cup near one of the corners to gently lift the bottom case, creating a small gap. Slide a plastic pry tool into this opening and work your way around the perimeter to release the hidden clips holding it in place. Lift the case off and set it somewhere safe.
Disconnecting the Battery: The Non-Negotiable Safety Measure
With the bottom case off, your immediate target is the battery connector. This is the absolute first component you must disconnect. Doing so prevents any electrical current from flowing to the logic board. I can't stress this enough: trying to unplug display cables with the battery still connected is an incredibly risky move that can easily lead to a fried backlight circuit or worse.
The battery connector is typically a wide, flat plug, sometimes covered by a small plastic shield or held down by a single Torx screw. Remove the screw if there is one, then use the flat end of a plastic spudger to gently pry the connector straight up from its socket on the logic board. Whatever you do, never use a metal tool for this, as it could easily bridge contacts and cause a short.
Crucial Takeaway: Do not proceed with any other disconnection until the battery is unplugged. This single action de-energises the system and is the most effective way to prevent accidental damage during a MacBook Pro laptop screen replacement.
Detaching the Delicate Display Cables
Now that the device is safe, you can focus on the display assembly's connections. You'll see several thin, fragile ribbon cables running from the display's hinge area to the logic board. These control everything from the screen image and backlight to the FaceTime camera and ambient light sensors.
Each cable is secured by a small connector, often with a tiny locking lever or bracket. For connectors with a flip-up lever, use your fingernail or the tip of a spudger to gently flip the latch up 90 degrees. This releases the tension, allowing you to slide the cable out smoothly. Never pull or tug on the cable itself.
For other connectors, you might need to pop them straight up off the board. Again, use a plastic spudger to gently pry upwards from each side until it detaches. Be extremely careful here; the sockets on the logic board are delicate and can be ripped off if you apply too much force. It's worth taking a moment to familiarise yourself with the guidance from an expert like Louis Rossmann on display connector care, as his insights show just how easily these parts can be damaged.
Releasing the Hinge and Antenna Assembly
The final part of the teardown is to free the display assembly itself. The screen is attached to the main body by two strong hinges, each secured by several Torx screws. Before you can get to them, you'll likely need to remove a plastic clutch cover and the Wi-Fi antenna bar that runs along the hinge area.
Unscrew the antenna bar first, carefully noting its orientation. You may also need to disconnect the tiny coaxial antenna cables from the wireless card. These pop off vertically with gentle pressure from a spudger. Once the antenna bar is clear, you can finally access the hinge screws.
Prop the screen open to a 90-degree angle to relieve tension on the hinges. Now you can begin removing the Torx screws from each hinge—there are usually three per side. As you remove the last few screws, make sure you support the weight of the display to prevent it from flopping backwards and straining the hinges. With all screws removed, you can carefully lift the entire display assembly away from the laptop body.
Congratulations, the most challenging part of the disassembly is complete.
Installing Your New Screen and Final Reassembly
You’ve got the damaged display off, which means you’re officially at the halfway point. Well done. The next phase is all about precision and care. Installing the new screen isn't just a simple reversal of what you just did; it demands a delicate touch to make sure every cable and component sits exactly where it should for a perfect result.
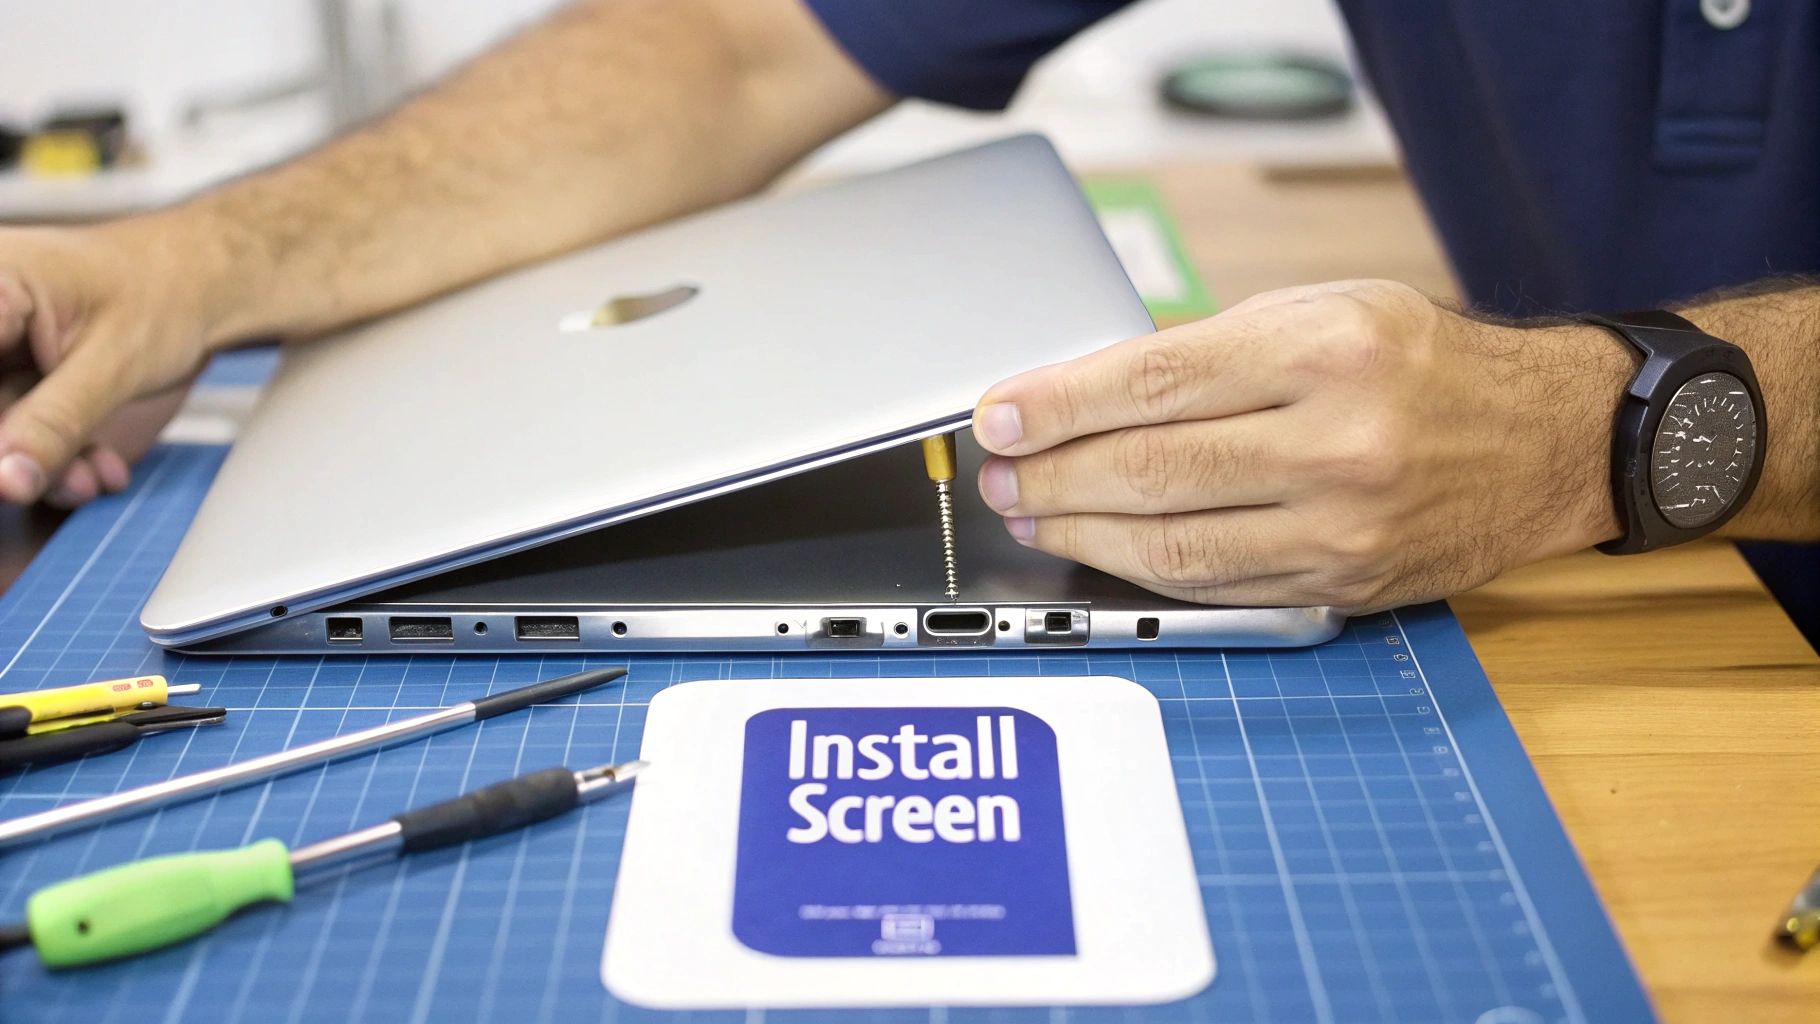
Alt text: A technician performing a MacBook Pro laptop screen replacement with professional tools on a blue anti-static mat.
First up, you'll want to carefully position the new display assembly onto the main body of the MacBook Pro. This is where hinge alignment is absolutely critical. Take your time to ensure the hinges on the new screen slot perfectly into their designated places on the chassis.
Don't rush to put the screws in just yet. Gently open and close the lid a few times. You're feeling for a smooth, unrestricted movement. A misaligned hinge can cause binding, creaking, or even damage the chassis over time, so this simple check is well worth the effort.
Carefully Routing and Reconnecting Cables
Once you're happy with how the hinges are sitting, it’s time to tackle the most delicate part of the entire installation: reconnecting those tiny display cables. This is where a steady hand and good lighting become your best friends. Each ribbon cable—for the display data, backlight, and camera—must be routed exactly as it was originally.
Start by gently feeding the cables through their channels towards the logic board. Make sure there are no sharp bends or kinks, as this can easily damage the fine wires inside.
When you get to the logic board, the real test of patience begins. The connectors are tiny and extremely fragile. One of the most common—and costly—mistakes we see is damaged pins on either the cable or the board's socket itself.
- Align it perfectly: Before you apply any pressure, make absolutely certain the cable's connector is perfectly square with its socket.
- Use the right tools: A plastic spudger or your fingertips are the way to go. Never use metal tweezers to press these connectors into place.
- Feel for the 'click': For press-fit connectors, you should feel a subtle but satisfying click as they seat correctly. For ZIF (zero insertion force) connectors, slide the cable in fully before gently pushing the locking latch back down.
Pro Tip: Never, ever force a connection. If it doesn't feel right, stop. Pull back, re-examine the alignment, and try again. A damaged logic board socket can turn a successful screen repair into a much more expensive logic board replacement.
Re-engaging the Antenna and Securing the Case
With the display cables securely back in place, your next job is to reinstall the Wi-Fi antenna bar and any associated clutch covers. Position the antenna bar over the hinges, ensuring those tiny coaxial cables aren't being pinched.
Carefully pop the coaxial connectors back onto the wireless card. They should snap on with minimal pressure. Now you can re-insert and tighten the Torx screws for both the antenna bar and the display hinges.
Before you even think about attaching the bottom case, do one last visual sweep. Check that all cables are secured, all screws are in place, and you haven't left any tools or loose screws inside the machine.
Now you can slide the bottom case back on, making sure all the clips around the edge engage properly. Finally, re-insert the P5 Pentalobe screws to seal everything up. For a job like this, having the right materials is key. For instance, using the correct double-sided tape and adhesive is crucial for securing components that might have lost their original stickiness during the repair.
Your Post-Repair Testing Checklist
The repair isn't truly finished until you've put the new screen through its paces. Power on your MacBook Pro and run through this essential checklist to confirm the job was a success.
- Check for Dead Pixels: Use a plain white, black, red, green, and blue background to scan the entire display for any pixels that are stuck on or off.
- Test for Backlight Bleed: With a black background and the brightness cranked up, look around the edges of the screen for any uneven "glowing" or light leakage.
- Verify True Tone Function: Head into System Settings > Displays and toggle the True Tone setting. The screen's colour temperature should shift noticeably, which confirms the ambient light sensor is working.
- Test the FaceTime Camera: Open the Photo Booth or FaceTime app. You want to see the camera activate and provide a clear image.
- Confirm Full Brightness Range: Use the function keys to adjust the screen brightness from its lowest to its highest setting, checking that the transition is smooth.
If you can tick off all these tests, you’ve successfully completed the MacBook Pro laptop screen replacement. For any repair technician in Brisbane or a DIYer tackling this at home, this final check is easily the most satisfying part of the job.
Your Top MacBook Pro Screen Repair Questions Answered
Even the most detailed guide can't cover every single question, especially when you're dealing with something as intricate as a MacBook Pro screen replacement. Whether you're a seasoned tech or tackling your first DIY repair, a few questions always seem to come up. We've pulled together the most common ones we hear to give you clear, no-nonsense answers.
Let's cut through the confusion so you can get started with confidence.
Can I Just Replace the Glass on My MacBook Pro?
This is easily the most common question we get, and it makes sense—on the surface, it seems like a cheaper fix. The short answer, however, is almost always no, especially for any MacBook Pro with a Retina display (models from 2012 onwards).
In modern MacBooks, the LCD panel, the front glass, and the digitiser are all laminated and fused together into one sealed unit. Pulling them apart without destroying the delicate layers inside requires highly specialised, industrial-grade machinery. It's just not practical for a DIY job or even for most professional repair shops. The only real-world solution is to replace the entire display assembly.
Will I Lose True Tone After a Screen Replacement?
Losing True Tone—the nifty feature that adjusts your screen’s colours to match the ambient light—is a legitimate worry. The good news is that if you use a high-quality replacement screen from a reputable supplier, you can absolutely keep it.
Its functionality, however, often depends on transferring calibration data from the original screen to the new one. This sometimes requires a special programming tool. Before you buy, always double-check with your parts supplier to confirm their screens support True Tone and ask if any extra steps are needed to get it working properly.
For both repair shops and dedicated DIYers, sourcing parts that are guaranteed to be compatible with features like True Tone is a must. It’s the key to a successful repair that doesn't leave the user with a downgraded experience.
Is a DIY MacBook Pro Screen Replacement Really Worth the Risk?
This one boils down to a classic trade-off: money versus risk. The biggest motivation for going the DIY route is saving a chunk of cash on labour costs. But you have to be honest with yourself about the risks involved.
One tiny mistake—a ripped ribbon cable, a stripped screw, or accidentally shorting the logic board—can turn a straightforward repair into a very expensive headache. If you're patient, organised, and can follow instructions to the letter, you stand a good chance of success. But if you feel any hesitation, a professional service offers invaluable peace of mind.
Here in Australia, the numbers really tell the story. Independent repairers can save customers 30–50% compared to going through Apple's authorised channels. A full display assembly job might cost between AU$600–AU$900 at an independent shop, whereas Apple could charge anywhere from AU$1,400 to over AU$1,800 for newer models. Sourcing quality parts from an Australian wholesaler is what makes these savings possible, as you can learn more about the local MacBook repair market dynamics. This cost gap makes both independent professional repairs and well-planned DIY projects very attractive options.
Disclaimer: Apple, MacBook, MacBook Pro, and Retina are trademarks of Apple Inc., registered in the U.S. and other countries. Screen Fixed is an independent service provider and is not affiliated with Apple Inc.
If a DIY repair feels too daunting, or you simply want the peace of mind that comes with a professional, guaranteed service, we're here to help. At Screen Fixed, we handle complex MacBook screen replacements every day.
Book your MacBook Pro screen replacement with Screen Fixed Brisbane today.