
Meta Title: New Battery for MacBook Air | Australian Guide to Replacement
Meta Description: Is your MacBook Air battery dying? Learn when to replace it, the costs in Australia, and how to choose a new battery. Get expert advice from Screen Fixed.
If your MacBook Air barely lasts a coffee break without being plugged in, you’re not just imagining it—you almost certainly need a new battery. The most obvious sign is a drastically reduced runtime, but other subtle clues like sluggish performance and unexpected shutdowns also point to a failing battery. This is a common problem we see, and the solution is straightforward.
Deciding to replace it is the first step towards getting your Mac's portability and peak performance back. This guide explains everything you need to know to make the right choice.
Knowing When Your MacBook Air Needs a New Battery
That all-too-familiar feeling of being chained to a power outlet is often the first and most frustrating sign that your MacBook Air's battery is on its last legs. What once lasted a full day of lectures or meetings now barely survives the commute.
But poor battery life is just one piece of the puzzle; several other symptoms can tell you it's time for a replacement.

Alt: A MacBook Air screen showing the battery health status with icons indicating good and poor capacity, relevant for a new battery replacement.
Beyond Just Poor Battery Life
One of the less obvious signs is sluggish performance when your MacBook isn't connected to power. A weak battery can struggle to provide enough voltage for demanding tasks, forcing your Mac to throttle its performance to save what little energy is left. If you notice apps launching slower or the system feeling generally laggy when unplugged, the battery could be the culprit.
Another clear indicator is the dreaded 'Service Recommended' warning. This message appears when you click the battery icon in your menu bar, and it's macOS's way of telling you the battery's health has significantly degraded. While you can often keep using it for a while, the warning means its ability to hold a charge is a shadow of its former self.
To help you get a clearer picture, here's a quick checklist of common symptoms and what they mean.
MacBook Air Battery Health Checklist
| Symptom | What It Means for Your MacBook | Urgency Level |
|---|---|---|
| Rapid Battery Drain | The battery can no longer hold a full charge, requiring frequent recharging. | Medium |
| 'Service Recommended' Warning | macOS has detected significant degradation in the battery's health. | Medium |
| Unexpected Shutdowns | The battery can't supply stable power, causing the Mac to turn off without warning. | High |
| Sluggish Performance (Unplugged) | The battery is too weak to power the CPU at full speed, causing performance throttling. | Medium |
| Physical Swelling | The battery is failing dangerously, posing a risk to you and your device. | Critical - Stop Use Immediately |
If you're ticking off more than one of these, it's definitely time to start looking for a replacement.
Understanding Charge Cycles
The lifespan of a MacBook Air battery is measured in charge cycles. For its M-series models and newer designs, Apple uses a 1,000 charge cycle benchmark. One charge cycle is counted every time you use up 100% of your battery's capacity—this could be in one go, or spread over several days.
After about 1,000 cycles, the battery's maximum capacity often drops below 80% of its original design. This is typically when you really start to notice those performance issues and the reduced runtime. You can check your cycle count under System Information > Hardware > Power.
The Most Critical Warning Sign: Swelling
The most urgent symptom of a failing battery is physical swelling. A swollen battery is a serious safety hazard and can cause irreversible damage to your MacBook Air. This isn't just an inconvenience; it's a critical failure.
A swollen lithium-ion battery can push up against the trackpad from underneath, making it difficult or impossible to click. In severe cases, it can even bend the aluminium chassis or damage the keyboard. If you notice your MacBook Air doesn't sit flat on a table or the trackpad is raised, stop using it immediately and seek professional help.
Ignoring a swollen battery not only puts your device at risk but also poses a fire hazard. While we’re focused on MacBooks here, the underlying lithium-ion technology is common across many brands, and you can see similar principles in our guide to Samsung battery replacement. This is one problem you absolutely should not ignore.
How to Find the Right Battery for Your MacBook Air
Choosing a new battery for your MacBook Air isn't as straightforward as just grabbing the first one you see online. If you get it wrong, you'll end up with a part that doesn’t fit, performs poorly, or even fails a few months down the track. It all boils down to two things: nailing the compatibility and knowing the difference between a quality battery and a dud.
First up, you absolutely have to pinpoint your MacBook Air's exact model. Different years and sizes use completely different batteries, so this part is non-negotiable. Thankfully, Apple makes this pretty easy to figure out.
Identifying Your MacBook Air Model
The quickest way to get your model number is to just flip your MacBook Air over. You’ll see a block of small text printed on the bottom case near the hinge. Buried in there is a model number starting with an 'A' followed by four digits—something like A2337 for the M1 MacBook Air or A2179 for the 2020 Intel version.
If that text has worn off over the years, no worries. You can find the same info right in macOS.
- Click the Apple menu in the top-left corner.
- Choose ‘About This Mac’.
- A window will pop up showing the model name and year, like "MacBook Air (M1, 2020)".
Here's an example of what that window looks like, pulled straight from Apple's own support guides.
Alt: A screenshot of the 'About This Mac' window in macOS, used to identify a MacBook Air model for a battery replacement.
This little window gives you everything you need, from the model identifier to the serial number. These details are exactly what you'll use to confirm you're buying the right battery.
OEM vs Aftermarket: The Big Decision
Okay, so you have your model number. Now you've got a choice to make: do you hunt down an Original Equipment Manufacturer (OEM) battery, or go for a high-quality aftermarket one?
An OEM battery is the real deal—identical to the one that came with your MacBook Air from the factory. You get a guaranteed fit and performance you can count on. The downside? They usually cost a lot more and can be tricky to find unless you go directly through Apple's official (and expensive) repair channels.
On the other hand, a high-quality aftermarket battery from a trusted supplier can give you the same, if not better, performance for a fraction of the cost. The key phrase there is high quality. The market is absolutely flooded with cheap, nasty batteries that can cause more problems than they solve.
The issue with aftermarket parts isn't the idea behind them, but the execution. A reputable supplier invests in proper testing and uses premium cells to make sure their batteries meet—or even beat—the original specs for safety, capacity, and lifespan.
Knowing what separates the good from the bad is everything. We see the same patterns with phone parts; the lessons in our guide on how to avoid buying low-quality iPhone parts are just as relevant here, because quality control is universal.
What to Look for in a Third-Party Battery
If you decide to go the aftermarket route for a new battery for your MacBook Air, you need to be a smart shopper. Price isn't everything. You need to dig into the specs to make sure you're getting a product that will actually last.
Here’s a quick checklist of what really matters:
- Capacity (mAh and Wh): This is your battery's fuel tank, measured in milliamp-hours (mAh) and watt-hours (Wh). Make sure the replacement's capacity is at least the same as the original. A bigger number can mean a longer runtime, but be sceptical of any claims that seem too good to be true.
- Safety Certifications: Always look for marks like CE, RoHS, and FCC. These aren't just random letters; they mean the battery has passed strict safety tests to prevent nasty stuff like overcharging and overheating.
- Warranty and Support: A seller who believes in their product will back it up. A minimum 12-month warranty is a must. It shows they're confident in the battery's quality and gives you a safety net if anything goes wrong.
- Included Tools: This is a fantastic value-add. Many good aftermarket batteries come in a kit with all the tools you'll need, like the specific pentalobe screwdrivers and plastic spudgers. This saves you the hassle and cost of buying them all separately.
Getting this choice right is half the battle. Whether you stick with OEM or find a top-notch aftermarket option, confirming the compatibility and quality is the most crucial step to freeing your MacBook Air from its charger.
Professional Repair vs DIY Installation
So, you've got the right battery for your MacBook Air. Now you've hit a fork in the road: do you roll up your sleeves and tackle the replacement yourself, or hand it over to a professional? Both paths have their merits, and the best choice really boils down to your budget, your confidence with delicate electronics, and how much your time is worth.
Figuring this out is a crucial step. The appeal of a Do-It-Yourself (DIY) repair is strong, usually driven by the potential to save some cash and the satisfaction of fixing your own tech. On the flip side, a professional service brings expertise and a peace of mind that’s hard to put a price on, especially when you’re dealing with something as complex as a MacBook.
The Case for Professional Repair
Let's be blunt: going to a professional is the safest and most reliable way to get a new battery into your MacBook Air. When you take your machine to a trusted workshop, like Screen Fixed Brisbane, you're not just paying for the part. You're investing in experience, the right tools, and a guarantee that the job will be done right.
These technicians do this stuff all day, every day. They have the specialised tools—like the specific pentalobe drivers and anti-static mats that most people don't have lying around—and the muscle memory to navigate around fragile components without causing a catastrophe. That experience is huge, because one wrong move with a pry tool can easily tear a delicate ribbon cable, turning a simple battery swap into a much more expensive logic board repair.
Plus, a professional service backs their work with a warranty. If that new battery gives up the ghost prematurely or an issue pops up because of the repair itself, you’re covered. That’s a safety net you just don’t get when you go it alone.
Weighing the Costs and Benefits
Here in Australia, the price for a professional battery replacement can vary. If you go through the official Apple channels, you’re looking at anywhere from AUD $199 to $349 for a MacBook Air. Independent repair shops, on the other hand, are often a bit more competitive, typically charging between AUD $150 and $350, which usually covers labour, the part, and GST. For a deeper dive into the numbers, this guide on MacBook battery replacement costs in Australia is a great resource.
While you'll pay more upfront for a professional service compared to a DIY kit, you’re also eliminating the risk of those nasty hidden costs that come from accidental damage. For many, having an expert get it done quickly and correctly is well worth the extra money.
The DIY Approach: The Allure and The Risks
The DIY route definitely has its appeal. For most people, it's about saving money. An aftermarket battery kit is almost always cheaper than the total cost of a professional job, and there’s a real sense of achievement that comes from bringing your own device back to life.
But this path is not for the faint of heart. MacBook Airs are masterpieces of compact engineering, and a battery replacement is more involved than you might think.
The single biggest hurdle for most DIYers is the ridiculously strong adhesive Apple uses to glue the battery in place. Getting it out requires patience and the right technique. Using too much force or the wrong tool can puncture the old lithium-ion battery, which is a genuine fire hazard.
And it's not just the battery you need to worry about. Other common pitfalls include:
- Stripping screw heads: Those tiny pentalobe screws on the case are incredibly easy to mangle if you don't have the exact right screwdriver and a gentle touch.
- Damaging connectors: The logic board is covered in tiny, fragile connectors for the trackpad, keyboard, and display. They can break with the slightest bit of misplaced pressure.
- Static discharge: Without taking proper anti-static precautions, you could easily fry the sensitive electronics on the logic board with a zap you won't even feel.
A DIY repair can be a really rewarding project if you’ve got the right tools, a steady hand, and a solid tutorial to guide you. But if you're not comfortable with these risks, or if your time is better spent elsewhere, leaving it to the professionals is the smarter move.
A Practical Guide to Replacing the Battery Yourself
So, you’ve decided to take the plunge and replace the battery yourself. Good on you! It can be a rewarding project, but it’s definitely not a walk in the park. Think of this guide as your roadmap, packed with the practical steps and insider tips you need to get the job done right. It's more than just a few screws; it's a delicate operation that demands a bit of patience and precision.
The absolute key to a successful DIY repair is all in the preparation. You need a clean, well-lit, and organised workspace. Seriously, don't skip this. You'll be wrangling tiny screws and fragile connectors, and the last thing you want is for one to roll off into the abyss. Give yourself room to work comfortably.
And before you even think about opening your MacBook, ground yourself. Static electricity is the silent killer of sensitive electronics. An anti-static wrist strap is what the pros use, but if you don't have one, just make sure to periodically touch a large, unpainted metal object to discharge any static buildup.
This quick infographic breaks down the core decision between calling in a professional and tackling the job yourself.
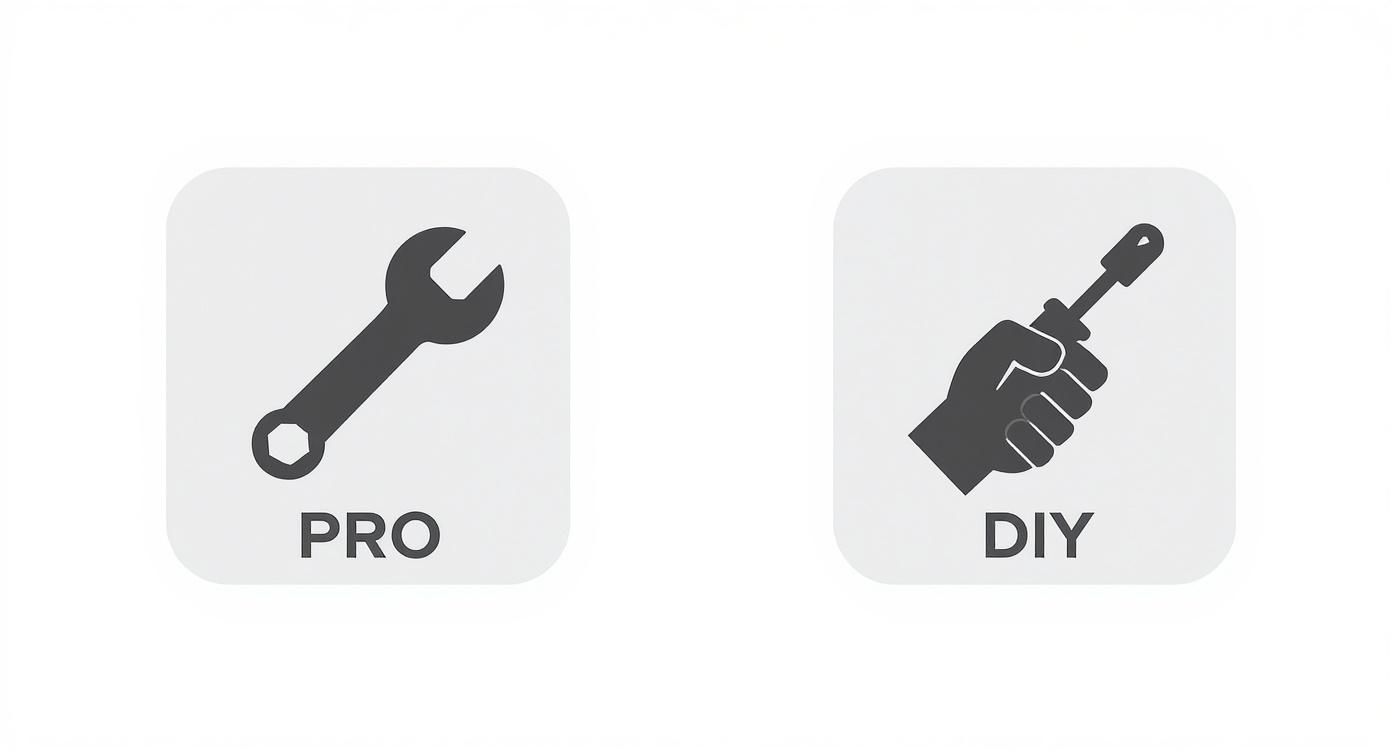
Alt: An infographic comparing professional repair vs DIY installation for a MacBook Air new battery replacement, showing tools and service icons.
As you can see, the right path really boils down to your own technical confidence, your budget, and how much you value the peace of mind that comes with a professional warranty.
Gathering the Essential Tools
Trying to do this job without the right tools is a recipe for disaster. Using a makeshift screwdriver or the wrong pry tool is the fastest way to strip a screw head or crack a component, turning a simple job into a nightmare.
A good quality DIY kit will usually have everything you need, but if you're putting your own toolkit together, here’s a look at what you’ll want on your bench.
Essential Tools for MacBook Air Battery Replacement
| Tool Name | Primary Use | Pro Tip |
|---|---|---|
| Pentalobe P5 Screwdriver | Removing the proprietary star-shaped screws on the bottom case. | A standard Phillips head will not work. Don't even try it; you'll just damage the screws. |
| Torx T5 Screwdriver | Unscrewing internal components, like the battery connector bracket. | Keep these screws separate from the case screws; they're different. |
| Plastic Spudger/Pry Tool | Safely disconnecting delicate ribbon cables without causing a short circuit. | Never use metal tools to pry at the logic board or connectors. Ever. |
| Plastic Cards/Guitar Picks | Slicing through the adhesive holding the battery in place without puncturing it. | Flexible and thin, these are much safer than trying to pry the battery out. |
| Isopropyl Alcohol & Dropper | Dissolving the stubborn battery adhesive to make removal much easier. | A few drops go a long way. Let it sit for a minute to work its magic. |
| Suction Cup | Lifting the bottom case off after the screws are removed to avoid scratching the aluminium. | This gives you a clean lift and helps create the initial gap for your pry tool. |
Getting the right tools is truly half the battle. If you're unsure about the difference between pentalobe and Torx screws, it's worth getting familiar. We dive deeper into this in our guide on the right pentalobe screwdrivers for iPhone and MacBook repairs—it explains exactly why using the precise driver is so crucial.
The Removal and Installation Process
With your workspace prepped and tools at the ready, it's go time. First, completely power down your MacBook Air. Don't just put it to sleep; shut it down entirely. Flip it over and use your P5 driver to remove all the screws from the bottom case. Make a note of where each one goes, as some models use different lengths.
Once the case is off, the very first thing you must do is disconnect the battery from the logic board. This is the most critical safety step. Find the battery connector—it's usually a wide, flat plug—and gently pry it straight up using your plastic spudger.
Pro Tip: When disconnecting any connector, always pry gently and evenly from both sides. If you pull from just one side, you risk bending the pins or damaging the socket on the logic board, which is a much more serious repair.
Now for the trickiest part: getting the old battery out. It’s held in place with some seriously strong adhesive. Apply a few drops of isopropyl alcohol around the edges of the battery cells and give it a minute to seep underneath. Then, carefully slide a plastic card under a corner and slowly work your way along, slicing through the softened glue. Patience is everything here. Never bend or try to puncture the old battery, as damaged lithium-ion cells can be a fire hazard.
Even though it’s for a different type of project, checking out some general advice on tackling DIY installations can offer a good perspective on preparation and safety that applies here, too.
Final Steps and Common Mistakes to Avoid
Once the old battery is finally out, use a bit more alcohol to clean up any leftover adhesive from the chassis. Pop the new battery into the enclosure, making sure it's aligned perfectly. Reconnect the battery connector to the logic board, pressing down firmly until you feel a solid click. From there, you can re-secure any other bits you loosened and pop the bottom case back on.
In Australia, the DIY approach for this repair has really taken off. A good iFixit kit for a 2020 M1 MacBook Air, for instance, costs around AUD $130. Compare that to Apple's official out-of-warranty replacement fee of about AUD $159 for the same model, and you're pocketing a saving of up to AUD $29. It shows a growing number of people are happy to get their hands dirty.
Just be sure to avoid these common slip-ups:
- Forgetting to disconnect the battery first and foremost.
- Using metal tools to pry at the logic board or the battery.
- Puncturing or excessively bending the old lithium-ion battery during removal.
- Losing screws or mixing up the different lengths when you put it back together.
By taking your time and following these steps carefully, you can successfully give your MacBook Air a whole new lease on life.
Caring for Your New MacBook Air Battery
Right, your new battery is in, the case is sealed, and your MacBook Air is humming along. But hold on, the job isn't quite done. To really get the most out of your fresh power source and give it a long, healthy life, you need to take a few crucial steps right after installation. Think of it as setting your battery up for success from day one.
The very first thing to do is a full calibration cycle. This simple process is vital because it helps macOS accurately read the new battery's capacity. If you skip this, that "time remaining" estimate can be all over the place, leaving you guessing how much juice you really have left.
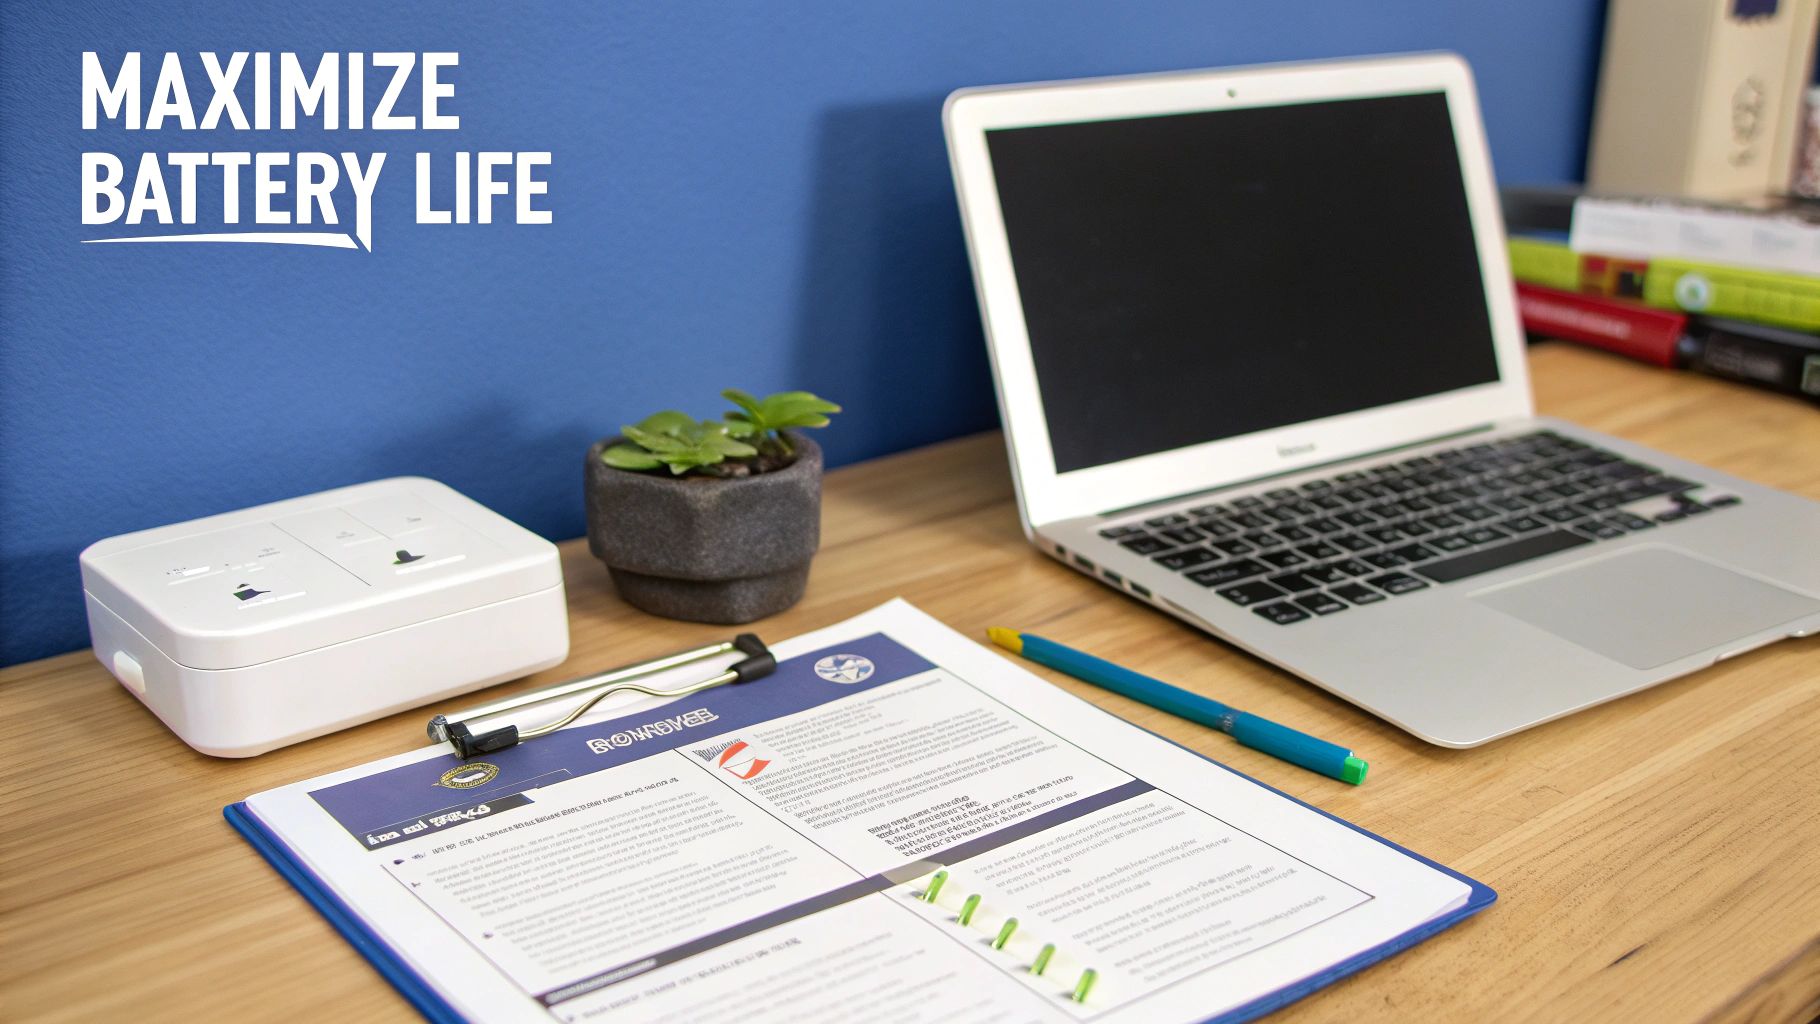
Alt: A workspace with a MacBook Air, illustrating tips for maximizing the life of a new battery through proper care and maintenance.
Calibrating Your New Battery
Calibrating your new battery for your MacBook Air is straightforward, but it does require a bit of patience. First up, charge your MacBook Air to 100%, then leave it plugged in for another two hours just to be sure it's completely topped up.
Now, unplug it and just use your MacBook normally until it completely runs out of power and shuts down on its own. Don't be tempted to plug it in. Once it's off, leave it unplugged for at least five or six hours—overnight is perfect. This gives the battery cells time to settle.
Finally, plug it back in and let it charge uninterrupted all the way back to 100%. Once this is done, macOS will have a much more precise reading of your battery's health and true capacity.
Best Practices for Long-Term Battery Health
With your new battery calibrated, it’s time to build some good habits to keep it in peak condition for years. All lithium-ion batteries degrade over time, but how you use your device can seriously slow that process down.
Modern lithium-ion batteries don't have the old 'memory effect' you might have heard about. It's actually much better for them to have shallow discharges and recharges rather than constantly draining them to 0% and then charging back to 100%.
Here are a few practical tips, especially important in our Australian climate:
- Avoid Extreme Temperatures: Heat is the number one killer of battery health. Never, ever leave your MacBook Air in a hot car on a summer day. The temperatures inside can skyrocket and cause permanent damage to the battery's capacity.
- Use Optimised Battery Charging: Your Mac has a clever built-in feature to reduce battery ageing. It learns your daily routine and might pause charging past 80% until it thinks you'll need it. Dive into System Settings under Battery and make sure this is switched on.
- Don't Keep It Plugged In 24/7: If you mainly use your MacBook Air like a desktop computer, it’s a great idea to let the battery discharge to around 50-60% at least once or twice a week. Keeping it parked at a 100% charge for long stretches can speed up wear and tear.
Responsible Battery Disposal
So, you've got a new battery working beautifully. What about the old one? You absolutely cannot just toss it in the household bin. Lithium-ion batteries are packed with materials that are not only hazardous to the environment but can also be a serious fire risk in landfill or on the back of a garbage truck.
Proper e-waste recycling is non-negotiable, and thankfully, it’s pretty easy to do the right thing.
Finding an E-Waste Recycling Program
In Australia, there are several reliable ways to recycle old electronics and batteries. A fantastic starting point is Planet Ark's Recycling Near You, an awesome resource that helps you find local drop-off points for all kinds of e-waste.
For our fellow Queenslanders, many local councils have dedicated e-waste recycling services. If you're near our workshop, you can find info on e-waste recycling in Brisbane through the Brisbane City Council website. Many electronics retailers also have programs to take back old batteries. Spending a few minutes to dispose of your old battery correctly makes a massive difference, ensuring those harmful materials are kept out of our environment.
Your Top MacBook Air Battery Questions Answered
Even after going through all the steps, it's natural to have a few more questions pop up. Replacing a new battery for a MacBook Air is a big decision, and you want to be sure you have all the facts straight before you dive in.
We get these questions all the time from customers just like you. Here are some quick, clear answers to the most common ones we hear.
Can a New Battery Actually Improve My MacBook Air's Performance?
You bet it can. It might seem like the battery only dictates how long you can work away from a power outlet, but its health is directly linked to your Mac's overall performance. A worn-out or failing battery struggles to provide the consistent voltage your processor needs to handle intensive tasks.
When this happens, macOS is smart enough to slow down, or "throttle," the CPU to prevent your machine from shutting down unexpectedly. Slap a fresh, healthy battery in there, and that performance bottleneck disappears. Your MacBook Air can finally run at full speed again, especially when you're untethered from the wall.
Is It Really Safe to Use an Aftermarket Battery?
This is a huge one, and for good reason. The short answer is: it all comes down to quality. The internet is flooded with dirt-cheap, questionable batteries that you absolutely should avoid. However, a high-quality aftermarket battery from a trusted supplier is a completely safe and smart alternative.
The trick is to look for batteries with proper safety certifications (like CE and RoHS), a decent warranty, and premium lithium-ion cells. These are built to meet or even beat the original specs, giving you performance and safety you can count on.
How Long Should a New MacBook Air Battery Last?
If you treat it right, a quality replacement battery will give you a lifespan very similar to the original one. Apple generally rates its modern MacBook Air batteries for up to 1,000 charge cycles before they dip to 80% of their initial capacity.
A top-tier aftermarket battery should perform in the same league. To get the most out of it, just follow good battery habits—avoid extreme temperatures, don't leave it fully drained for long, and take advantage of the optimised charging settings in macOS. Do that, and you'll get years of solid service.
Will Replacing the Battery Myself Void My Warranty?
If your MacBook Air is still covered by Apple's one-year limited warranty or an AppleCare+ plan, then yes, doing a DIY battery replacement will almost certainly void it. Any damage you might cause during the process won't be covered, either.
But let's be realistic—most people looking to swap their battery are doing so because their Mac is already well past its warranty period. If that's you, you've got nothing to lose by doing it yourself or bringing it to a reliable independent repair shop. And if you're not feeling the DIY vibe, our crew at Screen Fixed Brisbane is always here to handle the replacement for you.
If your MacBook Air isn't lasting the day, it's time for a change. Whether you choose to tackle the repair yourself or want the peace of mind that comes with a professional service, getting a new battery is the best way to restore your Mac's performance and portability.
For a fast, reliable, and guaranteed repair, book your MacBook Air battery replacement with Screen Fixed Brisbane today.
Disclaimer: Screen Fixed is an independent repair service and is not affiliated with Apple Inc. All third-party brand names, such as Apple, MacBook Air, and macOS, are trademarks of their respective owners and are used for identification purposes only.