
That spiderweb of cracks on the back of your iPhone is more than just an eyesore—it’s a real problem. A cracked back can interfere with wireless charging, make the phone uncomfortable to hold, and seriously hurt its resale value. Opting for a professional iPhone glass back repair is often the smartest move, saving you hundreds of dollars compared to buying a new device.
Why a Damaged Back Glass Needs Urgent Attention
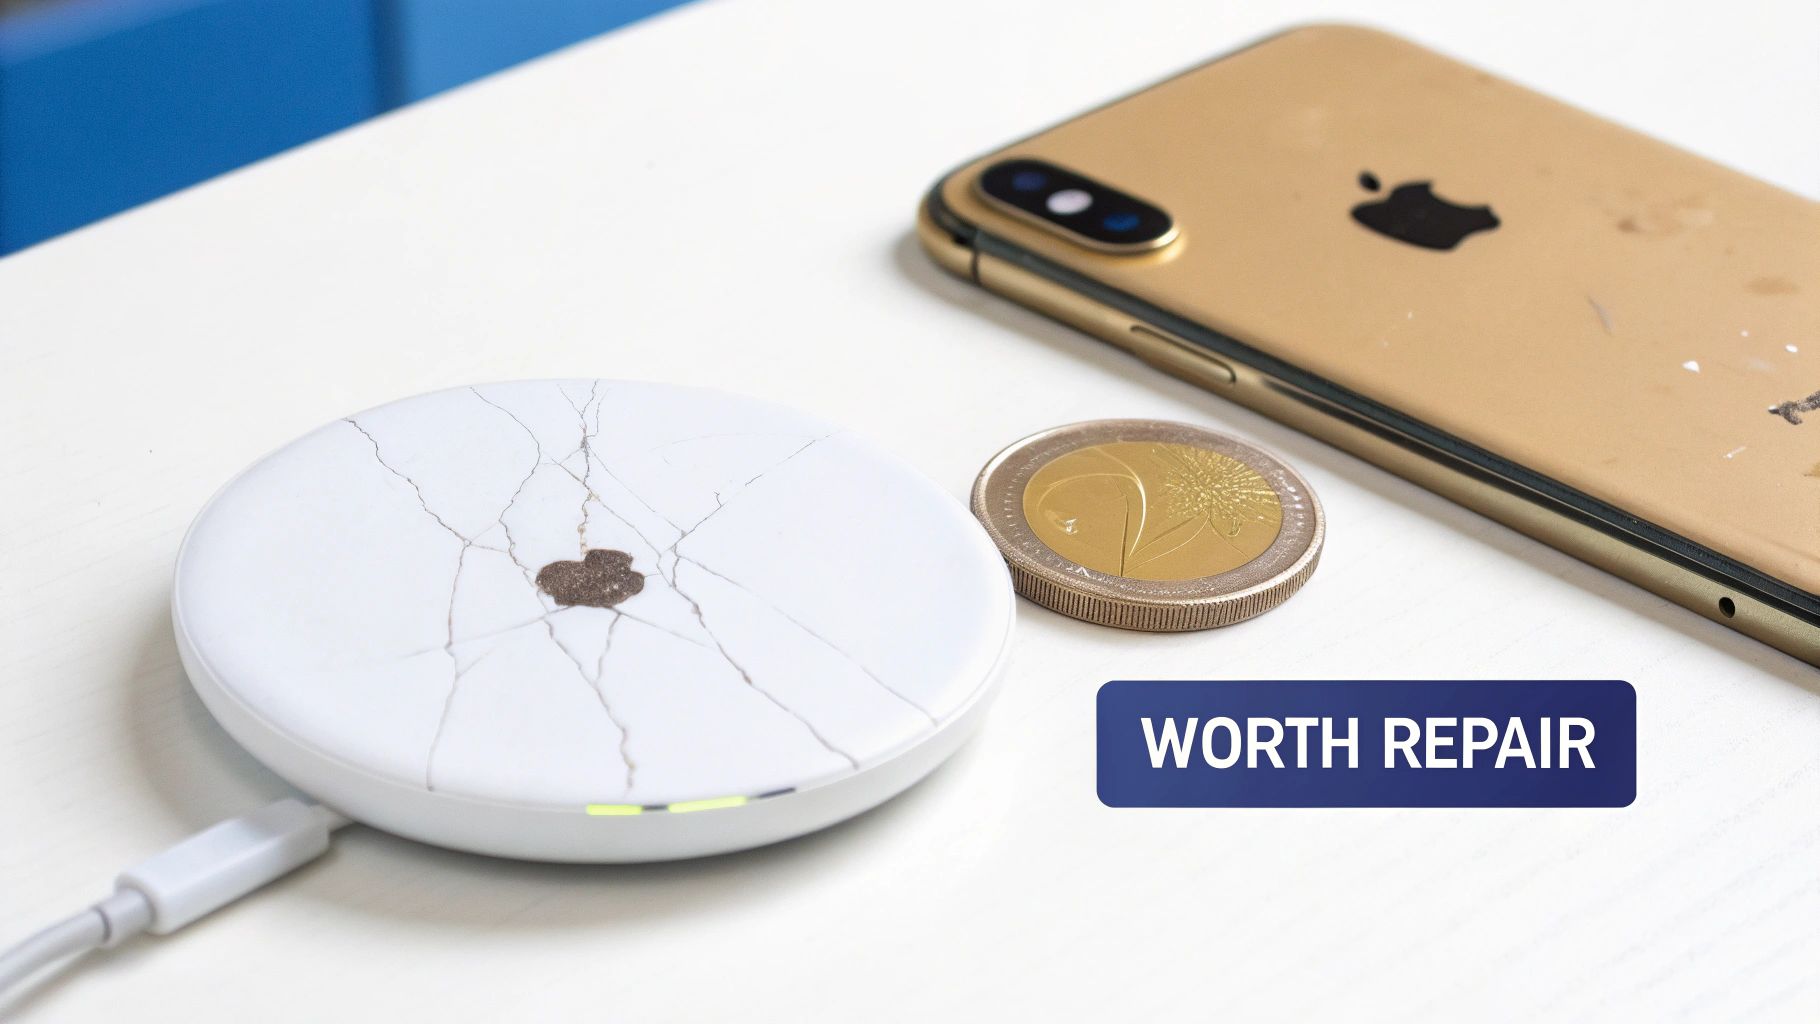
Alt text: A cracked golden iPhone next to a damaged wireless charger, illustrating the need for repair.
Caption: iPhone 13 Pro back glass damage requiring professional repair in Brisbane.
It's tempting to dismiss a cracked back as just a cosmetic flaw, especially if you slap a case on it. But what starts as a few fine lines can quickly escalate into bigger, more expensive headaches down the track.
That back glass isn't just there to look pretty; it's a vital part of your iPhone's structure and function. Ignoring the damage leaves delicate internal components—from the battery and logic board to the sensitive wireless charging coil—exposed to risks they were never meant to handle.
More Than Just a Pretty Surface
The back glass on modern iPhones does a lot more than just look sleek. Understanding its purpose makes it clear why getting a professional repair is the way to go.
- Wireless Charging: For inductive (wireless) charging to work, it needs a non-conductive surface like glass. Cracks can disrupt the connection, making charging slow, inefficient, or stop working altogether.
- Structural Integrity: The glass panel is a key part of what makes the phone rigid. A compromised back makes the whole device more likely to bend and suffer even more damage from minor drops.
- Protection: Think of the glass as a shield against dust, moisture, and everyday grime. Even a tiny crack is an open door for contaminants that can cause short circuits or corrosion inside your phone.
A common mistake is thinking a phone case makes a cracked back safe. A case might protect from another drop, but it won't seal existing cracks. Your phone's internals are still vulnerable to things like humidity and dust getting in.
The Financial Sense of Repairing
Let's be honest: repairing your device is almost always cheaper than replacing it. A new iPhone can easily set you back over a thousand dollars, while a professional back glass repair is just a fraction of that price.
On top of that, a phone with a perfect back holds a much higher resale value. If you're planning to upgrade later, spending a bit on a repair now can pay for itself when you sell or trade in your old device.
The decision usually comes down to comparing the repair cost against your phone's value. Our guide on how to find affordable phone screen repair services near you has some great tips for making that call. Repairing extends your device's life, saves you money, and is a much more sustainable choice than adding to e-waste. Before you consider upgrading, it's worth exploring your repair options with a trusted service like Screen Fixed Brisbane.
Disclaimer: iPhone® is a trademark of Apple Inc. Screen Fixed is an independent repair service and is not affiliated with Apple Inc.
Assessing the Damage and Assembling Your Tools
Before starting an iPhone glass back repair, a thorough damage assessment is crucial. This is more than just glancing at the cracks; you need to play detective and look for hidden issues that could complicate the job.
Start by getting up close with the area around the camera lenses. See any chips or cracks on the lens housing? If so, you'll need to replace the lens cover too. Skip this, and your photos will have a weird blur. Next, pop your iPhone on a wireless charger. If it doesn't charge, or the connection is patchy, the wireless charging coil sitting right under the glass was likely damaged.
Diagnosing Deeper Damage
Beyond what you can see, think about how the phone was dropped. A small crack from a short tumble is probably just cosmetic. But a complete shatter from a serious height? That could have sent a shockwave through the phone, affecting more than just the glass.
- Wireless Charging Coil: As mentioned, test this first. A dead coil means you're adding it to your shopping list along with the new back glass.
- NFC Antenna: This little component enables Apple Pay. A quick test at a tap-to-pay terminal will tell you if it survived the impact.
- Camera Lenses: Look for tiny scratches or even dust that might have worked its way in through the cracks. Any imperfection here will ruin your photos.
For anyone looking to learn more, you can find excellent guidance on fixing other common phone damages that will sharpen your diagnostic skills.
Assembling Your Repair Toolkit
Once you have a solid idea of the damage, it's time to gather your tools. The success of this repair hinges on having the right gear. Trying to use makeshift tools is the fastest way to scratch the frame or sever a delicate internal cable.
A solid DIY toolkit for this job should have:
- Heat Gun or iOpener: Essential for softening the industrial-strength adhesive Apple uses. A hairdryer won't cut it.
- Suction Cup: Gives you something to grip and lift the glass once the adhesive is soft.
- Plastic Pry Tools and Picks: These let you safely get between the glass and the frame without leaving scratches.
- Safety Glasses and Gloves: This is non-negotiable. Shattered glass is incredibly sharp.
For some trickier repairs, you might also need specialised screwdrivers. We have a whole guide on Pentalobe screwdrivers for iPhone and MacBook repairs if you want to dive deeper.
Professional Gear vs DIY Kits
For repair shops handling iPhone Repairs Brisbane, the real game-changer is the laser separation machine. This incredible technology precisely burns away the adhesive layer, letting the glass come off with minimal fuss and almost zero risk. It slashes the repair time, which is a massive deal for business efficiency.
The rise in financial pressures has made professional repairs a lifeline for many Australians. Repair volumes for back glass are up 28% year-over-year, and thanks to laser tech adoption in 80% of urban shops, average repair times have plummeted from 4-6 hours to under 2 hours. This enables same-day turnarounds that boost customer retention significantly.
For the home DIYer, an all-in-one kit is your best bet. These kits are great because they bundle all the tools and pre-cut adhesive you'll need, making sure you don't get halfway through the job only to realise you're missing a crucial tool.
A Practical Walkthrough of Back Glass Removal
This is where the real work begins—the delicate art of removing shattered back glass without creating a bigger problem. This guide comes from technicians who perform iphone glass back repair daily. Success here is all about patience and precision, not brute force.
The main challenge is the incredibly strong epoxy Apple uses to glue the glass to the frame. Our strategy involves a careful dance of applying heat to soften the adhesive, followed by meticulously prying and lifting the glass shards away.
Mastering the Art of Heat Application
The first step is applying consistent, controlled heat across the entire back of the iPhone. Your goal is to get the adhesive into a soft, gummy state without frying sensitive internals like the battery or wireless charging coil.
A professional heat gun is your best friend here, giving you precise temperature control. Aim for a surface temperature of around 80-100 degrees Celsius. Any cooler, and the glue won't budge. Any hotter, and you risk permanent damage.
Start by moving the heat gun in slow, sweeping motions across the glass, keeping it about 10-15 centimetres away. Never let it sit in one spot for more than a couple of seconds. Give the edges extra attention, as that’s where you’ll start prying.
Technician's Tip: Always start heating and prying from the bottom edge of the iPhone, near the charging port. The camera assembly at the top is extremely fragile, and beginning there increases the risk of damaging the lenses or their delicate flex cables.
The Careful Process of Prying and Lifting
Once the adhesive has softened, it’s time to start lifting the glass. Attach a strong suction cup to the lower part of the back glass and give it a gentle but firm pull. This should create a tiny gap between the glass and the phone’s frame.
That gap is your way in. Carefully slide a thin plastic pry tool into the opening. From this point on, it’s a slow and steady process:
- Slide and Slice: Gently work the pry tool along the phone's edges, slicing through the softened glue. You’ll probably need to reapply heat every few minutes to keep the adhesive workable.
- Work in Sections: Don't try to pull the whole back off in one go. Focus on small sections, lifting and removing individual glass shards with tweezers.
- Listen for Crunches: Pay close attention to the sounds. A soft slicing sound is good. A loud crack or crunch probably means you're using too much force.
Patience is everything here. Rushing will only lead to scratching the metal frame or damaging components.
To streamline your approach, it's helpful to visualise the repair assessment process before you even pick up a tool.
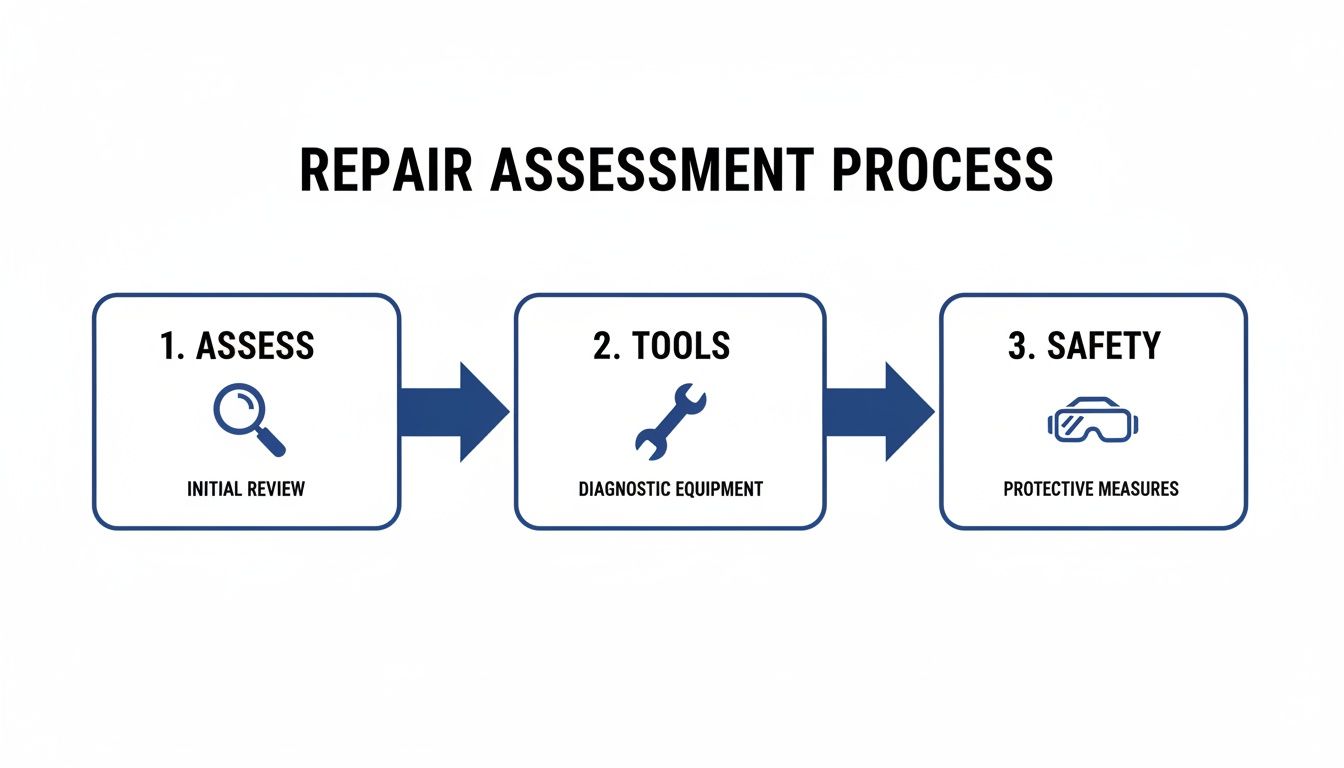
Alt text: A flowchart outlining the three steps of a repair assessment: Assess, Tools, and Safety.
This visual guide reinforces the core steps—careful assessment, gathering the right tools, and prioritising safety—that underpin a successful repair.
Navigating Sensitive Internal Components
As the glass comes off, you’ll expose key components that need extreme care. The two most important are the wireless charging coil and the NFC antenna. The charging coil is the large, circular pad in the centre, and the NFC antenna is usually located near the top.
Both are connected by fragile flex cables that are easy to tear. When prying around these areas, stick to plastic tools and use minimal force. If a piece of glass is stubbornly stuck over one of these parts, add more heat, not more pressure.
Another critical area is the MagSafe magnet array. Be careful not to dislodge or damage them, as it will affect the phone's ability to use MagSafe accessories.
The Professional Method: Laser Removal Technology
For professional shops offering iPhone repairs in Brisbane, the manual heat-and-pry method has been almost entirely replaced by laser removal machines. This technology has completely changed the game.
A laser machine works by tracing the iPhone's back and firing a high-precision laser that vaporises the adhesive layer under the glass without generating widespread heat. The laser is calibrated to target only the adhesive, leaving everything else untouched.
Here’s why it has become the industry standard:
| Feature | Manual Heat Method | Laser Removal Method |
|---|---|---|
| Speed | 1-3 hours | 15-30 minutes |
| Risk of Damage | High (overheating, prying) | Very Low |
| Precision | Dependant on technician skill | Machine-level accuracy |
| Finish Quality | Good, but can have residue | Perfectly clean frame |
After the laser does its job, the shattered glass can be removed with almost no effort. This not only slashes repair time but also dramatically lowers the risk of human error, guaranteeing a high-quality result every time. It's the real key to providing a professional-grade iphone glass back repair.
Prepping the Frame for a Perfect Installation
You’ve removed the shattered back glass. Don't rush what comes next. A new piece of glass will only sit perfectly if its foundation is flawless, which makes prepping the iPhone's frame the most critical step of any iPhone glass back repair.
Cutting corners here is a surefire way to end up with an awful finish, ugly gaps, and a seal that won't hold. The goal is to get that frame looking like it just rolled off the factory line, completely free of any old glass or stubborn glue.
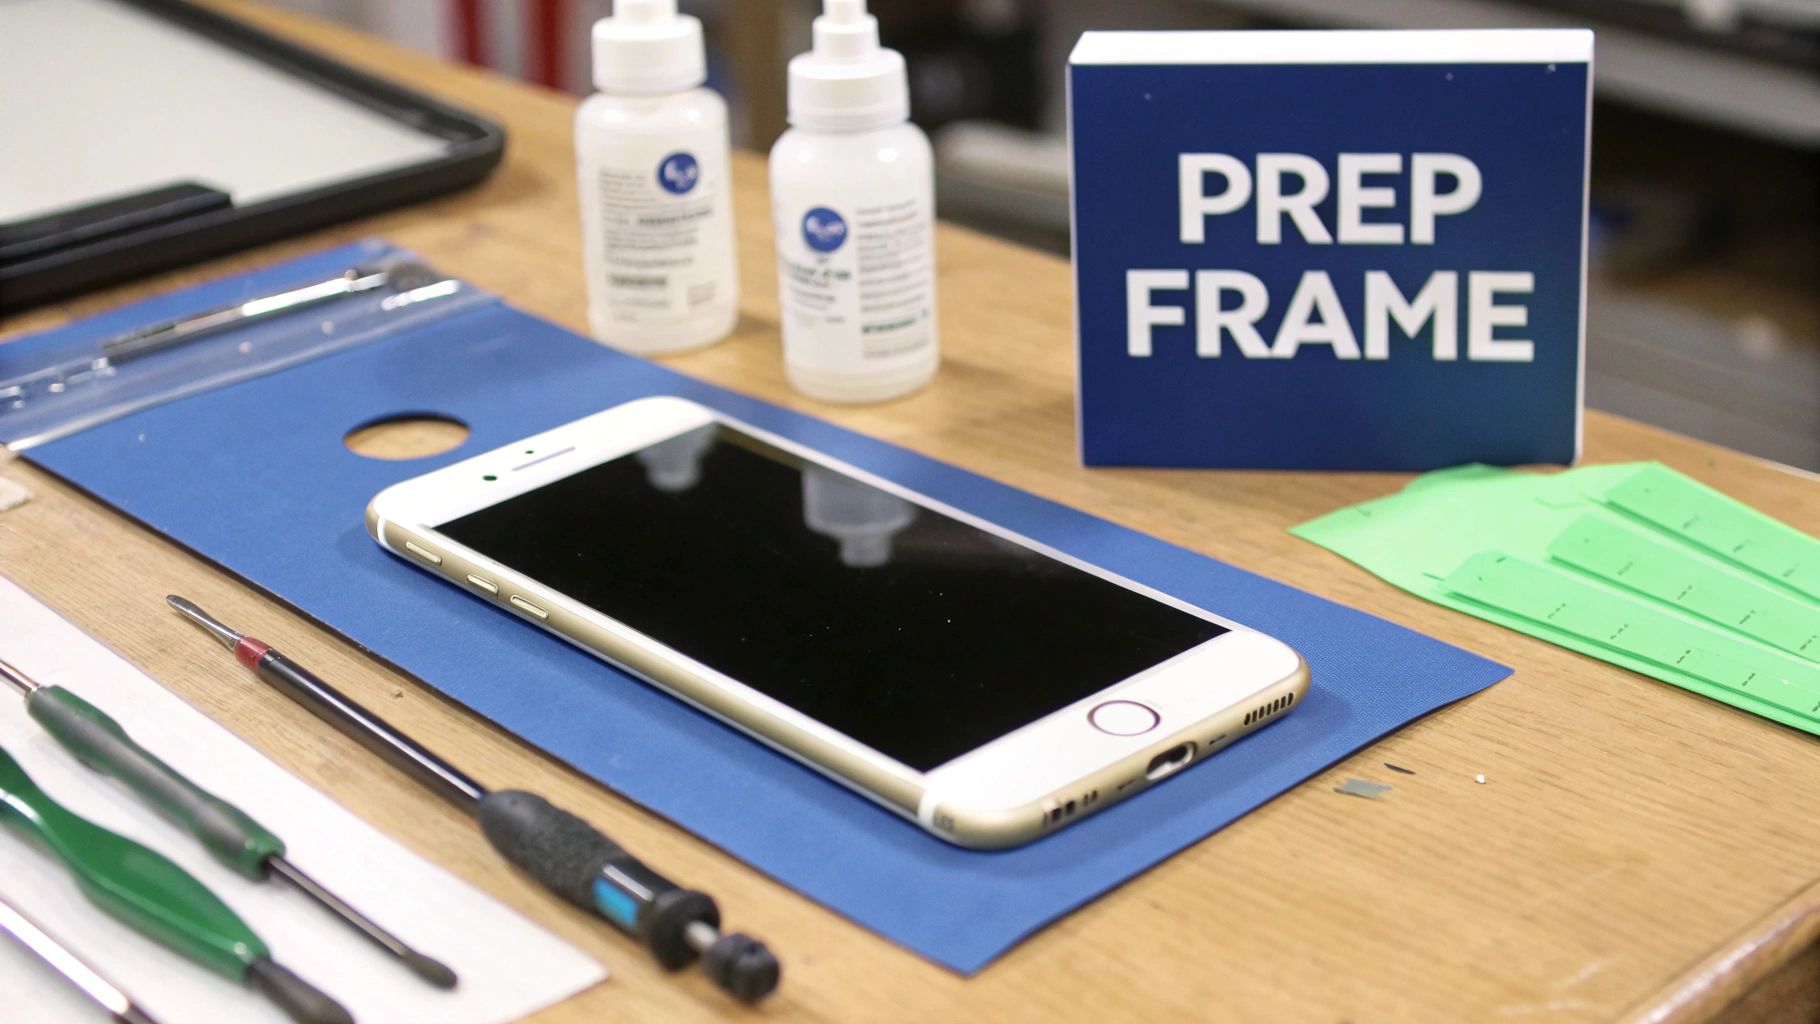
Alt text: A repair station with an iPhone frame being prepped for new back glass installation.
Removing Every Last Trace of Old Adhesive
The industrial-strength adhesive Apple uses is designed to be tough to remove. Even with the glass gone, you'll find a tacky, uneven layer of residue clinging to the metal frame. If you leave any of it behind, the new glass won't sit flush.
Getting it clean requires both mechanical and chemical methods.
- Start Scraping: Grab a plastic spudger or a metal scraper. Holding it at a shallow angle, work your way around the frame to gently lift the bulk of the old adhesive.
- Bring in a Solvent: Once the big chunks are gone, use Isopropyl alcohol (IPA) at 99% concentration. It’s brilliant at breaking down the adhesive without harming the phone’s internals.
- Scrub and Wipe Clean: Apply the IPA to a lint-free cloth or cotton swab and scrub the frame's channels. An old toothbrush dedicated to repairs works wonders for getting into tight corners. You may need to do this a few times until the surface is completely smooth.
A common mistake is reaching for household cleaners. They often contain water or oils that can leave a film behind, seriously weakening the new adhesive's bond.
The Great Adhesive Debate: Pre-Cut vs. Liquid
With a sparkling clean frame, you’re ready for new adhesive. You have two main options: pre-cut adhesive strips or a liquid bonding agent.
Pre-cut adhesive strips are shaped perfectly to match the iPhone's frame. They’re all about convenience and consistency.
- Pros: Easy to apply, provide a uniform seal, and create less mess.
- Cons: Can be unforgiving if misaligned and might not provide the strongest bond if the frame has minor imperfections.
Liquid bonding agents, like B-7000 glue, are applied by hand using a precision nozzle. This is the method many pro technicians prefer.
- Pros: Fills in every microscopic gap, leading to a stronger, more complete seal.
- Cons: Requires a steady hand and needs clamping while it cures.
If you want to learn more about different adhesives, our guide on double-sided tape adhesive is a great resource.
Achieving Perfect Alignment for a Factory Finish
The last step before sticking it all together is mastering the alignment. Even being off by half a millimetre will be noticeable.
Always start with a dry fit. Place the new glass onto the frame without any adhesive to check how it sits. Is it flush on all sides? Are the camera and logo cutouts perfectly centred?
When you're ready for the real deal, here’s how to nail it:
- Start at the Top: Always align the camera cutout first. It's the most important reference point.
- Lower Gently: Slowly bring the rest of the glass down into place, keeping a close eye on the side rails.
- Apply Even Pressure: Once it’s in place, apply gentle, even pressure across the entire surface, starting from the centre and working outwards.
If you used a liquid adhesive, you now need to clamp the phone for several hours to let the bond cure properly. Specialised repair clamps are best, but a stack of heavy books on a soft cloth can work in a pinch. Don't skip this—clamping is non-negotiable for a durable bond.
Final Checks and Troubleshooting
You've done the hard work. The frame is spotless, the new glass is sitting perfectly, and it's clamped up. Now comes the most important part: the final functional check. A professional iPhone glass back repair isn't finished until you've confirmed every component is working as it should.
The two most common casualties during a back glass job are the wireless charging coil and the NFC antenna, since they sit right underneath the glass. Testing them isn't optional; it's essential.
The Essential Post-Repair Checklist
Running through a systematic checklist is the best way to ensure you haven't missed anything.
- Wireless Charging Test: Pop the iPhone onto any Qi-compatible wireless charger. It should start charging almost instantly.
- NFC Functionality Check: Here in Australia, the easiest way to check this is with any tap-and-go payment terminal. Set up Apple Pay and try a small purchase.
- Camera Focus and Clarity: Open the camera app and flick through all the lenses. Focus on something close, then something far away. Take a photo and check it for any dark specks or blurry patches.
Troubleshooting Common Post-Repair Hiccups
Even the most careful technician can run into a problem. Most post-repair gremlins are surprisingly easy to fix.
What if wireless charging is dead? The first thing to check is the charging coil's flex cable. It's a tiny connector on the logic board that's easy to misalign. If that connection looks solid, the coil itself might have been damaged and may need to be replaced.
Another frequent problem is a tiny gap along one edge of the glass. This almost always comes back to frame prep. Even a minuscule shard of old glass can throw off the alignment. The only proper fix is to gently remove the new glass, give the frame another thorough clean, and reinstall it.
To make sure you've covered all your bases, use this simple checklist after every repair.
Post-Repair Functional Checklist
| Function to Test | How to Test | Expected Result |
|---|---|---|
| Wireless Charging | Place on a Qi charger. | Charging begins within 1-2 seconds without repositioning. |
| NFC (Apple Pay) | Attempt a tap-and-go payment. | Payment terminal responds and completes the transaction. |
| Rear Cameras | Switch between all lenses; test focus on near and far objects. | Autofocus is fast and sharp; no spots or blurriness in photos. |
| Flash/Torch | Activate the torch from the Control Centre. | LED flash turns on and is bright. |
| Wi-Fi & Bluetooth | Connect to a Wi-Fi network and a Bluetooth device. | Strong, stable connections are established and maintained. |
| Cellular Signal | Check signal bars; make a test call. | Clear call quality and stable network connection. |
| Physical Buttons | Press volume up/down and side buttons. | Buttons feel clicky and responsive. |
Running through these tests confirms the repair has been successful and the device is fully functional.
In Australia, back glass repairs have surged since Apple introduced models with more repair-friendly designs, like the iPhone 14 series. Damage to the back glass is now a top-five repair, making up 20-25% of all jobs in major cities. You can discover more insights about the growing trend of iPhone back glass replacement in Australia.
This final validation isn't just about ticking boxes. It's about delivering a professional result that fully restores the phone's functionality. For anyone looking for quality iPhone repairs in Brisbane, this meticulous level of testing is the hallmark of a service you can trust.
Frequently Asked Questions
If you're thinking about getting your cracked iPhone back fixed, you probably have a few questions. Let's tackle the most common queries we get from customers.
How Much Does an iPhone Back Glass Repair Cost in Australia?
The price for a back glass repair depends on your iPhone model and who does the work.
Going directly to Apple is the priciest option, often costing upwards of $500 AUD.
A much more wallet-friendly option is a professional third-party service, like us at Screen Fixed. Our repairs typically land between $150 and $350 AUD. A DIY kit is the cheapest route, but you have to weigh the savings against the risks and time required.
Will My iPhone Still Be Water Resistant After the Repair?
This is a big one. The moment an iPhone is opened for any repair, the original factory seal is compromised.
Professional technicians use high-quality adhesives to seal everything back up, but it's nearly impossible to restore the exact same level of water resistance it had out of the box.
After any major phone repair, it's best to be extra cautious around water. Think of it as "water-resistant," not "waterproof."
Does a Third-Party Repair Void My Apple Warranty?
If your iPhone is still covered by its original Apple warranty or AppleCare+, then yes, a repair by a third party will most likely void that coverage.
However, most people needing a back glass repair have a phone that is already out of its warranty period. In that situation, a trusted independent repair shop is the most practical and cost-effective solution.
For professionals handling these jobs, or for customers who need documentation, having the right paperwork is key. You can find a good mobile cell phone receipt template online to ensure every transaction is logged correctly.
For a reliable, professional, and cost-effective fix for your cracked iPhone back, trust the experts. The team at Screen Fixed has the right tools and years of experience to get your device looking brand new again. Book your repair with Screen Fixed Brisbane today.