
When your iPhone XR screen shatters, your first thought is probably, "Is this even worth fixing?"
For most people, the answer is a resounding yes. Repairing the screen is almost always more cost-effective than shelling out for a new phone. A quality iPhone XR screen replacement not only brings your phone back to its former glory but also extends its life, making it a smart move for your wallet and the planet.
Is An iPhone XR Screen Replacement Worth It?
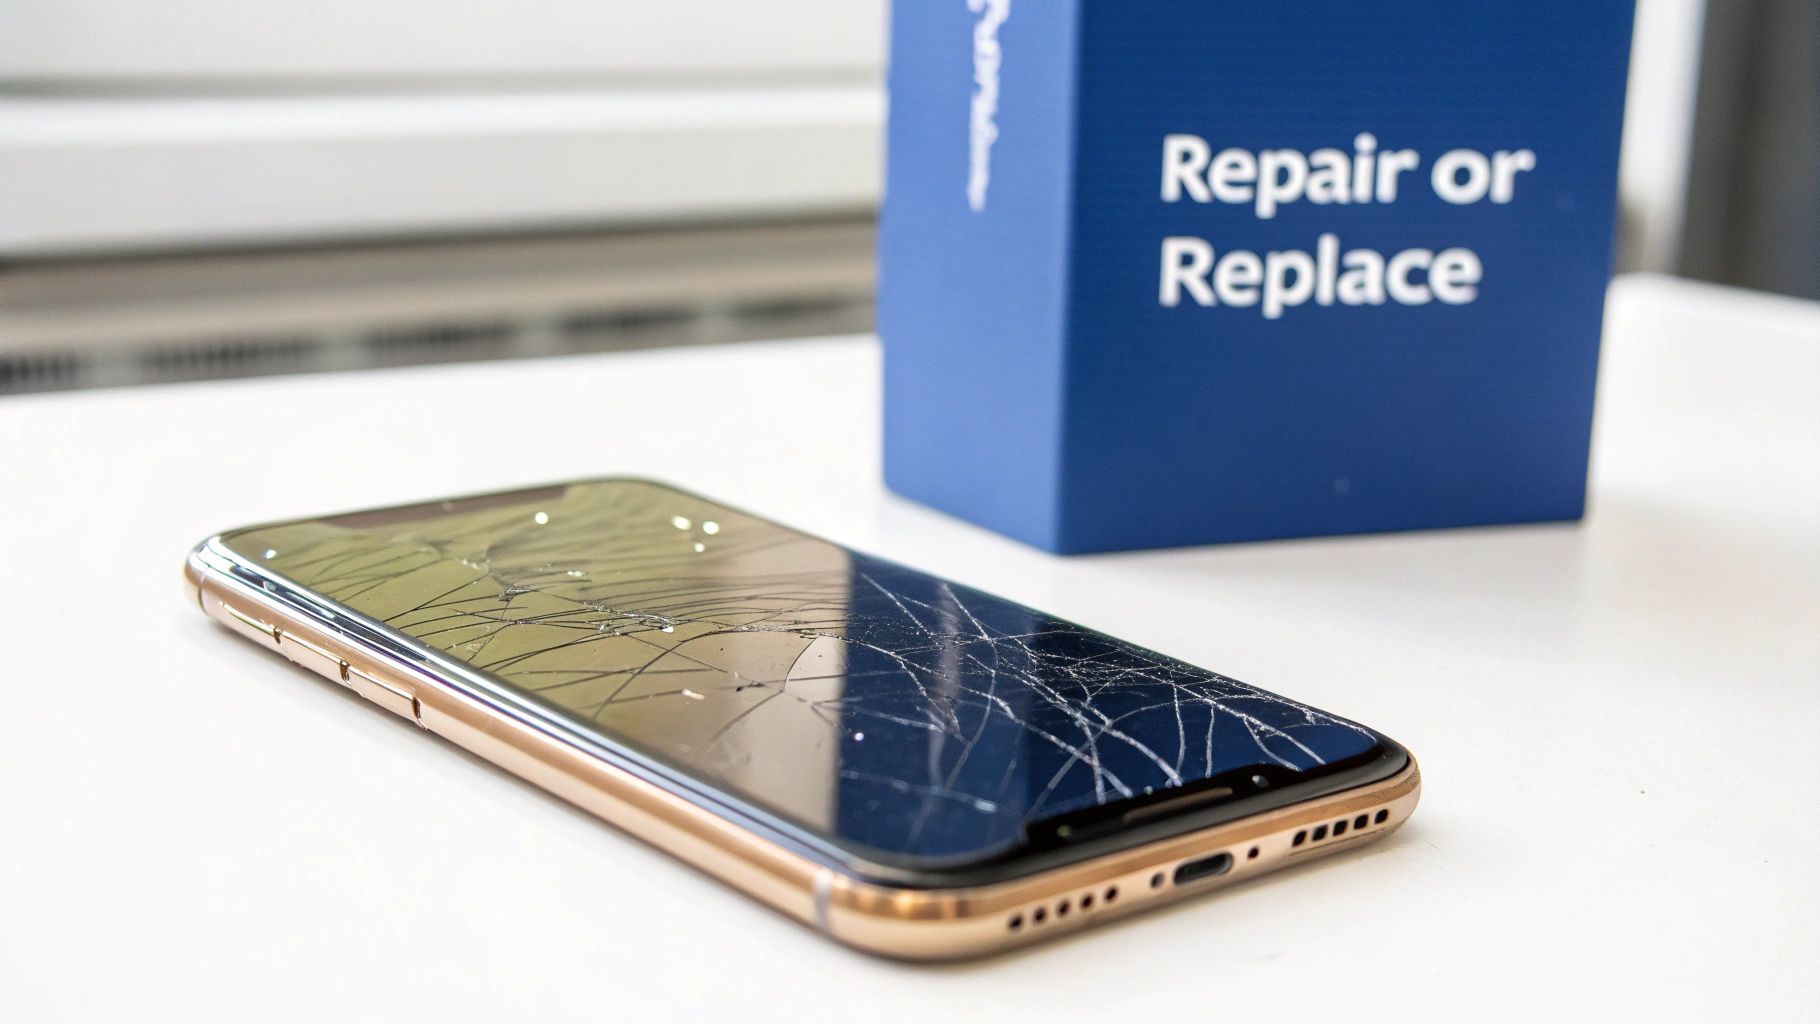 Alt: A gold iPhone XR with a severely cracked screen lies on a white surface.
We've all been there. That heart-stopping moment your iPhone XR slips from your hand and meets the pavement. Staring at that spiderweb of cracks, your immediate thought might be that it's time for an expensive upgrade. But hold on a minute—let's weigh up the options.
Believe it or not, the iPhone XR, which originally retailed for around $1,200 AUD, is still a very capable phone. We've hit a point where even a model from 2018 can handle just about everything you throw at it daily without skipping a beat. This impressive longevity is exactly why repairing it makes so much sense.
Analysing The Cost To Repair
For most of us, it all comes down to the dollars and cents. A new phone will set you back hundreds, if not thousands. An iPhone XR screen replacement, on the other hand, is surprisingly affordable.
Here in Australia, you can expect to pay anywhere from $79 to $110, depending on who you go to and the quality of the screen you choose. Compared to the price of a new device, that's a no-brainer. For a deeper dive into what you can expect to pay, check out our guide on the average iPhone screen repair cost.
Cost Analysis: iPhone XR Repair vs Replacement
Here’s a quick look at the estimated costs and benefits of fixing your iPhone XR screen versus buying a new or refurbished phone.
| Option | Estimated Cost (AUD) | Pros | Cons |
|---|---|---|---|
| DIY Screen Repair | $50 - $90 | Lowest cost, satisfaction of doing it yourself. | High risk of error, requires specific tools, may void warranty. |
| Professional Repair | $79 - $110 | Fast, reliable, often includes a warranty. | Higher cost than DIY. |
| Buy Refurbished XR | $250 - $400+ | "New-to-you" phone without the new price tag. | Significantly more expensive than a simple screen repair. |
| Buy New iPhone | $800 - $2,000+ | Latest features and technology. | Highest cost by far. |
As you can see, simply repairing the screen is the most financially sound option if the rest of the phone is working fine.
The decision to repair isn't just about saving money today; it's about extending the value of an asset you already own. A new screen can give a perfectly functional iPhone XR another few years of life.
This approach isn't just good for your bank account; it's great for the environment too. Repairing electronics helps cut down on e-waste, which is one of the fastest-growing waste problems globally. By fixing your phone, you're making a sustainable choice that keeps a perfectly good device out of landfill.
OEM vs Aftermarket Screens
Once you decide to go ahead with the repair, you'll need to choose a screen. This is where it gets interesting. You’ll generally come across two main options: Original Equipment Manufacturer (OEM) parts and high-quality aftermarket screens.
So, what's the actual difference?
- OEM Screens: These are the real deal, made by the same companies that supply Apple. They guarantee the exact same quality, colour accuracy, and touch response as the screen that came with your phone.
- Aftermarket Screens: These are third-party copies. The quality here can be a bit of a mixed bag. Premium aftermarket screens are often fantastic and nearly identical to OEM, but cheaper, budget options might fall short with lower brightness or less accurate colours.
For many iPhone XR users, a premium aftermarket screen hits that sweet spot between quality and value. You get excellent performance without the hefty price tag of an official Apple repair. When you're talking to a repair technician, don't be afraid to ask what grade of screen they use. A trustworthy shop will be upfront about their parts and the warranty they offer, ensuring you get a fix you can count on.
Disclaimer: Screen Fixed is an independent repair service and is not affiliated with Apple Inc. iPhone, iPad, MacBook, and Apple Watch are trademarks of Apple Inc., registered in the U.S. and other countries. All third-party brand names are used for identification purposes only and do not imply endorsement.
Assembling Your DIY Repair Toolkit
Trying to replace an iPhone XR screen without the right gear is a recipe for disaster. We've seen it countless times: someone tries to use a cheap eyeglass screwdriver from the kitchen drawer and ends up with a stripped screw, or they use a metal knife to pry the screen and tear a crucial cable. A successful, stress-free repair starts before you even touch the phone; it begins with getting the right tools for the job.
The good news is you don't need a full-blown workshop. A small set of specific, affordable tools will make the whole process smoother, safer, and infinitely more likely to succeed. Think of these as the absolute essentials.
The Essential Tools Checklist
Before you order that new screen, do a quick inventory. Having everything laid out on a clean, well-lit table will stop you from scrambling to find something mid-repair, which is when mistakes happen.
Here’s what every technician and serious DIYer should have on hand:
- Pentalobe P2 Screwdriver: This is non-negotiable. It's for the two security screws on either side of the charging port. Nothing else will work without butchering them.
- Tri-Point Y000 Screwdriver: Apple loves using these tiny three-pronged screws inside the XR to hold down critical brackets, like the one covering the screen connectors.
- Standard Phillips #000 Screwdriver: You'll run into several of these tiny cross-head screws. Using the correct size prevents stripping.
- Nylon Spudger & Opening Picks: These plastic tools are your best mates. They let you safely pry open the display and pop off delicate flex cable connectors without causing a short circuit.
- Suction Cup: This is key for creating that initial, tiny gap between the screen and the phone’s frame, giving you just enough space to slide an opening pick in.
- Heat Gun or iOpener: A bit of gentle heat around the edges of the screen is a game-changer. It softens the waterproof adhesive holding the display down, making it much easier to open without cracking the glass even more.
If hunting down each tool sounds like a hassle, a complete kit is easily the most practical way to go. Our all-in-one iPhone XR DIY Screen Repair Kit bundles all of these tools with a high-quality replacement screen, so you know you have everything you need in one go.
Choosing Your Replacement Screen
The most important part of this whole operation is, of course, the new screen itself. This is where quality really counts. You'll typically find two main options: OEM and premium aftermarket.
OEM (Original Equipment Manufacturer) screens are identical to the one your phone shipped with, so you can expect perfect colour accuracy and touch response. Premium aftermarket screens, like the ones we supply at Screen Fixed, are engineered to meet or even exceed the original specs. They offer a fantastic sweet spot between performance and price. Be wary of cheap, budget screens—they often have poor brightness, washed-out colours, and frustratingly laggy touch sensitivity.
Pro Tip: One of the cheapest yet most effective tools you can add to your setup is a magnetic screw mat. It keeps every tiny screw organised in the exact order you removed it. This simple step helps you avoid the catastrophic mistake of putting a long screw where a short one should go—a slip-up that can permanently damage the logic board.
Setting Up Your Workspace
Your work environment is just as vital as your tools. Find a clean, flat surface that's free of static. Good lighting is absolutely critical for seeing the tiny components you're about to handle. Taking a few minutes to get your space sorted will dramatically reduce the risk of losing a screw or damaging a part.
It’s interesting how the core principles of good preparation and using the right tools apply across different fields. While your focus is on tiny electronics, those who enjoy hands-on projects might also appreciate these general DIY tips for home renovation. By assembling the right kit and picking a quality part, you’re already halfway to a successful iPhone XR screen replacement.
The iPhone XR Screen Replacement Process Step-by-Step
Alright, with your tools laid out and your workspace clear, it’s time to get stuck into the iPhone XR screen replacement. This isn't just a list of steps; it's a walkthrough based on countless real-world repairs. We'll move through it logically, pointing out the critical moments and common slip-ups that can turn a straightforward job into an expensive mess.
Before a single screw comes out, the most important thing you can do is back up the device. Seriously. Use iCloud or plug it into a computer and get a full backup. While a screen repair shouldn't touch your data, it's the ultimate "just in case." Once that's sorted, power the iPhone XR down completely—don't just let it go to sleep.
This flowchart breaks down the essential prep work. Getting this right from the start is half the battle.
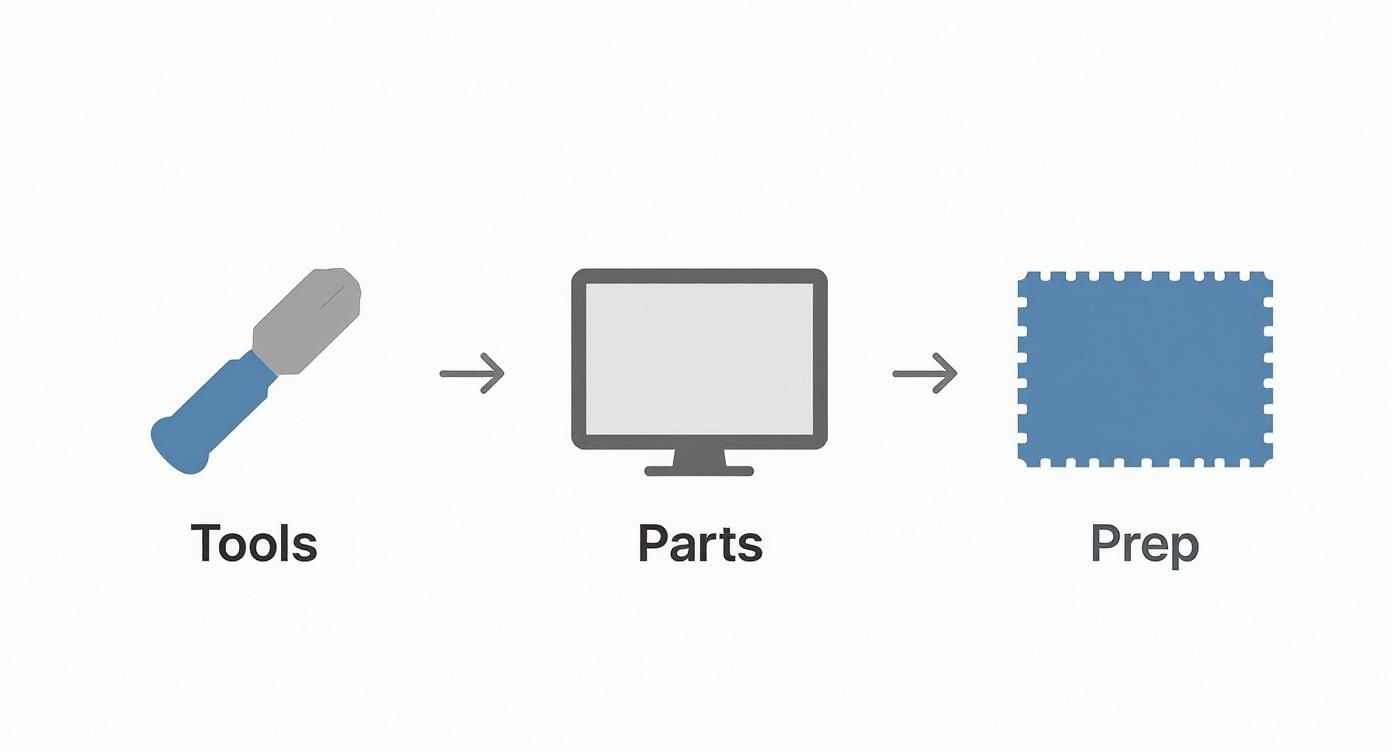 Alt: A flowchart shows the preparation steps for an iPhone XR screen replacement: Tools, Parts, and Prep.
Think of it this way: skipping the prep is where most DIY repairs start to go pear-shaped. A little bit of organisation now saves a lot of headaches later.
Opening The iPhone XR
First things first, grab your P2 pentalobe driver. You'll find two tiny screws flanking the charging port at the bottom of the phone. Using the wrong driver here is a surefire way to strip them, which is a massive pain to deal with right at the beginning. Pop them out and keep them somewhere safe.
Next up is the waterproof adhesive sealing the screen to the frame. A little bit of heat goes a long way. Gently warm the edges of the display with a heat gun or an iOpener for about a minute. This softens the glue, making the screen much easier and safer to lift.
Now, place a suction cup on the lower half of the screen, staying clear of the very bottom edge. Pull up with steady, firm pressure. You’re not trying to rip it open, just create a tiny gap between the screen and the frame. As soon as you see a sliver of light, slide a plastic opening pick in there to keep it from sealing again.
One of the classic blunders is trying to pry the screen open from the wrong side. The iPhone XR display opens like a book—from left to right. If you try to lift it from the top or right, you'll almost certainly tear the delicate display and sensor cables. Game over.
Carefully work your pick up the left side and then the right, slicing through the adhesive as you go. Don't push the pick in too deep, or you risk nicking something important inside. Once the sides are free, you can gently swing the display open to the right, using the top edge as a hinge.
Disconnecting The Battery And Display
Before you touch anything else inside, you must disconnect the battery. This is the single most critical safety step of any phone repair. Leaving it connected is asking for a short circuit, which can easily fry the logic board and turn your repair into a recovery job.
You'll see a small metal bracket covering the battery connector. It's held in by a few tri-point screws, so you'll need to switch to your Y000 screwdriver. Remove the screws and the bracket, making sure to track where each screw came from on your magnetic mat.
With the flat end of a nylon spudger, gently pry the battery connector straight up off its socket. With the power cut, you can now safely move to the display and digitiser connectors. Remove the bracket covering them, and again, use your spudger to pop each one off its socket.
Transferring The Earpiece And Sensor Assembly
Pay close attention here, because this is easily the most delicate part of the whole iPhone XR screen replacement. The assembly at the top of your old screen houses the earpiece speaker and, crucially, the sensors for Face ID. This little unit is cryptographically tied to your specific logic board. If you damage it, Face ID will stop working permanently.
There are a few tiny screws holding the assembly in place. Take your time removing them. Apply a little gentle heat to the front of the screen to soften the adhesive under the sensors. Then, very carefully, use your spudger and tweezers to lift the entire assembly away from the old screen.
- Patience is your best tool: Don't rush. The flex cables are ridiculously fragile.
- Use minimal force: If you feel resistance, stop and apply a tiny bit more heat. Never, ever bend or crease the cables.
- Inspect everything: Before you move it to the new screen, give the assembly a close look for any signs of damage.
Once it's free, carefully align the assembly on the new screen and secure it with the screws you removed. Double-check that everything is sitting perfectly flush before you proceed.
Reassembly And Final Connections
Time to put it all back together. Start by reconnecting the display and digitiser cables. You should feel a soft but definite 'click' as they snap into place. A poorly seated connector is the number one cause of a screen that doesn't respond or shows strange lines after a repair.
With the display cables secure, you can now reconnect the battery. Don't turn the phone on just yet. Put the connector brackets back on, paying close attention to your screw map. Using a long screw where a short one should be can punch right through the logic board.
Once all the internal parts are connected and secured, it's time to close the phone. Line up the top edge of the screen first, making sure the small clips slot neatly into the frame. Then, gently press down along the sides and bottom until the screen clicks securely into place all around.
Finally, reinstall the two pentalobe screws at the bottom. Tighten them until they're snug, but don't overdo it—too much pressure can create bright spots on the display. By following these steps with a bit of care, you'll get a result that looks and works like new. For a more general overview, you might find some useful tips in our guide on how to replace an iPhone screen.
Final Checks and Functionality Testing
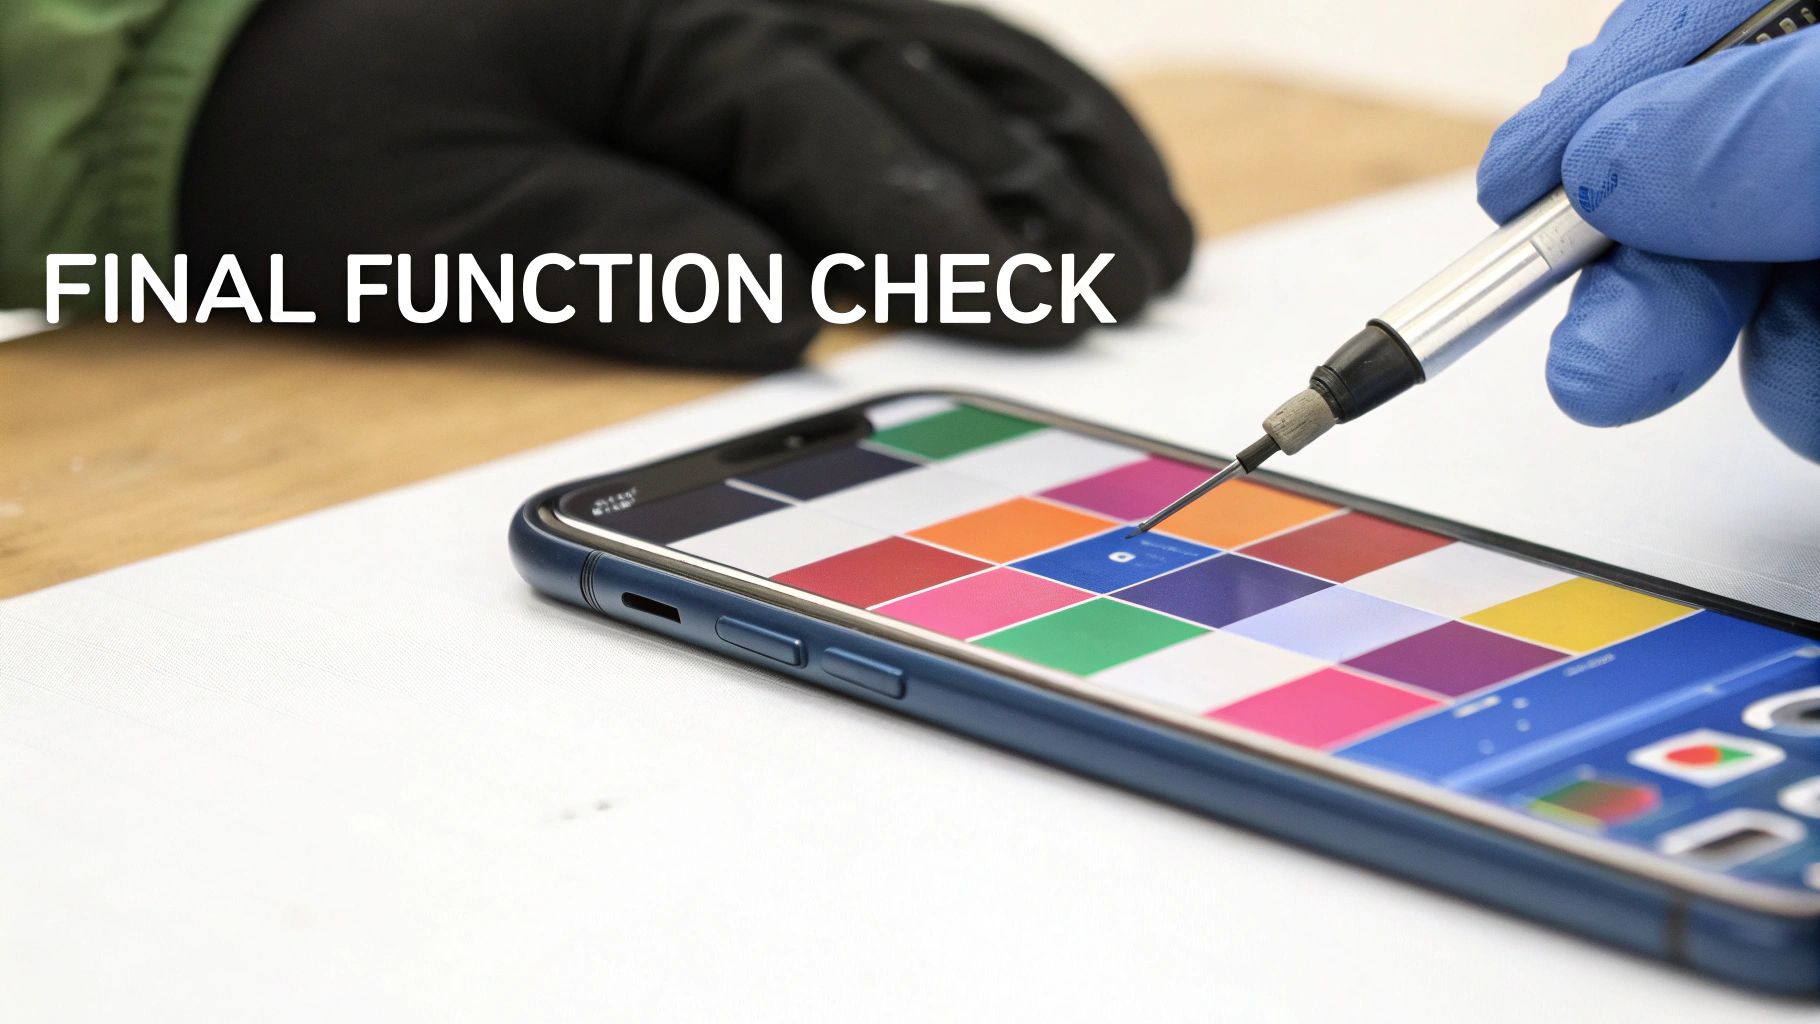 Alt: A technician wearing a blue glove tests the touch function of a new iPhone XR screen with a stylus.
Alright, you're on the home stretch. But before you triumphantly install those last two pentalobe screws and call it a day, hold on. This next phase is what separates an amateur repair from a professional one.
Sealing up a device without a thorough systems check is a classic rookie mistake. Trust me, there's nothing more frustrating than having to reopen a freshly sealed phone to fix a minor, avoidable issue. This isn't just about seeing if the screen lights up; it's a systematic check to ensure every single function is working exactly as it should. Taking 10 minutes to be meticulous now will save you hours of headaches later.
A Comprehensive Post-Repair Checklist
Think of this as your final quality control inspection. It pays to be methodical here. A great way to start is by opening an app with a plain white background, like Notes, and then switching to something with a dark background to hunt for any inconsistencies.
Here's what you need to verify:
- Touch Response: This is the most crucial test. On the home screen, press and hold an app icon until the icons start to jiggle. Now, drag that icon over every square centimetre of the screen. If it drops at any point, you've found a dead zone in the digitiser.
- Brightness Control: Swipe down for the Control Centre and slide the brightness bar from its lowest to its highest setting. The screen should respond smoothly, with no flickering or sudden jumps in illumination.
- Pixel Integrity: Using a plain white or black background, carefully scan the entire display for any dead pixels (tiny black dots) or stuck pixels (dots showing the wrong colour). These are tell-tale signs of a faulty LCD panel.
Catching one of these problems now, before the new adhesive fully cures, makes the fix so much easier. It could be as simple as reseating a cable, or it might mean you've got a defective part that needs to be swapped out.
Testing Key Integrated Sensors
The iPhone XR screen is more than just a display—it's a central hub for several critical sensors you transferred from the old screen. Checking that they work is non-negotiable, especially the components tied to Face ID.
First, test the proximity sensor. The easiest way is to make a phone call (calling your own voicemail is perfect for this). Hold the top of the phone to your ear, and the screen should instantly turn off to prevent accidental cheek-dialling. If it stays on, the sensor might be misaligned or have dust blocking it.
Next up, Face ID. Simply lock the phone and then try to unlock it with your face. If it fails repeatedly, there's a good chance the delicate sensor assembly was damaged during the transfer. This is an extremely sensitive component, and unfortunately, damage here is often irreversible without professional help from a service like Screen Fixed Brisbane.
A common point of confusion is the loss of True Tone. After a non-Apple iPhone XR screen replacement, you will almost certainly see a "Display Message" in Settings and lose True Tone functionality. This happens because the screen lacks the original Apple microcontroller. While it doesn't affect performance, it's a normal outcome of a third-party repair.
By methodically running through this checklist, you ensure the iPhone XR screen replacement is not just complete, but truly successful. It validates your work and guarantees the device is back to its full operational capacity—the ultimate goal of any repair.
Troubleshooting Common Post-Repair Problems
You’ve followed every step, clipped in the final connector, and sealed up the iPhone XR. It powers on, but… something isn’t right. It's a gut-wrenching moment that every technician and DIYer has experienced, but don't jump to conclusions just yet.
Most post-repair glitches are thankfully caused by a handful of simple, fixable issues. A successful iPhone XR screen replacement goes beyond just swapping the glass; the real test is making sure everything works flawlessly afterwards.
Whether you're battling an unresponsive screen, weird colours, or phantom inputs, a methodical approach is your best friend. The key is to check the simplest things first. Rushing to reopen the device without a plan can turn a small problem into a bigger one, so take a breath and let’s work through the usual suspects.
Unresponsive or Partially Working Touch Screen
This is easily the most common headache after a screen swap: the display lights up, but it either won't respond to touch at all or has dead spots. Before you write off the new screen as a dud, remember that the culprit is almost always a poorly seated connector.
The digitiser cable, which is responsible for turning your taps and swipes into signals the phone can understand, is incredibly sensitive. If it's even a fraction of a millimetre off, you'll get total or partial touch failure.
- First up: Power the phone down completely. Carefully reopen it and, crucially, disconnect the battery before touching anything else.
- Next: Gently unclip and then reconnect the display and digitiser flex cables. You’re listening for a soft but satisfying 'click' that tells you they've snapped securely into place.
- Inspect Closely: Use a magnifying glass to check the connectors on both the logic board and the flex cable. Even a tiny speck of dust can break the connection.
Once you've reseated the cables, reconnect the battery and power the phone on before you seal it all back up. This lets you do a quick test and saves you the hassle of reopening it again if the issue persists.
Ghost Touch or Erratic Behaviour
We've all seen it. The screen starts acting on its own, opening apps, typing nonsense, and generally going haywire. This phenomenon, known as 'ghost touch', is almost always caused by a pressure point or a faulty connection.
When this happens, it's a good idea to document what you're seeing. Knowing how to screen record with sound on your iPhone can be a huge help, especially if you need to show the behaviour to a parts supplier for a warranty claim.
A common cause for ghost touch is a trapped screw, a bracket that isn’t sitting flush, or a flex cable that’s been folded incorrectly. This puts uneven pressure on the back of the LCD, causing the digitiser to misfire.
Open the device back up and take a close look at how everything is sitting. Make sure no cables are being pinched between the frame and the screen assembly when you close it.
Display Issues Like Lines or Incorrect Colours
What if the screen lights up, but you're met with vertical lines, a blank white glow, or colours that are washed out or inverted? This usually points to a problem with the main display connector or, less often, a defective screen.
Just like with touch issues, your first move should be to power down, disconnect the battery, and carefully reseat the display connectors. Sometimes, a simple hard reset can also clear up display driver glitches. For an iPhone XR, you do this by quickly pressing and releasing the volume up button, then the volume down button, then pressing and holding the side button until the Apple logo appears.
It's also worth noting the role that part quality plays. Anecdotal reports from repair shops all over Australia consistently show a link between post-repair issues and the quality of the replacement screen. Cheaper aftermarket screens can be more prone to colour accuracy and responsiveness problems compared to premium or OEM parts. If you’ve run through all the troubleshooting steps and the screen still isn't right, a faulty part might be the real issue.
Your iPhone XR Screen Replacement Questions Answered
Deciding to go ahead with an iPhone XR screen replacement can bring up a lot of questions. We get it. To help clear the air, we’ve put together some straightforward answers to the queries we hear most often from our customers in Brisbane and right across Australia.
Whether you're thinking about a DIY repair or leaning towards getting a professional to handle it, this FAQ will give you the clarity you need to make a confident choice.
iPhone XR Screen Replacement FAQ
Here are some quick answers to the most common questions we encounter.
| Question | Answer |
|---|---|
| Will Face ID still work after a screen replacement? | Yes, but only if the delicate sensor assembly is transferred perfectly from the old screen to the new one. Any damage to this component during the swap will permanently disable Face ID. This is the most high-stakes part of the job. |
| How long does a DIY iPhone XR screen replacement take? | If it's your first time, set aside at least 1-2 hours. An experienced pro can do it in under 45 minutes, but rushing is the number one cause of mistakes for DIYers. Take your time and keep your screws organised. |
| Can I make my iPhone XR waterproof again? | Unfortunately, no. Once the original factory seal is broken, the phone's water resistance is compromised. A new adhesive seal helps, but it never matches the original. It's best to assume it's no longer water-resistant. |
| Is DIY better than a professional repair in Brisbane? | It all comes down to your confidence and budget. A DIY repair can save you money, but the risk of causing more damage is real. For a guaranteed result with a warranty, a professional iPhone Repairs Brisbane service is the most reliable path. |
Hopefully, that gives you a clearer picture of what's involved in an iPhone XR screen repair. Making an informed decision is the first step towards getting your phone back in action.
Will Face ID Still Work After a Screen Replacement?
Yes, Face ID should work perfectly after a screen swap, but there's a huge catch. The sensor assembly that powers Face ID is uniquely paired to your phone's logic board. This means the entire assembly has to be meticulously transferred from your old, broken screen to the new one during the repair.
If any part of this delicate component gets damaged in the process, Face ID will be permanently disabled. This is easily the most critical part of the entire procedure and a big reason why many people choose to leave it to the professionals.
How Long Does a DIY iPhone XR Screen Replacement Take?
If you're attempting this for the first time, it’s a good idea to block out at least 1-2 hours. An experienced technician at a shop like Screen Fixed Brisbane might knock the same job over in under 45 minutes, but that speed only comes from doing it day in and day out.
The biggest cause of mistakes in any DIY repair is rushing. Take your time, follow the instructions carefully, and keep your screws meticulously organised. A slow and steady approach is far more likely to lead to a successful outcome.
Can I Make My iPhone XR Waterproof Again?
Sadly, the answer is no. Once the original factory seal is broken to open up the device, its water resistance is gone for good. While a new adhesive gasket is applied during reassembly, it never quite restores the integrity of that initial factory seal.
It's safest to just assume your iPhone XR is no longer water-resistant after the repair. Be extra careful around liquids from that point on to avoid any future mishaps.
Is DIY Better Than a Professional Repair in Brisbane?
This really depends on your confidence level and your budget. Tackling a DIY repair can definitely save you some money, but only if you're comfortable working with tiny, fragile electronic components and have the right tools for the job.
The risk of accidentally causing more significant, costly damage is very real. If you're looking for a guaranteed result that comes with a warranty and complete peace of mind, opting for a professional service for your iPhone Repairs Brisbane is easily the most reliable choice. You get to avoid the stress, and you're covered if any issues pop up after the repair.
At Screen Fixed, we provide premium replacement parts and all-in-one DIY kits for those ready to tackle the job themselves. For a hassle-free, expert repair, book your service with our trusted partners today. Find out more at https://www.fixo.com.au.