
Meta Title: iPhone 15 Charging Port Repair Guide | Screen Fixed Brisbane
Meta Description: Is your iPhone 15 charging port not working? Our expert guide covers troubleshooting, USB-C repair, and replacement steps for all models.
Is your brand new iPhone 15 suddenly refusing to charge? The biggest headline for the iPhone 15 charging port was the long-awaited switch from Apple's proprietary Lightning connector to the universal USB-C standard. While this change brings a lot of convenience, it also introduces new challenges when things go wrong. If you're facing charging issues, you've come to the right place. This guide will walk you through everything from diagnosing the problem to performing a professional-level repair.
Getting to Grips With the New iPhone 15 Charging Port
For over a decade, the Lightning port was a staple of the iPhone. When it arrived back in 2012, it was a huge deal, replacing that chunky old 30-pin connector. Now, the iPhone 15 series has taken an equally significant leap by adopting USB-C, finally bringing the iPhone in line with MacBooks, iPads, and countless other electronics across Australia and the globe.
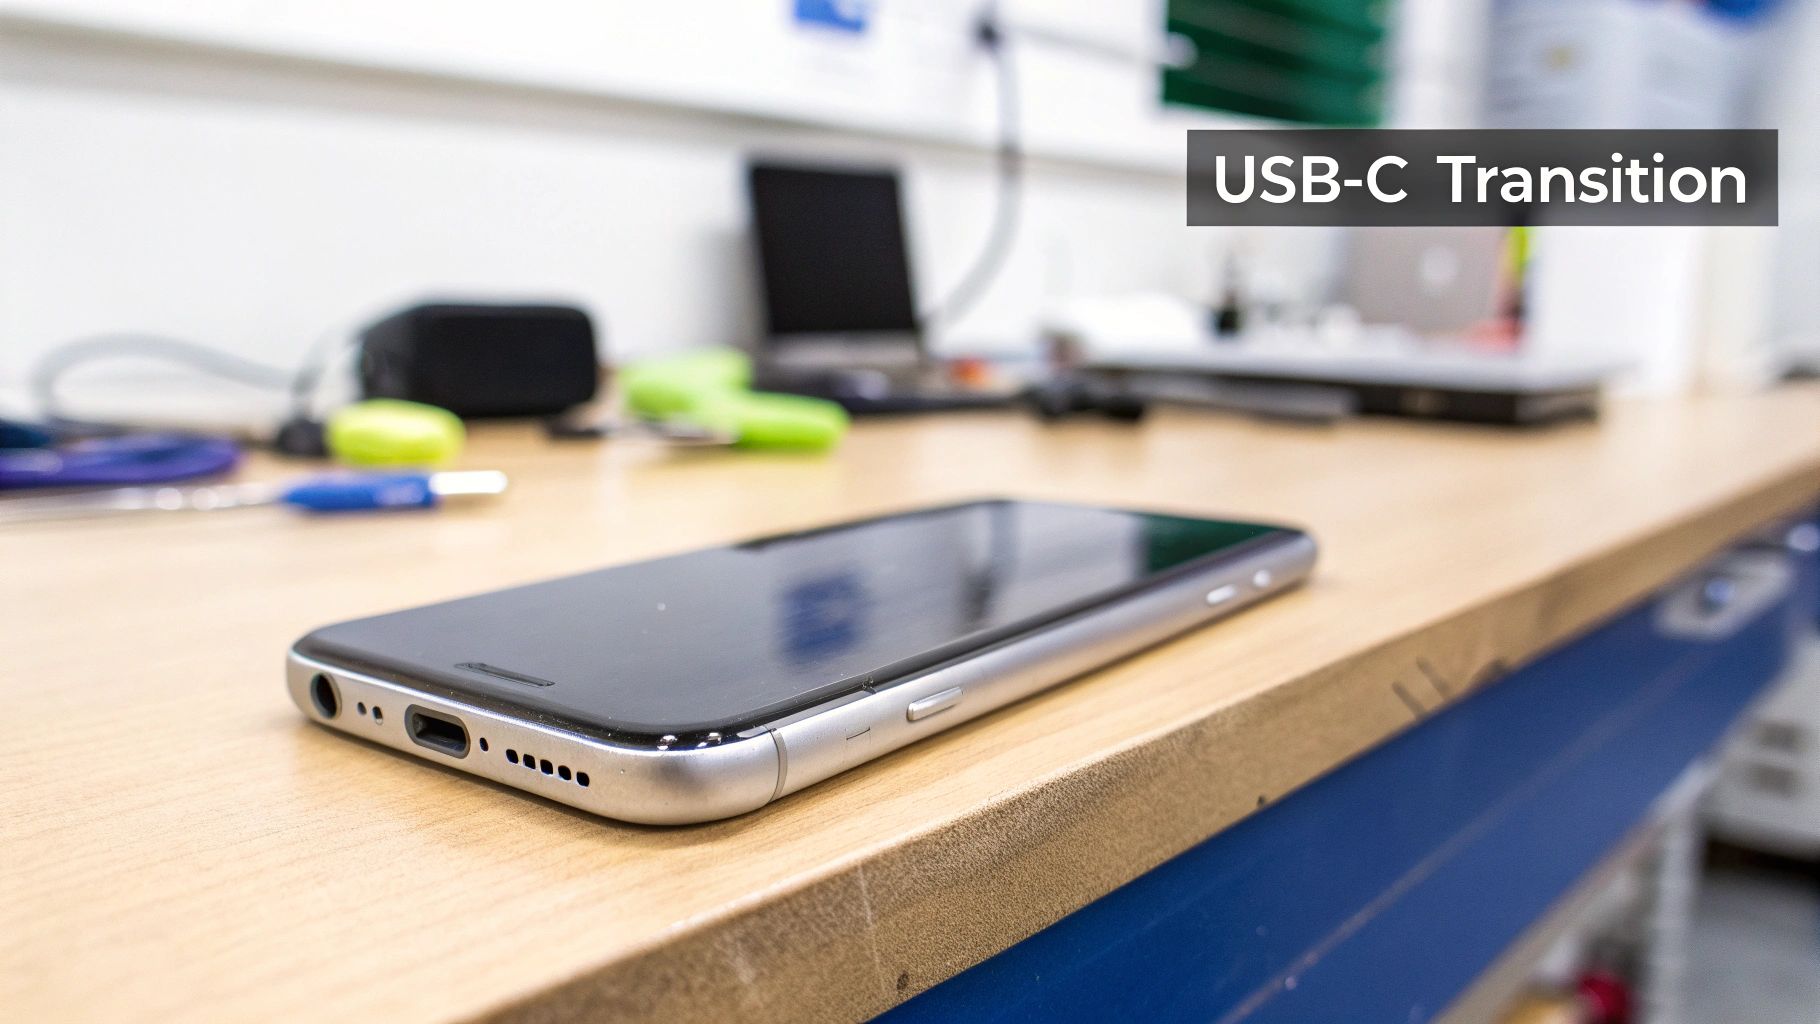
Caption: The previous generation's Lightning port, a familiar sight for iPhone users for over a decade.
This transition is one of Apple's most important connector changes ever, largely spurred on by European Union regulations that demanded a common charging standard for all phone manufacturers.
The move to USB-C isn't just about convenience, though. It can support transfer speeds of up to 40 Gb/s—a massive jump from Lightning's cap of 480 Mb/s. That’s an improvement of roughly 83 times. For Australian repair technicians and spare parts suppliers, this change brings both fresh challenges and exciting opportunities.
Key Perks of the USB-C Transition
So, what does this actually mean for you, whether you're an owner or a repair technician? The move to a USB-C iPhone 15 charging port brings several practical benefits that make daily use easier and boost performance.
- Universal Compatibility: Finally, you can use the same cable to charge your iPhone 15, MacBook, iPad, and even many Android devices. It's a simple change that drastically cuts down on cable clutter.
- Faster Data Transfers: While all iPhone 15 models get USB-C for charging, the Pro models see a massive speed boost for data. This is a game-changer for photographers and videographers who need to get large files off their phones quickly.
- Reverse Charging: The new port lets your iPhone 15 charge other small accessories, like your AirPods or Apple Watch, straight from the phone. It's incredibly handy when you're out and about and need to give another device a quick top-up.
Spotting the Difference Between Pro and Standard Models
This is where it gets interesting. It's crucial to know that not all iPhone 15 USB-C ports are the same. Apple has kitted out the models with different capabilities, which is vital information for diagnosing issues or advising customers.
The standard iPhone 15 and iPhone 15 Plus models come with a USB-C port that supports USB 2.0 data transfer speeds, maxing out at 480 Mb/s. Yep, that’s the same speed as the old Lightning connector. For everyday charging and light data use, it's more than enough.
On the other hand, the iPhone 15 Pro and iPhone 15 Pro Max models have a port that supports USB 3 speeds, capable of hitting a blistering 10 Gb/s. That's more than 20 times faster than the standard models. But there's a catch: to get those speeds, you need to use a compatible USB 3 cable. The one that comes in the box is only rated for USB 2.0 speeds.
This distinction is a super common point of confusion. A customer might complain about slow data transfers on their Pro model, but the real culprit is often just the wrong cable, not a faulty port. Checking their cable is a simple but effective first diagnostic step.
Understanding these foundational differences is the first step toward mastering iPhone 15 charging port repairs. Whether you're a professional technician providing iPhone Repairs Brisbane or a DIY enthusiast, knowing the "why" behind the hardware makes troubleshooting much more effective. It helps you quickly figure out if a problem is with the port, the cable, the software, or just user error, letting you approach every repair with confidence.
How to Diagnose iPhone 15 Charging Issues
When your iPhone 15 suddenly refuses to charge, it’s all too easy to assume the charging port has given up the ghost. But before you dive into ordering new parts or booking a repair, it’s worth taking a step back. More often than not, a systematic diagnosis reveals a much simpler—and cheaper—fix. Jumping straight to the conclusion that the hardware is faulty can cost you unnecessary time and money, so let’s walk through how to pinpoint the real culprit.
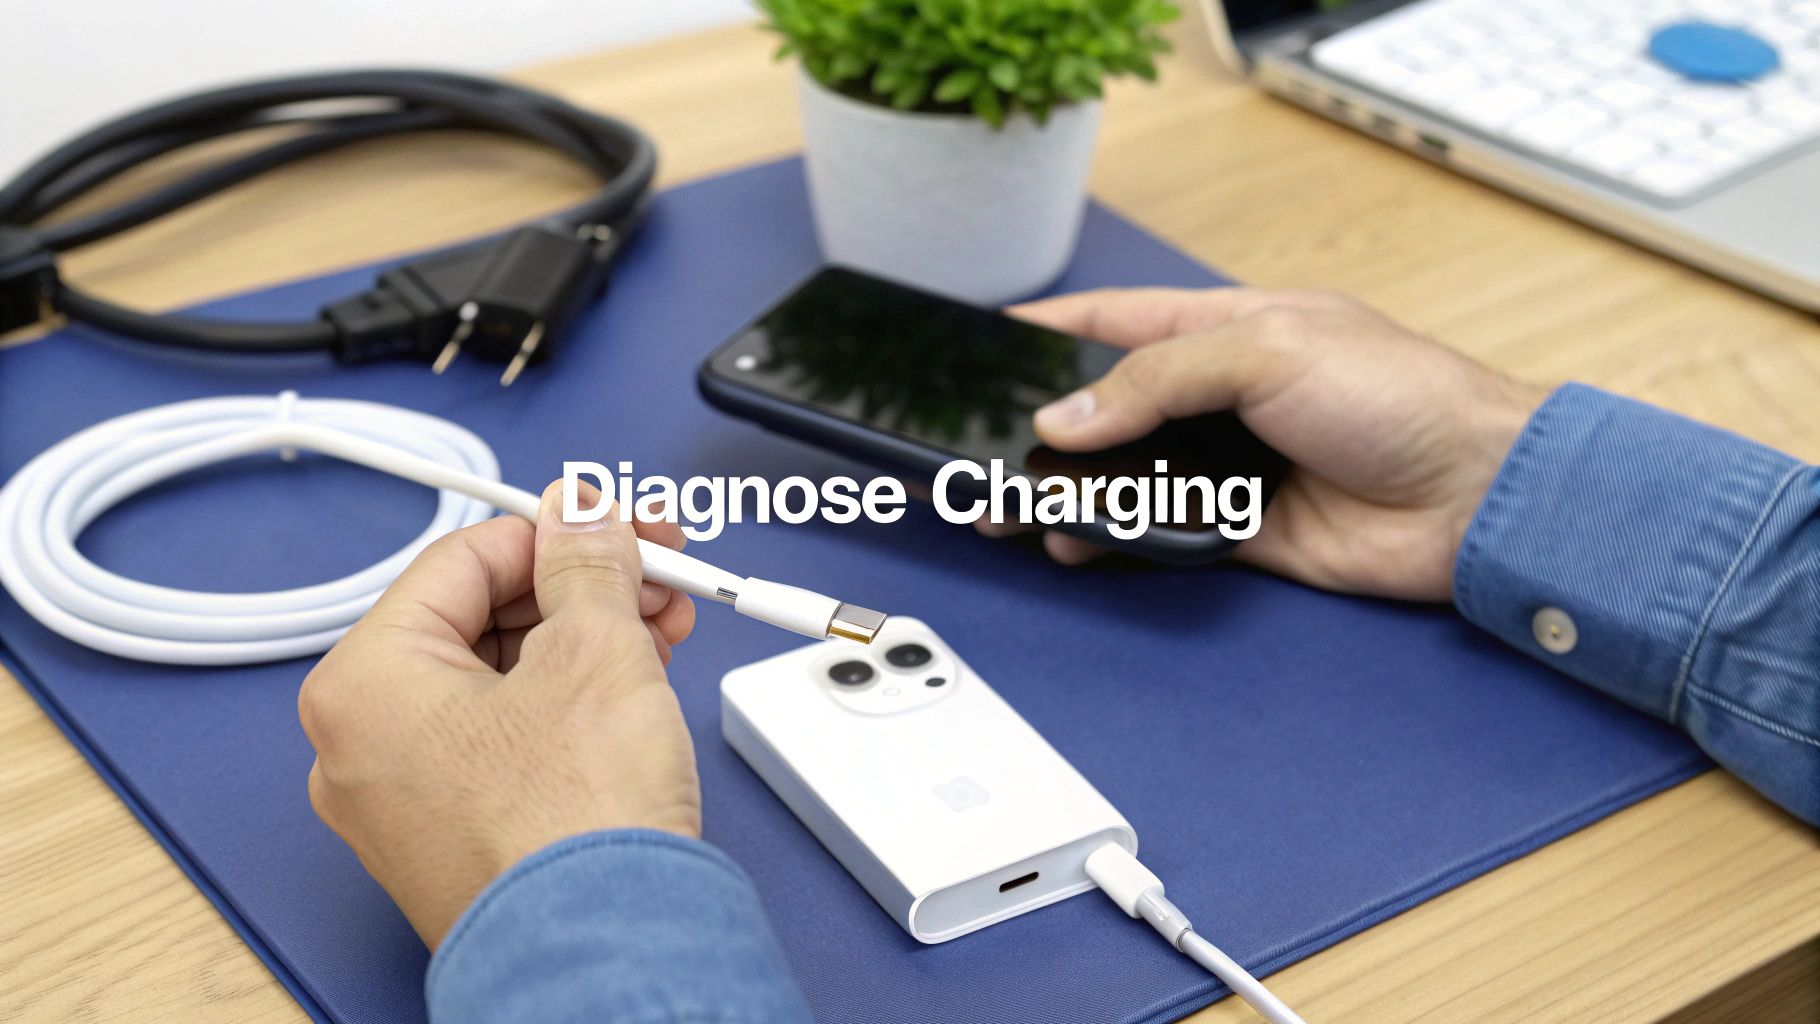
Caption: Diagnosing an iPhone 15 charging issue often starts with testing the cable and power source.
Many charging problems have nothing to do with the port itself. The issue could be anything from a minor software glitch to a bit of pocket lint jammed in the connector. By ruling out these common suspects first, you can be absolutely certain that a port replacement is what's needed.
Start with the Obvious: Software and Accessories
Before you even think about hardware, let’s cover the basics. Sometimes, a simple software hiccup is all that’s standing between you and a full battery. A quick restart is the first thing you should always try. Just press and hold the side button and one of the volume buttons, slide to power off, and then turn it back on. You'd be surprised how often this works.
If that doesn’t do the trick, it's time to look at your accessories. The USB-C cable and power adapter are the most common points of failure. Even the best cables eventually wear out from all the bending and flexing, causing the internal wires to fray.
Here’s a quick checklist to isolate the problem:
- Swap the Cable: Find a different, known-working USB-C cable. If your iPhone 15 starts charging, you’ve found your culprit—the old cable is toast.
- Try a New Power Adapter: Plug the phone into another power brick. If it springs to life, your original adapter has failed.
- Check Your Power Source: Don't forget the obvious! Test the wall socket or power board with another device to make sure it's actually working.
Check the Port for Pocket Gunk
The iPhone 15’s new USB-C port is just as prone to collecting dust, lint, and other debris as the old Lightning port was. Over time, this gunk can get packed in so tightly that it prevents the cable from making a solid connection, leading to flaky charging or no charging at all.
Grab a torch and shine a light directly into the port. Look closely for any visible blockages. It’s amazing how much crud can accumulate in there, forming a stubborn barrier over the electrical contacts.
Crucial tip: Never, ever use a metal object like a paperclip or SIM ejector tool to clean the port. You’re almost guaranteed to scratch the sensitive pins or, worse, cause a short circuit that could lead to a far more expensive logic board repair.
Stick to non-conductive tools. A simple wooden or plastic toothpick is perfect for gently scraping out compacted lint. Compressed air can also be effective, but use short, sharp bursts from a distance to avoid forcing moisture deep into the device.
Reading the Symptoms
Learning to interpret what your phone is telling you can quickly narrow down the cause. A slow charge, for example, points to a completely different set of problems than a device that’s totally unresponsive.
Let’s break down what to look for:
| Symptom | Most Likely Cause | What to Do Next |
|---|---|---|
| No Charging at All | Blocked port, dead cable/adapter, or a completely failed port. | Clean the port first. Then, test with a different cable and adapter. If there’s still no response, the port itself likely needs replacing. |
| Slow Charging | A low-wattage adapter, a poor-quality cable, or a software issue. | Make sure you’re using at least a 20W adapter and a certified USB-C cable. A restart or software update can sometimes resolve this too. |
| Intermittent Connection | Loose debris inside the port or a damaged, frayed cable. | Give the port a thorough clean. Closely inspect your cable for any signs of physical wear and tear and replace it if it looks dodgy. |
| "Accessory Not Supported" | Dirty port, a non-certified or faulty cable, or a bug in iOS. | This message almost always indicates a poor electrical connection. Clean the port thoroughly and try another, certified cable. |
By working through these diagnostic steps methodically, you can accurately get to the bottom of any iPhone 15 charging port issue. This structured approach ensures you only move on to a hardware replacement once you’re confident it’s the last option available.
Your Essential Toolkit for the Repair
Jumping into an iPhone 15 charging port repair without the right gear is like trying to bake a cake without a recipe—you might get somewhere, but the result probably won’t be pretty. A successful, damage-free repair hinges entirely on having the correct tools. This isn't a job you can tackle with just any old screwdriver you have lying around in the garage.
Think of this as your pre-flight checklist. Getting everything you need beforehand not only makes the process smoother but also drastically cuts down the risk of accidentally breaking something. A clean, organised workspace is your best friend here, ensuring those tiny screws and delicate components don't vanish midway through the job.
Assembling Your Tools of the Trade
Precision is everything when you're working inside an iPhone. The components are minuscule and the tolerances are incredibly tight, so using tools designed specifically for electronics repair is non-negotiable. Trying to make do with a generic toolkit can easily lead to stripped screws or scratched components, turning a simple fix into a massive headache.
Before you start, make sure you have the right equipment on hand. We've put together a list of the absolute essentials for this repair.
Essential Toolkit for iPhone 15 Charging Port Repair
| Tool/Supply | Primary Function | Why It's Essential |
|---|---|---|
| P2 Pentalobe Screwdriver | Removing external screws | This is your key to getting inside the iPhone. It removes the two tiny screws flanking the USB-C port. |
| Tri-Point Y000 Screwdriver | Removing internal screws | Apple uses these unique screws to secure internal brackets over the battery and display connectors. |
| Fine-Tip Tweezers | Handling small components | Perfect for manipulating tiny ribbon cables and microscopic screws without causing damage. |
| iOpener or Heat Pad | Softening screen adhesive | Provides gentle, even heat to loosen the adhesive holding the screen. Much safer than a heat gun. |
| Spudger & Opening Picks | Prying and disconnecting | These plastic tools are used to safely separate the screen and disconnect delicate flex cables. |
Having these purpose-built tools is non-negotiable for a clean, successful repair. They’re designed to work with Apple's specific hardware, preventing stripped screws and damaged parts.
Having the right screwdriver is absolutely crucial. Using the wrong size or type will strip the screw heads instantly, making them impossible to remove. If you're new to iPhone repairs, our article explaining Pentalobe screwdrivers for iPhone and MacBook repairs is a great place to start.
Choosing the Right Replacement Part
Once you've got your tools sorted, the next big decision is the replacement part itself. The quality of the charging port assembly will directly impact how long your repair lasts and how well it performs. Using premium parts ensures the best outcome.
The Most Important Safety Step
Before you even think about touching a single screw, there is one step you absolutely cannot skip: disconnecting the battery. This is the golden rule of electronics repair.
Leaving the battery connected means you're working on a live circuit. If you accidentally touch a component with a metal tool, you can cause a short circuit that instantly fries sensitive parts on the logic board. This simple mistake can turn a straightforward port replacement into a catastrophic, expensive failure.
Always disconnect the battery as the very first step after opening the device. Only reconnect it at the very end, just before you seal the screen back on. This precaution is the single most effective way to protect the phone from irreversible damage.
Replacing the iPhone 15 Charging Port Flex Cable
Alright, let's get our hands dirty. This is where we dive into the practical side of things, walking you through the entire replacement of the iPhone 15 charging port flex cable assembly. I'll break it down into clear, manageable stages so you feel confident from start to finish.
We'll cover everything from safely getting the device open and lifting the display, to navigating the internal components. From there, I'll guide you through removing the old, faulty port and correctly installing the new part. Every step is laid out in plain English, with a few pro tips sprinkled in for handling those tiny screws and delicate cables without causing any headaches.
Whether you're a seasoned pro somewhere in Australia or a skilled DIYer looking for a challenge, this guide has you covered. The image below gives you a quick visual on the basic tool workflow for this job.
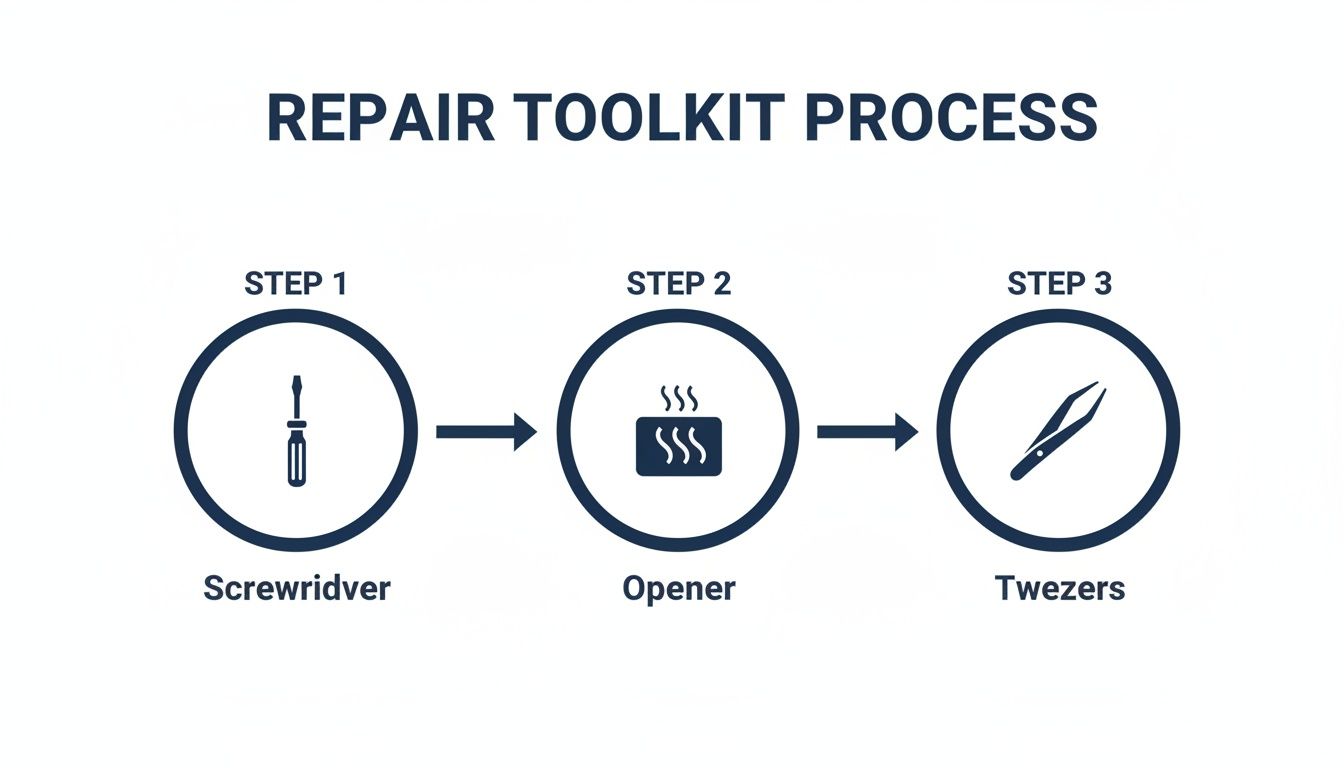
Caption: The key tools for an iPhone 15 charging port repair include screwdrivers, a heat source, and tweezers.
This flow really boils down to three core tool phases: using a specialised screwdriver to get inside, applying gentle heat to soften the screen adhesive, and using tweezers for the delicate work.
Safely Opening the Device
First things first: power the phone down completely. Don't just let it go to sleep; a full shutdown is essential.
Next, grab your P2 Pentalobe screwdriver and carefully remove the two tiny screws flanking the USB-C port at the bottom. These things are notorious for getting lost, so I always use a magnetic screw mat or at least a small, dedicated container to keep them safe.
Now for the adhesive holding the screen on. Lay your iOpener or a heat pad across the edges of the screen for a couple of minutes. You're not trying to cook it, just warm it enough to make the adhesive pliable and easier to work with.
Once it's warmed up, use a suction cup to gently pull up on the screen near the bottom edge, creating a tiny gap. Slide a thin opening pick into that gap and carefully work it around the perimeter of the phone, slicing through the softened adhesive. Patience is your best friend here—trying to brute-force it is a surefire way to crack the screen.
Disconnecting Internal Components
With the adhesive cut, you can now open the screen. The iPhone 15 display opens like a book from the right side, so swing it open gently. Don't just yank it off, as it's still connected by fragile ribbon cables.
You'll immediately see several small metal brackets covering the connectors for the battery and display. Use your Y000 tri-point screwdriver to remove the screws holding them down. Pay close attention here and track every single screw—they aren't all interchangeable.
The absolute first component to disconnect is the battery. Take the flat end of a spudger and gently pry its connector straight up from the logic board socket. This is the single most critical safety step to prevent any short circuits.
With the battery safely disconnected, you can move on to the display and other relevant connectors. They all pop off with a gentle prying motion. Once they're all free, you can completely remove the screen and set it aside somewhere safe.
Always remember the golden rule of electronics repair: disconnect the battery first. Working on a live device is a recipe for disaster. This simple step protects you and the phone from irreversible damage.
Removing the Old Charging Port Assembly
With the screen out of the way, you've got a clear view of the internals. The charging port is part of a larger flex cable assembly which usually includes the main microphone and a few other bits. It's held down with several screws and some light adhesive.
You'll need to start by removing the Taptic Engine and the lower speaker assembly, as they usually sit right on top of the charging port flex cable. A few more screws hold these in place.
Once those are out, you can get to the iPhone 15 charging port itself. Methodically remove any screws holding the flex cable down along its path. Then, use tweezers to gently peel the flex cable up from the frame. The adhesive isn't too strong, but the key is to go slowly to avoid tearing anything.
Installing the New Part
Now that the old part is out, it's time to bring in your new charging port. Before you install it, do a quick side-by-side comparison with the old assembly. Just make sure all the screw holes, connectors, and bends match up perfectly.
Carefully position the new flex cable inside the phone, aligning it with the screw posts on the frame. The cable is designed to fit one way, so it should settle into place without much fuss. If it feels like you're forcing it, stop and double-check for any debris or misalignment.
Start by threading the screws in, but don't tighten them down completely at first. This gives you a bit of wiggle room for final adjustments. Once you're confident everything is perfectly aligned, go back and tighten each screw until it's snug.
Reinstall the lower speaker and the Taptic Engine, ensuring their connectors are properly seated. This stage demands a steady hand, but taking your time ensures a perfect fit and a successful repair. For anyone running a professional shop offering iPhone Repairs Brisbane, this kind of precision is what sets a quality repair apart and keeps customers happy.
Putting It Back Together and Testing Your Work
The job isn't over just because the new part is sitting inside the phone. Honestly, the final steps—reassembly and a proper round of testing—are what separate a good repair from a great one. If you rush the reassembly, you can easily introduce new problems. And if you skip a full function test, you might send a device back to a customer with a secondary issue you never even noticed. Think of this final stage as your personal quality control.
We'll walk through the right way to reconnect everything, seat the display perfectly, and apply a fresh adhesive seal to bring back some of the phone's original water resistance. It's a methodical process that guarantees a professional finish, and it's exactly how we handle our own iPhone Repairs Brisbane.
Reconnecting Components and Sealing the Display
With your new iPhone 15 charging port flex cable screwed in, it’s time to work backwards. This is basically the reverse of taking it apart, but getting the order right is just as critical. The first thing to do is reconnect the display cables to the logic board.
You should feel a satisfying little click as each connector snaps into place with just a bit of gentle pressure. If you feel any real resistance, stop. Back off and check your alignment. Trying to force a connector is a surefire way to bend the pins, and that turns a simple job into a nightmare.
After the display connectors are secure, the very last thing you should connect is the battery. This is a vital safety step. It ensures the device stays completely powered down until you're absolutely ready to seal it up. Once the battery is connected, you can put the small metal brackets back over the connectors and pop in their little tri-point screws.
Before you snap the screen shut, it's a smart move to apply a new pre-cut adhesive strip around the frame. No, this won't make the iPhone 100% waterproof again, but it does a fantastic job of keeping out dust and protecting against minor splashes. Carefully line up the new adhesive, then gently lower the display into the frame, starting from the top clips and working your way down until it clicks securely into place all around.
The Ultimate Post-Repair Testing Protocol
Time for the moment of truth. Power on the phone. Seeing that Apple logo is always a relief, but you're not done yet. A full, comprehensive test is the only way to be certain the repair was a complete success. Don't just plug in a cable and call it a day—you need to test every function related to that new port.
Here’s a quick checklist to run through:
- Charging Confirmation: Plug the iPhone into a wall charger. Make sure the charging icon pops up and, more importantly, that the battery percentage actually starts to climb.
- Data Transfer Check: Connect the iPhone to a computer with a USB-C cable. Does the computer recognise it? Can you transfer a photo from the phone to the computer? This confirms the data lines in the port are working, not just the power lines.
- Microphone Functionality: The main microphone is part of the charging port assembly you just replaced. Open the Voice Memos app, record a short clip, and play it back. The audio should be crystal clear, not muffled or distorted.
- Speaker Integrity: Fire up a song or a YouTube video to test the main speaker at the bottom of the phone. Listen for clean, crisp sound without any crackling.
One of the biggest mistakes technicians make is testing with just one cable and charger. You'd be surprised how often a subtle fault only shows up with a specific accessory. I always make it a rule to test with at least two different certified cables and power bricks to be 100% sure the new port is solid.
Validating Charging Speeds and Power Delivery
Finally, let’s talk performance. It helps to know how the iPhone 15 actually handles its power. While some of the Pro models are advertised with higher wattage support, real-world tests show that the phone itself is the boss. Whether you use a 20W, 30W, or even a 35W adapter, the total charge time from 0% to 100% stays pretty much the same, hovering around 1 hour and 46 minutes. The key thing to remember is that you need at least a 20W adapter to get that "fast charge" boost to 50% in about 30 minutes.
If you've done the repair and something still seems off with the charging, you might need to dig a bit deeper. For more advanced diagnostics, knowing how to test continuity with a multimeter is an invaluable skill. It allows you to check for breaks or shorts at the component level, confirming every connection is sound. Taking these final steps is what guarantees a reliable, long-lasting repair that you can stand behind.
Common Questions About the iPhone 15 USB-C Port
The switch to USB-C has kicked up a lot of questions from technicians and regular users alike. Getting to grips with new hardware always has a learning curve, so we’ve rounded up some of the most common queries to give you clear, straight-up answers. This should help you handle any issues that come your way with the new iPhone 15 charging port.
Can I Use Any USB-C Cable with My iPhone 15?
For charging, the short answer is yes—pretty much any standard USB-C cable will get the job done. But, and it’s a big but, performance can vary massively depending on the cable and power adapter you’re using. To hit that advertised fast charge of 50% in about 30 minutes, Apple says you’ll need a 20W or higher power adapter.
Where it gets tricky is data transfer. If you want to unlock the blistering USB 3 speeds (up to 10 Gb/s) on the iPhone 15 Pro models, you must use a USB 3 certified cable. The cable that comes in the box is only rated for older USB 2.0 speeds, which tops out at a sluggish 480 Mb/s. For a deeper dive into how power delivery affects different devices, you might find it helpful understanding fast charging technologies.
Is This a Good DIY Repair Project?
Honestly? Replacing the iPhone 15 charging port is an advanced repair, and not one for the faint of heart. It demands a steady hand, a lot of patience, and the right specialised tools. While a skilled DIY enthusiast could probably pull it off, the risk of tearing a delicate screen or a tiny internal flex cable is pretty high.
If you’re just starting out with phone repairs, we’d strongly recommend tackling a simpler project first. If you have any doubt at all about doing the job safely, the smartest move is to trust a professional.
Will This Repair Affect My iPhone's Water Resistance?
Yes, absolutely. The second you open an iPhone 15, you compromise the factory-applied water-resistant seals around the display. You can apply new adhesive strips during reassembly to get some protection back, but it will never be as good as the original seal from the factory.
It is absolutely critical to communicate this to any customer after a repair. Once a device has been opened, it should be treated as vulnerable to liquid and kept well away from water.
This isn't just a small detail; it's a crucial part of managing customer expectations and being transparent, which is vital for any professional repair service like Screen Fixed Brisbane.
If you've followed these steps and find you're still stuck, or if you'd rather leave it to the professionals, we're here to help. Our technicians are experts in handling complex repairs, ensuring your device gets back to perfect working order quickly and safely. For a reliable, professional fix, Book your repair with Screen Fixed Brisbane today.
Disclaimer: Screen Fixed is an independent repair service and is not affiliated with Apple Inc. All brand names and trademarks are the property of their respective owners.