
Staring at a circuit board can feel like trying to read a foreign language, and guessing what's wrong with your phone is a recipe for frustration. To get your head around electronics repair, think of a multimeter as your universal translator. This guide is built for the Aussie DIY enthusiast who wants to swap guesswork for precision and confidently diagnose the problem.
Your First Step in Electronics Diagnostics
A multimeter is arguably the most crucial tool in your repair kit, whether you're working on iPhones, Samsungs, or other small gadgets. The problem is simple: you can't see electricity. The solution is this device, which packs several measurement tools into one, letting you peek inside a circuit to see what's really happening.
Forget the confusing jargon; we’re focusing on the practical skills that get the job done. By measuring a few key electrical properties, you can accurately find the source of a fault, saving yourself time, money, and a lot of headaches.
This tool helps you answer critical questions like:
- Is this battery actually dead, or is the fault somewhere else?
- Have I got a short circuit on this logic board?
- Is this fuse blown, or is there just a bad connection?
Analogue vs Digital Multimeters
When you start shopping, you'll see two main types: analogue and digital. Analogue multimeters use a physical needle that moves across a scaled display. While they have their place, they can be tough for a beginner to read accurately.
Digital multimeters, on the other hand, give you a precise number on an LCD screen. They are far easier to read, generally more durable, and often come with handy features like auto-ranging, which automatically picks the right measurement range for you. For anyone starting in device repair, a digital multimeter is the clear winner. It simplifies the whole process and gives you confidence that your readings are spot on.
The Core Functions You Will Use Daily
You don’t need to master every single setting on your multimeter from day one. In reality, most phone and electronics repairs rely on just a handful of core functions. Getting comfortable with these will cover 90% of the diagnostics you'll ever need to do.
Before we jump into taking measurements, it’s vital to understand what you're measuring and why. For most repairs, you'll be constantly switching between a few key settings to test different parts of a circuit.
The table below breaks down the absolute essentials you'll rely on daily. Think of it as your quick-start guide to multimeter diagnostics.
| Setting Symbol | What It Measures | A Real-World Repair Scenario |
|---|---|---|
| V⎓ | DC Voltage | Checking if a phone battery has enough charge to power on the device. |
| V~ | AC Voltage | Measuring the output of a wall adapter or power supply (less common for internal device repair). |
| Ω | Resistance | Testing a fuse to see if it has blown or checking for a short circuit between components. |
| •))) | Continuity | Verifying if a wire or trace on a circuit board has a solid, unbroken connection from one point to another. |
| **→ | ** | Diode Test |
Getting a feel for these functions is the foundation of good diagnostic work. As you apply your newfound skills for real-world success, you'll find that a reliable multimeter, paired with other essential tools, is the key to any successful repair. To get started with a complete setup, our comprehensive smartphone repair tool kit includes everything you need.
Getting to Know Your Digital Multimeter
Before you can really put a tool to work, you need to know what you're holding. Let's do a quick tour of your digital multimeter, breaking down each part so you know exactly what it does and why it's there. Getting comfortable with the layout is the first, and most important, step towards taking measurements that are both accurate and safe.
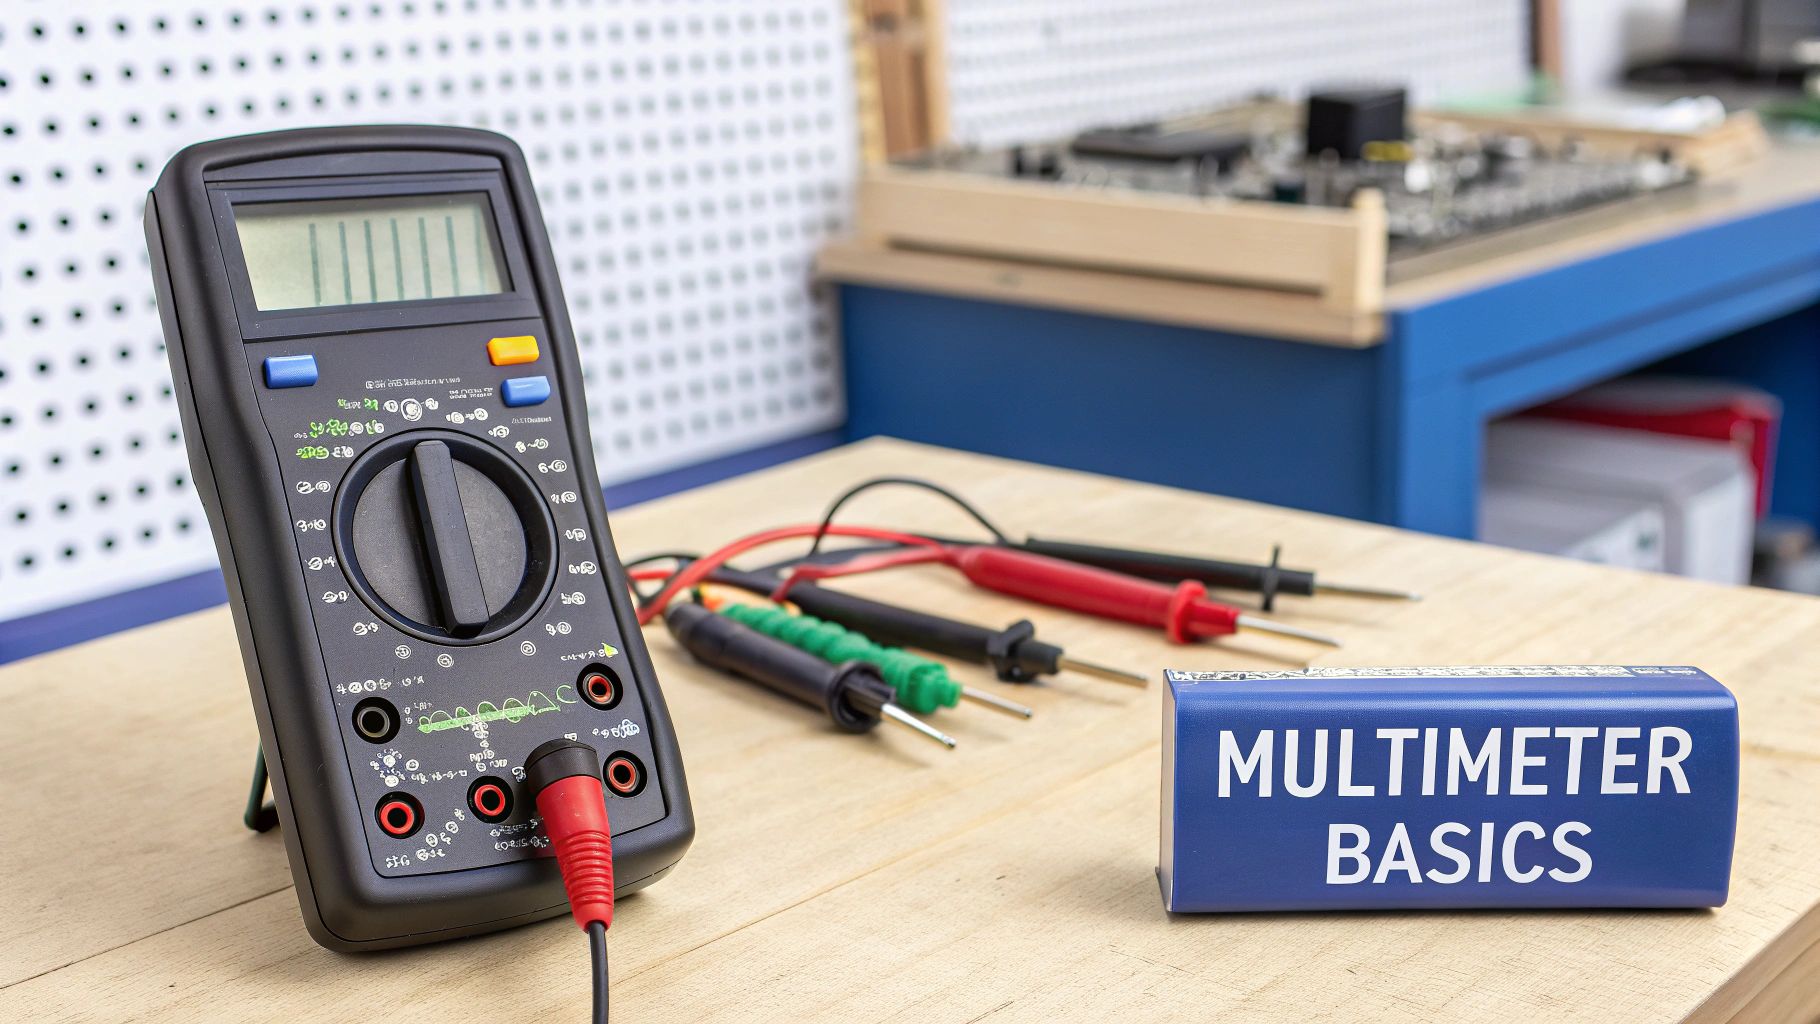
Alt text: A black digital multimeter with red and black test leads sits on a workbench, ready for setup.
It might look a bit complex with all the symbols and ports, but you’ll quickly see it’s designed logically. The good news is that most digital multimeters follow a standard layout, so once you learn one, you'll be able to pick up almost any other model and feel right at home.
The Display Screen
The first thing you’ll notice is the digital display, which is almost always an LCD screen. This is where the magic happens – it shows you the measurement reading as a clear number. No more squinting at a swinging needle like on the old analogue meters; a digital display gives you a precise value, taking all the guesswork out of the equation.
Most displays will show up to four digits and give you some extra info:
- A negative symbol (-): This just means you've got the probes the wrong way around on a DC circuit. No big deal, just swap them.
- Measurement Units: You'll see little symbols pop up, like V for Volts, Ω for Ohms, or A for Amps.
- OL (Over Limit or Open Loop): Pay attention to this one. It means the value you're trying to measure is too high for the current range, or that there's simply no connection between your probes.
The Central Selection Dial
That big knob in the middle is your selection dial. Think of it as the command centre of your meter. You’ll turn this to pick exactly what you want to measure, whether it’s DC Voltage (V⎓), AC Voltage (V~), Resistance (Ω), or Continuity (•)))).
Here’s a pro tip that’ll save you a lot of grief: always, always set the dial to the correct function before you touch the probes to a circuit. Making this a habit from day one will prevent you from accidentally damaging your multimeter or the device you're testing.
The dial is usually grouped into logical sections. All the voltage settings will be together, all the resistance settings are in another block, and so on. This makes finding what you need quick and easy. The Australian digital multimeter market is booming, partly because both pros and DIYers love these straightforward, user-friendly designs. If you're interested in the market trends, you can find out more by reading the latest industry analysis.
The Probes: Your Hands in the Circuit
Your multimeter isn't much use without its probes, also called test leads. These are the two insulated wires—one black, one red—that let you safely poke and prod around inside an electrical circuit.
The black probe is your negative or "common" connection. The red one is for the positive side. The metal tips are nice and sharp, designed to make perfect contact with tiny solder points and component legs, which is absolutely essential when you're doing something delicate like performing an iPhone repair in Brisbane.
The Input Ports: Where to Plug In
Down at the bottom of the meter, you’ll find a few holes, or ports. This is where you plug in your probes, and getting this right is non-negotiable for both safety and getting a correct reading. Most meters have three ports you need to know:
- COM (Common): Easy one to remember. The black probe always goes in here. No exceptions. This port is the ground or reference point for every single measurement you take.
- VΩmA: For almost everything you do—measuring voltage (V), resistance (Ω), and small currents (mA or milliamps)—the red probe plugs into this port.
- 10A (or 20A): This is a dedicated, high-power port used only for measuring large currents. You’ll move the red probe here specifically for that task. Be warned: plugging this into a voltage source by mistake is a quick way to blow a fuse in your meter or cause some serious damage.
Setting Up for a Safe and Accurate First Measurement
In electronics repair, safety isn't just another box to tick—it's the foundation of every successful diagnosis. Before you even lay a probe on a circuit board, getting a few core safety habits locked down will protect you, your multimeter, and the device you're trying to fix.
Getting this right from the very beginning builds the kind of muscle memory you need for a long and shock-free repair career. The first rule is simple: always assume a circuit is live until you’ve proven otherwise. Even a device that’s switched off can hold a nasty surprise in its capacitors. This small shift in mindset prevents countless accidents on the bench.
The Golden Rules of Multimeter Safety
Think of these as the non-negotiable laws of electronics repair. Sticking to them will stop you from blowing a fuse in your brand-new multimeter or, much worse, causing a catastrophic short on a customer’s logic board. A single moment of carelessness can turn a simple screen repair into a complete write-off.
These aren't just suggestions; they are standard operating procedure for good technicians everywhere.
- Never measure resistance or continuity on a powered circuit. When you do this, your multimeter sends its own small current into the live circuit. This can lead to completely wrong readings and potentially damage both your meter and the device. Always disconnect the battery first.
- Never measure current in parallel. Unlike voltage, current has to be measured in series, which means you need to make your meter a part of the circuit. Accidentally connecting the probes in parallel when you're set to measure amps creates a direct short, which will instantly blow your meter’s fuse.
- Start with the highest range. If you're using a manual-ranging multimeter, always set the dial to a range higher than you expect to find. You can always dial it down for a more precise reading, but starting too low can overload and damage the meter.
- Inspect your probes before every use. Give your test leads a quick once-over, looking for any cracks in the insulation or exposed wiring. Damaged probes are a serious shock hazard and should be replaced immediately.
Your hands should always stay behind the plastic finger guards on the probes. That little physical barrier is there for a reason—it’s designed to stop your fingers from accidentally slipping and touching a live contact point, especially when you're working with higher voltages.
Your Pre-Measurement Checklist
Rushing the setup is how mistakes happen. Developing a consistent, repeatable sequence is the key to getting accurate and safe readings every time. Before you even think about touching the probes to any test points, run through this quick mental checklist.
It only takes a few seconds but can save you from some serious headaches down the line.
- Select the Function: Turn that main dial to the correct measurement you need to take (e.g., DC Voltage, Resistance, Continuity).
- Check the Ports: Double-check that the black probe is plugged securely into the COM port. Then make sure the red probe is in the VΩmA port for most measurements. Only use the dedicated 10A port if you are specifically setting up to measure high current.
- Power Down the Device: For any resistance, continuity, and diode tests, make absolutely sure the device is completely powered off and the battery is disconnected. This guarantees you're only measuring the component itself and not the whole live circuit.
These steps are the bedrock of good diagnostic practice. Just like a mechanic knows which wrench to grab for a specific bolt, understanding how to set up your multimeter properly is essential. For more on tool basics, our guide on different screw drive types can help round out your knowledge.
With these safety habits firmly in place, you’re ready to take your first reliable measurement.
Getting Your Hands Dirty: Essential Measurements for Device Repair
Alright, with your multimeter set up and the safety basics covered, it’s time to actually put it to work. We're moving past the theory and diving straight into the four most critical measurements you’ll use every single day for mobile phone and small electronics repair.
Think of these tests as the key to unlocking a device's secrets. They’re what separates guessing what’s wrong from knowing what’s wrong. Each one helps you answer a different question about the health of a device, and we'll walk through them with practical, real-world scenarios you're guaranteed to face at the repair bench.
Before we start, take a look at this infographic. It’s a great visual reminder of the simple, repeatable process for setting up your meter for any measurement.
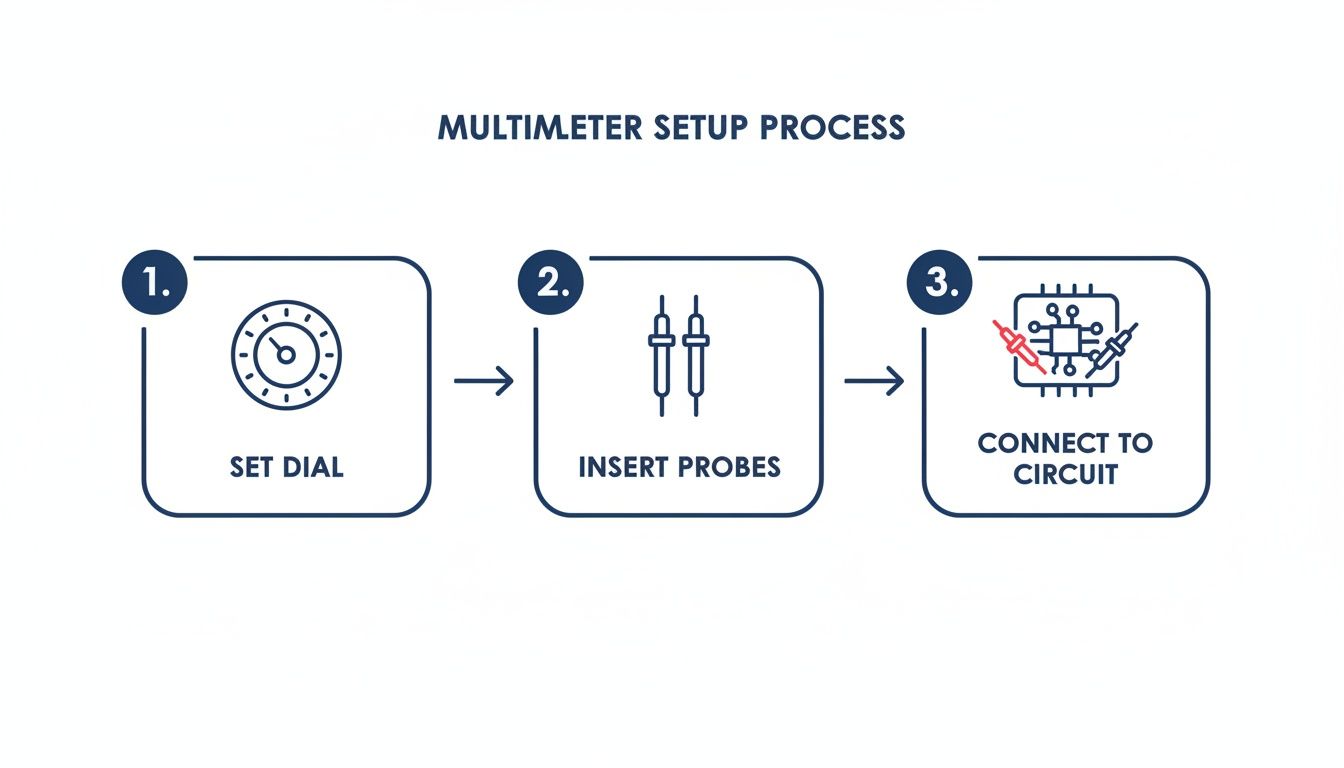
Alt text: Infographic showing three steps: 1. Set dial, 2. Insert probes, 3. Connect to circuit.
Get into the habit of following this sequence: set the dial first, then plug in your probes, and only then connect to the circuit. It’s a small thing, but it prevents accidental damage and ensures you get accurate readings every time.
Checking Voltage to Diagnose Battery Issues
Voltage is the electrical "pressure" in a circuit, and measuring it is often the very first thing you'll do. It’s the fastest way to find out if a component, like a battery, has enough juice to do its job. For any battery-powered gadget, you'll be measuring DC Voltage, which has the V⎓ symbol on the dial.
Real-World Scenario: Is a Samsung Phone's Battery Actually Dead?
A Samsung Galaxy that won’t turn on lands on your desk. The customer swears they’ve tried charging it, but nothing happens. Your first thought might be the screen or the charge port, but a quick voltage check on the battery itself will tell you the real story.
- Turn your multimeter dial to the DC Voltage setting (V⎓). If you're using a manual-ranging meter, pick the 20V range, since a typical phone battery sits around 3.8V.
- Plug your probes into the multimeter (black into COM, red into VΩmA).
- Carefully disconnect the battery from the phone's main board.
- Touch the red probe to the positive (+) terminal on the battery connector and the black probe to the negative (-) terminal.
A healthy, charged battery should give you a reading between 3.8V and 4.2V. If you see anything below 3.7V, the battery is likely too drained to power on the phone and might need a "boost charge" or a full replacement. A reading of 0V means the battery is completely toast or its internal protection circuit has tripped.
Using Resistance to Hunt for Short Circuits
Resistance, measured in Ohms (Ω), tells you how much a component fights against the flow of electricity. While you can measure individual resistors, its most powerful use in repair is finding short circuits. A short is an unwanted, low-resistance path for electricity, often causing a device to stay dead or get ridiculously hot.
A "short to ground" is one of the most common—and destructive—faults you'll find on a logic board. It happens when a power line accidentally connects directly to a ground line, causing a massive current draw that stops the device from ever starting up. Measuring resistance is how you find it.
To measure resistance, the device must be completely powered off with the battery disconnected. Your meter sends out its own tiny current to get a reading, and any other power in the circuit will throw off the measurement and could even fry your tool.
Real-World Scenario: Checking a Power Rail for Shorts
If you suspect a short circuit on a phone's main power line (think of it as the electrical highway from the battery), you can use resistance mode to confirm your suspicions.
- Set your dial to the Resistance setting (Ω).
- With the battery out, place your black probe on a reliable ground point, like a metal shield or a screw pad on the board.
- Now, place your red probe on the positive terminal of the battery connector (the one on the board, not the battery).
On a healthy board, you should see a high resistance value that keeps climbing as the capacitors on that line charge up. But if you see a very low reading, something close to 0Ω, you've just confirmed a short to ground. Now the real fun begins: hunting down the specific component causing it.
Testing Continuity to Find Broken Connections
Continuity is your best mate for quick checks. It’s a simple pass/fail test that tells you if there's an unbroken electrical path between two points. If your multimeter finds a complete circuit (meaning very low resistance), it lets out an audible beep. This is why it’s often called the "beep test."
Learning how to test continuity with a multimeter is a fundamental skill for diagnosing breaks in a circuit or just checking if a wire is good. It’s an incredibly fast and satisfying way to confirm your connections are solid. For a deeper look at this specific test, be sure to check out our detailed guide on how to test continuity with a multimeter.
Real-World Scenario: Testing an iPhone Charge Port
A customer brings in an iPhone that refuses to charge. You've already tested it with a cable and charger you know works. The problem might be the charge port flex cable inside the phone. You can use continuity to see if the electrical lines are intact from the port all the way to the logic board connector.
- Switch your multimeter to Continuity mode (look for the symbol that looks like •)))).
- Carefully place one probe on a specific pin inside the Lightning port.
- Touch the other probe to the matching pin on the flex cable's connector.
- If you hear that beep, the connection is good. If you get silence, that line is broken, and the entire charge port assembly needs to be replaced.
Using Diode Mode for Advanced Diagnostics
Diode mode is a bit more advanced, but it's an incredibly powerful way to check the health of a circuit without even powering it on. It works by sending a tiny current through a circuit and measuring the voltage drop across a semiconductor junction, which it displays in millivolts (mV).
This single test can help you spot shorts, open lines, and even damaged integrated circuits (ICs). Pro technicians often take readings from a faulty board and compare them to a known-good board to pinpoint the exact location of a problem. It's a true diagnostic game-changer.
By getting comfortable with these four essential measurements, you’re building the foundation you need to tackle a massive range of electronic repairs with confidence and precision.
Common Beginner Mistakes and Pro Technician Tips
Look, every technician makes mistakes when they're first learning to use a multimeter. It’s just part of the process. The real skill is learning from those slip-ups quickly so you don't make the same costly error twice. Think of this section as your shortcut—I'm going to highlight the most common pitfalls so you can sidestep them and build pro habits from day one.
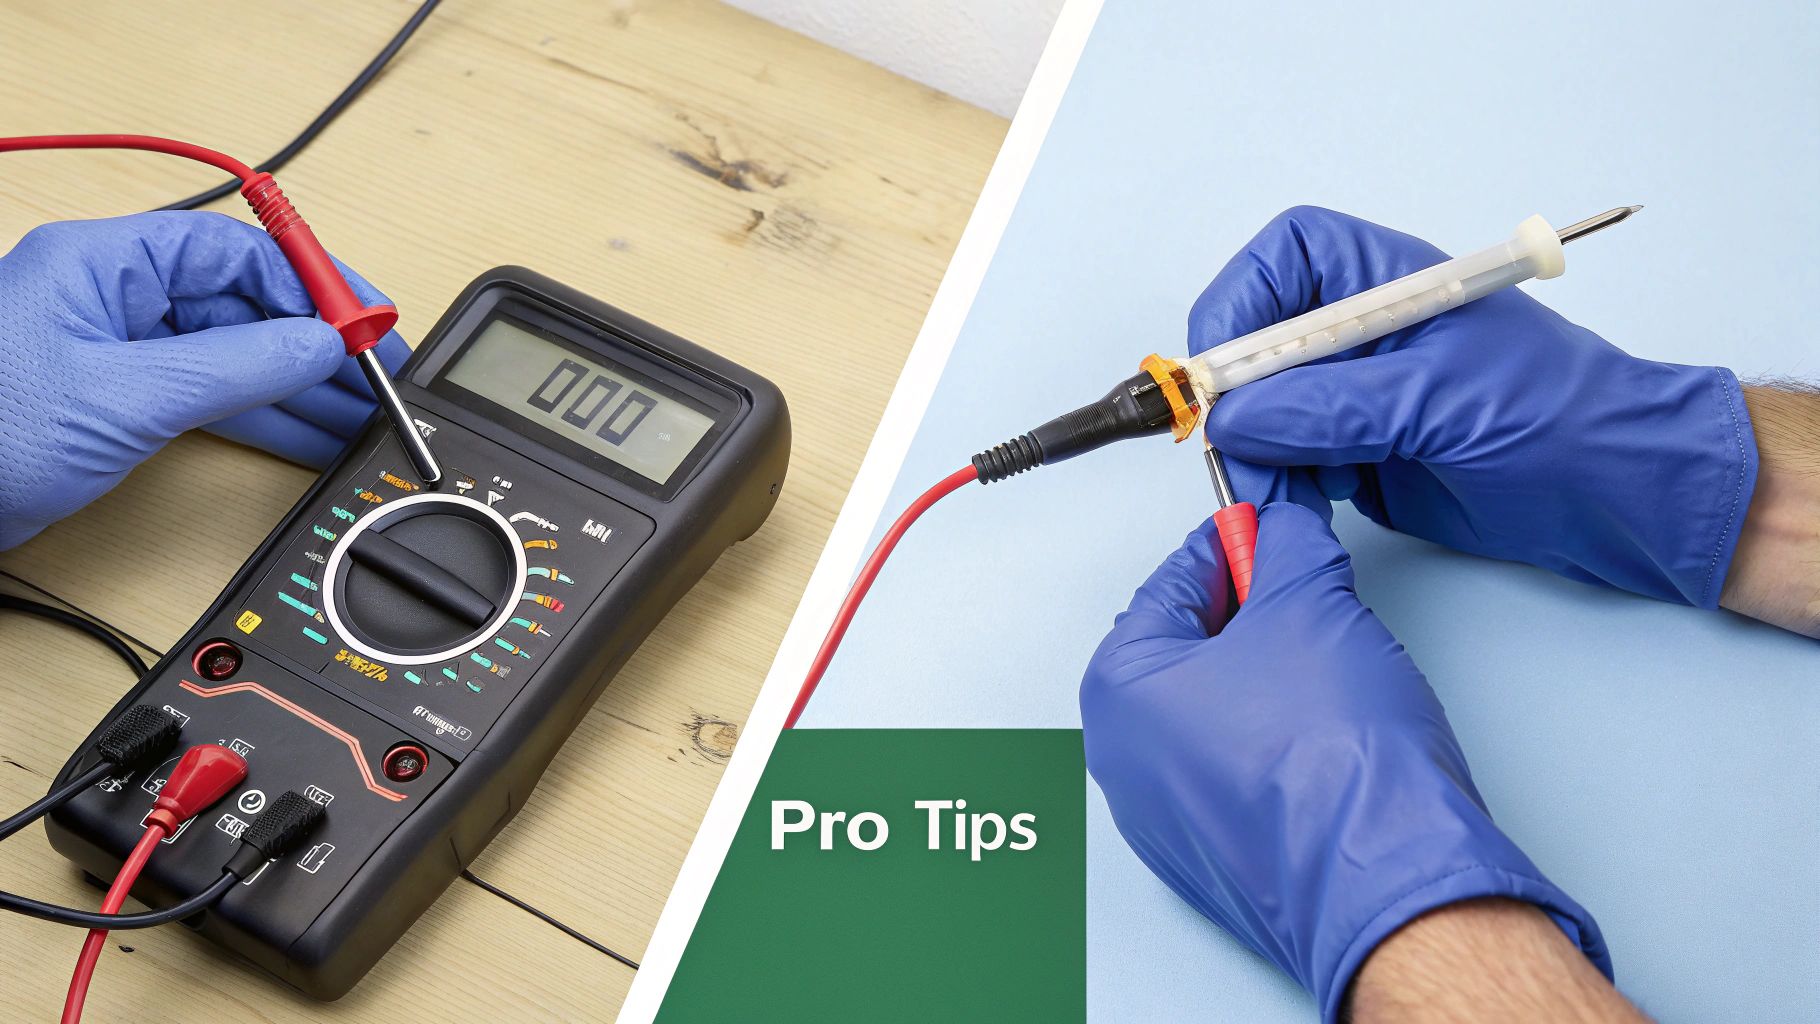
Alt text: A repair technician wearing blue gloves uses a multimeter and other tools on an electronic device.
Confidence with a multimeter really comes from building good habits. It's not just about knowing what to do, but also what not to do. Let's go through the frequent goofs we see all the time and I'll share some practical advice straight from my own repair bench.
Frequent Errors to Avoid
Getting these wrong can lead to blown fuses in your meter, wonky readings, or worse, a damaged device. If you can make a mental note to actively avoid these three things, you'll be well ahead of the curve.
- Testing Resistance on a Live Circuit: This is the absolute number one mistake. When you measure resistance or continuity, the multimeter sends a tiny current from its own battery through the component. If the circuit you're testing is already powered up, those conflicting voltages can easily fry your meter or the device itself. Always, always disconnect the power first.
- Forgetting to Move the Red Probe for Current: This one is a classic. You finish measuring high current with the red probe in the 10A port, then you forget to move it back to the main VΩmA port for your next measurement. If you then try to measure voltage, you've just created a dead short, and pop goes the internal fuse.
- Misinterpreting an 'OL' Reading: 'OL' isn't an error message; it’s a piece of information. It stands for 'Overload' or 'Open Loop'. In continuity mode, it simply means there's no connection. When measuring resistance, it means the resistance is higher than the range you've selected can measure. Understanding what it's telling you is key to a proper diagnosis.
A blown fuse is a multimeter's way of protecting itself from a major mistake—usually trying to measure voltage while set to a current mode. It’s an easy fix, but more importantly, it's a clear signal to slow down and double-check your setup.
Pro Tips from the Repair Bench
Beyond just avoiding the big mistakes, seasoned technicians have a few tricks and tools up their sleeves to work faster, safer, and more accurately. Start integrating these into your workflow, and you'll begin to think like an expert.
Invest in an Auto-Ranging Multimeter
Sure, a manual-ranging meter gets the job done, but an auto-ranging model is a complete game-changer, especially for beginners. It automatically selects the right measurement range for you, which totally eliminates the risk of an overload reading because you picked a range that was too low. For anyone doing complex board-level work like iPhone Repairs Brisbane, where speed and accuracy are everything, auto-ranging is non-negotiable.
Choose the Right Probes for the Job
The standard probes that ship with most multimeters are fine for general stuff, but they're way too clumsy for delicate logic board work.
You'll want to add a few of these to your kit:
- Needle-Point Probes: These have ultra-fine tips that are perfect for hitting a tiny surface-mount component without accidentally shorting it to the one next to it.
- Alligator Clips: Absolutely invaluable when you need to keep your hands free, like when you're monitoring a voltage rail while powering on a device.
- Probe Grabbers: These are tiny, spring-loaded hooks that are brilliant for latching securely onto component legs or wires you can't easily clip to.
Ultimately, a quality multimeter isn't just an expense; it’s an investment in your accuracy and safety. A reliable tool gives you readings you can trust, and that is the absolute foundation of any successful electronic repair. It’s the difference between guessing and knowing.
Frequently Asked Questions About Using a Multimeter
As you get your hands dirty with this awesome tool, a few questions are bound to pop up. It happens to everyone. Think of this section as your go-to cheat sheet for the most common queries we hear from beginners.
Getting these fundamentals locked in will help you clear those first few hurdles and start using your multimeter with a lot more confidence. Let's clear up some of the usual points of confusion.
What Is the Difference Between Auto-Ranging and Manual-Ranging Multimeters
For anyone just starting out, an auto-ranging multimeter is a massive help. It automatically figures out the right measurement range for whatever you’re testing, whether that’s volts, millivolts, or thousands of ohms. This feature is brilliant because you just set the dial to the function you need (like DC Voltage), and the meter does the rest. It really helps cut down on reading errors and saves you from accidentally overloading the meter.
A manual-ranging multimeter, on the other hand, makes you do the guesswork. You need to have a rough idea of the value you’re about to measure and select the right range on the dial yourself (e.g., 2V, 20V, 200V). While this gives seasoned pros a bit more control, it's an extra, often confusing, step for a novice. For anyone getting into device repair, we always recommend starting with an auto-ranging model. It just simplifies everything.
What Does an OL or 1 Reading Mean on My Multimeter
Seeing "OL" or "1" flash up on your screen isn't an error message—it's your multimeter giving you useful feedback. This reading stands for "Open Loop" or "Overload." It simply means the value you're trying to measure is too high for the meter's current setting.
Here’s what it means in different modes:
- In Continuity Mode: An "OL" reading is actually good news if you're checking for a short circuit. It confirms there is no connection between the two points you're testing.
- In Resistance Mode: This reading tells you the resistance is practically infinite, or at least way higher than your meter can measure on its current range. If you have a manual-range meter, you just need to switch the dial up to a higher range.
Is a Cheap Multimeter Good Enough for Phone Repair
Look, a super cheap multimeter might be fine for checking if a AA battery is dead, but it’s going to fall short for the delicate work needed in phone and small electronics repair. Those budget models often lack the accuracy, response time, and crucial safety features you need for logic board diagnostics.
If you're serious about DIY repairs or doing this professionally, a quality digital multimeter is an investment that pays for itself.
The better models give you a few key advantages:
- Faster Continuity Tests: A good meter beeps almost instantly, which massively speeds up the process of checking dozens of connections on a board.
- More Accurate Readings: Precision is everything when you're measuring tiny voltage drops or resistance values on a circuit.
- Overload Protection: This is a non-negotiable safety feature. It protects both you and the sensitive electronics you’re working on from accidental damage.
A reliable multimeter gives you readings you can trust, and that’s the absolute foundation of good troubleshooting. Spending a little more on a quality tool will save you from costly mistakes and hours of frustration on the repair bench.
How Do I Know if My Multimeter Fuse Is Blown
A blown fuse is probably the most common snag for beginners. It's almost always caused by a simple mistake, like trying to measure current the wrong way or measuring voltage while the probes are still plugged into the current jacks. We’ve all done it.
Luckily, checking for a blown fuse is dead simple.
Set your meter's dial to either continuity or the lowest resistance setting. Now, just touch the metal tips of your red and black probes firmly together. You should hear a clear, solid beep and see a reading close to zero ohms. If you get silence and an "OL" reading, your internal fuse is almost certainly blown. It's an easy fix, but make sure you replace it with a fuse of the exact same type and rating to keep the tool safe.
If you've followed this guide and found a fault that's beyond a simple fix, don't sweat it. For the really tricky stuff, sometimes you just need a professional touch. The team at Screen Fixed has the expert technicians and high-quality parts to handle everything from battery swaps to complex logic board repairs. For professional help, Book your repair with Screen Fixed Brisbane today.
Disclaimer: iPhone, Samsung, and Galaxy are trademarks of Apple Inc. and Samsung Electronics Co., Ltd., respectively. Screen Fixed is an independent repair service and is not affiliated with, sponsored by, or endorsed by these companies.