
That sickening crunch of a Google Pixel hitting the pavement is a deeply frustrating experience, but a cracked screen doesn't have to be the end of the road for your device. Before you start ordering parts for a Google Pixel screen replacement, it’s smart to weigh the pros and cons of doing it yourself versus calling in an expert.
This guide will walk you through the entire process, from deciding if a DIY repair is right for you to installing the new screen. We'll explore the satisfaction and the very real risks involved, helping you make the best choice for your situation.
Is DIY Google Pixel Screen Replacement Right For You?
The choice between a DIY repair and professional help usually boils down to three things: cost, time, and how confident you are with tiny, delicate electronics. While the idea of saving a good chunk of cash is tempting, a home repair is definitely not without its potential pitfalls.
It’s a project that demands a steady hand, a lot of patience, and the right tools. One wrong move could turn a simple screen swap into a much bigger, more expensive problem.
However, there's a huge sense of satisfaction that comes from successfully fixing your own gear. It’s a great chance to learn a new skill and keep your phone going for longer. You just have to be brutally honest with yourself about your abilities. Modern phones like the Google Pixel are incredibly intricate, packed with components that are easy to break. A single slip could tear a fragile flex cable (the thin ribbon that connects components) or damage the main circuit board, landing you with a repair bill far higher than you ever planned.
Assessing the Pros and Cons
To make a smart decision, it helps to lay everything out on the table.
H3: DIY Repair Pros
The biggest win here is the cost savings. You’re only paying for the parts and tools, which is almost always cheaper than paying for professional labour. Plus, you get some serious bragging rights when you finish the job yourself.
H3: DIY Repair Cons
The risks are very real. You could easily cause more damage, you won't get a warranty on your own work, and finding genuinely high-quality parts can be a bit of a minefield.
A professional service offers one thing you can't buy in a kit: peace of mind. Experienced technicians have the right tools and the muscle memory to do the job correctly. Most reputable shops will also offer a warranty on their work, which is a huge plus.
At the end of the day, the choice is yours. If a DIY repair feels a bit too much, but a professional fix is out of the budget, you could look at other options like selling your phone with a cracked screen.
And if you are leaning towards getting some expert help, our guide on how to find affordable phone screen repair services near you is a great place to start your search.
Getting the Right Tools and Replacement Screen
The success of your Google Pixel screen replacement really comes down to one thing: the quality of your parts and tools. It’s easy to get tempted by the cheapest screen you can find online, but this is one area where cutting corners can lead to major headaches down the track. Think poor display quality or a touchscreen that just won't respond.
Choosing the right screen is the most important call you'll make. The market is flooded with options, but they generally fall into three buckets: Original Equipment Manufacturer (OEM), high-quality aftermarket, and cheap aftermarket. While OEM parts guarantee perfect compatibility, premium aftermarket screens often provide a fantastic balance of quality and cost. For a deeper dive into the differences, you might find our guide on understanding replacement phone screens helpful.
Your Essential Repair Toolkit
Having the right tools is just as critical as the screen itself. Fumbling with the wrong screwdriver or, heaven forbid, prying with a butter knife is a sure-fire way to cause more damage. A basic kit for a Google Pixel screen replacement should have a few non-negotiables.
Here’s a practical checklist of what you'll need to get the job done properly:
- Heat Gun or Hairdryer: This is your best friend for softening the tough adhesive that seals the screen to the phone's frame.
- Precision Screwdriver Set: Pixels use tiny, specific screws (often Pentalobe or Phillips #000), so a dedicated set is an absolute must.
- Plastic Prying Tools (Spudgers) and Opening Picks: These are what you'll use to gently separate the screen from the body without scratching or cracking the frame. Metal is a no-go here.
- Suction Cup: This gives you a handle to carefully lift the screen once you've loosened the adhesive.
- Isopropyl Alcohol and Microfibre Cloths: Essential for cleaning off all the old gunky adhesive residue. This ensures the new screen bonds perfectly.
Navigating the Australian Parts Market
DIY repairs are really taking off in Australia, and it's easy to see why—the savings can be huge. For instance, tackling a Pixel 6 screen replacement yourself can be a lot more affordable than going to an authorised provider.
But this cost advantage comes with a big catch: the Aussie market is filled with dodgy, low-quality parts, especially from massive online marketplaces. A screen from AliExpress for $70 might look like a bargain, but it often lacks the quality control of a reputable local supplier. The result? A repair that fails within weeks. You can explore more about the repair process in iFixit's detailed repair guides.
Sourcing your screen and tools from a trusted Australian supplier not only guarantees better quality but also gives you local support if something isn't right. It’s the smartest way to protect your investment and ensure your DIY Google Pixel screen replacement is built to last.
Safely Disassembling Your Google Pixel
Alright, you've got your tools laid out and a shiny new screen ready to go. Now comes the part that requires a bit of finesse and a whole lot of patience: taking your Google Pixel apart. This stage of the Google Pixel screen replacement is where a steady hand is your best friend. One slip or impatient tug could turn a straightforward screen swap into a much bigger headache.
The biggest hurdle you'll face is the powerful adhesive holding the screen to the phone's frame. This isn't just a few screws holding a panel in place; it's a strong, carefully applied seal. Your first job is to weaken that seal without frying any of the delicate electronics hiding just beneath the surface. Trust me, trying to rush this is the number one reason DIY repairs go wrong.
This visual guide gives you a quick look at the prep work before you dive in.
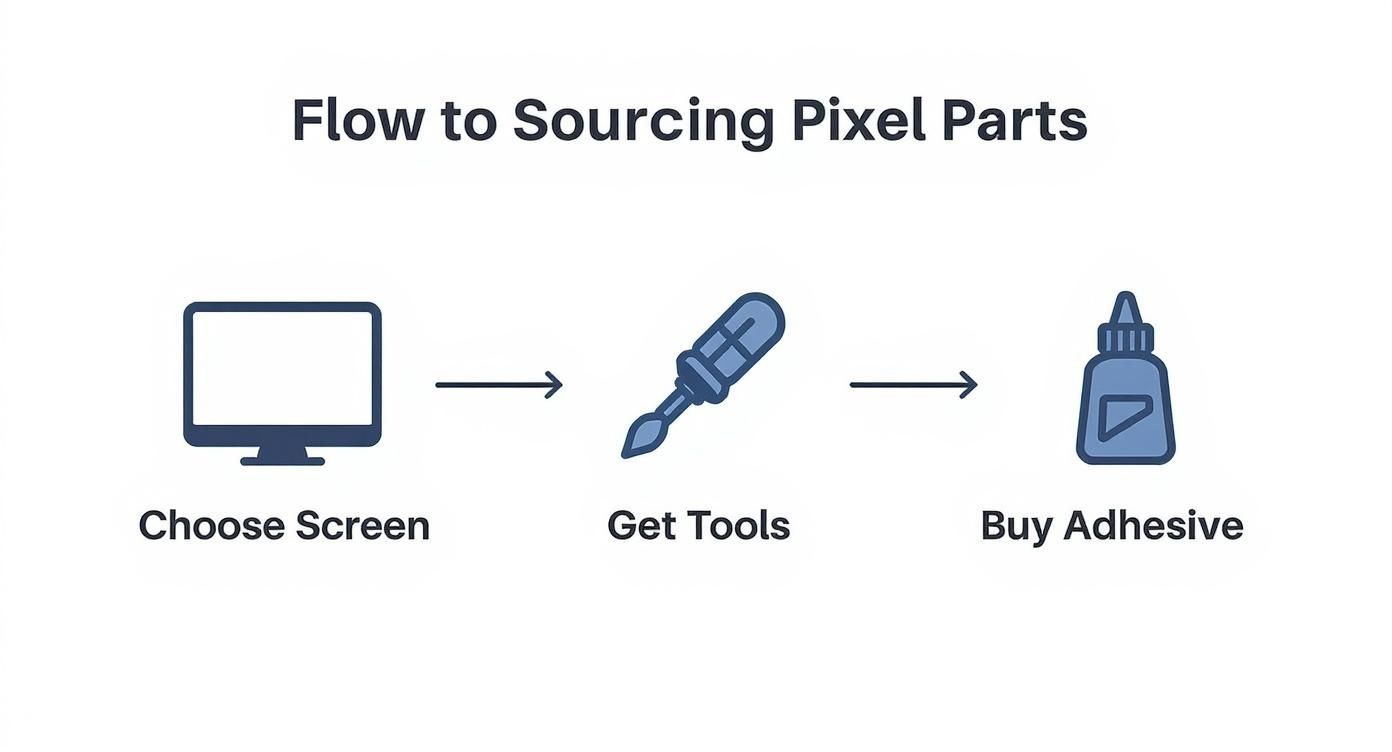
A high-quality screen, the right tools, and proper adhesive are essential for a successful Google Pixel screen replacement.
As you can see, it really boils down to three key things: getting the right screen, gathering your tools, and having the proper adhesive on hand for reassembly.
Applying Heat to Loosen the Adhesive
First things first, you need to gently heat the edges of the screen. A heat gun on its lowest setting is ideal, but a hairdryer can work in a pinch. The goal here isn't to cook the phone, just to warm it enough to make the adhesive soft and pliable.
Hold your heat source about 15-20 centimetres away from the Pixel and keep it moving around the perimeter of the screen. Give the top, bottom, and sides a good couple of minutes of warmth. You're aiming for the frame to be warm to the touch—not so hot that you can't comfortably hold it.
Pro Tip: Whatever you do, don't focus the heat on one spot for too long. This can damage the display panel (even the broken one) and, more critically, could harm the battery. A damaged battery is a serious fire hazard, so even heating is absolutely essential.
Prying and Separating the Screen
With the adhesive softened up, it's time to create your opening. Grab your suction cup and plastic prying tools. Stick the suction cup firmly onto the screen, getting it as close to an edge as possible. Now, gently pull up on the suction cup. You're not trying to rip the screen off, just create a tiny gap between it and the frame.
That little gap is your way in. Carefully slide a thin opening pick or the tip of a spudger into that space. Don't shove it in too deep; you just need to get it under the glass. From there, you'll begin the slow and steady process of sliding the pick all the way around the phone.
- Work the pick along the sides, slicing through the warm adhesive.
- If you feel the adhesive getting tough again, don't force it. Stop and apply a bit more heat.
- Pay extra attention to the corners; they're often sealed extra tight.
Navigating the Internal Flex Cables
This is probably the most nerve-wracking part of the whole disassembly. The screen is tethered to the phone's main board by one or more thin, incredibly fragile ribbon cables—these are called flex cables. If you tear one, you're looking at a dead display, no touch response, or even worse problems.
Once the adhesive is cut, do not just lift the screen off like you're opening a book. Instead, carefully raise the screen just enough to peek inside and see where those cables are connected. Their exact location changes between Google Pixel models, which is why having a guide specific to your device is a lifesaver. On many Pixels, for example, the connector is found near the top or along one of the sides.
Once you spot the connectors, use a plastic spudger to gently pop them off the motherboard sockets. They connect much like Lego pieces, snapping on and off. Never, ever use a metal tool for this part, as you could easily cause a short circuit. With the cables safely disconnected, you can finally remove the broken screen assembly completely and get the frame prepped for its new display.
Installing the New Screen and Putting It All Back Together
Alright, with the old, shattered screen out of the way, you’re hitting the most satisfying part of any Google Pixel screen replacement. This is where your phone starts to look like a phone again. But don't get ahead of yourself; precision is still the name of the game. A clean, careful installation is what separates a repair that feels brand new from one that starts falling apart in a few weeks.
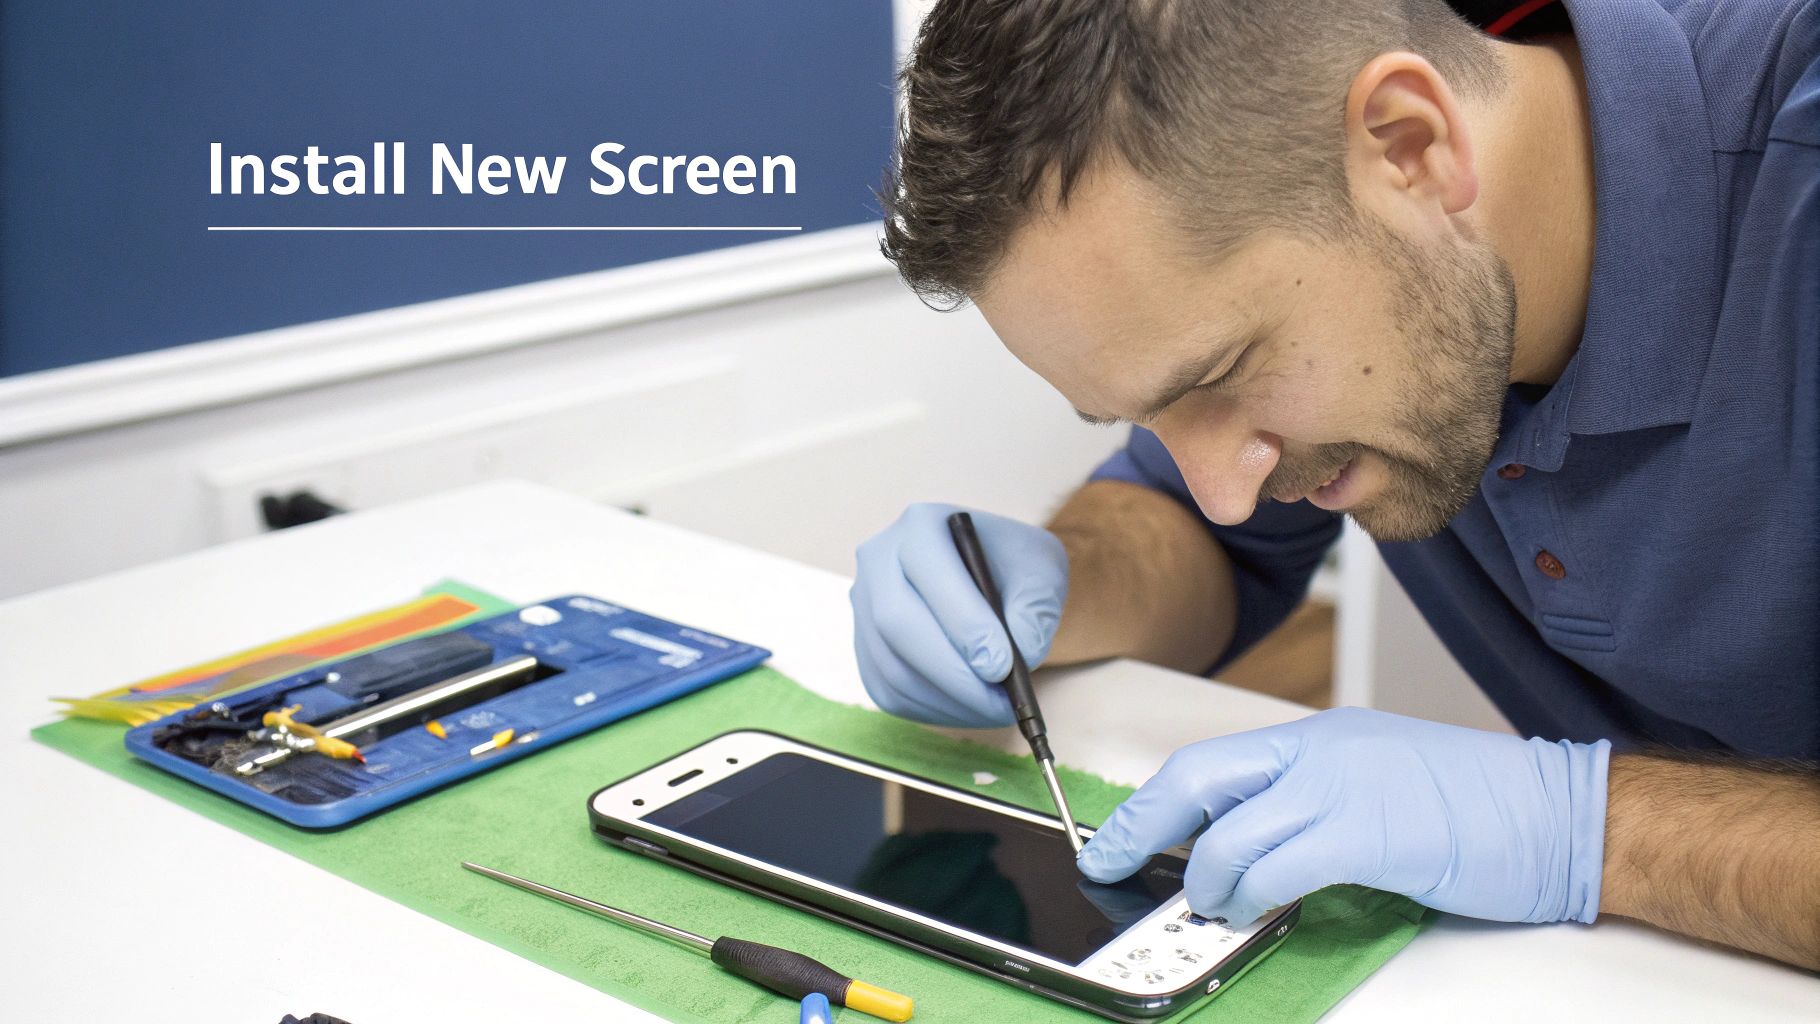
A technician performing a Google Pixel screen replacement in Brisbane.
The first thing you need to do actually has nothing to do with the new screen. It’s all about prepping the phone’s frame. So many DIYers rush this bit, but honestly, it’s one of the most critical steps for a repair that’s going to last.
Getting a Perfect Seal
Your main goal here is to create a perfectly clean surface for the new adhesive to grab onto. Even the smallest bit of dust, a tiny glass shard, or leftover gunk from the old adhesive will mess up the new seal. This can lead to dust and moisture getting inside your phone or, even worse, the new screen lifting off the frame over time.
Grab your isopropyl alcohol and a lint-free microfibre cloth. You need to meticulously wipe down the entire perimeter of the frame where the old screen used to sit. For any stubborn bits of old adhesive, use a plastic spudger or a pair of fine-tipped tweezers to gently scrape them away.
Once you’re confident the frame is spotless, it's time for the new adhesive. Most good-quality screen replacement kits will give you pre-cut adhesive strips made specifically for your Pixel model. These are miles better than using generic double-sided tape or, heaven forbid, liquid glue, which can get messy and create an uneven seal.
- Peel and Stick with Care: Gently peel the backing from one side of an adhesive strip and carefully line it up along the edge of the frame.
- Press It Down: Use a spudger to press the adhesive down firmly, working out any air bubbles as you go.
- Leave the Top Film for Now: Don't remove that final protective film just yet. You’ll do that right at the last second before placing the screen.
Reconnecting and Testing Before You Seal
This next part is the moment of truth. Before you permanently seal that beautiful new screen in place, you absolutely have to do a quick function test. Skipping this is a massive gamble. If something’s not right, you’ll have to reopen the device, which will almost certainly ruin your new adhesive strips.
Carefully pick up the new screen assembly and find the flex cables. Gently thread them through the opening in the phone's frame and line up the connectors with their sockets on the motherboard. Using the tip of a plastic spudger, press down on each connector until you feel a faint but satisfying little click. That’s how you know it’s seated properly.
Crucial Insight: Whatever you do, don't force the connectors. If one isn't clicking into place, it’s probably just misaligned. Jamming it on can bend the tiny, delicate pins on the motherboard, turning a simple screen swap into a much bigger, more expensive headache. Just take a breath, realign it, and try again.
With the cables connected but the screen still unsealed, go ahead and power on your Pixel. This is your one and only chance to catch any problems early.
The Pre-Seal Functionality Checklist
As soon as the phone boots up, run through this quick but thorough checklist. You’re looking for any sign that the new screen isn't working exactly as it should.
- Hunt for Dead Pixels: Open a pure white or black image from your gallery and scan the entire display. Look for any pixels that are stuck on one colour or are just completely dead.
- Test Touch Sensitivity: Fire up a notes or drawing app. Drag your finger across every single centimetre of the screen, right to the corners, to make sure there are no dead spots in the digitiser.
- Check Brightness and Colour: Slide the brightness control all the way up and down. Do the colours look accurate? They shouldn’t look washed out or weirdly saturated.
If it passes all these tests with flying colours, power the device down completely. Now you can confidently peel off that final protective film from the adhesive, carefully align the new screen with the frame, and press it gently but firmly into place. This final press secures the bond, locking your brand-new screen in for the final steps of reassembly.
Final Checks and Troubleshooting Common Issues
Getting that new screen installed feels like a huge win, but don't spike the football just yet. This last stage is all about making sure your hard work actually pays off with a perfectly working phone. A few careful checks right now will save you the headache of having to crack open your Pixel all over again.
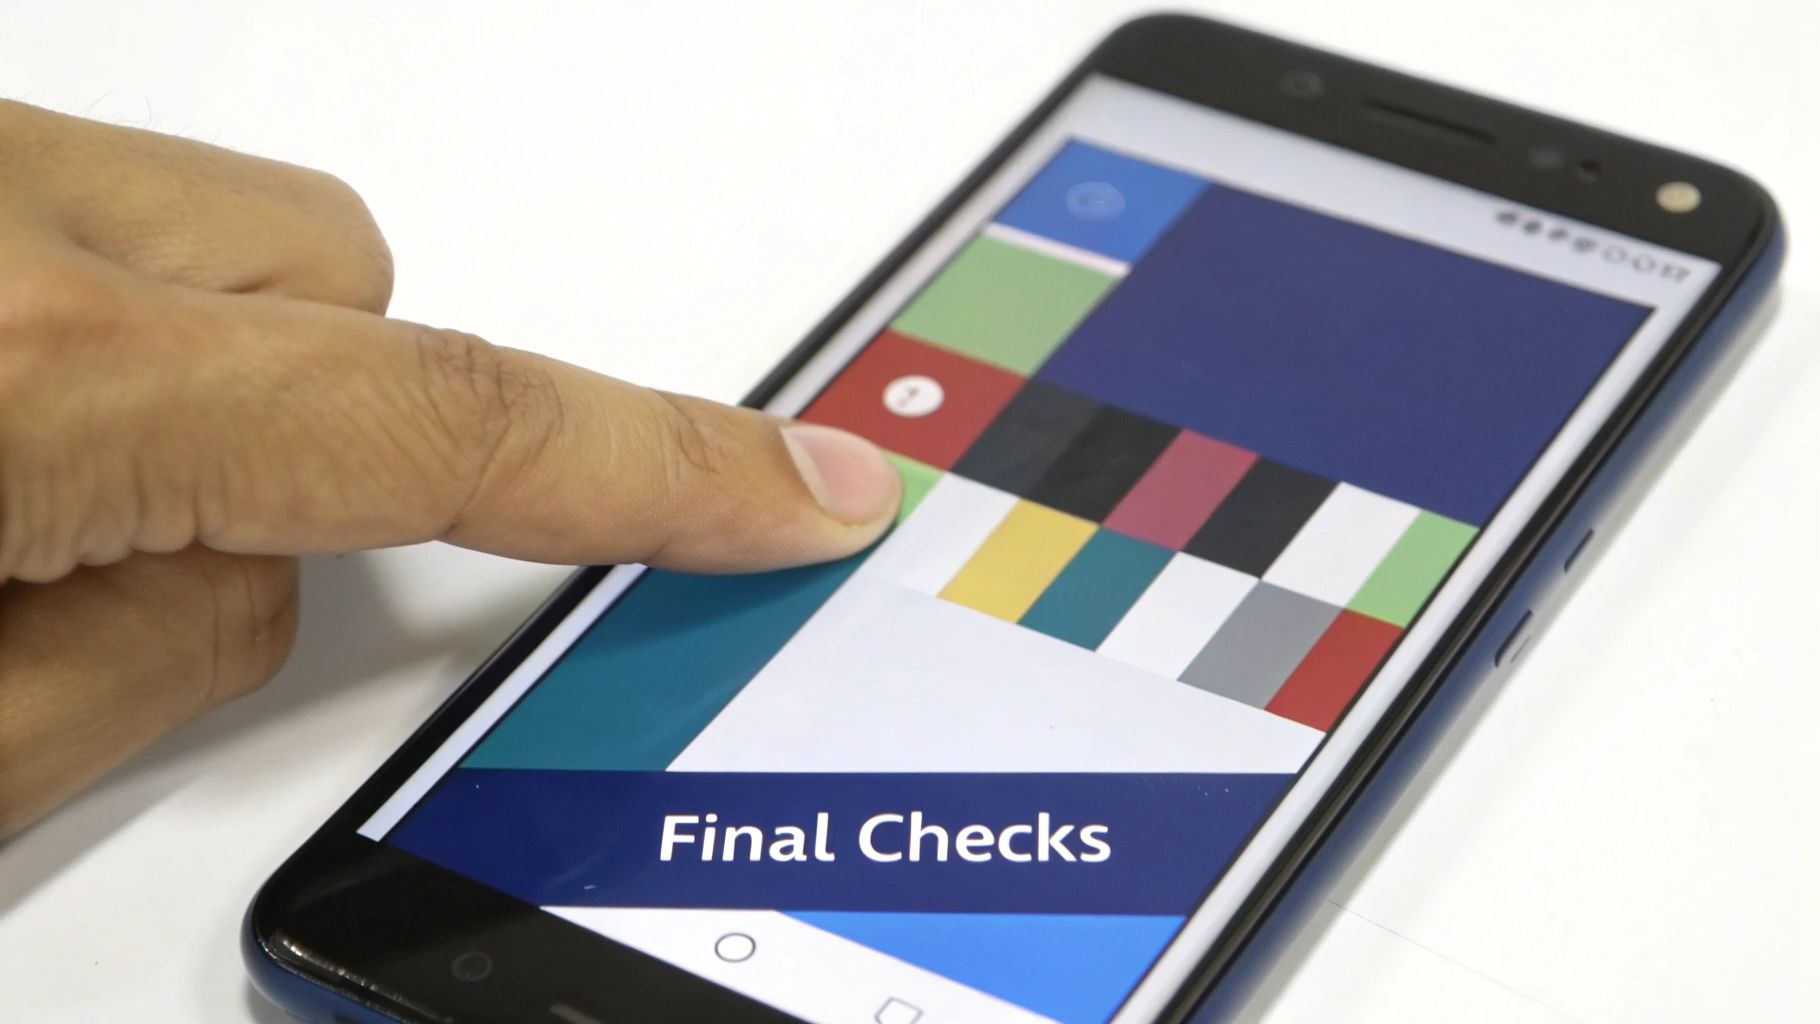
Final testing after a Google Pixel screen replacement in Brisbane.
Before you declare victory, it's crucial to run through a full post-repair checklist. This is more than just the quick touch and display test you did before sealing it all up. Now’s the time to test every single function tied to that display assembly.
The Ultimate Post-Repair Checklist
Go through each feature methodically to make sure everything is humming along as it should. Don't be tempted to skip anything—modern displays are complex and tied into multiple sensors.
- Fingerprint Sensor: This in-display sensor can be notoriously fussy. Try unlocking your phone with your registered fingerprint several times. If it's not playing ball, you might need to head into your settings and re-register your fingerprints. A new screen can sometimes throw the sensor's calibration off just enough to cause problems.
- Proximity and Ambient Light Sensors: Give someone a call and hold the phone up to your ear. The screen should immediately turn off. Next, check if auto-brightness is doing its job by moving between a dark room and a well-lit area.
- Haptic Feedback: The best way to test this is to just use your phone. Type out a message or swipe through the UI and pay attention to the vibration motor's response. A loose connection somewhere can sometimes deaden the haptic feedback.
Even if you were incredibly careful during the installation, little issues can still pop up. The trick is knowing what to look for so you can fix them.
One of the most common pitfalls after a DIY Google Pixel screen replacement is a bad seal. If you can see any gaps or the screen feels a bit raised, it's likely the adhesive hasn't bonded properly. Our guide on using two-sided sticky tape for phone repairs has some great tips for getting a secure, long-lasting bond.
Solving Common DIY Repair Problems
If you do hit a snag, don't panic. Most post-repair problems come down to simple connection errors and are usually pretty easy to fix.
An unresponsive patch on the screen or those annoying "ghost touches" nearly always point to a flex cable that isn't seated properly. Just power the phone down, carefully open it back up, and re-seat the display connectors. Make sure you feel that satisfying little click. Display discolouration or weird lines are often caused by the exact same thing—a slightly wonky cable.
It's worth noting how the professional repair world operates here in Australia. CTDI Australia is the only Google-authorised repairer, and they use specialised tools for things like screen calibration that we DIYers just don't have access to. While they offer a diagnostic service for AUD 120, this official level of service highlights the trade-offs we make when repairing at home. You can check out their services on their official supply page.
Got Questions About Your Pixel Screen Repair?
Even with a detailed guide in front of you, it’s natural to have a few lingering questions before you dive into a Google Pixel screen replacement. Let’s clear up some of the most common ones we hear from people just like you.
How Much Is This Going to Cost Me?
The price tag can swing quite a bit. Going the DIY route is almost always the cheapest path, with the screen part itself usually setting you back somewhere between $100 to over $250. This really depends on which Pixel model you have and the quality of the replacement screen you pick up.
Opting for a professional repair service will naturally cost more, as you’re paying for labour and expertise. The upside? You’ll almost always get a warranty on their work, which can be a huge stress-reliever.
Can I Still Trade In My Pixel After a Screen Replacement?
This is a big one, especially here in Australia. Honestly, replacing a cracked screen is often the only way you’ll get any trade-in value, since most retailers will flat-out refuse a phone with a busted display.
But it’s not always a sure thing. I recently saw a discussion on an Aussie consumer forum where someone had to get a professional repair on their Pixel 7 Pro just to make it eligible. The quality of the replacement part can be a sticking point for trade-in assessors. You can read more about Australian consumer trade-in experiences to get a better feel for how it plays out.
Will a DIY Repair Wreck My Phone's Water Resistance?
In a word: yes. That factory-grade seal that keeps water out is compromised the second you open the phone. While the new adhesive you apply will create a solid seal, it’s next to impossible to perfectly replicate the original IP rating in a home setting.
It's best to just assume your Pixel is no longer water-resistant after any screen repair, whether you did it yourself or had a pro handle it. Keep it high and dry to prevent any future mishaps.
This is probably one of the biggest trade-offs you make when deciding to tackle the repair on your own.
Whether you're gearing up for a DIY project or have decided that a professional touch is the smarter move, Screen Fixed Brisbane has your back. We offer expert Google Pixel screen replacement services with high-quality parts and a lifetime warranty.
Book your repair with Screen Fixed Brisbane today.
Disclaimer: Screen Fixed is an independent repair service and is not affiliated with Google or its authorised repair partners. All brand names and trademarks are the property of their respective owners.