
That gut-wrenching moment you see a spiderweb of cracks across your Samsung screen is a familiar feeling for many, but the fix is closer than you might think. When your screen is damaged, you have two main options: you can either roll up your sleeves and attempt to repair your Samsung phone screen yourself with a DIY kit, or you can hand it over to a professional. The best path forward really boils down to your budget, your comfort level with tiny electronics, and how quickly you need your phone back in working order.
This guide will walk you through the pros and cons of each approach, helping you make an informed decision that gets your device back to pristine condition.
To DIY or Not to DIY: The Big Decision
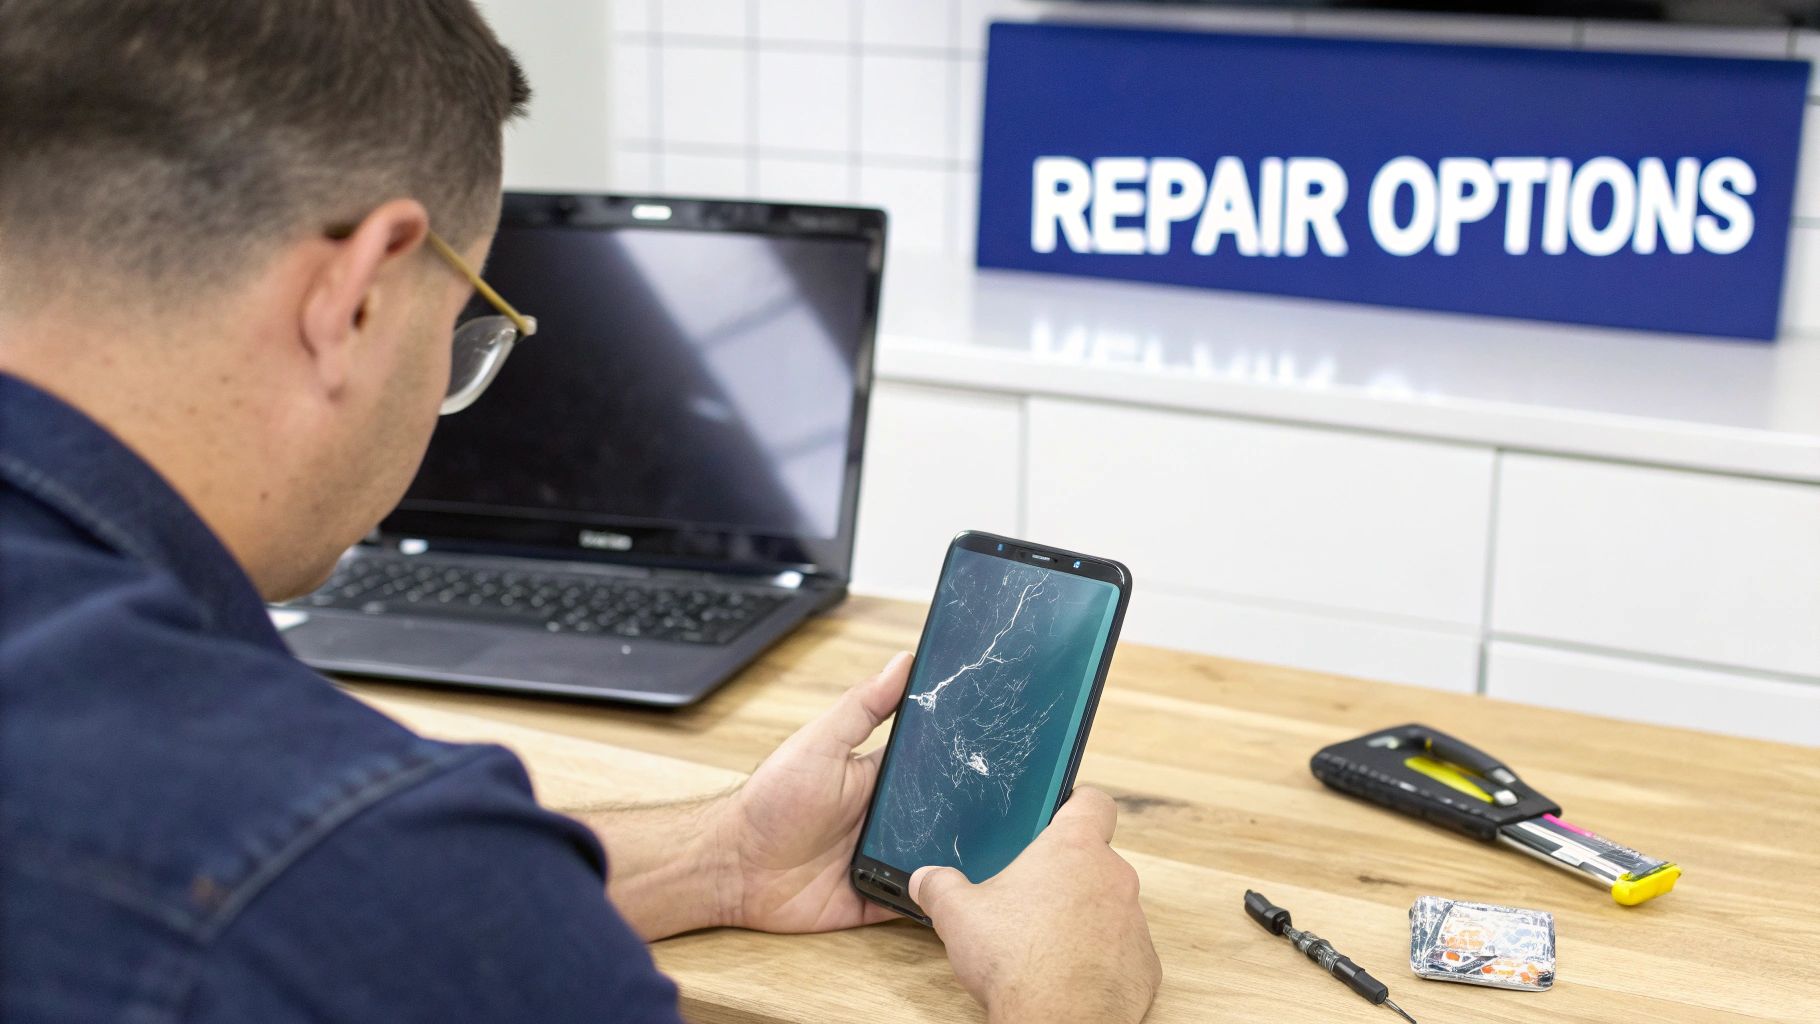
Alt text: A technician carefully repairing a Samsung phone screen with specialised tools.
So, your Samsung screen is shattered. The first question that pops into your head is always whether you should try fixing it yourself or just call in the experts. It's a classic debate, weighing up the potential savings against the very real risk of making things worse. Let's break down the trade-offs to help you make the call.
The Allure of a DIY Repair
Going the DIY route can be incredibly satisfying. The most obvious win is the cost—you’re only paying for the parts and tools, which can be a lot cheaper than a professional's service fee. Plus, there’s a real sense of achievement in turning a frustrating accident into a successful project.
But this path isn’t for the faint of heart. Modern Samsung phones are incredibly complex, packed with delicate components. One wrong move with a pry tool could easily tear a critical ribbon cable, turning a simple screen repair into a much more expensive headache. Sourcing a top-quality replacement screen is another hurdle; the market is flooded with dodgy parts that can leave you with bad colour accuracy or an unresponsive touch screen.
The Case for Professional Service
Choosing a professional repair of your Samsung phone screen is all about peace of mind. Technicians at a reputable shop like Screen Fixed Brisbane have the experience, the specialised tools, and the steady hands needed to get the replacement done right and quickly.
Here are the key advantages:
- Expertise: Pros have seen it all. They know the common traps and tricks for each Samsung model and how to sidestep them.
- Quality Parts: Established repair shops have access to high-quality or genuine service-pack screens, making sure your phone looks and performs just like it did out of the box.
- Time Savings: A DIY job could easily eat up your entire afternoon. A pro can often have it done in about an hour.
- Warranty: Most professional repairs come with a warranty, giving you a safety net if anything goes wrong with the new screen down the line.
At the end of the day, it comes down to an honest self-assessment. If you’re patient, meticulous, and genuinely comfortable working with tiny, fragile electronics, then a DIY repair is a viable option. For most people, though, the security and speed of a professional service far outweigh the potential savings.
What Does a Samsung Screen Repair Really Cost?

Alt text: Close-up of a cracked Samsung phone screen held in a hand.
Before you jump into a DIY screen repair or book a professional service, it’s worth getting your head around the costs involved. The price tag on a Samsung screen repair isn't just a random number; it's a direct reflection of the tech packed into your phone, the quality of the replacement part, and the skill needed to get the job done right.
In Australia, the cost can swing pretty wildly depending on your exact model. It’s no surprise that fixing a top-of-the-line Galaxy S series screen will set you back more than repairing a budget-friendly A series phone. This is mostly because of the advanced display technology—think Dynamic AMOLED panels and in-display fingerprint sensors—that you find in the premium models.
Breaking Down the Costs
What are you actually paying for when you get a screen replaced? The total bill boils down to two key things: the part itself and the labour.
- The Replacement Screen: This is the biggest chunk of the cost. A genuine Samsung service pack screen—identical to the one your phone came with—is always going to be pricier than a high-quality aftermarket version. While some third-party screens are genuinely good, an original part guarantees you get that perfect colour accuracy, touch response, and durability you paid for in the first place.
- Labour and Expertise: You're also paying for a technician's time and skill. An experienced pro knows how to perform the repair efficiently, steering clear of common mistakes that could cause even more damage.
For popular models like the Galaxy S21 series, repairs can range anywhere from AUD $200 to over AUD $400. Flagship devices like the Samsung Galaxy S21 Ultra could even hit AUD $440 at an authorised centre, though you’ll often find trusted independent shops offering more competitive prices.
Official vs Third-Party Repair Pricing
When you start getting quotes, you'll see a clear price difference between official Samsung service centres and independent repair shops. Official centres will only use genuine parts, and that comes with a premium price. Independent shops, on the other hand, can often give you the choice between genuine parts and high-quality aftermarket screens, which gives you more control over your budget.
To give you a clearer picture, here’s a quick look at what you might expect to pay for some popular models.
Estimated Samsung Screen Repair Costs in Australia
| Samsung Model | Official Service Centre (Est. Cost) | Third-Party Repair Shop (Est. Cost) |
|---|---|---|
| Galaxy S23 Ultra | $450 - $550 | $400 - $500 |
| Galaxy S22 | $350 - $450 | $300 - $400 |
| Galaxy Z Fold4 (Inner) | $800 - $950 | $750 - $900 |
| Galaxy A54 | $180 - $250 | $150 - $220 |
As you can see, going to a third-party shop can often save you a fair bit, especially if you're okay with a high-quality aftermarket screen.
For a deeper dive into all the factors that influence pricing, check out our comprehensive guide on Samsung screen replacement costs.
The key takeaway here is that you have options. Knowing the price difference between a premium Galaxy S22 screen and a more standard Galaxy A53 display helps you set realistic expectations. It lets you properly weigh the repair cost against the actual value of your phone, which is exactly the kind of financial clarity you need before making a decision.
Putting Together Your DIY Repair Toolkit
So, you're ready to take the plunge and repair your Samsung phone screen yourself. Good on you! But before you dive in, we need to talk about tools. Having the right gear isn't just a friendly suggestion—it’s the only way to give yourself a real shot at a successful repair. This isn't a job for that old screwdriver rattling around in your garage; this is about setting yourself up like a pro to avoid a complete disaster.
Trying this repair with the wrong equipment is a fast track to a very bad day. It’s like attempting surgery with a butter knife – you're far more likely to cause more damage than actually fix anything. The proper tools are designed to handle delicate components, tackle stubborn adhesives, and make sure everything clicks back into place perfectly.
The Absolute Essentials for the Job
Your toolkit is your best mate for this entire process. Trust us, those cheap, flimsy plastic tools you see online are notorious for snapping at the worst possible moment, which can lead to scratching your phone's frame or, even worse, tearing a critical flex cable. Investing in a quality set from the get-go is the first, and most important, step.
Here are the non-negotiables:
- Heat Gun or iOpener: Your Samsung screen is glued in with some seriously strong adhesive. A heat gun (used carefully on its lowest setting!) or a purpose-built iOpener is what you'll need to gently soften that glue. This allows you to pry the screen off without wrecking the frame or anything inside.
- Suction Cup(s): Once that adhesive is warm and gooey, a strong suction cup is your best friend. It gives you the leverage to gently lift the screen assembly away from the phone's body, creating that all-important first gap to get your pry tools in.
- Spudgers and Plastic Pry Tools: These will be your main instruments for carefully separating all the different components. A metal spudger can be handy for tough spots, but plastic tools are absolutely crucial for disconnecting delicate ribbon cables. Metal can cause a short circuit, and that’s a repair-ender.
- Precision Screwdrivers: Samsung phones are full of tiny Phillips head screws. A set of precision screwdrivers, especially a PH #000 size, is a must-have for removing the brackets holding the screen and other bits in place.
- Tweezers: You’re going to be dealing with minuscule screws and connectors that are incredibly easy to lose. A good pair of fine-tipped tweezers will save you from the nightmare of dropping a vital part somewhere inside the phone.
Getting the right equipment from the start is often the difference between a clean, successful repair and a costly mistake. Don't skimp on your tools; they’re every bit as important as the new screen itself.
Sourcing a Reliable Replacement Screen
Now for the most critical part of this whole operation: the new screen. The market is absolutely flooded with cheap, low-quality displays that will only lead to disappointment—think poor brightness, dead pixels, and awful touch response. To avoid this, you need to find a high-quality part.
Keep an eye out for screens labelled as "Service Pack" or "OEM" (Original Equipment Manufacturer). These are either genuine Samsung parts or are made to the exact same high standards. Sure, they might cost a bit more, but they guarantee you'll get the same visual quality and performance you had before the drop. For a hassle-free start, you can grab a complete smartphone repair tool kit that bundles all the essentials you'll need for the job.
A Realistic Walkthrough of the Screen Replacement
This is where the rubber meets the road. Forget those slick, sped-up online tutorials for a moment. We're going to walk through the actual, hands-on process of a repair for a Samsung phone screen, focusing on the little details that make the difference between a successful fix and a very expensive paperweight.
Think of this as having an experienced tech looking over your shoulder. The single most important tool you have isn't in your kit—it's patience. Rushing any part of this job is the fastest way to turn a screen replacement into a phone replacement. Every single step, from applying just the right amount of heat to painstakingly cleaning off old adhesive, needs a steady hand.
Preparing for the Disassembly
Before you even plug in your heat gun, get your workspace sorted. Lay everything out on a clean, well-lit surface. Organise your tools, get a small container for the microscopic screws you're about to deal with, and completely power down the phone. This isn't just about being neat; it's about creating a controlled environment so you don't lose a crucial component.
The very first physical step—applying heat to soften the glue holding the back glass on—is where so many DIY repairs go sideways. The goal is to make the adhesive pliable, not to cook the battery. Use a heat gun on its lowest setting and keep it moving around the edges of the phone. You're aiming for a temperature that's warm to the touch, but not so hot you can't comfortably keep your finger on it.
This visual guide breaks down the core physical steps of the repair into a simple flow.
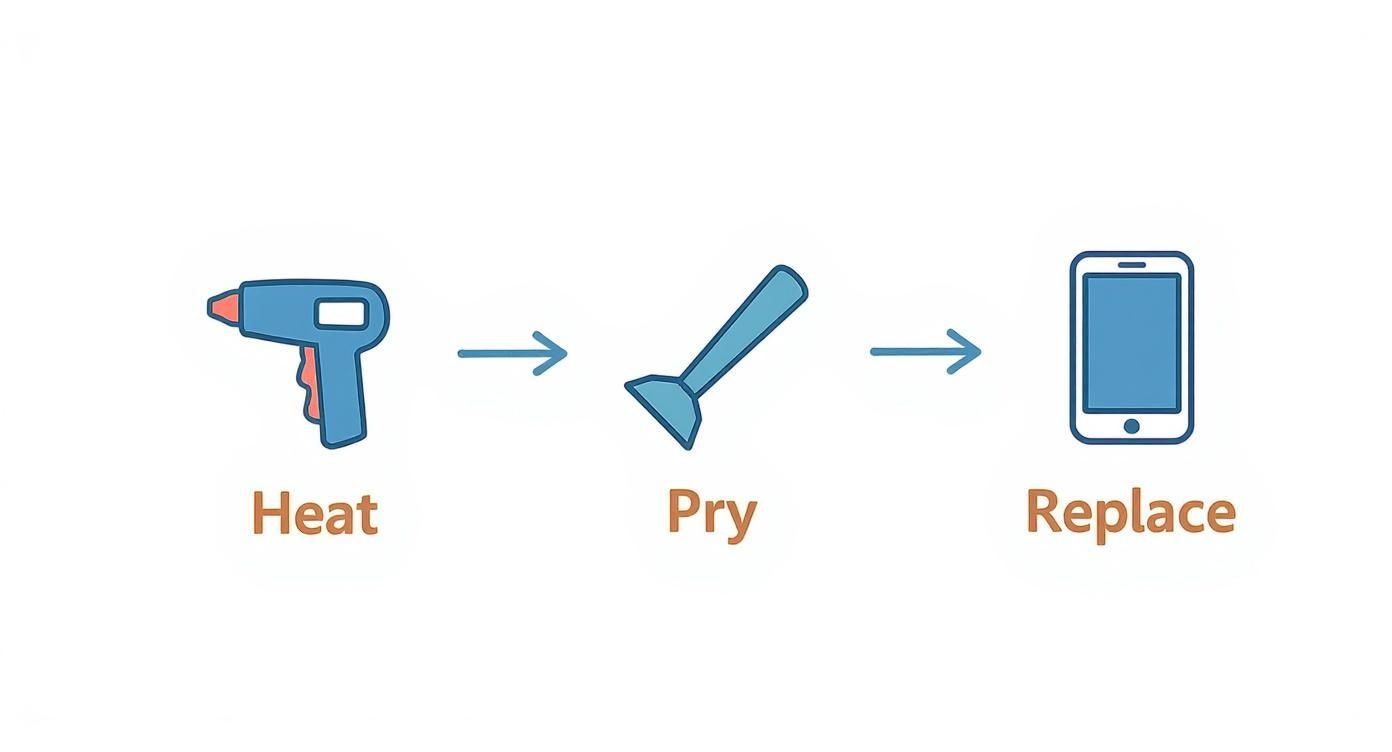
Alt text: Infographic showing the steps to repair a Samsung phone screen: Heat, Pry, Disconnect, Replace.
The infographic highlights that the whole repair is a sequence of careful actions: heating, prying, disconnecting, and replacing. Each one builds on the last.
Once the edges are warm, use a suction cup to create a tiny gap and slip a thin plastic pry tool inside. From here, it’s a slow, methodical process of slicing through the adhesive around the entire perimeter of the phone.
Your best guide here is feel. You'll literally feel the adhesive give way as you slide the tool along. If you hit a spot with too much resistance, stop immediately. Pull the tool out and apply a bit more heat right on that area. Forcing it is how back panels crack.
Navigating the Internals
With the back cover finally off, you'll see a landscape of screws and protective plates. This is where your precision screwdriver and tweezers become your best friends. As you remove each screw, place it on a magnetic mat or into a labelled tray. Not all screws are the same length, and mixing them up can cause catastrophic damage when you put everything back together.
The most delicate part of the whole operation is disconnecting the ribbon cables. These are the flat, flexible connectors linking the screen, battery, and other parts to the main logic board. Always use a plastic spudger—never a metal tool—to gently pop them off. The pressure you need is minimal, about the same as clicking a small button.
- Earpiece Speaker: A classic rookie mistake is forgetting to transfer the original earpiece speaker and its sensor array to the new screen. These parts are often uniquely paired to your phone, and if you don't move them over, features like Face ID or other biometrics simply won't work.
- Adhesive Removal: After the old screen is out, you have to clean every last speck of old adhesive from the phone’s frame. Any gunk left behind will stop the new screen from seating properly, creating gaps that ruin the seal and the phone's structural integrity.
- Test Before You Seal: This is critical. Before you apply any new adhesive, connect the new screen and power the phone on. Test the touch response all over the display, check for dead pixels, and make sure the colours are right. Finding a problem at this stage is an inconvenience; finding it after the phone is sealed is a disaster.
For anyone tackling a specific model, seeing a detailed breakdown can be a lifesaver. We've got a step-by-step guide in our detailed Samsung Galaxy S22 screen replacement tutorial that covers these crucial moments with more photos and specifics. It really shows the level of precision required—a skill our own technicians have perfected over thousands of repairs.
How Technology is Changing Phone Repairs
The phone repair game has come a long way from a simple set of screwdrivers and a magnifying glass. These days, technology is at the heart of everything, making the process to repair a Samsung phone screen more precise and dependable than ever.
It’s no longer about just manual fixes. We’re now working smarter, equipped with tools that can pinpoint problems the naked eye would completely miss. This evolution ensures every repair is not just a quick patch-up but a thorough, lasting solution for you.
The Rise of Smarter Diagnostics
One of the biggest game-changers has been the introduction of AI-powered diagnostic software. Before a technician even picks up a tool, they can run a battery of sophisticated tests to check every single function of your phone. So, when you drop your phone off at a shop like Screen Fixed Brisbane for a cracked screen, they can spot any underlying damage caused by the impact.
For instance, the software might flag a partially disconnected sensor or a tiny micro-fracture on the logic board that isn’t obvious at first glance. Catching these hidden issues early saves you the headache of coming back for a follow-up repair that should have been caught the first time.
The goal of modern repairs is comprehensive restoration, not just cosmetic fixes. Advanced diagnostics ensure that when your phone is returned, it’s not just the screen that’s working perfectly—the entire device has been given a clean bill of health.
Automation and Precision in Repairs
Technology’s influence doesn't stop at diagnostics; it's right there in the physical repair process. In Australia, the Samsung phone screen repair industry is being reshaped by new tech that boosts efficiency and gives customers a much better experience.
Repair centres are bringing in automation and advanced tools to quickly assess screen damage and other faults. Some facilities are even using robotic systems for incredibly delicate tasks, like applying adhesive with perfect consistency. This reduces human error and seriously speeds up the whole service.
Many modern repair shops, which are often small businesses themselves, are using various top small business automation tools to streamline how they operate. These tools, paired with specialised equipment for tasks like micro-soldering, allow technicians to handle complex motherboard repairs with a level of precision that’s almost impossible to achieve by hand. It’s a glimpse into the future, and it’s why professional repair shops will always deliver a more reliable service.
Got Questions About Samsung Screen Repairs? We've Got Answers
Even with a detailed guide, it's completely normal to have a few questions rattling around. When you're deciding on the best way to repair a Samsung phone screen, you want to be 100% sure you're making the right call. We get it.
Let's tackle some of the most common concerns we hear from customers, giving you the straightforward answers you need to move forward with confidence.
Can I Just Replace the Glass on My Samsung Screen?
This is easily the most frequent question we get, and the short answer is: no, not really. On modern Samsung devices, the top glass layer is fused directly to the complex AMOLED display panel underneath it. They come from the factory as a single, bonded unit.
Trying to do a "glass-only" repair is incredibly difficult and requires specialised machinery you won't find in most repair shops. More often than not, it just ends up causing permanent damage to the display itself. That’s why any reputable professional will always replace the entire screen assembly – it's the only way to guarantee a perfect, factory-quality result.
Will a Screen Repair Kill My Phone's Water Resistance?
Yes, this is an important one to remember. The moment a phone is opened, the original factory-installed water-resistant seals are broken. While a professional service like Screen Fixed Brisbane will meticulously apply new adhesive to reseal your device as tightly as possible, it's impossible to guarantee it will have its original IP rating.
Because of this, it's safest to treat your phone with a bit of extra care around liquids after any repair. Think of it as water-resistant, not waterproof, and definitely don't take it for a swim.
How Long Does a Professional Screen Replacement Actually Take?
One of the biggest perks of going to a pro is the speed. A DIY repair can easily eat up a whole afternoon, especially if it's your first time navigating all those tiny, delicate components.
An experienced technician, on the other hand, can usually complete a full Samsung screen replacement in about 60 minutes. At our workshop, we prioritise same-day service because we know how critical it is to get your device back in your hands as quickly as possible.
Is It Still Worth Fixing an Older Samsung Phone?
This decision really boils down to a simple cost-versus-benefit situation. Here's a good rule of thumb we use: if the repair cost is less than half the price of buying a comparable refurbished phone, then fixing it is a smart and environmentally friendly choice.
Fixing an older model can breathe new life into a device you already love, saving you from the much higher cost of buying brand-new. It’s a practical way to extend the lifespan of your tech and keep a perfectly good phone out of landfill.
Ready to get your Samsung screen looking brand new without the headache? The expert team at Screen Fixed Brisbane has the proper tools and years of experience to get the job done right, ensuring a fast and reliable repair every time.
Book your repair with Screen Fixed Brisbane today
Disclaimer: All third-party trademarks (including logos and icons) referenced by Screen Fixed remain the property of their respective owners. Unless specifically identified as such, Screen Fixed’s use of third-party trademarks does not indicate any relationship, sponsorship, or endorsement between Screen Fixed and the owners of these trademarks.