
An iPhone that won’t charge is incredibly frustrating, but before you order a replacement port or book a repair, you need to be certain the port itself is the problem. Jumping to conclusions is a fast way to waste time and money on a fix you don't actually need, as the cause isn't always a dramatic hardware failure.
The symptoms of a dying charging port can be tricky, often mimicking other, simpler problems. By working through the easiest possibilities first, you can methodically narrow down the culprit. This diagnostic stage is the most critical part of the entire process of fixing your iPhone charging port.
Alt text: A hand holding an iPhone connected to a charging cable, with an overlay that says 'DIAGNOSE ISSUE'.
Common Symptoms of a Faulty Port
How can you tell if the port is actually the problem? There are a few classic signs to watch out for. A common one is the "wiggle test." If your iPhone only charges when you hold the Lightning cable at a specific, awkward angle, that’s a huge red flag for a loose or damaged connection inside the port.
Another giveaway is a total lack of response. You plug in a cable you know works, and nothing happens—no charging icon, no vibration, no sign of life. A similar symptom is when your computer’s iTunes or Finder app fails to see the iPhone when connected via USB. This suggests the data transfer pins in the port are likely compromised.
Here are the key things to look for:
- Inconsistent Charging: The connection drops in and out constantly, even when the phone is still.
- Cable Doesn't 'Click': The Lightning connector feels mushy or loose when plugged in. It should give a satisfying, secure click.
- Visible Debris or Corrosion: Grab a torch and peek inside the port. Do you see any green or white gunk (corrosion) or a fuzzy build-up of pocket lint?
- Painfully Slow Charging: The phone acknowledges it's plugged in, but the battery percentage barely creeps up, even after hours.
Ruling Out the Simple Stuff First
Before we declare the port dead, let's eliminate the easy suspects. The most common cause is a bad cable. Find a different cable and power adaptor—preferably an Apple-certified one—and see if that makes a difference. You can also look at versatile and reliable charging cables that feature a Lightning connector to ensure your testing gear is solid.
Next, try a different power source. If you were using a laptop's USB port, switch to a wall outlet. If you were using a wall outlet, try the laptop. The issue might just be the power brick or the USB port, not your iPhone.
Sometimes, it's not even a hardware problem. A simple software glitch can stop your iPhone from recognising a charger. A quick soft reset—turning it off and on again—can often clear these temporary bugs.
If these basic checks don't work, you're closer to confirming the port is the problem. It’s surprising how often people find their phone isn't charging because of one of these simple external issues, which is why we always start here.
Only after you’ve exhausted these steps should you move on to more hands-on solutions like cleaning the port or seeking professional help from a service like Screen Fixed Brisbane.
The First Real Fix: A Good, Safe Clean
Before you think about ordering replacement parts, let's tackle the number one culprit behind charging problems: debris. Over time, your iPhone's charging port gets jammed with pocket lint, dust, and other tiny gunk.
Every time you plug in the cable, you're compacting that debris tighter until it forms a solid barrier. This is a classic issue, and it's always the first thing to check after ruling out a dodgy cable. A good clean is often all it takes to get things working perfectly again.
What to Use (And What to Avoid)
The golden rule is to be gentle. The pins inside the port are delicate, and one wrong move with a metal object can turn this easy fix into a bigger headache. You need something non-conductive that won't scratch the sensitive contacts.
Here's a go-to kit for a safe clean:
- A simple toothpick: A wooden or plastic one is ideal. It’s thin enough to get in there but soft enough not to cause damage.
- A can of compressed air: Perfect for blasting out anything you’ve loosened. Use it in short bursts to avoid moisture build-up.
- A small, soft brush: A clean, dry paintbrush or one from an old electric shaver kit works well.
CRITICAL: Do not use anything metal. Paperclips, SIM ejector tools, or safety pins are a recipe for disaster. They can easily scratch the gold contacts and cause an electrical short that could damage your iPhone's main board.
A Step-By-Step Cleaning Method
First, grab a torch and have a good look inside the port. You’ll probably be surprised by how much fluff is crammed in there.
Now, take your wooden toothpick and gently scrape along the inside walls of the port. You're not trying to chisel anything out, just loosen the compacted lint. Work your way around the edges, carefully hooking out any clumps.
Once you’ve dislodged the main offenders, give it a few short blasts with the compressed air to blow out the rest. All done? Plug your cable back in. You should feel a solid "click" as it connects, and the charging symbol should pop right up.
If you're not comfortable doing this yourself, a professional clean is a quick and cheap option. Most repair shops, including those offering iPhone repairs Brisbane wide, see this all the time and can do it in minutes. You can find out more about what’s involved with professional iPhone port repairs at Fonefix.
A Practical Guide to DIY Port Replacement
If a deep clean didn't solve your charging woes and you’re confident around electronics, a full DIY port replacement is the next logical step. Tackling this repair yourself can be a rewarding project, but it demands patience, precision, and the right gear. Think of this guide as your roadmap to successfully fixing your iPhone charging port, without the confusing jargon.
Embarking on this journey means you're about to dive into the intricate internals of your iPhone. It’s not just about swapping a part; it’s about carefully navigating delicate components where one wrong move could create a bigger problem.
Assembling Your Essential Toolkit
Before you touch a screw, gather the correct tools. Trying this repair with makeshift equipment is a recipe for disaster. A proper toolkit is non-negotiable.
Here’s what you absolutely need:
- Pentalobe Screwdriver: For the two tiny screws flanking the charging port.
- Tri-Point Screwdriver: Essential for many internal screws on newer models (iPhone 7 and later).
- Small Phillips Head Screwdriver: Needed for various other internal screws.
- Suction Cup and Plastic Prying Tools (Spudgers): For safely separating the screen from the phone's body.
- Tweezers: Crucial for handling minuscule screws and delicate flex cables.
- Anti-Static Wrist Strap: Prevents electrostatic discharge (ESD) from your body, which can permanently damage sensitive components.
A magnetic screw mat is a genuine lifesaver. It helps you keep track of every single screw you remove by mapping them to their original location. iPhone screws vary in length, and putting a long screw in a short hole can puncture the logic board.
Navigating the Disassembly Process
The first hurdle is getting the iPhone open. This process varies between models, but the basic principles are the same. Newer models use a strong waterproof adhesive that needs heat to soften. A hairdryer applied around the screen's edges will make this much easier.
Once the two pentalobe screws are out, attach a suction cup to the bottom of the screen. Gently pull up while using a plastic prying tool to create a tiny gap. Work your way around the device carefully to release the clips.
Pay close attention to how the screen opens. On most models, it opens like a book from the side. Ripping it open can tear the fragile display and sensor cables.
Key Steps Inside the iPhone
With the screen carefully propped open, the most critical step is to disconnect the battery. Never work on an iPhone while it's powered. Find the battery connector, remove its protective metal bracket, and use a plastic pry tool to gently pop it off the logic board.
Next, disconnect the display and sensor assembly cables. Once that's done, you can set the screen safely aside. Now, you should have a clear view of the lower section of the iPhone, where the charging port assembly (often called the "flex cable") is located.
This single assembly often includes the Lightning port, the primary microphone, and Taptic Engine connectors. You'll need to methodically remove components blocking your access, like the speaker assembly, keeping meticulous track of every screw.
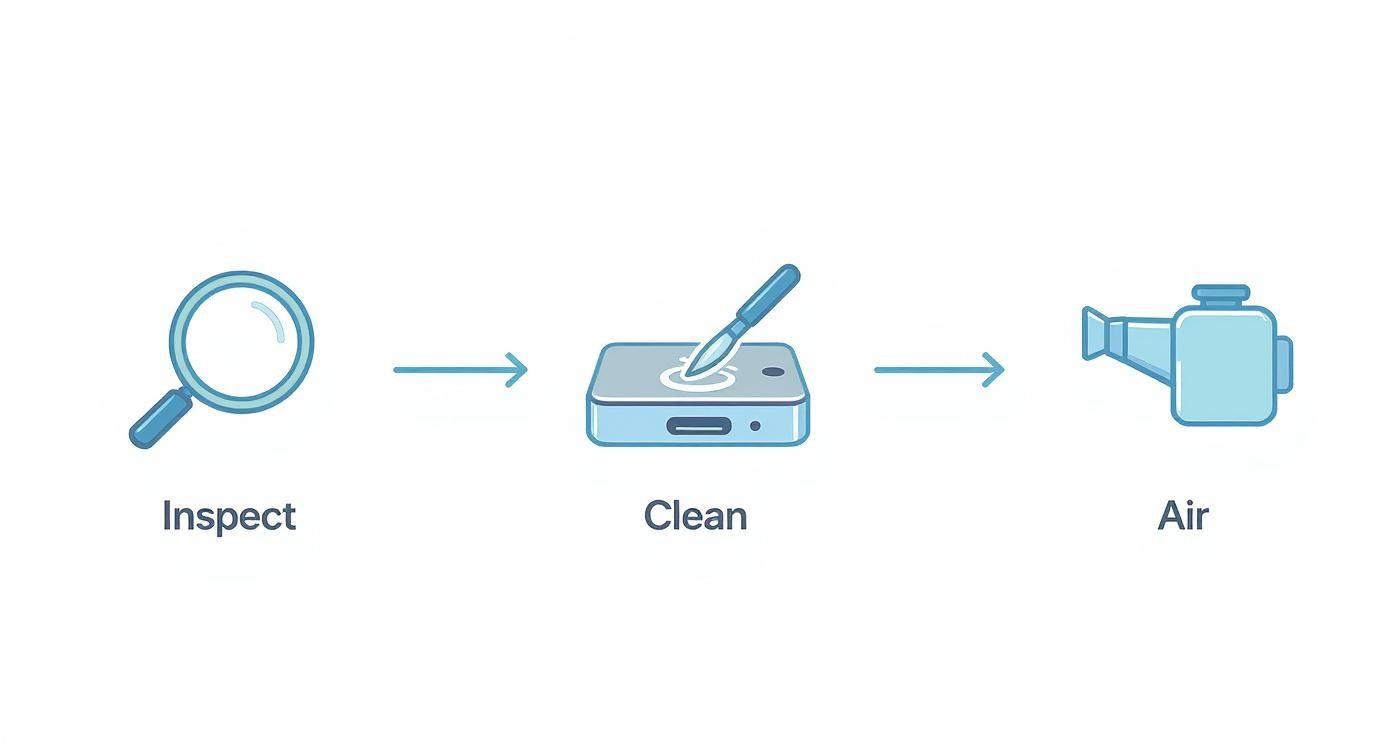
Alt text: A graphic showing a three-step process for fixing an iPhone charging port: inspection, gentle cleaning, and air drying.
This visualisation shows that a methodical approach is the most effective first line of attack.
Replacing the Charging Port Flex Cable
The charging port is attached to the iPhone's frame with a few small screws and light adhesive. Carefully remove these screws and then gently peel the flex cable away from the housing. This is where patience pays off; the cable is thin and can tear easily.
Once the old assembly is out, position the new one. Make sure it sits flush and all the screw holes line up before securing it. Reconnect any components you removed in reverse order.
After everything is back in place, re-attach the battery connector as the very last step. Before sealing the phone, do a quick test. Plug in a charging cable to see if the new port works. If you're running into issues, you can learn how to test continuity with a multimeter to ensure the part isn't faulty.
If the test is a success, you can re-seat the screen, replace the two pentalobe screws, and power on your device.
Breaking Down iPhone Repair Costs in Australia
So, you’re weighing up a DIY repair versus calling in the pros. More often than not, that decision boils down to one thing: money. Getting a clear picture of the financial side of fixing an iPhone charging port is key to making a smart call. The costs can swing quite a bit, based on your iPhone model and even where you are in Australia.
The biggest variable driving the price is the age and complexity of your device. A straightforward repair on an older iPhone 8 is a world away from a delicate operation on a newer iPhone 15. This complexity bumps up the cost of the replacement part and the technician's time.
Comparing Costs for Different iPhone Models
The price spectrum for an iPhone charging port repair can be surprisingly wide. For older models, where parts are easy to come by, you’re looking at a more wallet-friendly fix.
Here’s how the costs generally break down across different iPhone generations in Australia.
| iPhone Model Group | Typical Price Range (AUD) |
|---|---|
| Older Models (e.g., iPhone 8) | $49 - $99 |
| Mid-Range Models (e.g., iPhone X, XR, 11) | $99 - $149 |
| Newer Models (e.g., iPhone 15) | $199 - $329 |
This tiered pricing reflects the engineering evolution in iPhones. As you can see, older models like the iPhone 8 are relatively cheap to fix, usually between AUD $49 and $99. The iPhone X, XR, and 11 series climb to around $99 to $149 because their more compact designs make the repair trickier.
The latest models like the iPhone 15 can set you back anywhere from $199 to $329. This jump is partly due to the switch to USB-C and the more advanced tech packed inside. You can find more details from an analysis of Australian iPhone repair costs on totalmac.com.au.
DIY vs Professional Repair: A Financial Snapshot
On the surface, going the DIY route seems like a no-brainer for saving cash. A new charging port flex cable might only cost you $20 to $50, and a basic toolkit another $30. All up, you might get away with it for under $80.
But that price tag doesn’t factor in the risk. One slip with a screwdriver could tear a fragile cable or damage the logic board. Suddenly, your sub-$100 fix has morphed into a problem that could cost hundreds to sort out.
A professional repair from a service like Screen Fixed Brisbane includes the part, labour, expertise, and a warranty. This peace of mind is an invaluable part of the cost, protecting you from further expense if something goes wrong.
When you choose a professional for your iPhone repairs in Brisbane, you’re paying for a guaranteed result. Technicians have done this exact repair hundreds of times and have access to high-quality parts and the specialised gear needed for a perfect job.
Ultimately, the choice is yours. A DIY approach can save you a few dollars if everything goes perfectly. But for something as critical as the charging port, the assurance and warranty you get from a professional service often deliver far greater value.
When It's Time to Call a Professional for Your iPhone Repair
DIY repairs can be a great way to save cash, but it's crucial to know your limits. Cleaning out pocket lint is one thing; a full charging port replacement is a delicate operation. Pushing ahead when you’re out of your depth is a fast track to turning a minor issue into a catastrophic failure.
Recognising the signs that you need an expert's touch isn't admitting defeat. It’s making the smart call to protect your investment.
Sometimes, the problem runs deeper than a faulty port. Certain symptoms are giveaways of more complex issues that require specialised tools and experience to diagnose and fix properly.
Alt text: A professional technician carefully repairs an electronic device, demonstrating the expertise needed for complex iPhone repairs.
Clear Signs You Need an Expert
Several red flags should immediately tell you to put down the toolkit and find a professional.
One of the most serious signs is evidence of liquid damage. If you see a green or white crusty residue in the port, that’s corrosion. It means moisture has seeped inside and is eating away at the electronics. A simple port swap won't fix this; the logic board itself could be compromised.
Another clear indicator is a failed DIY attempt. Maybe you tried to replace the port yourself, but now the phone is dead or the new port isn't working. It's easy to accidentally tear a tiny cable or misplace a crucial screw. A professional technician is your best bet to salvage your device.
Other warning signs include:
- Visible Damage to Pins: If the gold contact pins inside the port are bent, broken, or missing, a clean isn't going to help.
- Overheating: Your iPhone gets unusually hot around the charging port when plugged in. This could be a sign of a dangerous short circuit.
- Software Glitches Post-Repair: If your iPhone starts boot-looping or showing strange error messages after you've worked on it, something has gone wrong internally.
The Benefits of Professional Repair Services
Opting for a professional for your iPhone repairs in Brisbane offers more than just a successful fix. It provides a level of security and quality a DIY job can't guarantee.
The single biggest advantage is the warranty. When a professional repairs your device, they stand by their work. If the new part fails or an issue pops up related to the repair, you’re covered. That peace of mind is invaluable.
Professionals also have access to high-quality replacement parts that aren't always available to the public. This ensures your new port will function exactly like the original. They also use specialised equipment, like heat mats and microsoldering stations, that are necessary for complex jobs.
Finally, don't underestimate the value of your own time. A DIY repair might take you an entire afternoon. A seasoned technician can often get the job done in under an hour. You can learn more about finding the right service in our guide to iPhone repair in Brisbane.
Your Common iPhone Charging Port Questions Answered
After walking through the diagnosis, cleaning, and repair options, a few common questions always come up. Here are straightforward answers to clear things up.
My Charging Port is Broken. Can I Just Use a Wireless Charger?
You absolutely can. If your iPhone supports Qi wireless charging (any model from the iPhone 8 onwards), using a wireless charger is a brilliant workaround. It’s a great way to keep your phone juiced up without rushing into a repair. The only catch is you’ll still need the physical port for data transfer to a computer, like backing up photos or restoring software.
How Do I Know if It’s My Battery or the Charging Port?
This is a classic question. If you plug your iPhone in and the charging symbol appears, but the battery percentage won’t budge, you're almost certainly looking at a battery problem. The phone knows it's connected, but the battery can't hold the charge. On the flip side, if the iPhone gives you zero reaction when you plug it in—or it only connects when you jiggle the cable—the charging port is the prime suspect.
The key is to watch how your phone fails to charge. No recognition at all usually points to the port. If it recognises the charger but doesn’t gain power, it’s likely the battery.
Will a Third-Party Repair Void My Apple Warranty?
This is a big concern for many people. Under Australian Consumer Law, getting your device fixed by an independent repairer like Screen Fixed Brisbane doesn't automatically void your entire Apple warranty. Your consumer rights are still protected. However, if that third-party repair causes another problem, Apple won’t be obligated to cover that new damage under warranty.
Here's how to decide:
- If your iPhone is still under its original Apple warranty, your safest bet is always to go directly through Apple.
- If your device is out of warranty, a reputable independent repair shop offers a fantastic, budget-friendly alternative.
Disclaimer: iPhone, Apple, and Lightning are trademarks of Apple Inc., registered in the U.S. and other countries. Screen Fixed is an independent repair service and is not affiliated with Apple Inc.
If you'd rather leave it to the pros for a guaranteed fix, the team at Screen Fixed is ready to help. We provide fast, reliable iPhone charging port repairs that will get your device back to 100%. Book your repair with Screen Fixed Brisbane today.