
Meta Title: USB Ports Not Working? Here's How to Fix Them in Australia
Meta Description: Your complete guide to fixing unresponsive USB ports. Learn simple software and hardware solutions to solve "USB ports not working" on your device.
We've all been there: you plug in a USB stick, a phone, or a mouse, and... nothing. It's a universal frustration that can stop you in your tracks. If your USB ports have suddenly stopped working, you're facing a common problem statement: it almost always boils down to either a simple software hiccup or a more hands-on hardware fault.
This issue is incredibly common across both laptops and desktops here in Australia. Figuring out why it's happening is the most important first step toward getting things working again. This guide explains the solutions, from easy DIY fixes to knowing when you need an expert.
Getting to the Bottom of Why Your USB Ports Quit
When your USB ports decide to go on strike, it can bring your entire workflow to a grinding halt. The good news is that the reasons they fail usually fall into two main camps: software glitches or physical hardware problems. Knowing which one you're dealing with will save you a heap of time and frustration.
H3: The Software Side of the Story
More often than not, the culprit is something going on with your software. These are usually the easiest problems to fix and don't require you to break out a toolkit. Think of it as a simple miscommunication between your operating system and the physical port.
Some common software causes include:
- Driver Drama: Your computer relies on tiny bits of software called drivers to talk to its hardware. After a Windows update or installing a new program, these drivers can get corrupted or become outdated. The result? Your USB ports suddenly stop responding.
- Overzealous Power Management: To save a bit of battery life, operating systems like Windows often "turn off" USB ports they don't think are being used. Sometimes this feature is a bit too aggressive and disables ports you actually need.
- BIOS/UEFI Settings: It's also possible for USB ports to be turned off at the firmware level—that’s a layer deeper than your main operating system. This can sometimes happen after a BIOS update or if the settings are accidentally changed.
Honestly, the first thing I always try is the simplest: a full reboot. Just restarting your computer can clear out those temporary software conflicts and force the system to recognise all its hardware again. You’d be surprised how often this brings dead ports back to life.
H3: When It’s a Physical Hardware Problem
If a restart and other software tweaks don't do the trick, it's time to suspect a physical issue with the port itself. Hardware faults can range from something you can fix in a minute to a problem that needs a professional touch. For those trickier issues, you can always count on the team at Screen Fixed Brisbane for fast, reliable help.
Here’s what could be physically wrong with the port:
- Dust and Debris: It's amazing what can get lodged in a USB port. Over time, dust, pocket lint, and other gunk can build up inside, preventing a solid connection. A quick look with a torch will usually tell you if it's time for a clean-out.
- Good Old Wear and Tear: USB ports are mechanical parts that see a lot of action. The internal contacts can wear down, or the whole port can become loose from years of plugging and unplugging cables.
- Internal Disconnection: This is a big one for desktop PCs. The USB ports on the front of your case are connected to the motherboard with an internal cable. If that cable gets bumped or comes loose, all your front ports will go down at once.
To make sure we're covering all the bases, this guide follows the best practices for creating effective how-to guides, starting with identifying the root cause before jumping into the solutions.
To help you quickly diagnose the issue, I've put together a simple table that summarises the most common culprits.
H3: Common Causes for USB Port Failure at a Glance
This table gives you a quick rundown of the most frequent reasons your USB ports might be on the fritz, broken down into software and hardware categories.
| Category | Specific Cause | Quick Check |
|---|---|---|
| Software | Corrupted or outdated drivers | Check Device Manager for errors or updates. |
| Software | Power Management settings | Review your power plan's USB selective suspend setting. |
| Software | Disabled in BIOS/UEFI | Restart and enter BIOS/UEFI to check USB settings. |
| Hardware | Dust, lint, or debris in the port | Shine a torch into the port to inspect for blockages. |
| Hardware | Physical damage or wear | Wiggle the connected cable; does it feel loose? |
| Hardware | Internal cable disconnection | (For desktops) Open the case and check motherboard connections. |
Running through these quick checks can often point you in the right direction without needing to dive into more complex troubleshooting right away.
Essential First Checks for Faulty USB Ports
When your USB ports suddenly stop responding, it’s easy to jump to the worst conclusion. But before you start fiddling with complex system settings, it’s always best to run through the simple, foundational checks first. More often than not, these basic steps can solve the problem in just a few minutes.
The very first thing to try, and often the most effective, is a full system reboot. It might sound almost too simple, but restarting your computer forces it to clear out temporary software conflicts and re-initialise all its hardware, including those stubborn USB ports. You’d be surprised how often the usb ports not working issue just vanishes after a quick restart.
If that doesn't do the trick, the next move is to start isolating variables. Is the problem with the port, the cable, or the device you're trying to connect? Grab a different USB device that you know works perfectly—something like your phone charger cable paired with a reliable wall adapter. If you don't have a spare, a quality Pisen USB Wall Charger with a dual port is a fantastic tool to keep in your kit for exactly this kind of testing.
H3: Systematically Pinpointing the Culprit
Alright, now take that known-good device and cable and plug it into the port that’s giving you grief. If it works, brilliant—the issue is with your original peripheral or its cable, not the port itself. If the second device also fails to connect, you’ve pretty much confirmed the problem lies with the port.
This process of elimination helps you quickly figure out if you're dealing with a software glitch or a genuine hardware problem. This infographic breaks down the two main paths your troubleshooting journey can take from here.
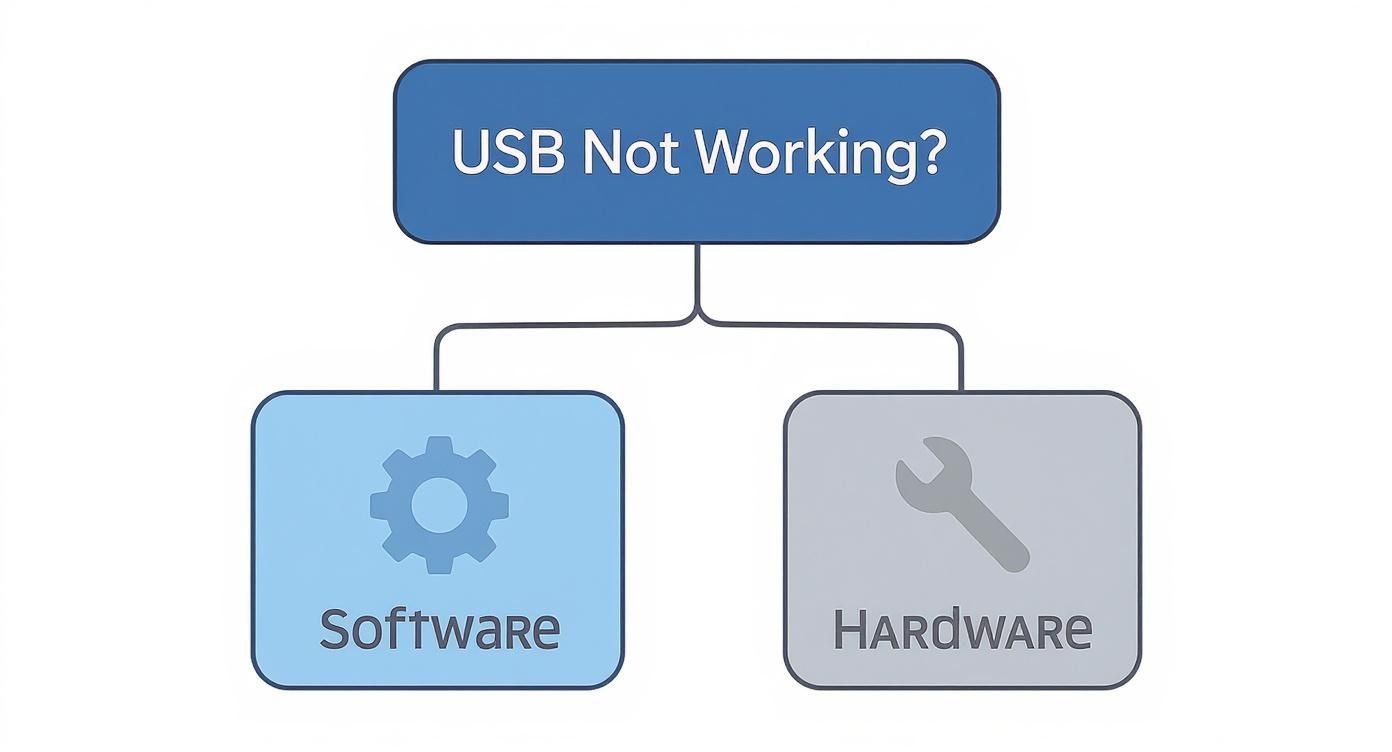
Alt text: An infographic decision tree for diagnosing USB port issues, showing a split between software and hardware problems.
As you can see, figuring out whether it's a software or hardware fault early on is going to save you a heap of time and frustration down the line.
Another thing to consider, especially here in the Australian market, is the quality and length of your USB cable. It’s not something most people think about, but it matters. USB 2.0 cables can reliably run up to about 5 metres, but the high-speed USB 3.0 and 3.1 cables really need to be kept under 3 metres to deliver their full potential. Go any longer, and you risk signal loss and dodgy connections, making it seem like your usb ports not working when it's just the cable letting you down.
H3: The Importance of a Physical Inspection
Finally, don't forget to do a quick physical check. It’s amazing what you can spot with a good look. Grab a torch and shine it directly into the problematic port. You’re looking for any obvious signs of trouble, like:
- Dust and Lint: A surprising amount of gunk can get packed in there, preventing a solid connection.
- Bent Pins: Look closely at the metal contacts. Are any of them bent, pushed back, or out of place?
- Physical Damage: Check for any cracks in the plastic housing or signs of rust or corrosion.
If you spot a bunch of dust or debris, a can of compressed air is your best friend. Seriously, don't go poking around in there with a paperclip or anything metal—you could easily cause a short circuit and permanently fry the port.
Running through these initial steps is vital for effective troubleshooting. For a bit more insight into how to approach these kinds of diagnostics, you can find some excellent general troubleshooting tips for your device. By ruling out the simple stuff first, you can tackle the more advanced software and driver issues with a lot more confidence.
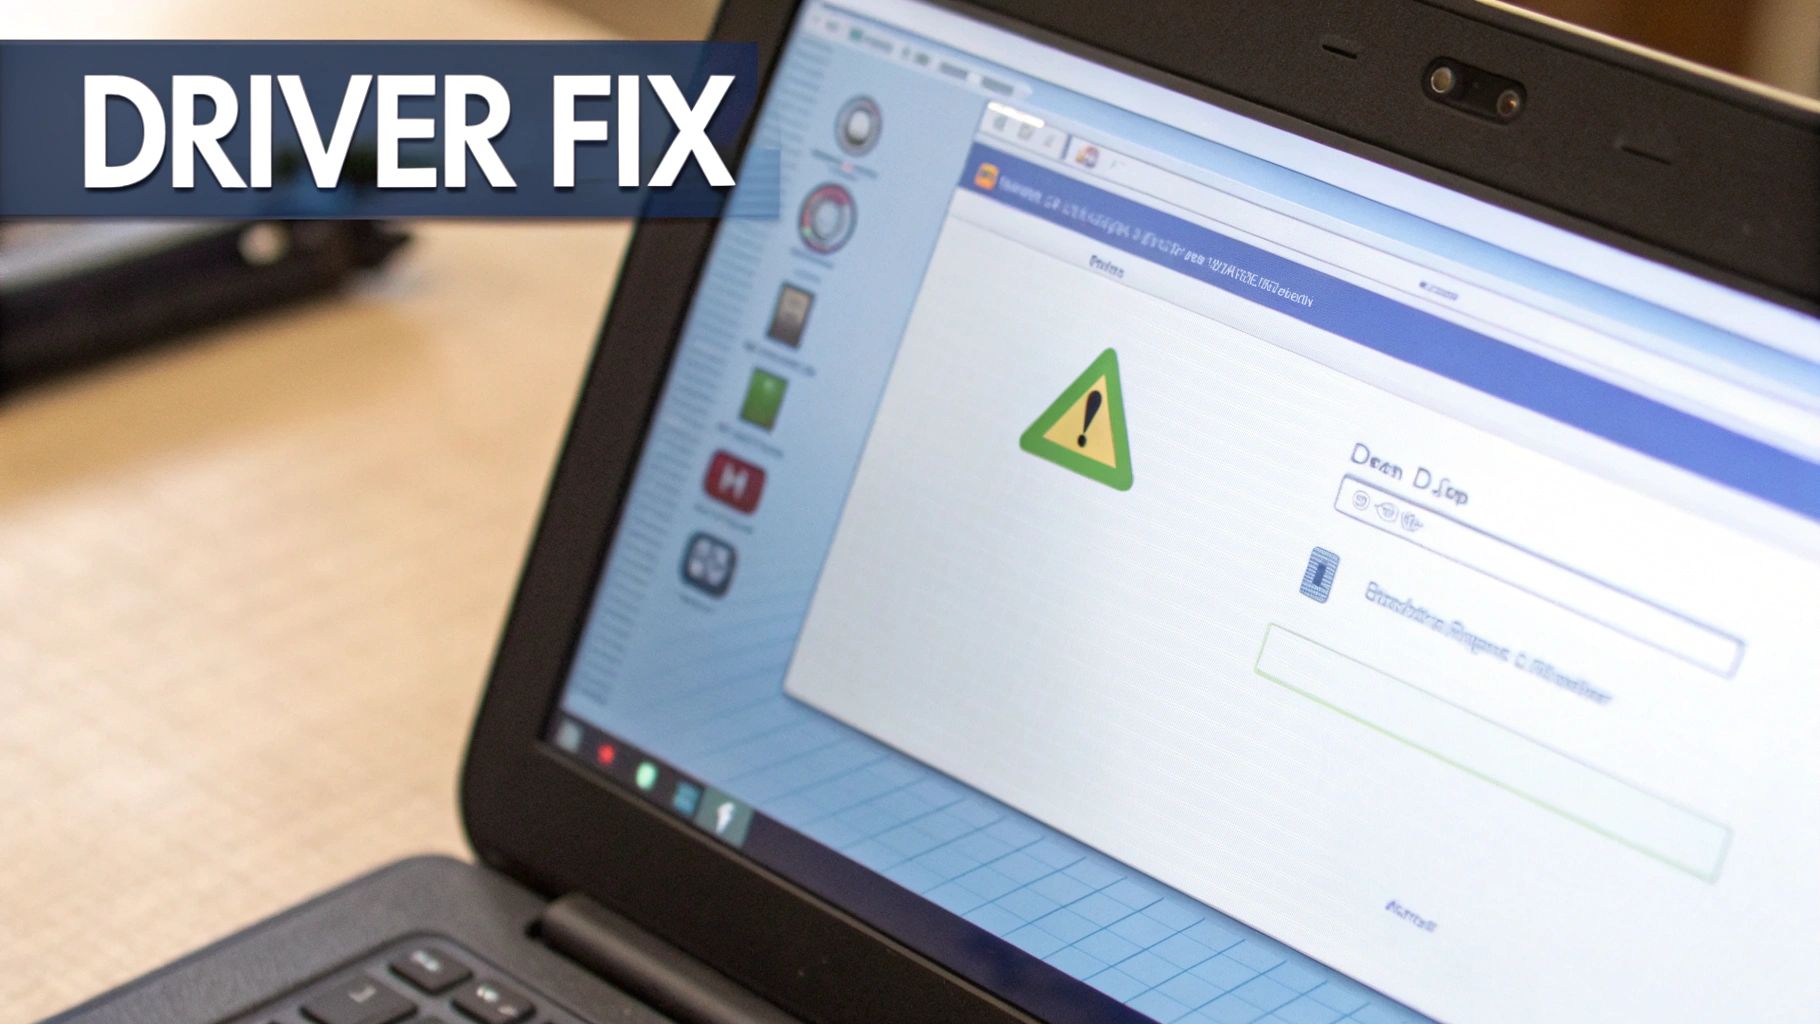
Diving Into Software and Driver Fixes
So you've checked the physical connections and everything looks fine, but your USB ports are still on strike. More often than not, the culprit is lurking in your computer's software. This is where we switch gears from a physical inspection to a bit of digital detective work. The good news is that these steps are usually quite straightforward and can often get you back up and running without calling in a pro.
Alt text: A technician examining the internal components of a laptop, focusing on the motherboard and ports.
If you're using a Windows machine, your first stop is the Device Manager. Think of it as the control centre for all the hardware hooked up to your computer, including every single one of your USB ports and their controllers. It's the perfect place to diagnose and sort out any driver-related squabbles.
H3: Getting Friendly with Device Manager
Getting there is easy – just pop open your Start Menu and search for "Device Manager." Once you're in, scroll down the list until you find "Universal Serial Bus controllers" and click to expand it. The list might look a little technical, but we're only hunting for a couple of specific things.
First up, scan the list for anything with a little yellow exclamation mark next to it. That's Windows waving a flag to tell you it's having a problem with that specific bit of hardware's driver. If you spot one, the solution can be as simple as right-clicking on it and choosing "Update driver."
If everything looks normal, the next trick up our sleeve is to give your USB controllers a fresh start. You can do this by right-clicking each item under the "Universal Serial Bus controllers" list and selecting "Uninstall device." Don't panic; this isn't as scary as it sounds. After you've uninstalled them all, just restart your computer. Windows is smart enough to automatically spot the hardware on reboot and install a fresh set of drivers, which often flushes out any hidden corruption.
A classic case we see all the time in our iPhone Repairs Brisbane service is when a recent PC software update stops it from connecting to an iPhone. A quick reinstall of the USB host controllers almost always sorts out the recognition problem.
H3: Tweak Your Power Management Settings
Another surprisingly common issue, especially on laptops, is an over-eager power-saving feature. Windows tries to be clever by shutting down hardware it thinks you aren't using to save battery. Sometimes, it gets it wrong and puts a USB port you actually need to sleep.
Here’s how to check and fix that:
- Head back into Device Manager and find the "Universal Serial Bus controllers" section.
- Right-click on an entry like "USB Root Hub" or "Generic USB Hub" and select "Properties."
- Click over to the "Power Management" tab.
- You'll see a box that says, "Allow the computer to turn off this device to save power." Uncheck it.
You’ll want to do this for every USB Hub entry you see in the list. This simple tweak tells Windows to keep its hands off your ports, ensuring they're awake and ready for action whenever you plug something in.
H3: Quick Fixes for Mac Users
Working on a Mac? Your troubleshooting journey is a bit different. Apple systems don't have a direct equivalent to the Device Manager. Instead, the two most powerful fixes in your arsenal are resetting the System Management Controller (SMC) and the PRAM/NVRAM.
Resetting the SMC can be a silver bullet for issues tied to power, fans, battery, and, you guessed it, misbehaving ports. The exact steps change depending on your Mac model (whether it’s an older Intel-based Mac or one with Apple silicon), but Apple lays out the instructions clearly on their support site. In a similar vein, resetting the PRAM/NVRAM zaps certain system settings back to their defaults and can often clear up quirky hardware glitches.
Here in Australia, USB is everywhere, which means port problems are becoming more frequent. With the shift to USB-C, which handles way faster data speeds and more power, stable software and drivers are more critical than ever. For those curious about the nitty-gritty, you can learn more about the evolution of USB types and their specifications from this credible external resource.
If the software-side fixes didn't do the trick, it might be time to roll up your sleeves and take a look inside your computer's case. For desktop users, a couple of hardware checks can often solve those stubborn USB issues without needing to call in a professional.
These steps are a bit more hands-on, but spending a few minutes inside your PC can potentially save you a trip to the repair shop.
Before you even think about opening the case, safety comes first. Disconnect the main power cord from the wall outlet. Then, press and hold the power button on your computer for about 15-30 seconds. This is a crucial step that discharges any leftover electricity stored in the internal components, making it safe to work inside.
H3: Check Your Motherboard Connections
I've seen this countless times: the front-panel USB ports not working is often due to nothing more than a loose internal cable. It's an easy thing to overlook. These ports connect directly to your motherboard via a header cable, and it’s surprisingly common for this connection to get nudged loose during a move or even just from vibrations over time.
With your PC safely powered down and the side panel off, trace the thick cable running from the front USB panel down to the motherboard. You're searching for a specific pin header, usually labelled with something like "F_USB," "USB," or "JUSB."
Gently wiggle the connector. If it feels wobbly or loose, unplug it completely. Take a moment to line up the pins correctly, then firmly push it back into place until it's snug. This simple reseating is often all it takes to bring those dead front ports roaring back to life.
H3: Navigate Your BIOS or UEFI Settings
Another sneaky culprit can be a setting buried deep within your computer's firmware. Your BIOS or UEFI is the low-level software that boots up before Windows or macOS even starts, and it has direct control over your hardware. Sometimes, USB ports can be disabled at this fundamental level.
To get in, you'll need to restart your computer and press a specific key right as it boots up—this is usually Del, F2, F10, or F12. The startup screen should flash a message telling you which key to press.
Once you're inside the BIOS/UEFI menu, you'll need to do a bit of exploring. Look for sections with names like "Integrated Peripherals," "Onboard Devices," or "Advanced." Buried in one of those menus, you should find options for the USB Controller or Legacy USB Support. Make sure every one of these is set to "Enabled." If they're turned off here, no amount of driver updates in Windows will ever make a difference.
It's amazing what you can fix yourself when you have the right parts and a little guidance. For anyone tackling similar connection problems on their phone, a complete Galaxy S20 Ultra DIY charger port repair kit really shows how valuable it is to have everything you need bundled together.
While these hardware steps require a bit more care, they empower you to cover all the bases before you have to consider professional help.
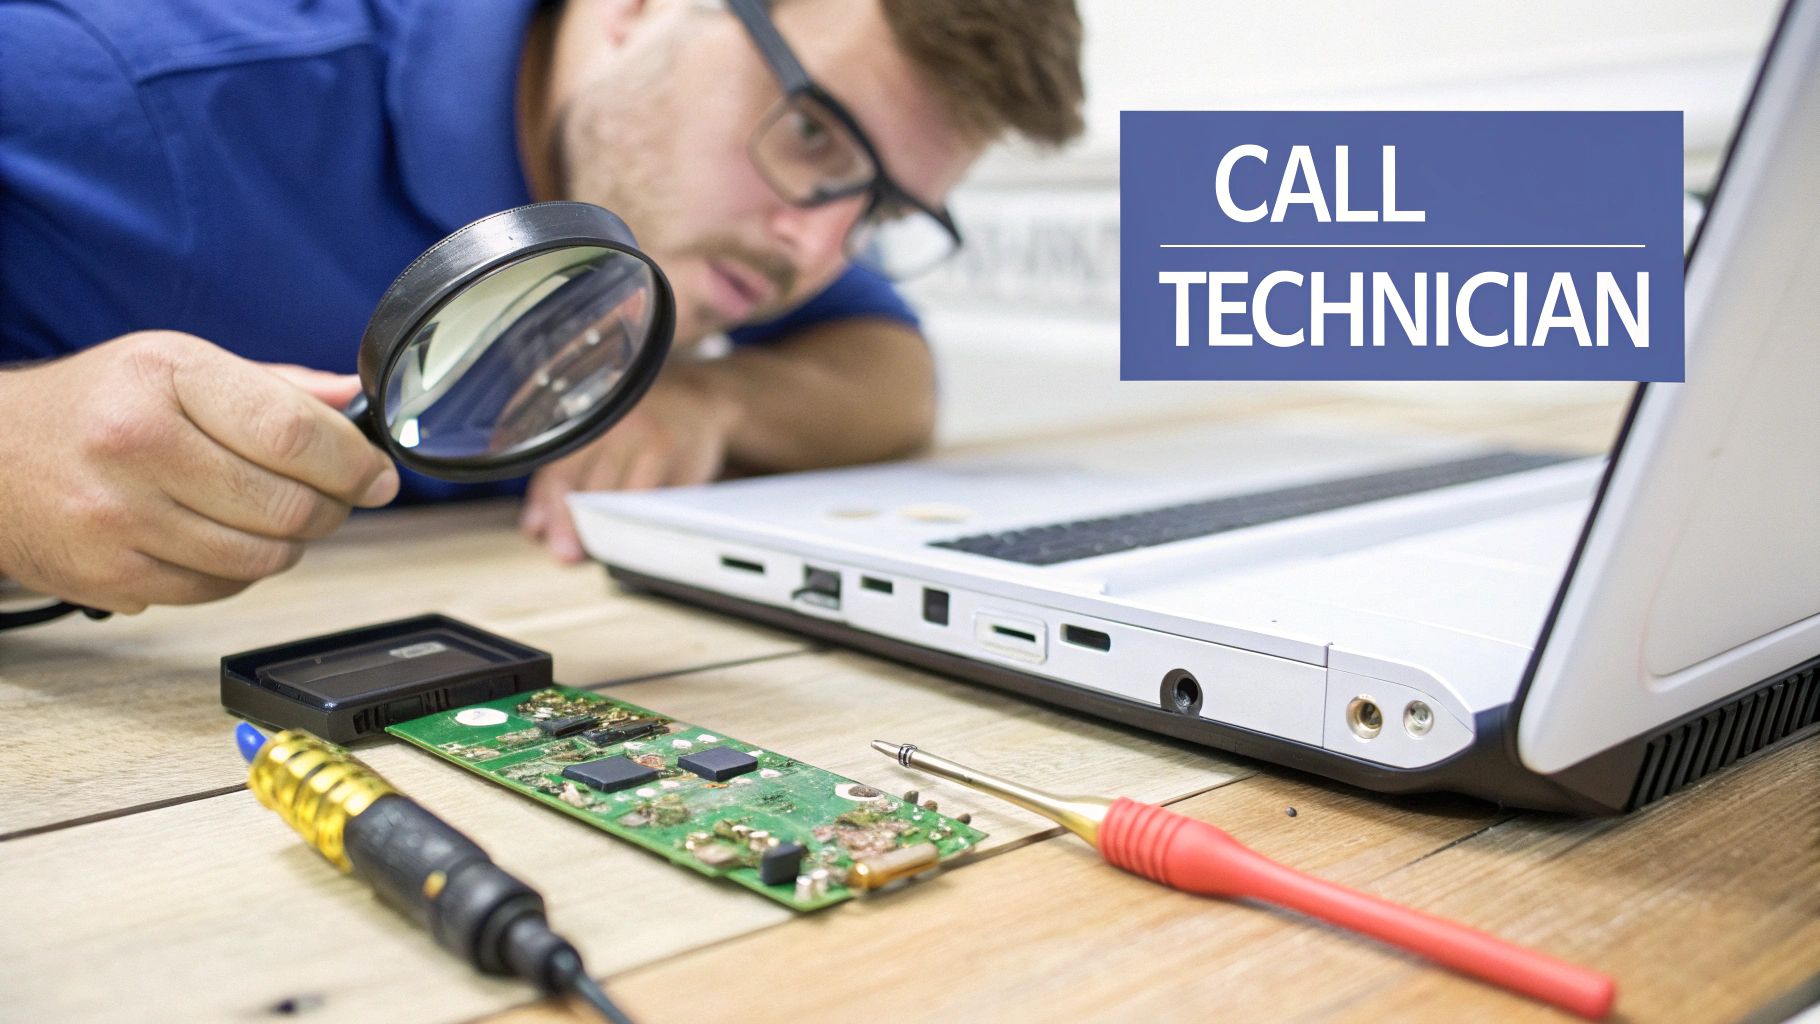
When to Call a Professional for USB Port Repair
While many software glitches and minor hardware fixes are manageable at home, there comes a point where DIY enthusiasm can do more harm than good. Knowing when to put the tools down and call in an expert is a crucial part of the troubleshooting process, especially when you're dealing with delicate internal components. Continuing to poke and prod at a serious hardware issue can quickly turn a simple repair into a much more expensive problem.
If you’ve gone through all the software checks and basic hardware inspections but your USB ports not working problem is still there, it's probably time for a closer look. A professional technician can diagnose the root cause quickly, saving you from hours of frustration and potentially costly mistakes.
Alt text: A technician wearing an anti-static wrist strap carefully solders a small component onto a computer motherboard.
H3: Clear Signs It’s Time for Expert Help
Some symptoms are immediate red flags that signal a problem beyond a simple fix. If you run into any of the following, it’s best to step away and seek professional assistance:
- Visible Physical Damage: Look closely inside the port. Can you see bent or broken pins, cracked plastic, or any signs of scorching or burn marks? These are definitive signs of a serious hardware failure that needs an expert’s touch.
- A Loose or Wobbly Port: If the entire USB port wiggles when you plug in a cable, the solder joints connecting it to the motherboard have likely failed. This is something we see a lot, especially on laptops that endure plenty of movement.
- Signs of a Short Circuit: If plugging in a device causes your computer to instantly shut down, or if you smell a faint burning odour, unplug everything immediately. This points to an electrical short that could seriously damage your motherboard and anything connected to it.
A wobbly port that has detached from the motherboard requires specialised micro-soldering tools and a steady, experienced hand to repair correctly. Attempting this without the proper equipment can permanently damage the motherboard’s delicate circuitry.
Unfortunately, specific data on how often USB port failures happen in Australia is pretty limited. While consumer protection bodies report on general electronics faults, it's hard to pin down exact figures for this common problem.
Ultimately, a professional can tell you if it's a straightforward port replacement or a more complex motherboard issue. When you bring your device to us, data security is also a top priority; you can learn more about our commitment in our guide on phone repair data security and privacy.
For reliable and fast computer repairs in Brisbane, our team at Screen Fixed has the expertise to diagnose the problem accurately. We can provide an effective, lasting solution that gets your ports back in working order.
Common Questions About Broken USB Ports
Even after trying every trick in the book, you might still be wondering why your USB ports aren't working. It's a frustratingly common issue with a heap of potential causes, so let's clear up some of the most frequent questions we get from our customers.
This is the part where we tackle those nagging "what if" scenarios to help you get a better handle on USB port failures and what they might mean for your computer.
H3: Can a Faulty USB Port Damage My Devices?
Yes, it's possible, but thankfully, it's quite rare. A faulty USB port can absolutely damage your peripherals if there's a serious electrical issue. If the port has a short circuit, it could send a power surge or the wrong voltage straight to your connected device, frying its sensitive electronics.
Physical damage is your biggest red flag. If you see bent pins inside the port, notice any burn marks, or catch a whiff of a sharp electrical smell, do not plug anything into it. For most software glitches or simple dust blockages, though, the risk of damage to your devices is practically zero.
H3: Why Do Only Some of My USB Ports Work?
This is a classic symptom, and it almost always points to a specific hardware problem rather than a system-wide software bug. On a desktop computer, for instance, you might find the front-panel ports have stopped working. This often happens if their internal cable has jiggled loose from the motherboard, while the rear ports, which are soldered directly onto the board, carry on working just fine.
Another common culprit is a failed USB controller on the motherboard. These controllers usually manage a cluster of ports. So, if one controller dies, it can take two or even four ports down with it, leaving others on a separate controller completely untouched.
It's also worth remembering that not all ports are created equal. You'll often see ports marked with different colours like blue or red, indicating they are higher-powered USB 3.0 ports. A power-hungry device, like an external hard drive, might only work correctly in these specific ports, giving the illusion that the others are broken.
H3: Is It Expensive to Get a USB Port Repaired?
The cost of a repair can vary wildly depending on your computer and the exact nature of the damage.
For a standard desktop PC, replacing a faulty front-panel USB module is usually a straightforward and pretty affordable job. The part itself is generally inexpensive, and the labour involved is minimal.
Laptops, however, are a completely different story. In most laptops, the USB ports are soldered directly onto the main motherboard. Fixing one often requires delicate micro-soldering work, a time-consuming process that demands specialised tools and a very steady hand. This makes the repair far more involved and, as a result, more expensive.
H3: Does Using a USB Hub Cause Ports to Fail?
A high-quality, powered USB hub from a reputable brand shouldn't cause any harm to your computer's ports at all. These hubs come with their own power supply, which means they don't put any extra strain on the host port they're plugged into.
The real risk comes from cheap, unpowered hubs. When you start plugging multiple devices into one of these, they all have to draw power from a single port on your computer. This can easily overload the port's power limit, forcing it to shut down to protect itself. While this is usually just a temporary shutdown, a poorly made or faulty hub could potentially cause lasting electrical damage.
If you've tried everything and you're still stuck with non-working USB ports, don't risk causing more damage to your computer. The expert technicians at Screen Fixed can diagnose the root of the problem and provide a reliable, professional repair to get your ports back in perfect working order.
Book your repair with Screen Fixed Brisbane today.
Disclaimer: Screen Fixed is an independent repair service provider and is not affiliated with any of the third-party brands mentioned, including but not limited to Apple, Microsoft, and Samsung. All trademarks, logos, and brand names are the property of their respective owners.