
When your iPhone X screen cracks or stops responding, the big question is always the same: is it really worth fixing a phone that's a few years old? More often than not, an iPhone X screen replacement is the smartest call you can make. It saves you hundreds of dollars compared to buying a new phone and breathes new life into a device that's still perfectly capable. The key is understanding the options and process to get a quality repair that lasts.
Why Repairing Your iPhone X is Still a Smart Move

Alt text: Two iPhone X devices on a wooden table, one with a shattered back, illustrating the repair vs replace decision.
It's tempting to write off an older phone the second something goes wrong, but let's be honest, the iPhone X still holds its own. Its performance is solid, and its brilliant OLED display still meets the needs of most people today. Before you even think about browsing for new phones, let’s break down why a repair makes more sense for your wallet and the planet.
The Financial Argument for Repair
The most compelling reason to fix your iPhone X is the cost. Plain and simple. A brand-new smartphone can easily set you back over a thousand dollars, while a professional screen replacement is just a fraction of that. This isn't just a small saving; it’s a major financial decision that keeps a good chunk of cash in your pocket.
- A Cost-Effective Fix: A quality repair helps you avoid the massive upfront cost of a new device. It also saves you the headache of transferring all your data and setting up a new phone from scratch.
- Holding Onto Value: A fully working iPhone X with a perfect screen still has decent resale or trade-in value. That value is completely gone if the screen is damaged.
By choosing to repair, you’re making a financially sound move that extends the life of a device you already own. A new screen can honestly make your iPhone X feel brand new again, without the hefty price tag of an unnecessary upgrade.
Performance That Still Delivers
Don't let its age fool you. The iPhone X was built with top-tier components that are still very relevant. Its A11 Bionic chip is more than capable of handling today's apps, from social media and streaming to all your day-to-day tasks.
The Super Retina OLED display was a game-changer when it launched, and it continues to offer vibrant colours and deep blacks that put many newer, mid-range phones to shame.
For a lot of people, the performance leap to the very latest model just isn't necessary. A simple screen repair brings back that premium experience you paid for, letting you enjoy a high-quality device for longer.
An Environmentally Conscious Choice
Opting for repair over replacement is also a powerful move for the environment. Electronic waste (e-waste) is a massive global issue. By fixing your phone, you're taking an active part in a more sustainable, circular economy.
Instead of sending a complex piece of tech to a landfill where it can leak harmful materials, you're extending its useful life. This one action reduces the demand for new manufacturing, which in turn saves energy and conserves precious resources. Every device we repair is one less piece of e-waste polluting our planet.
Data from Australian repair centres shows just how common this problem is. At one point, cracked iPhone X screens accounted for roughly 65% of all smartphone fixes, with the average repair cost sitting around $186. This trend really took off after the phone's 2017 launch, as its beautiful but vulnerable edge-to-edge OLED display was notoriously prone to damage.
When you decide to go the repair route, it really helps to understand the costs involved. For a wider look at what to expect, you can check out this detailed guide on the general iPhone screen repair cost in Australia.
Choosing the Right Screen: OEM vs. Aftermarket Parts
Before you even pick up a screwdriver, the single most important decision you'll make for your iPhone X screen replacement is choosing the right part. The quality of the replacement screen will define your phone's performance, look, and feel from here on out.
The market for replacement parts can feel like a minefield, with terms like OEM, service-pack, and aftermarket thrown around. Let's cut through the noise. Getting your head around the key differences is crucial, because your choice will affect everything from colour accuracy and touch response to keeping features like True Tone alive.
Understanding Your Screen Options
When you start shopping for a replacement, you'll find yourself looking at three main tiers of screens. Each has its own pros, cons, and price tag, so it’s all about matching the part to your needs and budget.
- Original Equipment Manufacturer (OEM): These are the real deal, made by the same companies that supply Apple. You get identical quality to the original screen, just without the official Apple logo stamped on it.
- Service-Pack: These are genuine Apple parts, either sourced through official channels or sometimes carefully recovered from other devices. They guarantee perfect compatibility and factory-fresh performance.
- Aftermarket: This is the Wild West of parts. These are third-party copies, and the quality can range from surprisingly good screens that are almost indistinguishable from the original, all the way down to cheap LCD versions that make serious compromises.
Picking the right one is the difference between a repair that feels brand new and one that just feels… off.
The Big Three: A Head-to-Head Comparison
The main fork in the road is often the display technology itself. Your iPhone X shipped with a beautiful OLED screen, known for its deep, true blacks and vibrant colours. To cut costs, many cheaper aftermarket options use older LCD technology instead. It's vital to understand what you're giving up.
If you want to get into the nuts and bolts, we've got a detailed guide explaining what separates LCD, OLED, and AMOLED screens. It’s worth a read to really appreciate why sticking with an OLED panel is usually the best move for visual quality.
The biggest sacrifice you'll make with a budget aftermarket screen is the display quality. An LCD on an iPhone X just can't compete with an OLED—the contrast is weaker, blacks look more like a dark grey, and the brightness often doesn't measure up.
True Tone and Face ID: Don't Lose Your Features
Here's something you absolutely can't overlook: keeping your phone's original features. True Tone (which adjusts screen colour based on ambient light) and Face ID are both linked to the sensor assembly on your original screen.
A skilled technician will carefully transfer this entire sensor module from your old, broken screen to the new one. When done correctly, Face ID and True Tone should work flawlessly. However, this is where low-quality aftermarket screens can throw a spanner in the works, sometimes causing compatibility issues even if the transfer was perfect. For reliable iPhone Repairs Brisbane, using a premium part is the only way to guarantee full functionality.
To help you weigh up the options, here's a breakdown of what to expect from each type of replacement screen.
Comparison of iPhone X Replacement Screen Types
| Screen Type | Quality & Performance | Price Range (AUD) | Key Feature Retention (e.g., True Tone) | Best For |
|---|---|---|---|---|
| OEM / Service-Pack | Identical to original. Perfect colours, brightness, and touch response. | $120 – $200+ | Excellent. True Tone and Face ID are retained with proper installation. | Anyone who wants a flawless, like-new repair without any compromises. |
| Premium Aftermarket (OLED) | Very close to original quality. Minor differences in colour or brightness may be noticeable. | $90 – $150 | Good. Generally compatible, but requires a skilled technician for the sensor transfer. | A fantastic balance of high quality and affordability for the savvy DIYer. |
| Budget Aftermarket (LCD) | Noticeable drop in quality. Lower brightness, less contrast, and potentially slower touch response. | $70 – $110 | Risky. Compatibility issues with True Tone and other features are more common. | A temporary fix or for those on an extremely tight budget where function trumps form. |
At the end of the day, investing a little more in a high-quality OEM or premium aftermarket OLED screen is the surest way to get your iPhone X feeling and performing just like it did the day you unboxed it.
Your DIY iPhone X Screen Replacement Walkthrough
Alright, you've got your new screen, so it's time to roll up your sleeves and get into the nitty-gritty of the iPhone X screen replacement. Think of this guide as your trusted co-pilot. But remember, this is a delicate procedure that requires patience and a steady hand. Don’t rush it.
We'll walk you through everything, from gathering your tools and safely opening the phone to the most critical step—transferring the sensor assembly—and putting it all back together. Safety first, always. We'll constantly remind you about key precautions, like disconnecting the battery to avoid any nasty electrical shorts.
Assembling Your Essential Toolkit
You wouldn't perform surgery without the right instruments, and phone repair is no different. Having every tool you need laid out and ready to go makes the whole process smoother and massively reduces the risk of accidentally breaking something.
Here's what you'll absolutely need on your workbench:
- Pentalobe P2 Screwdriver: This one's specifically for the two tiny screws flanking the charging port. They're the first things holding the screen in place.
- Tri-Point Y000 Screwdriver: The iPhone X is full of these little three-pronged screws. They're used to secure internal brackets over delicate cables and the sensor assembly.
- Suction Cup and Pry Tools (Spudgers): These are your best friends for gently separating the screen from the phone's frame without cracking the glass or marring the housing.
- Tweezers: You’ll need a pair with a fine tip for handling microscopic screws and carefully navigating those fragile ribbon cables.
- Heat Gun or Hairdryer: A little bit of warmth applied around the screen's edges is the secret to softening the stubborn adhesive, making the phone much easier to open.
To make things a whole lot easier, you can grab everything in one hit with a purpose-built iPhone X DIY screen repair kit. These kits bundle a high-quality replacement screen with all the specialised tools, so you won't get halfway through the job and realise you're missing something crucial.
Opening the Device and Disconnecting Power
This is where the real fun begins. First thing's first: power down the iPhone X completely. Never, ever try to open a device while it's still on.
With the phone off, grab your pentalobe screwdriver and remove those two screws at the bottom. Next, apply gentle, even heat around the screen's perimeter for about a minute. This softens the watertight adhesive that Apple uses to seal the screen to the frame.
Now, place a suction cup on the lower half of the screen and pull up gently to create a tiny gap. Slide a thin plastic pry tool into that gap and carefully work it along the edges to slice through the softened glue. Go slow and don't push the tool in too deep, or you risk damaging the components inside. The screen opens from left to right, just like a book.
Critical Safety Tip: The very first thing you do once inside is disconnect the battery. Find the battery connector, remove its small protective bracket, and use a plastic spudger to gently pop the connector off the logic board. This simple step eliminates the risk of short-circuiting anything while you work.
Transferring the Earpiece and Sensor Assembly
Pay close attention here, because this is the most delicate and important part of the entire iPhone X screen replacement. The earpiece speaker and the front sensor assembly—which houses the all-important Face ID components, proximity sensor, and ambient light sensor—have to be moved from your old, broken screen to the new one.
Carefully unscrew the bracket holding this assembly in place. The components are all linked by extremely fragile ribbon cables that can tear with the slightest mishandling. Use your tweezers and a spudger to gently lift the whole assembly away from the old display. Take your time. Seriously. If you damage this part, Face ID will be permanently disabled.
Once it's free, align it perfectly on the new screen and screw it back into place. A magnetic screw mat is a lifesaver for this, as it helps you keep track of which tiny, often different-sized, screw goes where.
Before you dive in, it’s worth remembering that your choice of screen plays a big role here.
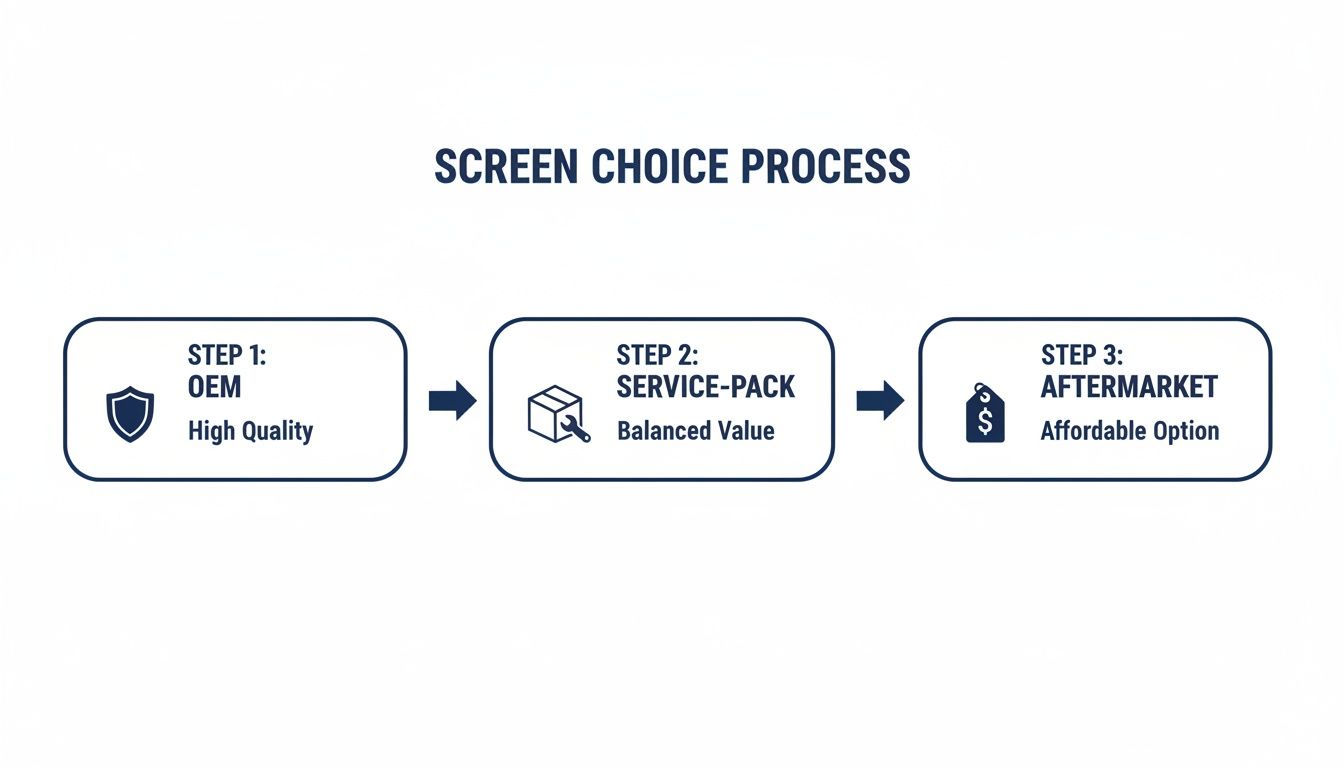
Alt text: Flowchart comparing OEM, Service-Pack, and Aftermarket iPhone X replacement screens based on quality and value.
This just reinforces why picking a quality part from the get-go is so important—it ensures everything, especially this tricky sensor assembly, fits and functions exactly as it should.
Final Assembly and Testing
With the sensor assembly safely transferred, it's time to connect the new screen. You'll see three ribbon cables coming from the new display that need to be snapped onto the logic board. You should feel a faint but satisfying click when they are seated correctly.
But hold on—before you seal everything up, reconnect the battery. Power the phone on and give the new display a thorough test run. Check the touch response all over the screen, test the brightness levels, and most importantly, make sure Face ID is working correctly.
Once you’ve confirmed everything is in working order, disconnect the battery one last time for safety. Then, carefully snap the screen back into place, starting from the top clips and working your way down. All that's left is to pop those two final pentalobe screws back in at the bottom, and you're done.
Troubleshooting Common Post-Repair Problems
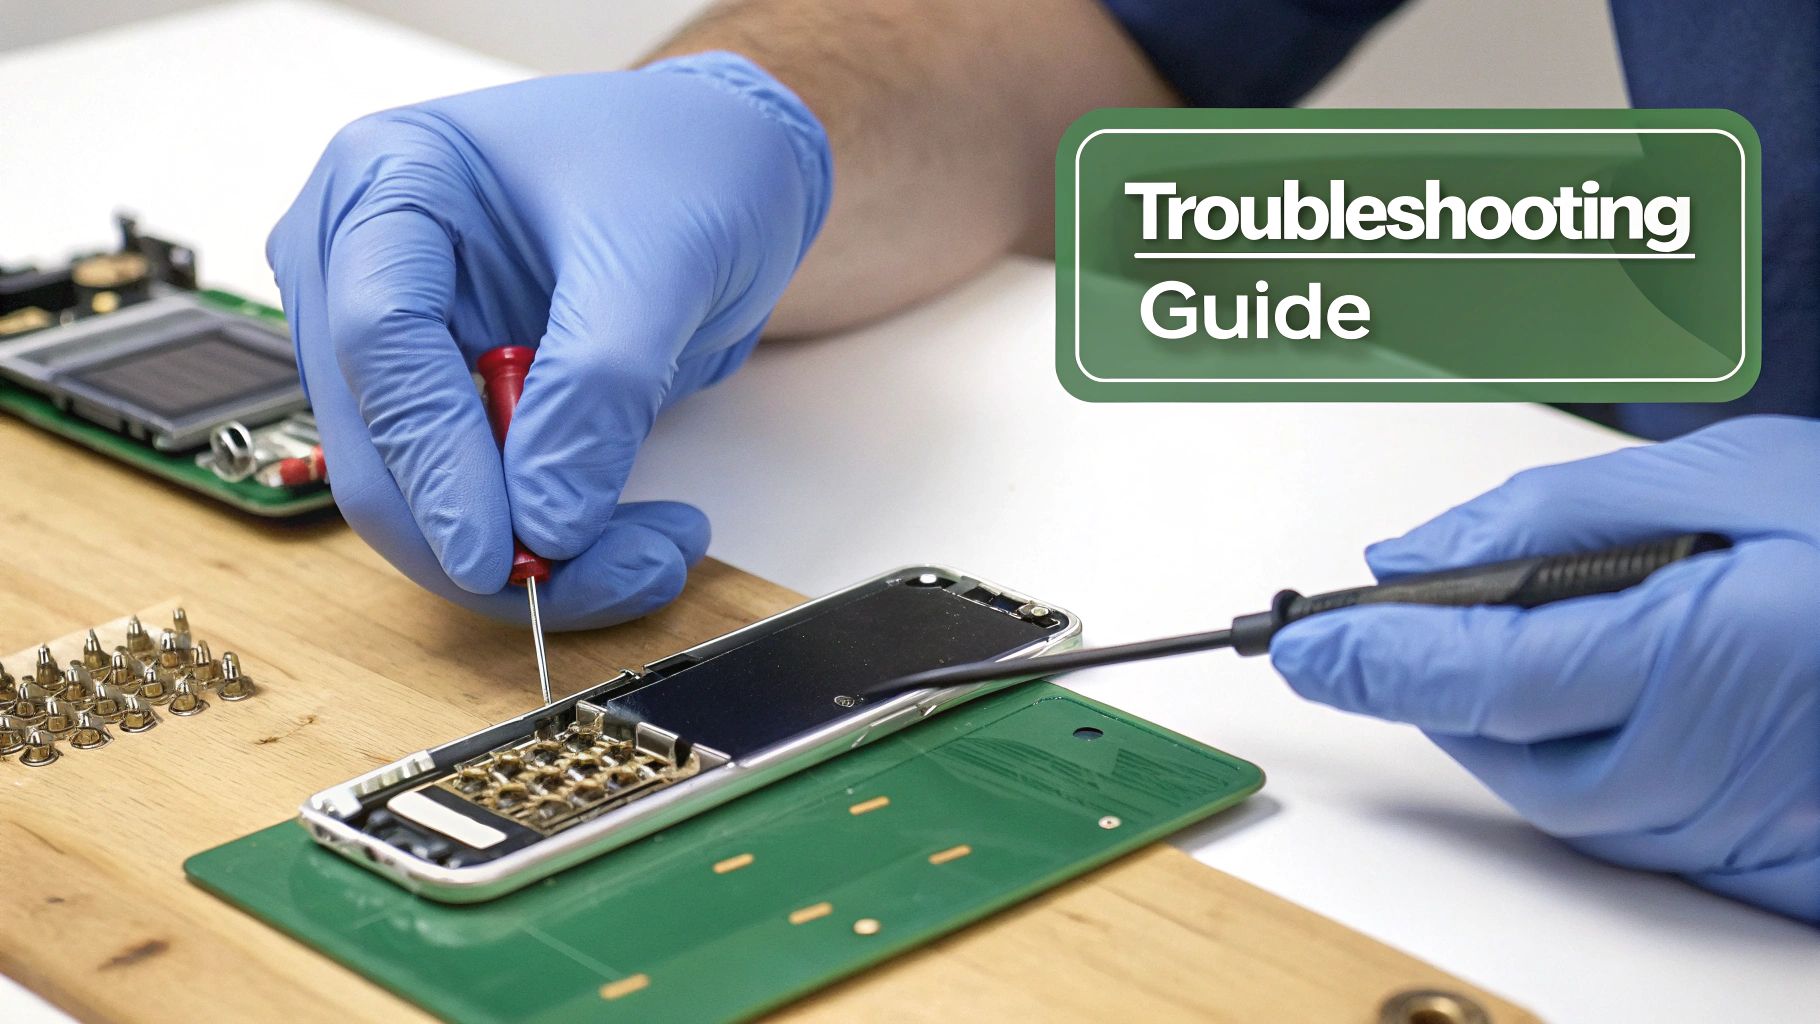
Alt text: A technician troubleshooting an iPhone X screen replacement with specialised tools on a workbench.
You’ve carefully buttoned up the new display, and your iPhone X is back in one piece. That’s a huge win, but the real test starts now. Sometimes, even with a seemingly flawless installation, you can run into a few post-repair gremlins.
Don’t panic. Most of these hiccups are common and can be sorted out with a bit of systematic troubleshooting. Let's walk through the most frequent issues that pop up after an iPhone X screen replacement and how to tackle them head-on.
Diagnosing Unresponsive Touch or Ghost Touches
One of the most maddening problems is when your new screen doesn't respond to touch correctly. You might hit dead spots where your taps do nothing, or even worse, experience "ghost touches" where the phone starts acting on its own.
Nine times out of ten, this points to an issue with the digitiser's connection to the logic board. The digitiser is the layer of the screen that actually registers your touch, and its flex cable needs to be perfectly seated for it to work.
Here’s a quick diagnostic checklist to run through:
- Power Down and Re-open: First, turn the phone off completely. A simple hard reset (press and release volume up, press and release volume down, then hold the side button) can sometimes clear up minor software glitches causing the issue.
- Check the Connectors: If a reset doesn't do the trick, you'll need to pop the phone open again. Always disconnect the battery first, then carefully unclip and re-clip the display connectors. You should hear and feel a gentle 'click' as they snap into place—make sure they're perfectly aligned.
- Inspect for Debris: A single speck of dust or debris on the connector pins can be enough to interrupt the signal. Use a soft, dry brush to gently clean the connectors on both the screen and the logic board before re-seating them.
Most of the time, simply re-seating the display cables will solve any touch-related problems. If the issue persists after several attempts, it could indicate a faulty part, which is why sourcing your screen from a reliable supplier is so crucial.
Dealing with Display Artefacts or Lines
Are you seeing weird colours, vertical or horizontal lines, or just a black screen even though you can tell the phone is on? This is another classic sign of a poor connection or, potentially, a damaged flex cable.
The OLED display data travels through that delicate ribbon cable. If it gets creased, torn, or isn't connected securely, the image signal gets corrupted, and you end up with visual defects. The fix is nearly identical to what you’d do for touch issues—power down, disconnect the battery, and carefully re-seat those display connectors.
A damaged flex cable often happens from pulling a little too hard or folding it too sharply during the installation. It’s an incredibly delicate part, so you really have to handle it with care. If re-seating the cables doesn't sort it out, the screen itself may have been damaged in transit or during the repair.
Solving the Face ID and True Tone Puzzle
The dreaded "Unable to activate Face ID" error is a heart-stopping moment for any DIYer. This issue, along with True Tone functionality disappearing, is almost always caused by one thing: a problem with the front sensor assembly transfer.
As we covered earlier, this module holds the flood illuminator and dot projector, which are cryptographically paired to your phone's unique logic board. If this original assembly gets damaged or isn't transferred perfectly, these features will be gone for good.
If you're staring at this error, your first move is to re-check your work.
- Verify the Transfer: Are you 100% sure you moved the original sensor assembly from the old screen to the new one?
- Inspect the Cables: Take a close look at the tiny, fragile ribbon cables on the assembly. Any tears or harsh creases can kill the connection. Even the slightest damage here is fatal.
- Secure the Connection: Make sure the assembly is sitting properly in its housing and its connector is snapped firmly onto the new display.
A successful transfer is the cornerstone of a quality repair. It's a delicate dance, and it’s why many people opt for professional iPhone Repairs Brisbane—technicians have the experience (and steady hands) to handle it flawlessly. If you’re confident in your transfer but the problem persists, it may point to an incompatibility with a lower-quality aftermarket screen.
When to Trust a Professional for Your Repair
Alt text: Professional technician performing an iPhone X screen replacement in a well-lit Brisbane workshop.
There’s no denying the satisfaction that comes from a successful DIY repair. But let’s be honest, it's a path paved with potential pitfalls. Deciding whether to tackle the job yourself or call in an expert isn't just about saving a few dollars; it's about weighing the real risks to your device.
This isn’t about scaring you away from trying. It's a frank look at the delicate engineering packed inside your iPhone X, helping you decide when professional iPhone Repairs Brisbane are the smarter, safer bet.
The Hidden Risks of a DIY Repair
The iPhone X is a marvel of compact engineering, but that also makes its internals incredibly unforgiving. A single misplaced screw or a moment of impatience can turn a simple screen swap into an expensive, irreversible mistake.
Here are the most common DIY disasters we see walk through our doors:
- Damaging the Face ID Sensors: This is the big one. The front sensor assembly is fragile and notoriously easy to tear during the transfer. If that happens, your Face ID is permanently disabled—no ifs, buts, or software fixes can bring it back.
- Stripping Microscopic Screws: Those tiny tri-point and pentalobe screws are a nightmare to work with. Use the wrong tool or a little too much force, and you'll strip them in a heartbeat. A stripped screw can halt your repair dead in its tracks.
- Causing Logic Board Damage: A slip of a metal pry tool in the wrong spot can scratch a trace or knock a tiny component clean off the logic board. This can lead to a whole host of new problems, from boot failures to Wi-Fi issues.
A professional technician has performed this exact iphone x screen replacement hundreds, if not thousands, of times. That experience means they know exactly how much force to use, how to handle delicate flex cables, and how to sidestep the common traps that catch out first-timers.
The Screen Fixed Brisbane Advantage
Opting for a professional service like Screen Fixed Brisbane transforms a risky project into a stress-free solution. It’s about more than just getting the job done; it’s about the guarantee of quality and the peace of mind that comes with it.
When the iPhone X launched back in 2017, its OLED screen was a game-changer, but it also introduced costly repair challenges for Australians. According to local repair experts, third-party fixes have saved Aussies thousands over the years by extending the lifespan of their devices. With over 1.2 million iPhone repairs logged nationally by industry trackers, affordable and reliable services play a huge role in reducing e-waste and keeping perfectly good phones in circulation. You can read more about how affordable repairs make a difference in Australia.
Why Professional Expertise Matters
Here’s what you really get when you hand your device over to our experienced technicians:
- Premium Parts, Guaranteed: We only use high-quality parts that meet our strict standards for colour, brightness, and touch sensitivity. This takes the guesswork out of ordering online and the risk of receiving a faulty screen.
- Specialised Tools and Techniques: Our workshops are kitted out with professional-grade tools designed for precision and safety—gear that goes far beyond what comes in a basic DIY kit.
- A Solid Warranty: Every single repair we do is backed by a service warranty. If anything goes wrong with the part we installed, you just bring it back, and we'll make it right. That’s a safety net you simply don't get when you go it alone.
Ultimately, the choice is yours. But if you value a flawless finish, guaranteed functionality, and zero stress, trusting a professional is the wisest investment you can make in your device's future.
Book your repair with Screen Fixed Brisbane today.
Disclaimer: Apple, iPhone, Face ID, and True Tone are trademarks of Apple Inc., registered in the U.S. and other countries. Screen Fixed is an independent service provider and is not affiliated with Apple Inc.
Got Questions About Your iPhone X Screen Repair? We’ve Got Answers.
Even with a full guide in front of you, it's smart to have a few questions. Let's be honest, an iPhone X screen replacement is a proper repair job, not just a simple fix. You want to be 100% clear on the costs, risks, and what to expect before you even think about picking up a tool.
So, to cut through the noise, we've gathered the most common questions our technicians get asked day in, and day out. Think of this as your final sanity check before you decide which path is right for you.
How Much is an iPhone X Screen Replacement Going to Cost Me in Australia?
The price tag really depends on how you want to tackle the job.
If you're going the full DIY route, you're looking at anywhere from $70 to $150 for a decent quality screen and the tools you'll need. It's easily the cheapest option, but all the risk is on you.
Getting a professional third-party service, like us here at Screen Fixed, to do it for you will usually set you back between $90 and $190. It’s a great middle ground—you get the job done right without the eye-watering $400+ bill you’d get from an official out-of-warranty service. What you end up paying usually comes down to the quality of the replacement screen you go for.
Will My Face ID Still Work After a Screen Replacement?
Yes, it absolutely should, but this is where things get serious. This is the single most critical step in the entire repair. The phone's original front sensor assembly—the little cluster of tech that handles Face ID—has to be carefully moved from your old, smashed screen over to the new one.
If that specific ribbon cable is damaged, torn, or even just slightly misaligned during the swap, Face ID is gone for good. There's no coming back from that. This delicate operation is the number one reason people decide to hand their phone over to a professional for iPhone Repairs Brisbane.
An experienced technician has done this transfer hundreds of times. They have the muscle memory and the right gear to do it perfectly, keeping your phone's security features intact. It's a high-stakes move where a steady hand makes all the difference.
Can I Just Replace the Glass on My iPhone X Screen?
Look, while it's technically possible with some serious industrial-grade machinery, it's not a realistic DIY job. Not even close. The glass on your iPhone X is fused directly to the OLED panel underneath. Trying to separate them requires a dust-free cleanroom and equipment you just won't have in your home repair kit.
For pretty much every single repair, replacing the entire screen assembly is the way to go. This includes the glass, the digitiser (which registers your touch), and the OLED display itself. It's the only way to guarantee a perfect, factory-quality finish without trapping dust or air bubbles between the layers.
What's the Difference Between an OLED and LCD Replacement Screen?
Your iPhone X came from the factory with a beautiful OLED screen. They're known for giving you those perfect, inky blacks, incredible colour vibrancy, and being more energy-efficient. A good quality OLED replacement will get you as close as possible to that original, premium look.
On the other hand, cheaper aftermarket screens are often LCDs. These use a backlight to light up the pixels, and while they'll save you a few bucks, you'll notice the difference. Blacks on an LCD tend to look more like a dark grey, the colours don't pop as much, and they can chew through your battery a little faster. If you care about how your screen looks, stick with an OLED.
Ready to get your iPhone X looking and working like new without the stress? Trust the experts at Screen Fixed Brisbane.