
That heart-stopping moment when your iPhone 15 Pro Max slips from your grasp and meets the pavement is a feeling we all dread. If you're now looking at a spiderweb of cracks across that beautiful screen, you’ve got a big decision to make: tackle the repair yourself or hand it over to a professional. This guide will walk you through the options, helping you make the best choice for your device.
Each path has its own set of pros and cons, and the best choice really boils down to your budget, your confidence with delicate electronics, and how quickly you need your phone back in working order.
Your iPhone 15 Pro Max Screen Is Cracked, What's Next?
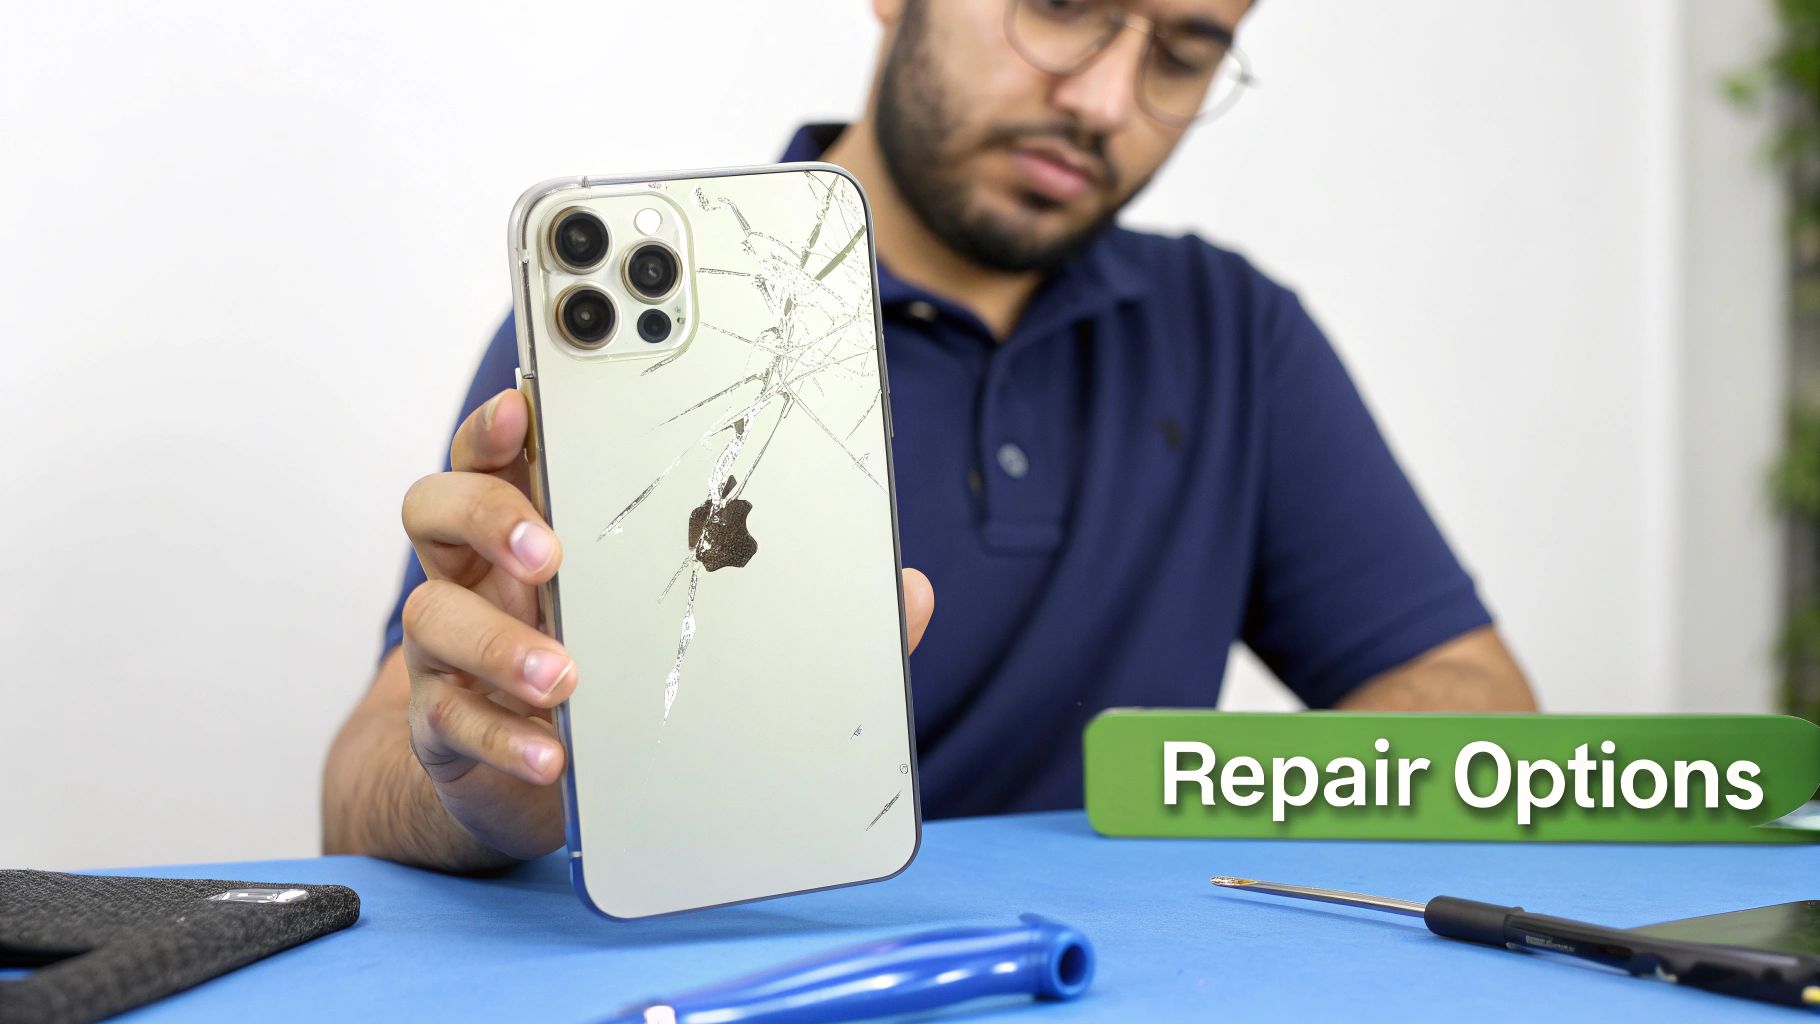 iPhone 15 Pro Max with a cracked screen requiring replacement.
A smashed screen isn't just a cosmetic issue. It can mess with the phone’s core functionality, including that stunning ProMotion display technology. The choice you make now will directly impact your phone's performance, any remaining warranty, and its overall lifespan. It's a classic trade-off: save a bit of cash upfront with a DIY kit, or invest in a flawless, guaranteed repair from an expert you can trust, like the team at Screen Fixed Brisbane.
Weighing Your Repair Options
Going the DIY route is definitely tempting, especially if you’re comfortable around tech and want to keep costs down. With the right tools and a quality replacement screen, you can save a decent amount of money.
But let's be realistic—the iPhone 15 Pro Max is an incredibly complex piece of engineering. One slip-up, like misplacing a tiny screw or tearing a fragile ribbon cable, could lead to permanent damage. Suddenly, that "cheaper" repair could end up costing you a whole lot more.
On the flip side, bringing your phone to a professional service offers complete peace of mind. Technicians have the specialised tools and, more importantly, the experience to navigate the phone's delicate internals. This ensures critical features like Face ID and True Tone keep working perfectly after the repair. Plus, reputable shops use high-quality parts and back their work with a warranty, taking all the risk off your shoulders.
The true cost of any repair isn't just the price of the screen. It's also the value of your time, the risk of causing more damage, and the assurance that the job was done right the first time.
Understanding the Costs in Australia
When you're trying to budget for the repair, it helps to have a ballpark figure in mind. Here in Australia, an iPhone 15 Pro Max screen replacement generally falls somewhere between AUD $300 and AUD $600.
Why the big range? It mostly depends on where you go. An official Apple service will almost always be at the higher end of that scale, while a trusted third-party repair specialist like Screen Fixed Brisbane can often do it for less. The quality of the replacement part and the length of the warranty are the other big factors that influence the final price.
DIY vs Professional Repair: A Quick Comparison
To help you decide, here’s a straightforward breakdown of what to expect from each path.
| Factor | DIY Replacement | Professional Repair (e.g., Screen Fixed) |
|---|---|---|
| Cost | Lower upfront cost for parts and tools. | Higher initial cost, but includes labour and warranty. |
| Time | Can take several hours, especially for a first-timer. | Often completed in an hour or two; same-day service is common. |
| Risk | High. Risk of permanent damage to Face ID, sensors, or motherboard. | Very low. The technician assumes all the risk. |
| Tools | You'll need to buy a specialised toolkit. | No need to buy tools; they have everything on hand. |
| Warranty | No warranty on your work. Part warranty may be limited. | Usually comes with a comprehensive warranty on parts and labour. |
| Quality | Depends entirely on the quality of the part you buy. | Uses high-quality, tested parts for reliable performance. |
| Expertise | Requires technical skill and a very steady hand. | Performed by experienced technicians who do this every day. |
Ultimately, the choice is yours. If you're a seasoned pro with the right tools, a DIY repair is a viable option. But for most people, the security and guaranteed quality of a professional repair are well worth the extra cost for a premium device like the iPhone 15 Pro Max.
Getting Your Toolkit and Parts in Order
Trying to replace an iPhone 15 Pro Max screen without the right gear is a recipe for disaster. Think of it like performing surgery with a butter knife – you're just going to make a bigger, more expensive mess. Having the correct tools isn’t about making life easier; it’s about protecting the incredibly delicate and pricey components packed inside your phone.
Before you even add a new screen to your cart, let’s run through the essential toolkit you'll need. This isn't just a shopping list. Understanding what each tool does and why it’s critical is the first real step toward a successful repair.
Your Essential Toolkit for Screen Replacement
The iPhone 15 Pro Max is held together by more than just clever engineering. Apple uses very specific screws and a powerful adhesive, which means you need specialised tools to get past them without wrecking your device.
Here's what you absolutely must have on hand:
- P2 Pentalobe Screwdriver: This one is non-negotiable. The two screws flanking the charging port have Apple's unique five-point star shape. If you try to use the wrong driver, you'll strip them instantly, and your repair is over before it even starts.
- Heat Gun or iOpener: The screen is sealed to the frame with a strong, waterproof adhesive. To break that seal, you need a gentle, consistent heat source to soften it. This lets you pry the screen off without cracking the glass further or bending the frame.
- Suction Cup and Opening Picks: A good-quality suction cup gives you the leverage to create that first tiny gap between the screen and the body. From there, you'll slide thin, flexible plastic picks into the gap to slice through the softened adhesive around the edges.
- Spudger and Tweezers: A spudger is an anti-static plastic tool, perfect for safely disconnecting the fragile ribbon cables that link the screen to the logic board. You'll also need precision tweezers for handling those microscopic screws and brackets without dropping them into the phone's internals.
A little pro tip: lay out your tools and parts in the order you'll use them. This simple habit, combined with a magnetic screw mat, helps you avoid the classic, frustrating mistake of mixing up screws. Putting the wrong screw in the wrong hole can cause catastrophic damage to the logic board.
Sourcing a High-Quality Replacement Screen
The single most important decision in this whole process is the quality of the replacement screen. The display you choose for your iPhone 15 Pro Max screen replacement will directly impact everything from colour accuracy and brightness to your overall battery life.
You’ll generally find two types of screens on the market:
- Premium OLED Screens: These are the closest you can get to what Apple originally installed. They deliver the same deep blacks, vibrant colours, and power efficiency of the native Super Retina XDR display. For a flagship device like this, it's the only choice that makes sense if you want to maintain its premium feel.
- Aftermarket LCD Screens: These are significantly cheaper, but they come with big compromises. LCDs can't produce true blacks (they look more like a dark grey), they chew through more battery, and they often suffer from lower brightness and reduced touch sensitivity.
For a phone as advanced as the iPhone 15 Pro Max, investing in a high-quality OLED screen is absolutely worth it. You paid for a premium experience, and skimping here will mean you lose it.
Preparing Your Workspace
Your repair environment is just as critical as your tools. A cluttered, poorly lit desk is the perfect place to lose tiny screws and make very expensive mistakes.
Before you start, take a few minutes to set up a proper workspace. Make sure it is:
- Clean and Well-Lit: You need to see every tiny component without straining. A bright desk lamp will be your best friend.
- Static-Free: Static electricity is a silent killer of electronics. It can permanently fry the sensitive components on the logic board. Always work on a wooden or rubber surface, never on carpet, and seriously consider using an anti-static wrist strap.
- Organised: You need a system for your screws. A magnetic mat or even just a few small, labelled containers are perfect for keeping track of every single screw and making sure it goes back exactly where it came from. For more on this, check out our guide on Pentalobe screwdrivers for iPhone and MacBook repairs.
Taking 15 minutes to prepare your space properly can honestly save you hours of frustration and potentially hundreds of dollars in follow-up repairs. Don't skip it.
Removing the Broken Screen Step by Step
Alright, with your workspace ready and tools at the ready, it's time to dive into the most delicate part of this whole operation: the iPhone 15 Pro Max screen replacement. This is where patience and a steady hand are non-negotiable. Rushing this stage is the quickest way to turn a simple screen repair into a much bigger, more expensive headache.
The main challenge here is to carefully separate the display from the phone's frame without nicking any of the sensitive components just millimetres away. You're not forcing anything open; think of it more like you're methodically unsealing a very fragile, very expensive container.
This process essentially breaks down into a few key actions to get the device open.
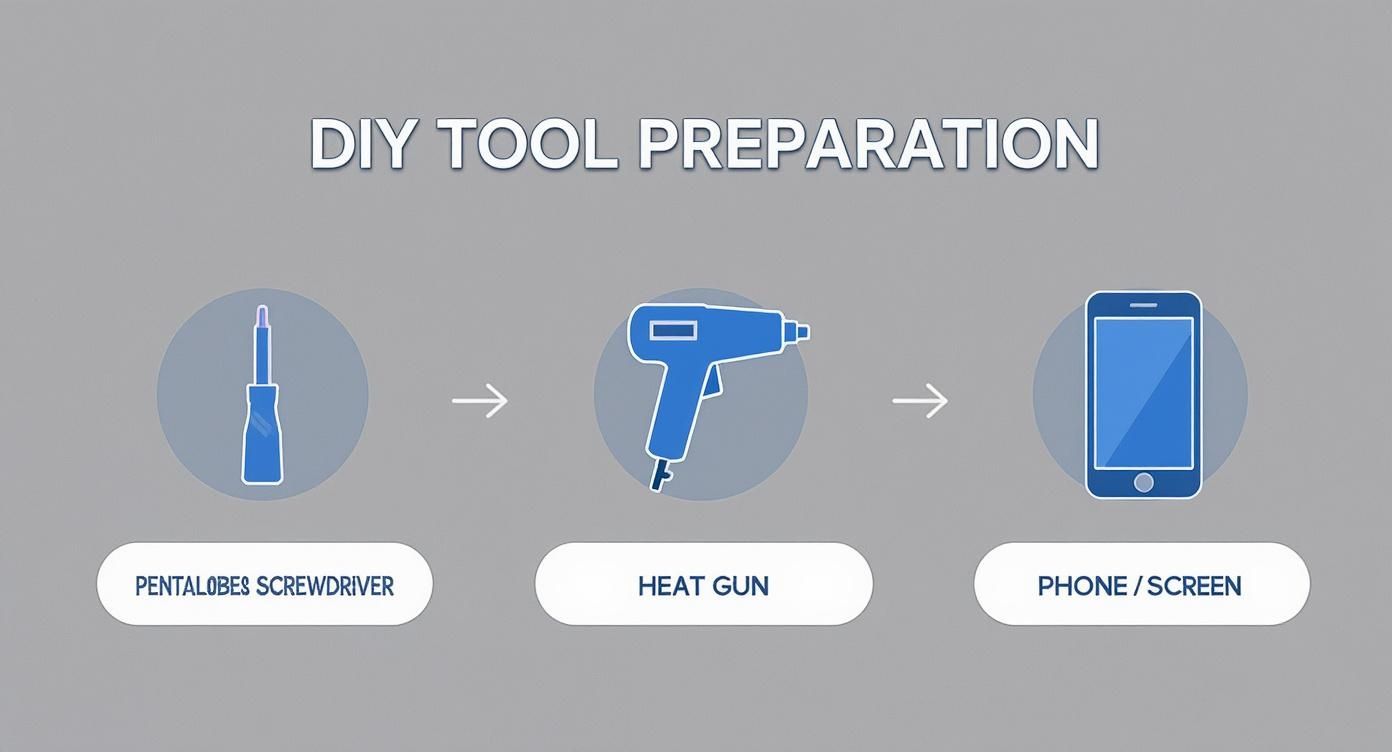 Key steps for safely opening the iPhone 15 Pro Max.
As you can see, it's a three-part dance: tackle the proprietary screws, apply just the right amount of heat, and then carefully get access to the OLED panel itself.
The Crucial First Steps: Power and Screws
Before a single tool touches your iPhone, the absolute first thing you must do is power it off completely. I can't stress this enough—it's a critical safety measure to prevent frying the logic board. Press and hold the side button and one of the volume buttons until the power-off slider appears, and then slide to shut it down.
Once the phone is off, focus on the bottom edge. Flanking the charging port are two tiny screws. These are Apple's infamous P2 pentalobe screws, and you absolutely must use the correct P2 screwdriver. Trying to use anything else is a surefire way to strip the heads, effectively locking you out of your own phone.
After you've removed them, stick them onto your magnetic mat in a clearly marked spot. They are incredibly small and love to disappear forever.
Applying Heat to Loosen the Adhesive Seal
The iPhone 15 Pro Max screen is held down by a strong waterproof adhesive that lines the entire perimeter of the frame. To break this seal without brute force, you need to apply gentle, consistent heat.
Grab your heat gun and set it to a low temperature (around 80°C is the sweet spot) or use a specialised tool like an iOpener. Slowly move it around the edges of the screen.
- Focus on the Edges: All your heat should be concentrated on the outer perimeter of the glass, not the centre.
- Keep it Moving: Don't ever let the heat source sit in one spot for too long. That's how you damage the OLED panel or, even worse, the battery underneath.
- Be Patient: The goal is just to soften the adhesive, not melt it into a puddle. This usually takes a minute or two of constant, gentle heating.
Pro Tip: The adhesive should become pliable and a bit gummy. If you find yourself having to use a lot of force in the next step, stop. It means the adhesive isn't warm enough. Back off and apply a little more heat.
Creating the Initial Opening
This is where your suction cup and opening picks earn their keep. It’s the moment of truth for your iPhone 15 Pro Max screen replacement.
Place a strong suction cup on the lower part of the screen, just above the charging port, ensuring it has a solid seal. Now, pull up on the suction cup with steady, even pressure. You aren't trying to rip the screen off. You're just trying to create a hair's-width gap between the screen's plastic bezel and the phone's metal frame.
As soon as you see that tiny gap appear, slide a thin opening pick into it. Once the pick is securely in place, you can release the pressure on the suction cup. The hard part is over.
Slicing Through the Adhesive
With your first pick acting as a doorstop, the next job is to carefully slice through the rest of the softened adhesive.
Slide the pick along the bottom edge and then start working your way up the sides. You need to be extremely careful here. The display's delicate flex cables, which are its lifeline to the logic board, are located along the right-hand edge (when looking at the phone's front).
Common Mistakes to Avoid:
- Inserting the pick too deep: This is a classic rookie error. You can easily snag and tear the flex cables inside. Only the very tip of the pick needs to go under the bezel.
- Using a metal tool: Never, ever use a metal pry tool for this step. It will scratch the frame or could slip and puncture the battery. Stick to your plastic picks.
- Forcing it: If you hit a point of resistance, the adhesive there is still too cool. Don't push through it. Back the pick out a bit and apply more heat to that specific area.
Opening the Device Like a Book
Once you’ve cut through the adhesive on the bottom and both sides, you're ready to open the phone. The top edge of the screen has small clips holding it in place, so it acts like a hinge.
Gently swing the screen open from the right side towards the left, exactly like you're opening a book cover. The display cables are still connected on the left side, so do not try to separate the two halves completely.
Find a stable object to lean the screen against, keeping it propped open at roughly a 90-degree angle while you move on to the internal connectors.
Disconnecting Power and Display Cables
Now that you're inside, the number one priority is disconnecting the battery. This removes any risk of electrical shorts while you continue working.
You'll see a small metal bracket covering the battery and display connectors. Use your tri-point Y000 screwdriver to remove the screws holding it down. With your tweezers, carefully lift the bracket off and set it aside with its screws.
Using the flat end of a plastic spudger, gently pry straight up to disconnect the battery connector from the logic board. It should pop off easily. Next, do the exact same thing for the two display connectors right next to it.
With those cables free, you can now fully remove the broken screen assembly from the phone's body. Take a breath—you've just successfully navigated the most challenging part of the disassembly. Next up, we’ll cover how to transfer the essential components to your new screen.
Installing Your New Screen and Reassembly
With the old, shattered screen out of the way, you're at the most satisfying part of the repair. This is where precision and patience really pay off. Getting this next stage right is what separates a successful iPhone 15 Pro Max screen replacement from a frustrating trip to a repair shop. We're not just plugging in a new part; we're carefully transferring vital components to make sure your phone works exactly as it did before the drop.
We’re about to walk through the meticulous process of moving the front sensor assembly—a step that is absolutely non-negotiable if you want Face ID to keep working. Then, we'll cover connecting the new screen, reapplying that all-important adhesive seal, and perfectly seating the new display before buttoning everything back up.
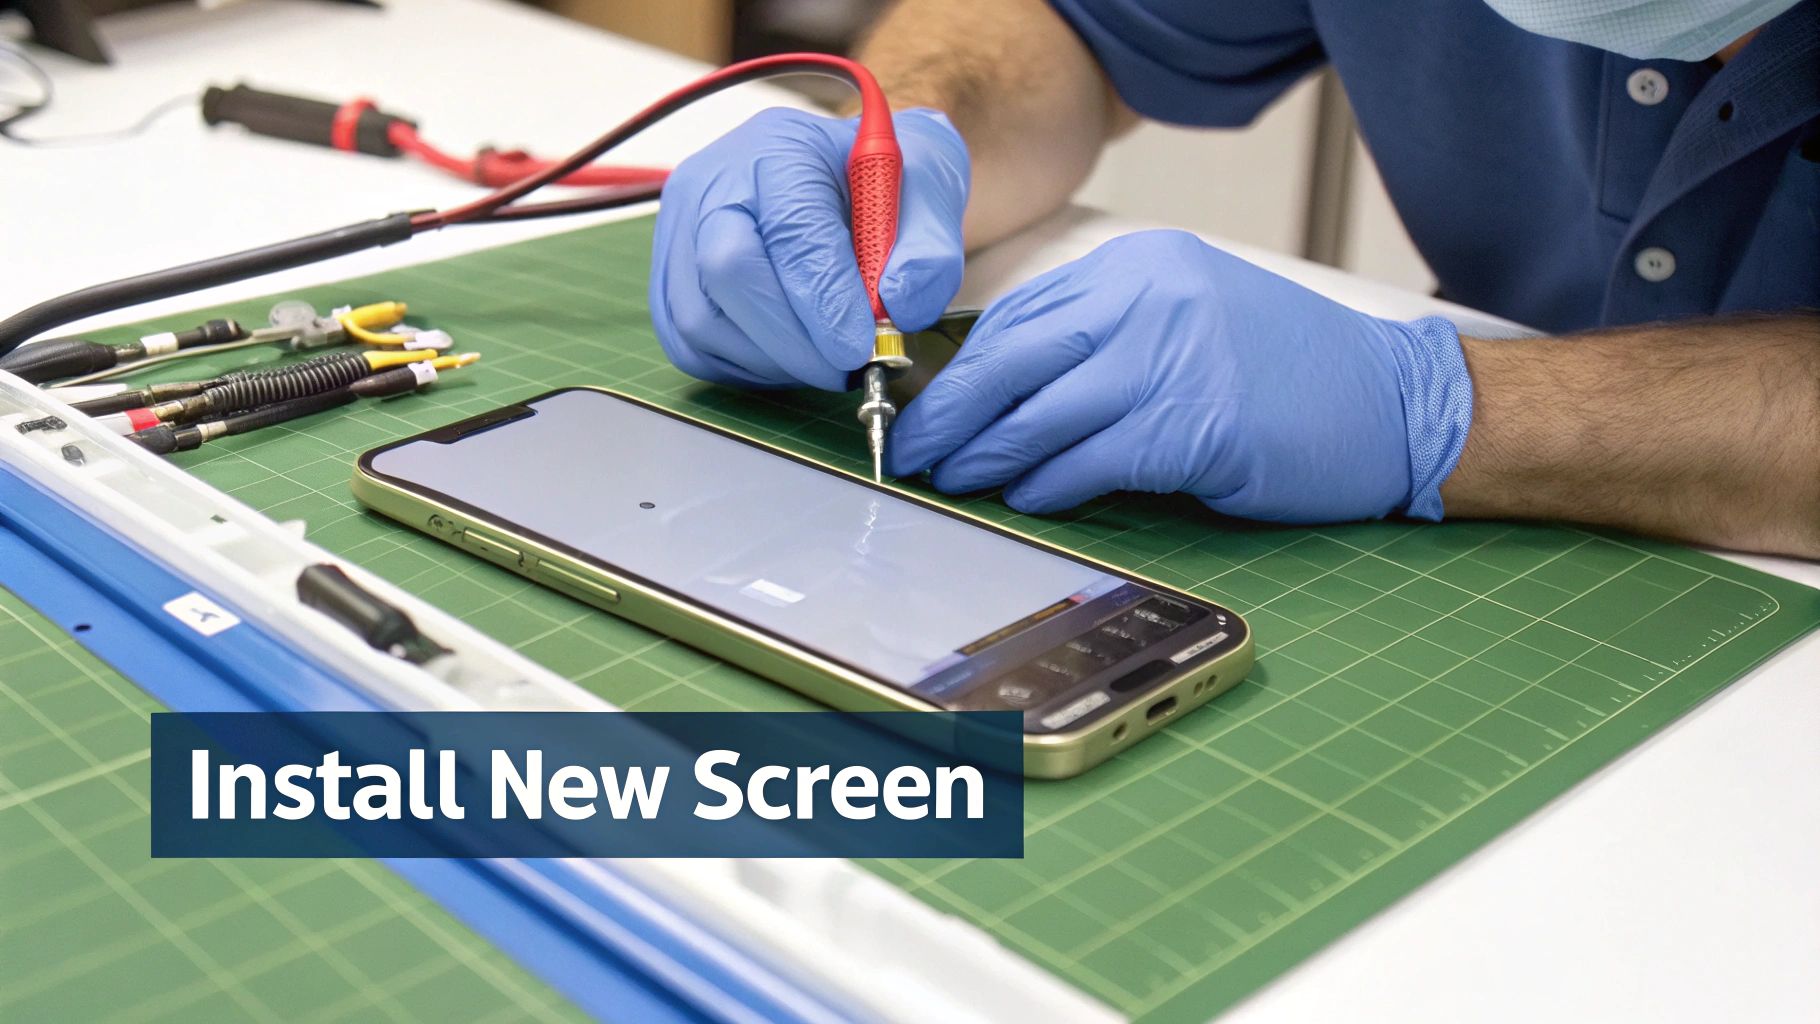 iPhone 15 Pro Max screen replacement in progress.
Transferring the Front Sensor Assembly
Pay close attention here, because this is arguably the most critical step in the entire job. The front sensor assembly, tucked into the notch area of your old screen, holds the ambient light sensor, proximity sensor, and flood illuminator. These aren't just generic parts; they are cryptographically paired to your specific iPhone’s logic board.
If you don't transfer this exact assembly over, Face ID will permanently stop working. A brand new sensor, even a genuine Apple one, won't bring it back.
To get started, place your old screen assembly on your work mat. You’ll spot a small metal bracket held down by a few tiny screws covering the sensor components. Carefully remove these screws—you'll likely need that tri-point Y000 driver again—and lift the bracket away with your tweezers.
Now for the delicate part. The sensor is held in with a mild adhesive. A tiny drop of high-percentage isopropyl alcohol around the sensor's edges will help soften the glue. Wait just a few seconds, then gently use the flat edge of your spudger or some fine-tipped tweezers to carefully pry and lift the whole sensor assembly away from the old screen. Go slow. The flex cable is paper-thin and tears easily.
Preparing the Frame and Applying New Adhesive
Before you even think about installing the new screen, the phone's frame needs a good clean-up. The old waterproof adhesive leaves a sticky, gunky residue all around the edge.
Grab your tweezers and carefully peel away any large pieces of the old gasket. Next, take a cotton bud lightly dampened with isopropyl alcohol and meticulously scrub the entire perimeter of the frame. You need this surface to be perfectly clean and smooth for the new adhesive to bond properly.
Once the frame is pristine, it’s time to lay down the new pre-cut adhesive strip. This is crucial for restoring some of your phone's water resistance. Start at one corner, lining up the adhesive strip perfectly with the frame's edge. Slowly and carefully press it down, working your way around the entire phone.
One of the most common mistakes people make is rushing the adhesive application. This leads to gaps or wrinkles that totally compromise the seal, making your iPhone vulnerable to dust and moisture. Take your time. For a deeper dive, check out our guide on the importance of double-sided tape adhesive in phone repairs.
Connecting the New Display
With your new screen ready (and the sensor assembly transferred), it’s time for a quick test run. You absolutely want to do this before sealing everything up, just in case there's an issue with the new part.
Carefully line up the new screen’s flex cables with their connectors on the logic board. Press down gently with the flat end of your spudger until you feel a faint but satisfying 'click'. That little click tells you the connector is properly seated. Don't ever force it; if it doesn't click in, the alignment is off.
Reconnect the battery cable last, then power on the phone.
Run these quick diagnostic checks on the new screen:
- Touch Response: Open an app and drag its icon all around the screen, into every corner. If the icon drops at any point, you might have a dead zone.
- Colour and Brightness: Find a colourful, high-resolution photo. Look for any weird discolouration, dead pixels, or uneven patches of light.
- Face ID: Give Face ID a go to make sure your sensor transfer was a success. If it fails, power down, disconnect the battery, and double-check that sensor cable connection.
Once you’ve confirmed everything is working as it should, power the phone off and disconnect the battery cable one more time for the final assembly.
Sealing the iPhone and Final Reassembly
You're on the home stretch! With a successful test complete, it's time to close up shop.
Reconnect the display and sensor cables, making sure each one clicks securely into place. Reinstall the metal bracket that covers these connectors, tightening its screws snugly but without going overboard.
Now, reconnect the battery cable. This should always be the very last thing you connect before sealing the device.
Next, carefully peel the protective film off the new adhesive you applied to the frame. To close the phone, align the top edge of the screen first, making sure the small clips slide neatly under the frame. Then, gently swing the screen down like you're closing a book.
Starting from the top and working your way down both sides, apply firm, even pressure along the screen's edges to bond it to the new adhesive. You should feel it seat perfectly flush with the metal frame.
The very last step is to reinstall those two P2 pentalobe screws at the bottom of the phone, on either side of the charging port. Power your iPhone on one last time and run through your diagnostic checks again to ensure everything is perfect.
Congratulations, you've just successfully completed your iPhone 15 Pro Max screen replacement.
What to Do When Your DIY Repair Goes Wrong
So you’ve put in the work. The new screen is installed, the phone is sealed, and every last screw is back in its place. But when you power it on, something’s off. Don’t panic—this happens to the best of us, and it’s a totally normal part of the DIY experience.
Most of these post-repair glitches are surprisingly easy to fix. They rarely mean you've permanently broken something. More often than not, it's something simple like a loose connection or a software hiccup that a quick reset can solve. Think of this as your guide to sorting out those last-minute repair headaches.
Diagnosing an Unresponsive or Glitchy Screen
This is probably the most common issue you'll run into. You power on the phone and get a black screen, weird lines, or phantom "ghost touches" where the screen acts on its own. Before you assume the new part is a dud, let's look at the usual suspects.
Nine times out of ten, the problem is a poorly seated display cable. Those tiny ribbon connectors are finicky. If one isn't clicked in perfectly, it can cause all kinds of display chaos.
Here’s the troubleshooting process I always follow:
- Start with a Hard Reset: This is the easiest fix, so always try it first. Press and quickly release the volume up button, then do the same with the volume down button. Finally, press and hold the side button until you see the Apple logo pop up. This can clear out any minor software conflicts that might be causing the issue.
- Double-Check Your Connections: If the reset didn't work, it's time to pop the hood again. You'll need to carefully reopen the phone. The first thing you should do is disconnect the battery, then move on to the two display cables. Unplug them and plug them back in, listening for that satisfying little 'click' that tells you they're fully seated.
- Look for Debris: While you're in there, take a close look at the connectors. Is there a tiny speck of dust or a stray bit of old adhesive? Even something microscopic can get in the way of a solid connection.
What to Do When Face ID Fails
You turn on your phone, only to be met with the dreaded "Face ID is not available" message. It’s enough to make your heart sink, but it doesn't automatically mean disaster.
This problem almost always comes down to the front sensor assembly—that's the component you had to carefully transfer from your old, broken screen. It's an incredibly delicate piece of hardware, and the slightest bit of damage or misalignment will cause it to fail.
If your Face ID isn't working, the issue is with that delicate sensor assembly transfer. Either the flex cable got nicked during removal, or its connector isn't sitting perfectly flat on the logic board.
You’ll have to safely open your device again. As always, disconnect the battery first, then carefully reseat the sensor's connector. If it still doesn't work after that, you might need to consult a professional for iPhone repairs in Brisbane. It’s possible the sensor cable sustained microscopic damage that’s not visible to the naked eye.
Here in Australia, the demand for quick fixes for these kinds of issues is huge. Repair shops in major cities are seeing a massive influx of iPhone 15 Pro Max screen replacements. Many of these centres can offer same-day service and a warranty, giving you peace of mind by having an expert tackle those common post-repair problems with precision. You can learn more about how the Australian repair market is adapting to these new challenges and providing fast, reliable solutions for everyday users.
Got Questions About Your iPhone 15 Pro Max Repair? We’ve Got Answers
Even with the best guide in hand, it's smart to have a few questions before you dive into an iPhone 15 Pro Max screen replacement. We hear a lot of the same queries from fellow DIYers, so we've put together some straight answers to the most common ones.
Think of this as your final pre-flight check, covering those little details that can make all the difference between a successful repair and a frustrating afternoon.
Will I Void My Apple Warranty by Doing This Myself?
This is a big one, and the short answer is almost certainly yes. The moment you open up your iPhone to perform a repair that isn't authorised by Apple, you're stepping outside the terms of your Apple Limited Warranty or any AppleCare+ plan you might have.
Apple's warranty is there to cover things that go wrong in the factory, not accidental drops or issues that pop up after a third-party modification. If you need to take your phone to Apple later for something completely unrelated, they may refuse to service it if they spot signs of a DIY job.
Does Face ID Still Work with a New Screen?
It absolutely should, but this comes with a huge catch: you must transfer the original front sensor assembly from your shattered screen over to the new one. As we mentioned earlier, this little bundle of sensors is cryptographically tied to your specific iPhone’s logic board.
If you damage this assembly while moving it, or if you try to use a new one that came with your replacement screen kit, Face ID will be gone for good. There's no software trick or workaround; it's a hardware-level security measure from Apple. This is single-handedly the most delicate and crucial part of the entire repair.
Your phone's biometric security lives and dies by the successful transfer of that original front sensor assembly. Take your time, be gentle, and get this step right.
How Should I Test the New Screen Before Sealing Everything Up?
Never, ever apply the final adhesive until you've given the new display a thorough test run. Taking a few minutes to check your work now can save you the massive headache of having to pry the phone open all over again.
Once the new screen and battery are connected (but before you've sealed the frame), power the phone on and go through this checklist:
- Touch Response: Open your home screen and drag an app icon all around the display, especially into the corners and along the edges. If the icon suddenly drops from your finger, you've found a dead spot.
- Visuals: Look closely for any dead pixels, weird discolouration, or bright/dark spots from uneven backlighting. Pull up a colourful, high-resolution photo to see how the colours look.
- Haptic Touch: Press and hold on app icons and sliders in the control centre. You should feel that familiar, crisp haptic feedback.
- Face ID: Give Face ID a quick test to make sure your sensor transfer was a success.
This five-minute test is non-negotiable. It's the smartest thing you can do to guarantee you'll be happy with the result. If this part feels a bit daunting, remember that our team handling iPhone repairs in Brisbane does these precise checks every single day to ensure a flawless finish.
Disclaimer: Apple, iPhone, Face ID, and Super Retina XDR are trademarks of Apple Inc. Screen Fixed is an independent repair service and is not affiliated with Apple Inc.
If a DIY repair feels like too much of a gamble, our expert technicians are here to help. At Screen Fixed Brisbane, we provide professional repair services for anyone who wants a guaranteed, perfect result without the hassle.