
When your iPhone 14 Pro Max screen shatters, it's more than just a cosmetic problem—it’s a critical failure of some seriously advanced technology. An iPhone 14 Pro Max screen replacement isn’t just swapping out a piece of glass; it involves delicate work with the integrated ProMotion display, True Tone sensors, and the entire Face ID system. This is why a professional repair is the best way to get your phone back to its original glory.
Why Your iPhone 14 Pro Max Screen Is So Complex
That gut-wrenching moment your iPhone 14 Pro Max hits the floor is something we can all relate to. What was once a premium piece of tech is now a frustrating spiderweb of cracks. But the real damage isn't just what you see on the 6.7-inch Super Retina XDR display; it runs much deeper.
alt text: Gold iPhone 14 Pro Max with a severely cracked screen and damaged back glass sitting on a desk.
caption: iPhone 14 Pro screen replacement in Brisbane.
This screen assembly is packed with components that are cryptographically paired to the phone’s main circuit board (the logic board). Long gone are the days of a simple screen swap. On this model, everything has to communicate with each other perfectly.
More Than Just a Display
The screen acts as the nerve centre for some of the iPhone's best features. Knowing what's under the glass really drives home why you need a specialised repair.
Key systems integrated into the display include:
- ProMotion Technology: This is what gives you that ultra-smooth scrolling by automatically adjusting the refresh rate between 1Hz and 120Hz. A cheap replacement screen often can't replicate this, leaving you with a jerky display and a battery that drains way too fast.
- True Tone and Ambient Light Sensors: These tiny sensors work together to adjust the screen's colour and brightness to match your surroundings, making it easier on the eyes. If these aren't meticulously transferred and calibrated during the repair, they simply stop working.
- Face ID and Front Sensor Array: This is the big one. The delicate sensor array—including the dot projector and infrared camera for Face ID—is bonded to the back of the original screen. One wrong move during the transfer, and Face ID is gone forever.
A DIY attempt or a trip to an inexperienced technician is a huge gamble. The most common disaster we see at our Screen Fixed Brisbane repair centres is permanent Face ID failure because a flex cable was torn during the component transfer. It's a costly mistake.
The Rise of Complex Repairs
The sheer intricacy of the iPhone 14 Pro Max has fuelled a huge demand for skilled technicians. Across Australia, screen damage is still the number one reason iPhones need servicing. Data from local repair networks indicates that around 60% of all iPhone service requests are for smashed screens.
Since its launch, the market for professional iPhone 14 Pro Max screen replacements in Australia has climbed by over 15% each year. That big, beautiful ceramic shield display is tough, but it's not indestructible. For more insights into local repair trends, check out the data from sources like Repair Mate.
Opting for a professional service like Screen Fixed ensures every single one of these delicate, paired components is handled with the precision they require. It's the only way to protect your investment and get your device performing exactly as it did out of the box.
Gathering the Right Tools for the Job
Trying to replace the screen on an iPhone 14 Pro Max without the right gear is a surefire way to turn a repair into a write-off. Seriously, it's like trying to perform surgery with a butter knife. Having the correct tools isn't just about making your life easier; it's about protecting a very, very expensive device from irreversible damage. A proper setup means every step, from popping the case open to unplugging those tiny, delicate cables, is done safely and correctly.
Before a single screw comes out, let's talk about your workspace. An anti-static mat isn't optional, it's essential. It grounds both you and the device, preventing any electrostatic discharge (ESD)—a tiny spark you can't see or feel—from zapping sensitive components and permanently frying the logic board.
Essential Tools for iPhone 14 Pro Max Screen Replacement
To get the job done right, you'll need a specific set of tools. Using substitutes or cheap alternatives is where most DIY repairs go wrong. Here’s a quick rundown of what should be on your bench.
| Item | Type or Specification | Why You Need It |
|---|---|---|
| Pentalobe P2 Screwdriver | 0.8 mm | For the two security screws on either side of the charging port. No other driver will work without stripping them. |
| Tri-Point Y000 Screwdriver | Y000 or 0.6 mm | Apple uses these internally for cable brackets and shields. A Phillips head will instantly destroy them. |
| Standoff Screwdriver | Specialty bit | Required for unique screws that hold the logic board in place. |
| Heating Pad or iOpener | Controlled temperature | Safely softens the tough waterproof adhesive around the screen without damaging the OLED panel. |
| Suction Cup | Small, strong grip | Lifts the screen just enough to create an initial gap for your opening picks. |
| Opening Picks | Thin, plastic | Used to slice through the softened adhesive without scratching the phone's frame. |
| Plastic Spudger | Anti-static nylon | Crucial for safely prying up and disconnecting fragile press-fit connectors. Never use metal. |
| Tweezers | Fine-tipped, anti-static | For handling tiny screws and manipulating delicate flex cables. |
| Screw Organisation Tray | Magnetic or compartmentalised | To keep track of every screw. Mixing them up is a classic way to cause "long screw damage". |
| Anti-Static Mat (ESD Mat) | Grounded workstation | Prevents static discharge from damaging the phone's electronics. |
This checklist covers the absolute must-haves. Having these on hand separates a clean, professional repair from a costly mistake.
Breaking the Seal and Getting Inside
Apple doesn't make it easy to get into their devices. The iPhone 14 Pro Max uses proprietary screws to keep most people out, so your first challenge is simply removing the two screws at the bottom.
You absolutely need a Pentalobe P2 driver for the screws flanking the charging port. Next up are the tiny, three-pronged screws inside holding down cable brackets—for those, you'll need a Tri-Point Y000 driver. Using the wrong bit here will strip the heads in a heartbeat, turning a simple task into a nightmare. If you want to learn more, our guide on Pentalobe screwdrivers for iPhone repairs dives deeper into why these specific tools are so important.
Once the screws are out, you've got to tackle the strong waterproof adhesive that seals the screen to the frame. A regular hair dryer is a terrible idea—it delivers uneven, scorching heat that can easily damage the OLED panel or warp internal plastics.
The professional's tool of choice is an iOpener or a dedicated heating pad. It applies low, consistent heat around the edges, softening the adhesive just enough to slice through without causing any thermal damage.
After heating, you'll use a suction cup to create a tiny gap. Then, slide in thin opening picks to gently cut through the adhesive. Once you’re in, switch to plastic spudgers to disconnect the battery, display, and front sensor assembly connectors. Using anything metal here is asking for trouble, as you could easily short a component on the logic board.
Finally, a good set of tweezers and a screw tray are your best friends. The iPhone 14 Pro Max has dozens of tiny screws of varying lengths. Mix them up, and you risk the dreaded "long screw damage"—driving a long screw into a short hole and puncturing the logic board. It’s a fatal mistake. Being meticulous here is what separates a successful repair from a very expensive paperweight.
Carefully Opening Your iPhone 14 Pro Max
This is where the real skill comes in. You'll need a steady hand and a tonne of patience because opening an iPhone 14 Pro Max is more like surgery than simple disassembly. One wrong move here can turn a straightforward screen swap into a much bigger, more expensive headache.
The whole process kicks off at the bottom of the phone. You'll see two Pentalobe screws on either side of the charging port – get those out first. After that, your next challenge is the tough waterproof adhesive that seals the screen to the frame.
Applying Heat and Creating an Opening
To get through that seal, you need to gently and evenly heat the edges of the screen. We recommend using an iOpener or a proper heating pad. These tools give you consistent, low-level heat that's just enough to soften the glue without cooking the delicate OLED panel underneath. You're aiming for a temperature that's warm to the touch, but not so hot you can't hold it.
Once the adhesive is softened up, it's time to create a tiny opening. Grab a strong suction cup and place it on the screen, as close to the bottom edge as you can get it. Pull up with firm, steady pressure until you see a small gap form between the screen and the phone's frame. Do not pull too hard; all you need is enough room to slide a thin opening pick inside.
The key here is finesse, not force. That adhesive is strong, and yanking on the suction cup is a great way to crack the glass even more or damage the OLED. Patience is your best friend at this stage.
Slide your opening pick into that gap and carefully work it around the edges of the phone, slicing through the softened glue as you go. Pay extra attention to the corners, as the adhesive is usually thicker there. Be careful not to push the pick in too far, or you'll risk scratching the frame or hitting internal components. The basic workflow with these tools is pretty standard.
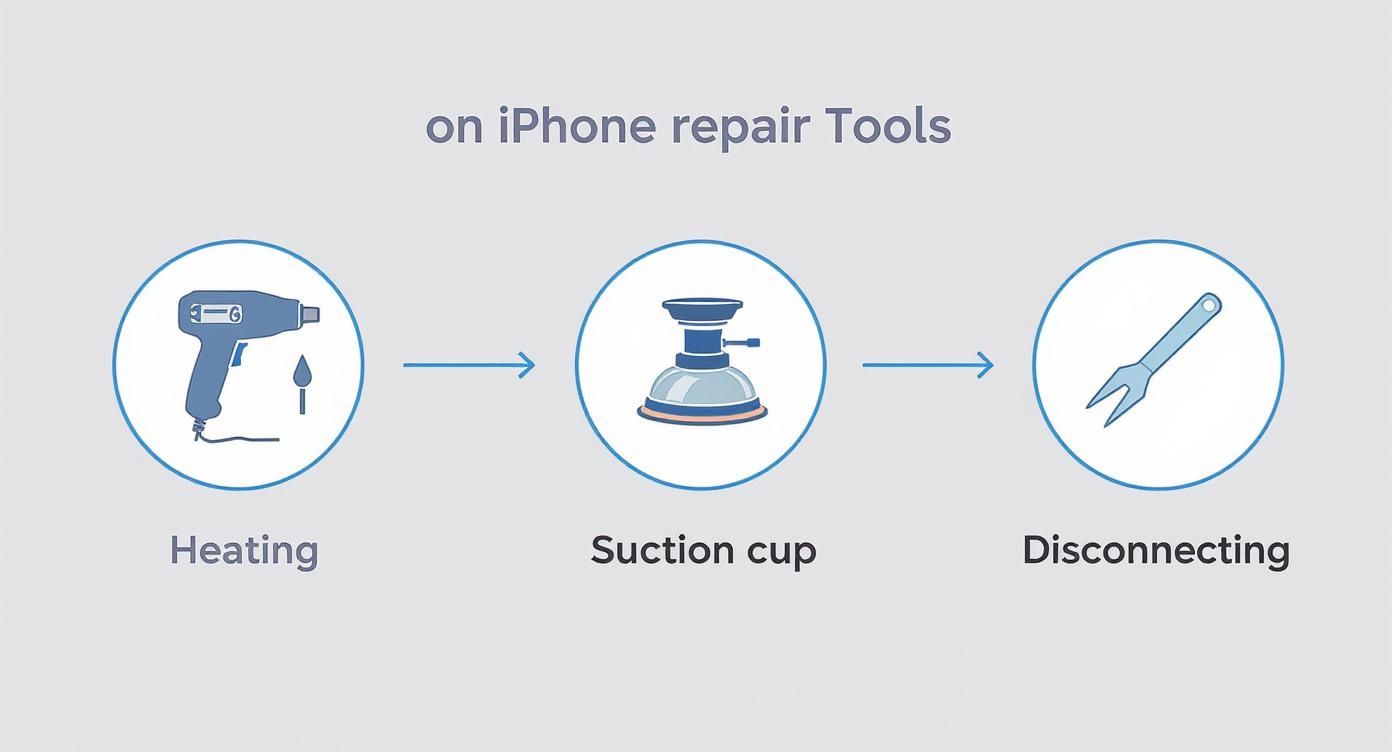
alt text: Three iPhone repair tools including a heating gun, suction cup, and spudger arranged in a workflow diagram for screen replacement.
This diagram shows the core actions: heating the adhesive, lifting the screen to make a gap, and then using non-conductive tools to disconnect everything. Given how delicate modern phones are, precision is everything. Other industries are even using advanced techniques for step-by-step guidance in complex repairs to give technicians visual overlays for tricky jobs.
Handling Cables and Disconnecting Power
After you've cut through all the adhesive, the screen on the iPhone 14 Pro Max opens from right to left, like a book. Don't just rip it off! It’s still connected to the logic board by a few very fragile flex cables on the left-hand side. Prop the screen up against something stable while you continue your work.
Your number one priority once you're inside is to disconnect the battery. This is a non-negotiable safety step. It de-energises the board and prevents any accidental shorts that could permanently fry the device.
Here's how to do it:
- Find the metal plate that covers the battery and display connectors.
- Remove the tri-point screws holding it down.
- Gently lift the plate away with a pair of tweezers.
- Use a plastic spudger to carefully pry the battery connector straight up off its socket.
With the battery safely disconnected, you can go ahead and use the same spudger to disconnect the display and digitiser cables.
The Importance of Screw Management
As you start removing the various brackets and screws inside, you absolutely have to keep them organised. The iPhone 14 Pro Max uses a bunch of different-sized screws, and getting them mixed up can lead to a disaster known as "long screw damage."
This happens when you accidentally drive a longer screw into a hole meant for a shorter one during reassembly. The screw can actually puncture the multi-layered logic board underneath, which is often an irreparable, device-killing mistake. Using a magnetic screw mat or a compartmentalised tray to map out exactly where each screw came from is an essential habit for any serious technician doing an iPhone 14 Pro Max screen replacement. It's a simple step that prevents a very costly error.
Alright, with the busted screen off the phone, we're heading into what is easily the most nerve-wracking part of an iPhone 14 Pro Max screen replacement. It’s time to transplant the front sensor assembly. This little module packs the earpiece speaker, ambient light sensor, and all the crucial bits for Face ID.
This is where you need to slow down and be meticulous.
That single component is cryptographically locked to the phone's logic board. If you tear a flex or damage a sensor during this transfer, Face ID is gone for good. There's no clever software trick to bring it back. The only fix is a trip to Apple for a very expensive logic board replacement. So, when I say be careful, I mean it.
Freeing the Front Sensor Assembly
The sensor assembly is held on by a few tiny screws and a surprisingly strong adhesive. If you just try to pry it off cold, you're almost guaranteed to tear the flex cable. Don't do it. The only way forward is with a bit of controlled heat.
Grab your iOpener or set your heat gun to a low setting and gently warm up the top edge of the old screen, from the glass side. The idea is just to soften the adhesive, not to cook the component. Use short, sweeping motions to spread the heat evenly. You're aiming for just warm enough to make the glue pliable.
Once it's warmed up, you'll need to tackle the three small screws holding the assembly in place:
- There's one tri-point Y000 screw on the left side.
- You'll find two Phillips #000 screws on the right. One of these also secures a small grounding clip, so pay attention to that.
Seriously, keep these screws organised. They are not interchangeable and must go back into their original spots.
A Precision Lift
With the screws out, it’s time to carefully lift the assembly. Using a nylon spudger or a thin opening pick, gently slide under the top edge of the earpiece speaker and begin to pry it up. If you heated it correctly, the adhesive should release without much of a fight.
The most delicate part is the wafer-thin flex cable running along the top and down the right side. You need to gently slide your tool underneath this entire cable, working your way down to separate it cleanly from the back of the display panel.
Pro Tip: Whatever you do, don't use metal tools for this step. They can easily slice right through that fragile flex cable or scratch the sensors. Start at the speaker and work your way down, lifting the whole assembly at a slight angle. If you hit a spot with serious resistance, stop. Go back and apply a touch more heat.
Once the adhesive is completely separated, the entire module will lift away from the old screen. It’s a single, delicate unit containing the speaker, Face ID projectors, and the ambient light sensor. If you want a deeper dive into how these components all play together, check out our guide on the iPhone 14 Pro Max battery, earpiece speaker, and front-facing camera.
Prepping the Frame for the New Screen
Before you even think about installing the new screen, you need to prep the phone's frame. This is a step many technicians rush, and it’s a huge mistake. Any leftover adhesive or tiny shards of glass will stop the new display from seating flush. This not only ruins the water resistance but can also create pressure points that will crack your brand-new screen.
Take a plastic scraper or the flat end of a spudger and meticulously clean every last bit of the old adhesive off the frame's perimeter. Afterwards, take a microfibre cloth with a bit of isopropyl alcohol and wipe the entire surface down. You want it perfectly clean and free of any oils.
Finally, it’s time for a new pre-cut waterproof adhesive gasket. This seal is absolutely essential for restoring the phone’s dust and water resistance. Start applying it from one corner, carefully aligning it around the edges. Use a spudger to press it down firmly to ensure a good bond.
With the frame spotless and the new seal in place, you’re ready to connect the new display and finish the job.
Final Assembly and Post-Repair Testing
You’re on the home stretch. With the new waterproof adhesive laid and the delicate front sensor assembly transferred, it’s time to put everything back together. But this is no time to rush; reassembly demands just as much precision as taking the phone apart. One tiny mistake here can send you right back to square one.
First things first, reconnect the display and digitiser cables, then pop the battery connector back on. Get the bracket that covers these connections and secure it, making absolutely certain you’re using the right tri-point screws in the holes they came from. With that done, you can gently lower the new display onto the frame, starting from the top where the small clips are designed to hook in first.
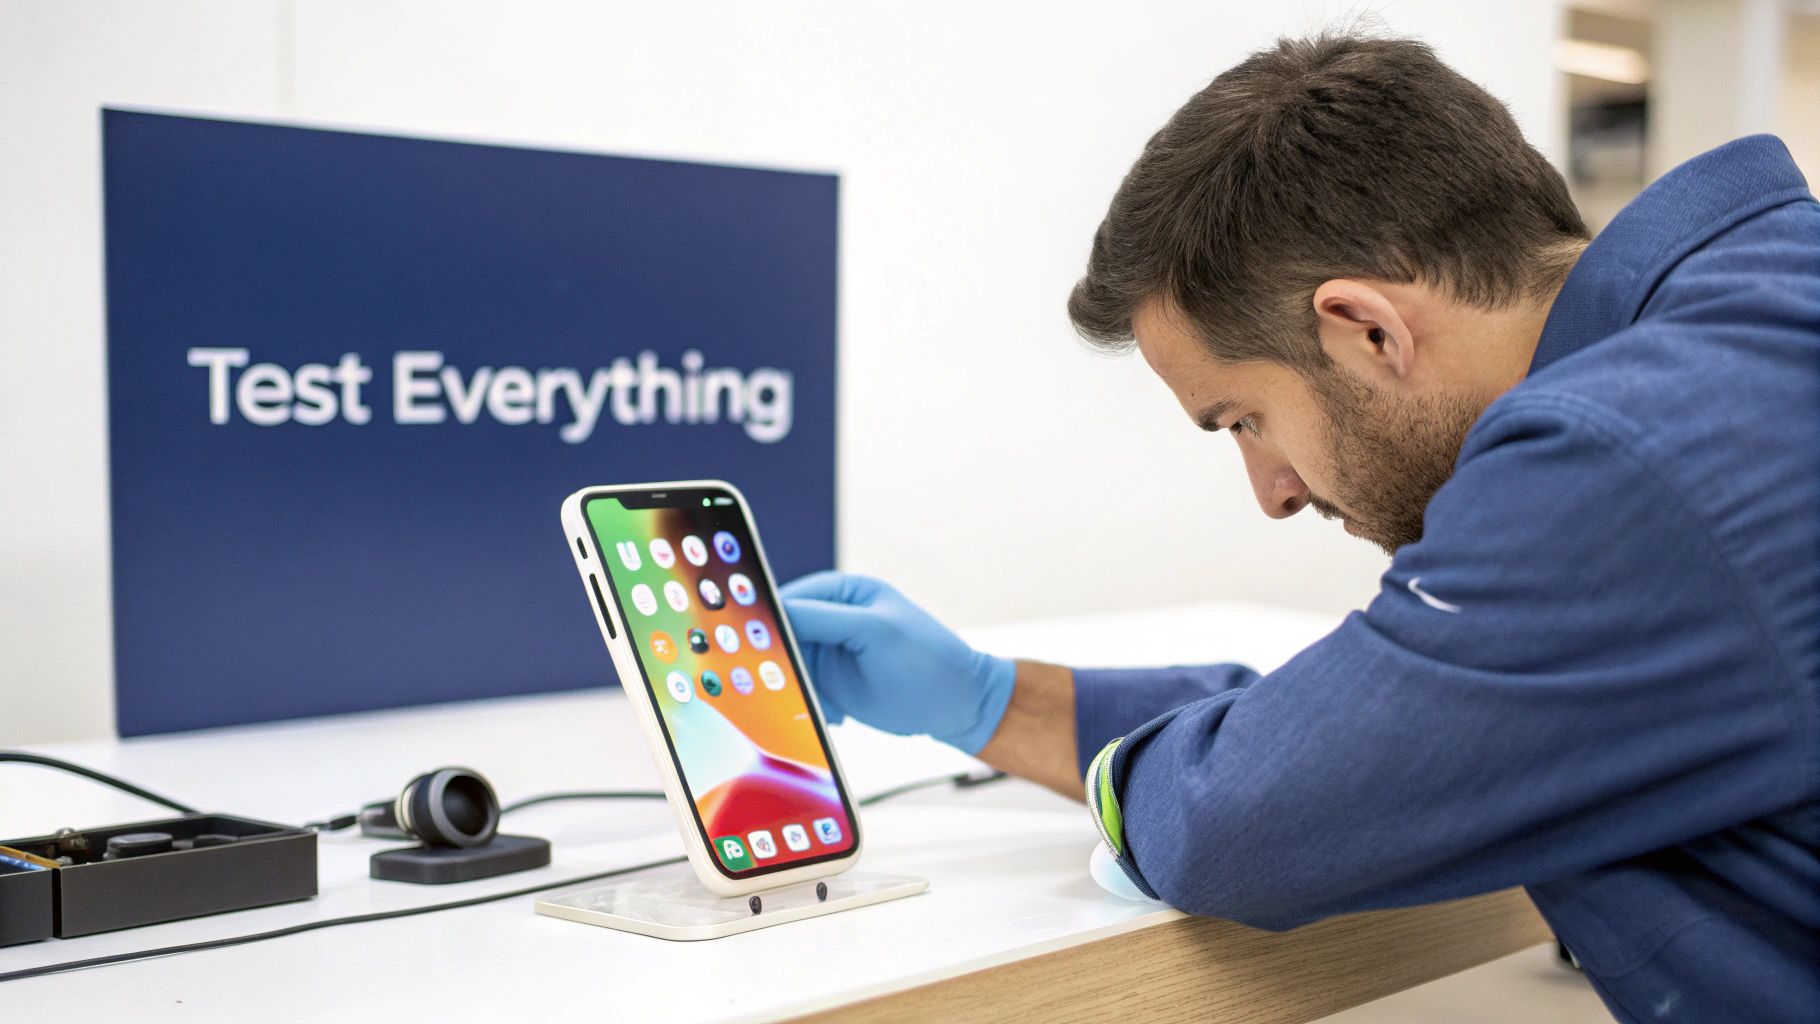
alt text: Technician in blue gloves testing an iPhone 14 Pro Max screen replacement on a stand in a workshop.
Seating the Display Correctly
Line up the top of the screen perfectly, making sure it sits flush against the frame. From there, work your way down the sides, applying light, even pressure with your thumbs. You should hear a series of satisfying little clicks as the screen snaps into place all around the chassis.
Never force the screen closed. If it doesn’t snap into place with gentle pressure, something is wrong. Stop immediately. Reopen the device and look for what’s obstructing it—it could be a misaligned cable or a stray bit of old adhesive on the frame. Trying to brute force it is the quickest way to crack your brand-new screen.
Once the display is perfectly seated, you can reinstall the final two Pentalobe screws at the bottom. But don't celebrate just yet. The phone might be sealed, but the job isn't done until you've run a full suite of tests. Power it on and get your diagnostic checklist ready.
Your Essential Post-Repair Checklist
A successful repair is one where the phone works exactly as it did before it was broken. Skipping this final quality check is a rookie move that leads to unhappy customers and callbacks. Go through every single item on this list.
-
Touch and Display Functionality:
- Open a notes app or something with a plain white background to hunt for any dead pixels or discolouration.
- Test touch response across the entire screen. A classic tech trick is to drag an app icon around to every corner and across the middle to find any dead zones.
- Check that ProMotion is working by scrolling through a website—it should be buttery smooth.
- Verify True Tone by pulling down the Control Centre. The toggle should be there and actively adjusting the screen's warmth based on the room's lighting.
-
Sensor and Component Verification:
- Test Face ID. Try to unlock the phone several times. This is the single best confirmation that your front sensor transfer was a success.
- Make a test call to check the earpiece speaker and the proximity sensor (the screen must turn off when you bring it to your ear).
- Open the camera app and test both the front and rear cameras, making sure they focus properly.
- Play some music or a video to make sure the main loudspeaker is working.
Addressing the Non-Genuine Display Warning
After swapping the screen on any iPhone 11 or newer model, you're going to see the "Important Display Message." It warns that Apple was "unable to verify this iPhone has a genuine Apple display." This message pops up even if you install a screen pulled from another brand-new iPhone, because the display's micro-controller is cryptographically paired to the original logic board at the factory. For a deeper dive into this kind of screen tech, the European Information Society's article on OLEDs offers some great background.
It is absolutely crucial that you explain this to your customer before starting the repair. Let them know it's a standard result of any screen replacement done outside of Apple's authorised network and that it has zero impact on the phone's performance. The notification will eventually migrate from the lock screen to the Settings menu, and after about two weeks, it will only be visible deep within Settings > General > About. Being upfront builds trust and manages expectations perfectly.
Decoding Repair Costs and Screen Quality in Australia
Let's be honest, figuring out the real cost of an iPhone 14 Pro Max screen replacement can be a real headache. You'll see a massive range in prices, and it all boils down to where you take your phone and, more importantly, the quality of the screen you choose. It's not about finding the absolute cheapest fix; it's about getting the best value for your money without sacrificing the performance of your very expensive device.
When you're looking at a new screen for your iPhone 14 Pro Max, remember that this choice will dictate how your phone looks and feels from now on. A cheap, low-grade screen can be a nightmare, causing everything from washed-out colours to a laggy, frustrating touch response.
Comparing Official and Third-Party Repair Costs
Here in Australia, the price for this specific repair is a reflection of the seriously advanced tech inside the iPhone 14 Pro Max. Heading straight to Apple is always an option, but it’s usually the priciest one. Independent repair shops offer a great alternative, often providing top-notch quality at a much more competitive price point.
At its core, a fair price for a repair should be a reflection of the quality of the parts used and the expertise of the technician performing the work. A quote that seems too good to be true often involves cutting corners on one or both of these critical elements.
To give you a clearer idea, an official Apple repair has a fixed cost, but independent shops can offer a range of prices depending on the screen you go for. An official Apple repair in Australia for this model will set you back around AUD $699. In contrast, a good independent shop like Screen Fixed can often source genuine or OEM-quality screens for a more affordable price, making a high-quality repair more accessible. When you consider the phone itself costs well over AUD $2,000, a repair makes a lot more financial sense than a full replacement.
Understanding Screen Quality Tiers
Not all replacement screens are made the same—not by a long shot. The type of screen you get will directly affect your phone's visual clarity, touch sensitivity, and even how much power it uses. It's something every technician and clued-in DIYer needs to understand.
You'll generally come across three main tiers of screens on the market:
- Original Equipment Manufacturer (OEM): These are the cream of the crop, identical in every way to the screen your phone shipped with. They deliver perfect colour accuracy, brightness, and that buttery-smooth ProMotion performance you paid for.
- High-Quality Aftermarket (OLED): These screens are built to get as close as possible to the original's performance. They're a more budget-friendly option, but you might notice some tiny differences in colour temperature or peak brightness compared to a genuine part.
- Refurbished Originals: This is a clever middle ground. They are original Apple screens that have had only the top glass layer professionally replaced. The crucial OLED panel underneath is genuine, giving you that original display experience at a lower price.
Ultimately, your choice here will depend on your budget and what you expect from your repaired phone. For a proper deep dive into the tech, check out our guide explaining the differences between LCD, OLED, and AMOLED screens. Picking the right screen is the key to making your repaired iPhone 14 Pro Max look and feel brand new again.
Common Questions We Get About iPhone Screen Repairs
Even when a repair goes off without a hitch, it's totally normal to have a few questions about your device afterwards. In our workshops for iPhone Repairs Brisbane, we get asked the same things pretty much every day about an iPhone 14 Pro Max screen replacement. Here are the answers to the most common ones.
Will I Lose Face ID After a Screen Replacement?
The short answer is no, you shouldn't lose Face ID if the job is done right by someone who knows what they're doing. This critical feature is tied directly to the original front sensor assembly – the bit that contains the dot projector and infrared camera. A professional repair always involves carefully moving this entire module from your old, broken screen over to the new one.
But here’s the catch: the flex cable connecting this assembly is incredibly fragile. If it gets torn or damaged during the transfer, which is a classic mistake in a DIY attempt or with an inexperienced technician, Face ID will be gone for good. This is exactly why it pays to have an expert handle your device.
Is My iPhone Still Waterproof After the Repair?
Any professional repair service worth its salt will apply a brand-new waterproof adhesive seal around the frame before closing up the phone. This is a non-negotiable step that gets the phone's water and dust resistance back to a high level.
That said, it’s really important to know that no third-party repair can ever officially restore the original factory IP68 rating. The safest approach is to treat your repaired iPhone as highly water-resistant, but not fully waterproof. Definitely avoid taking it for a swim.
How Long Does the Repair Usually Take?
For a seasoned technician at Screen Fixed, the whole process for an iPhone 14 Pro Max screen replacement generally takes somewhere between 60 and 90 minutes. That covers everything from the initial diagnostic checks, the careful disassembly and component transfer, putting it all back together with a fresh seal, and a full round of post-repair testing to make sure everything works perfectly.
Once your screen is successfully replaced, or if you find the device is unfortunately beyond saving, you might think about what to do with the old phone. You can use secure disposal and recycling services for your old iPhone to make sure its electronic waste is handled responsibly.
Don't risk your expensive device with a DIY attempt or an inexperienced repairer. For a fast, reliable, and professional iPhone 14 Pro Max screen replacement, trust the experts at Screen Fixed. We use only the highest quality parts and our technicians have the skills to get your phone back to perfect condition.
Book your repair with Screen Fixed Brisbane today.
Disclaimer: iPhone and Apple are trademarks of Apple Inc., registered in the U.S. and other countries. Screen Fixed is an independent service provider and is not affiliated with Apple Inc.