
If you break your Huawei P30 Lite screen, you are not alone. Many people across Australia are having the same problem. Is it because you sat on it or you just dropped your phone from a higher place? No matter what happened, you are now stuck with a cracked screen and the only thing you can do is fix it.
When an accident like this happens, users can choose between two options. If you are inexperienced, you can take your phone to a repair store and leave the device in the hands of a professional technician and pay high prices. Or you can fix your screen all by yourself.
If you want to fix it yourself, the first thing you will need is to find a legitimate supplier of replacement screens. If you live in Australia, Fixo is the best solution. We have a wide array of screens for different mobile devices. All the replacement parts we have here are of great quality and look as good as original parts.
Change the display on your Huawei P30 Lite wholly by yourself. All you need is Huawei P30 Lite LCD Screen Assembly. Follow the instructions step by step, and you will soon be able to enjoy a working display again.
1) Switch off your device

To get started turn off your Huawei P30 Lite completely to avoid damaging it during the repair. To do this, keep pressing the power button on the right side. Then confirm extinction with "extinguish".
2) Remove SIM & SD drawer
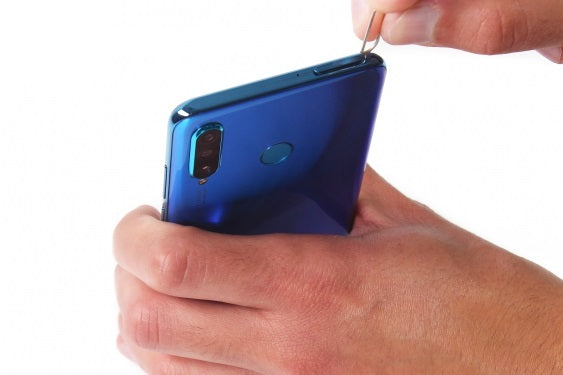


Insert the SIM Puller (found in your phone box) into the SIM tray hole on the top of the phone. Apply pressure to feel the SIM drawer eject by itself and then remove it.
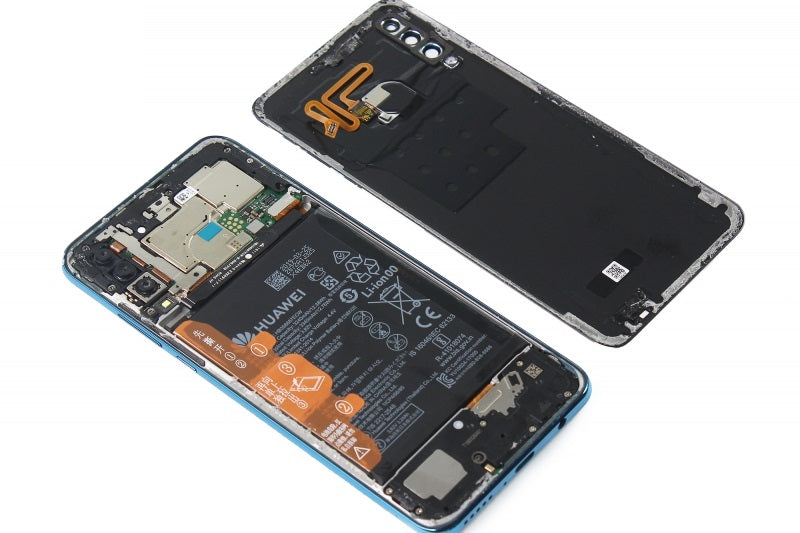
3) Remove the back panel


To lift the back panel you will need a suction cup, a hard plastic pick, and a heat gun (a hairdryer will also work) The back panel is glued to the frame, use a heat gun to heat the outer edges of the back panel to about 60°C (140°F). You can do it without the heat gun but it's easier with it.
Insert the spatula between the back panel and the chassis to create an opening in the bottom corner of the Huawei P30 Lite. Then take over with the pick for the rest of the operation, slide the pick all the way to take off the back. Finally, open the rear windows in the manner of a book to allow the sensor to be disconnected.
4) Disconnect the fingerprint sensor


Unscrew one Philips screw using a Philips screwdriver. After that lift and remove the protective metal plate with nylon spatula. Disconnect the fingerprint scanner using nylon spatula to fully release the backside.
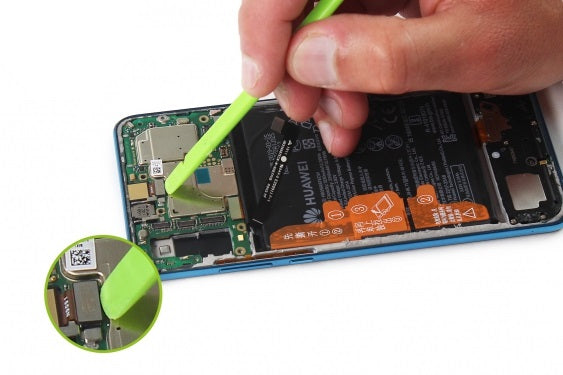
5) Disconnect battery
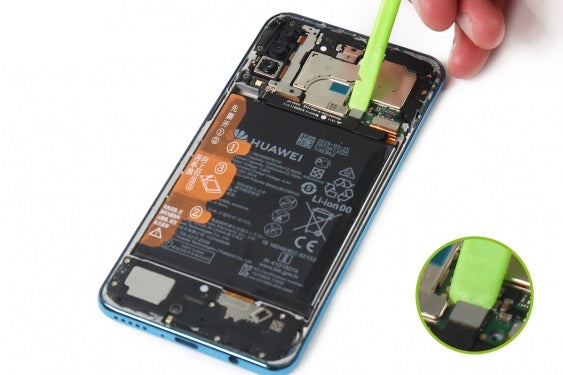

Use a spudger to pry up and disconnect the battery connector.
6) Remove plastic cover


Use a Philips screwdriver again to unscrew the 8 screws circled in yellow. After that use the clip to remove the plastic cover that is holding the motherboard.
7) Remove the rear camera


Disconnect the three sheets of the rear camera using the nylon spatula. After you unplugged the rear camera, use the clip to gently pull it out.
8) Remove front camera


The next step is to remove the front camera, disconnect it using nylon spatula. When it is disconnected, remove it safely using the same nylon spatula.
9) Remove the motherboard


Use the nylon spatula to unplug the charge connector mat. Then do the same to disconnect the tablecloth from the screen. In the end, just disconnect the interconnect cable, and leverage motherboard with the spatula to gently lift and deposit the motherboard.
10) Remove proximity sensor


Take the spatula to release the proximity sensor. The proximity sensor is now deposited.
11) Remove internal speaker


Keep the spatula in your hand to dislodge and remove the internal. Wonderful job, you disassembled internal speaker.
12) Remove the battery


Peel of the first sticker from the battery, then take off the sticker from the bottom. Finally, pull the central sticker to take off and remove the battery (He is the one who keeps the battery in place).
13) Remove external speaker


Use Philips screwdriver to unscrew the 7 screws circled in yellow (Photo 1). Then take out the external speaker/vibrator with the spatula. Great job, speaker block is disassembled.
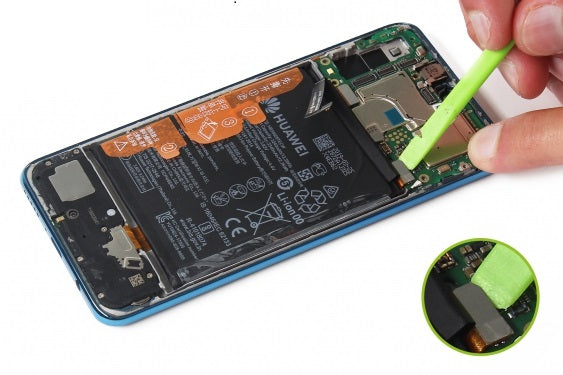
14) Disconnect the charge connector pad


Use the nylon spatula to unlock the charge connector pad. Then partially peel off the clear sticker to access the tablecloth. Now you can peel off the bonding wire connector.
15) Remove interconnect cable


Use the nylon spatula again to unplug the interconnect cable and then remove it with pliers. Great job, interconnection cable is now extracted.
16) Remove the charging connector


Finally, finish disassembling your device by pulling out the charging connector with the nylon spatula.
17) Reassemble with the new screen
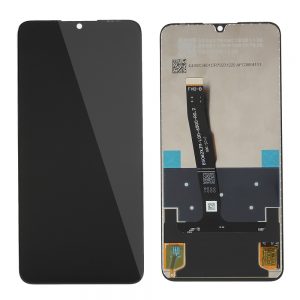
Your Huawei P30 Lite screen is completely disassembled. Now take your new screen and reassemble your Huawei P30 Lite by following this guide in reverse order, and then test everything up to make sure you did everything properly.
Test everything
Congratulations, you changed your Huawei P30 screen. Now just test a few things to make sure everything is working properly:
-Test the brightness of the display.
-Test the touchscreen, select an app, and drag it all around the display. If it is following your finger everything is fine.