
Meta Title: How to Remove a Screen Protector Safely | Screen Fixed Guide
Meta Description: Learn how to remove a tempered glass or plastic screen protector without damaging your phone. Follow our safe, easy steps for a clean removal.
Knowing how to remove a screen protector is about more than just yanking it off. The trick is to do it properly, usually with a bit of gentle heat and carefully lifting one of the corners. This simple approach is your best bet to avoid scratches and that awful sticky residue, keeping your phone's actual screen in pristine shape.
Is your screen protector cracked, peeling, or full of bubbles? A damaged protector not only looks bad but can also compromise your screen's safety. Removing it incorrectly, however, can lead to permanent scratches or a sticky mess. This guide will walk you through the safe and simple steps to remove any type of screen protector, ensuring your device looks as good as new.
Why a Clean Screen Protector Removal Is So Important
That cracked, peeling screen protector isn't just ugly—it's a real threat to your phone. If you get impatient and just rip it off, you could easily end up with permanent scratches on the original screen. Even worse, you might be left with a sticky mess of adhesive or, in a nightmare scenario, cause damage that leads to a pricey screen replacement.
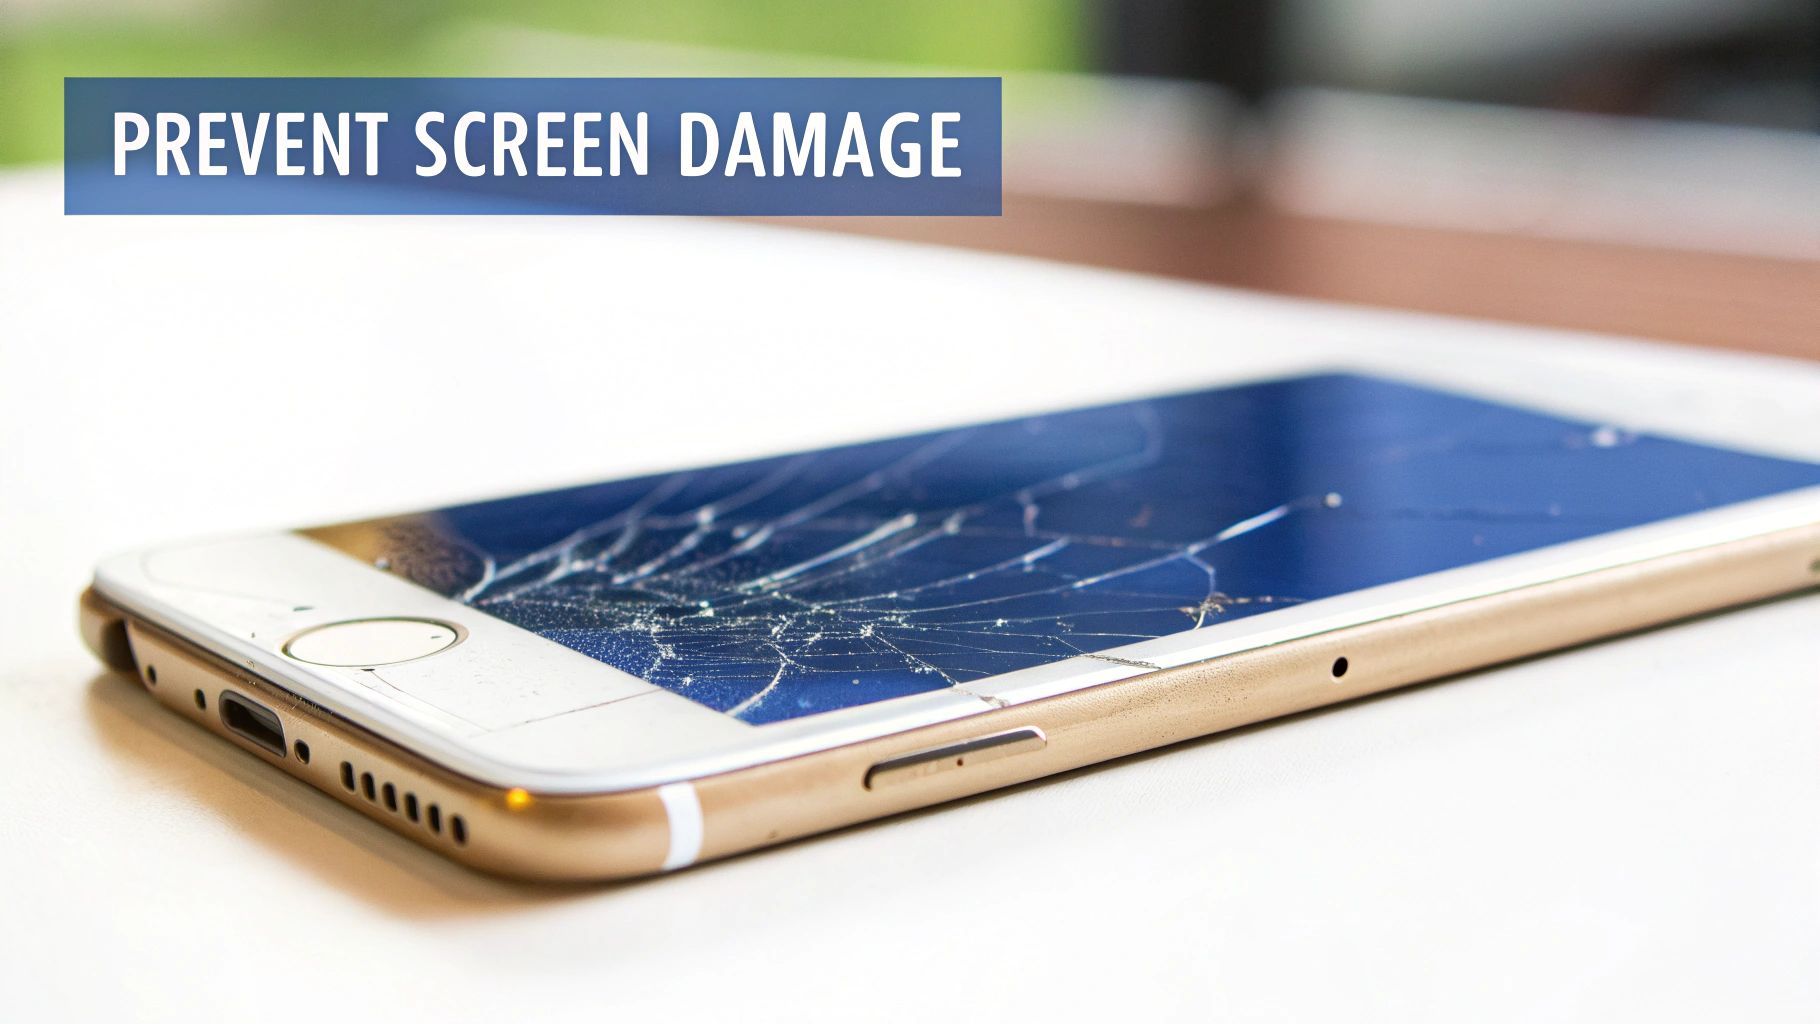
Alt: A gold iPhone with a severely shattered screen, showing the type of damage a screen protector helps prevent.
Keeping your screen in good nick is vital, not just for your own sanity but for your phone’s resale value down the track. A flawless screen can make a huge difference to what you get for it when you decide to upgrade. This kind of careful handling is crucial at every stage of a device's life, a principle that’s also central to professional electronics fulfillment processes.
The High Cost of a Botched Removal
The financial stakes of a DIY job gone wrong are surprisingly high here in Australia. We all know how easy it is to drop a phone. A recent survey showed that Aussies have lost or destroyed over 2.5 million smartphones in the last five years alone, costing us more than $755 million in replacements. It’s pretty clear that protecting our devices is a big deal.
A careless removal can turn a protective accessory into the very thing that causes damage. Think of this guide as your insurance against an expensive, and totally avoidable, trip to the repair shop.
The type of protector you have also plays a part. Tempered glass comes off differently to a flexible hydrogel film because they adhere to the screen in unique ways. If you're wondering what to get next, our guide on hydrogel vs tempered glass screen protectors can help you decide. Knowing what you're working with makes the whole removal process much smoother.
Gathering Your Toolkit for a Flawless Removal
Before you even think about lifting a corner of that old screen protector, it pays to get your gear in order. Having the right tools on hand can turn what feels like a risky operation into a simple, five-minute task. You don't need a professional workshop, either—most of what you need is probably already hiding in a drawer at home.
The whole point is to work smarter, not harder. A careful approach with the right items is the secret to learning how to remove a screen protector without causing any accidental damage. Think of this as your pre-flight checklist for a smooth, scratch-free removal.
Your Essential and Alternative Tools
You absolutely don't need a pro-level kit to get this done, but certain items will make the job much safer for your screen. A simple hairdryer, for example, is your best friend when dealing with stubborn adhesive. A quick burst of low heat for about 15 seconds is usually all it takes to make the glue pliable and much easier to work with.
When it comes to the actual lifting, always reach for plastic over metal. Something like a credit card or even a sturdy guitar pick has just the right amount of flex to get under the protector's edge without scratching the glass display underneath. For anyone who does this often or just likes to be fully prepared, a dedicated smartphone repair tool kit bundles all the essentials together safely in one place.
Here’s a quick rundown of what you should have ready:
- A heat source: A hairdryer on its lowest setting is perfect. It gently warms the adhesive, encouraging the protector to lift off without a fight.
- A lifting tool: A thin plastic card (like an old credit card or loyalty card) is the ideal choice. In a pinch, a sturdy fingernail or even a wooden toothpick can carefully create that initial gap.
- For shattered protectors: This is a non-negotiable. A roll of clear packing tape applied over a cracked protector holds all the dangerous glass shards together, letting you remove it in one safe piece.
Pro Tip: Never, ever use a metal object like a knife or razor blade to pry off your screen protector. The risk of putting a permanent, deep scratch in your phone's actual screen is incredibly high. Patience and plastic are your best friends here.
After the old protector is off, the final cleanup is what ensures a perfect, bubble-free application for the new one. This is where having the right cleaning supplies makes all the difference.
Essential vs. Household Alternative Tools
While professional tools are designed for the job, you can often find perfectly good substitutes around the house. Knowing what works and what doesn't is key to avoiding a costly mistake.
| Tool Type | Professional Tool | Common Household Alternative | Primary Use |
|---|---|---|---|
| Heat Source | Precision Heat Gun | Hairdryer (on low setting) | Gently warming and loosening adhesive. |
| Lifting Tool | Plastic Spudger or Pry Tool | Credit Card, Guitar Pick, Fingernail | Safely getting under the protector's edge. |
| Cleaning | Isopropyl Alcohol Wipes | Rubbing Alcohol & Cotton Swab | Removing stubborn adhesive residue. |
| Wiping | lint-free microfiber cloths | Eyeglass Cleaning Cloth | Wiping away smudges and dust without scratching. |
| Crack Safety | --- | Clear Packing Tape | Holding a shattered protector together. |
Ultimately, whether you use a pro kit or household items, the goal is the same: remove the protector cleanly and safely. The right tool simply makes that goal much easier to achieve.
Removing a Tempered Glass Screen Protector
Tempered glass protectors are brilliant for the heavy-duty protection they offer. But that strength comes from a seriously strong adhesive, which makes getting them off a bit more involved than just peeling a sticker. A slow, steady approach is the secret to getting it off cleanly without any drama.
The single most important trick is to gently soften that adhesive first. A bit of heat is your best friend here. If you skip this, you’ll likely end up using too much force, and that’s how you risk damaging your phone’s actual screen.
Start with Gentle Heat
You’re not trying to cook your phone, just apply enough warmth to make the adhesive give up its grip. A standard hairdryer on its lowest heat setting is perfect for the job.
Hold the hairdryer about 15cm away from your screen and keep it moving across the surface, almost like you're spray painting. Pay a little extra attention to the edges, but never keep the heat locked on one spot. A quick 15 to 20 seconds is usually all it takes to loosen things up.
The goal is to warm it, not overheat it. Too much heat can be bad news for your phone's battery and display. Always stick to the lowest setting and keep the hairdryer moving. It’s a small step that makes a huge difference.
Create a Safe Starting Point
Once the adhesive is warmed up, you need to get under a corner to start lifting. Whatever you do, resist the urge to grab anything metal. A knife or razor blade is a guaranteed way to leave a permanent scratch on your screen. Not what we want.
Instead, try to slide a fingernail under one of the corners. If you can’t get a grip, a thin plastic card is the perfect tool. Think old credit cards, loyalty cards, or even a guitar pick. Gently wiggle the corner of the card under the protector until it starts to separate from the screen.
This simple infographic breaks down the core steps, from applying a bit of heat to the final clean-up.
Alt: Infographic showing the three-step process of how to remove a screen protector using heat, a card, and a cloth.
As you can see, a methodical approach with the right tools is the key to a clean, stress-free removal.
The reason tempered glass needs this extra care is that its adhesive is fundamentally different from what you'd find on a simple plastic film. Experts agree that gentle heat is essential for safely breaking that bond without damaging the screen underneath. You can find more pro tips on how to safely remove screen protectors at home from OtterBox.com.
Lift Slowly and Evenly
Okay, you’ve got a corner lifted. Now it’s all about patience. Don't just rip the protector off in one go. You’ll want to either continue sliding your plastic card underneath or slowly peel it back with your fingers, making sure to apply even pressure as you go.
If you feel a lot of resistance, just stop. Give it another quick blast of heat for a few seconds and try again. A slow, consistent pace is what prevents the glass from flexing too much and shattering while you’re trying to remove it.
Handling a Cracked Protector
What if your tempered glass protector is already cracked or completely shattered? This is where you need to be extra careful. The last thing you want are tiny shards of glass scratching up your screen or, worse, getting into your fingers.
Before you even try lifting it, grab a piece of clear packing tape and lay it over the entire screen. Press it down firmly so the tape sticks to all the broken pieces. This clever trick holds all the fragments together, letting you lift the whole shattered mess off in one piece. It’s a crucial safety step many people miss. If you're dealing with a cracked screen protector in Brisbane and don't feel confident, the team at Screen Fixed Brisbane can sort it out for you.
Handling Plastic and Hydrogel Film Protectors
While tempered glass gets most of the spotlight, plenty of Aussies still go for the sleek, almost invisible feel of a plastic or hydrogel film protector. These materials require a totally different approach to removal—one that’s more about finesse and a steady hand than heat and prying tools.
Unlike glass, these films are flexible. That’s a huge plus when you’re putting them on, but it can make taking them off a bit tricky if you get impatient.
The good news? It’s generally a lot simpler and safer to learn how to remove a screen protector made of plastic or hydrogel. You don’t have to worry about sharp, shattered edges. The real challenges are making sure the film doesn't tear halfway through the peel or leave behind a frustratingly sticky mess. A bit of patience is all it takes.
Removing Standard Plastic Films
Standard plastic protectors, usually made from PET (polyethylene terephthalate), are rigid enough to keep their shape but still have enough flex to be peeled off. The trick is to start at a corner and keep your peeling motion slow and consistent.
Try to get a fingernail under one of the corners to gently lift it. If your nails are too short, the corner of a credit card or even a plastic toothpick will do the job to create that initial separation. Once you've got a small piece lifted, pinch it firmly between your thumb and forefinger.
Now, pull the protector back slowly and at a very low angle, keeping it almost parallel to the screen.
- Don't pull straight up. This puts too much tension on the film and makes it much more likely to tear, especially if it’s an older one that's become brittle.
- Keep the pressure even. A steady hand helps the adhesive separate cleanly without splitting the film itself.
- If you feel it resisting, don't just yank it. Slow right down and give the adhesive more time to let go. You’ll rarely ever need heat for these types.
Tackling Flexible Hydrogel Protectors
Hydrogel protectors are a popular choice because of their self-healing abilities and soft, rubbery feel. That flexibility is their biggest advantage during use, but it can be a minor headache when it's time for removal. Because they're so soft, they have a tendency to stretch or tear if you're not careful.
The process kicks off the same way: lift a corner with your fingernail. Once you have something to grab onto, peel it back with that same slow, steady motion you'd use for a plastic film. The material is less likely to snap, but it can stretch out of shape, which often causes the adhesive to smear all over your screen.
A common mistake with hydrogel is peeling too fast. The soft material stretches, leaving a gummy residue behind. A slow, deliberate pace is the secret to a clean removal every time.
The screen protector market in Australia is absolutely booming, with tempered glass definitely leading the pack. Still, the unique benefits of materials like hydrogel and plastic mean they're still a top choice for many people. The entire market was valued at USD 467.78 million and is on track to nearly double by 2033, which just shows how much we all want to keep our screens safe. You can explore more insights into the Australian smartphone screen protector market to see the full trend.
Thankfully, once you know the right technique, getting any type of protector off is pretty straightforward.
The Final Cleanup and Screen Inspection
Getting the old protector off is a satisfying moment, but the job isn't quite finished yet. Now for the crucial last step: a thorough cleanup and inspection. This is what ensures your phone’s screen is flawless, whether you're about to apply a new protector or just want to enjoy the display in its natural state.
Any lingering adhesive, dust, or smudges can create those annoying air bubbles under a new screen protector. A proper clean is your best bet for a perfect, seamless application the first time around.
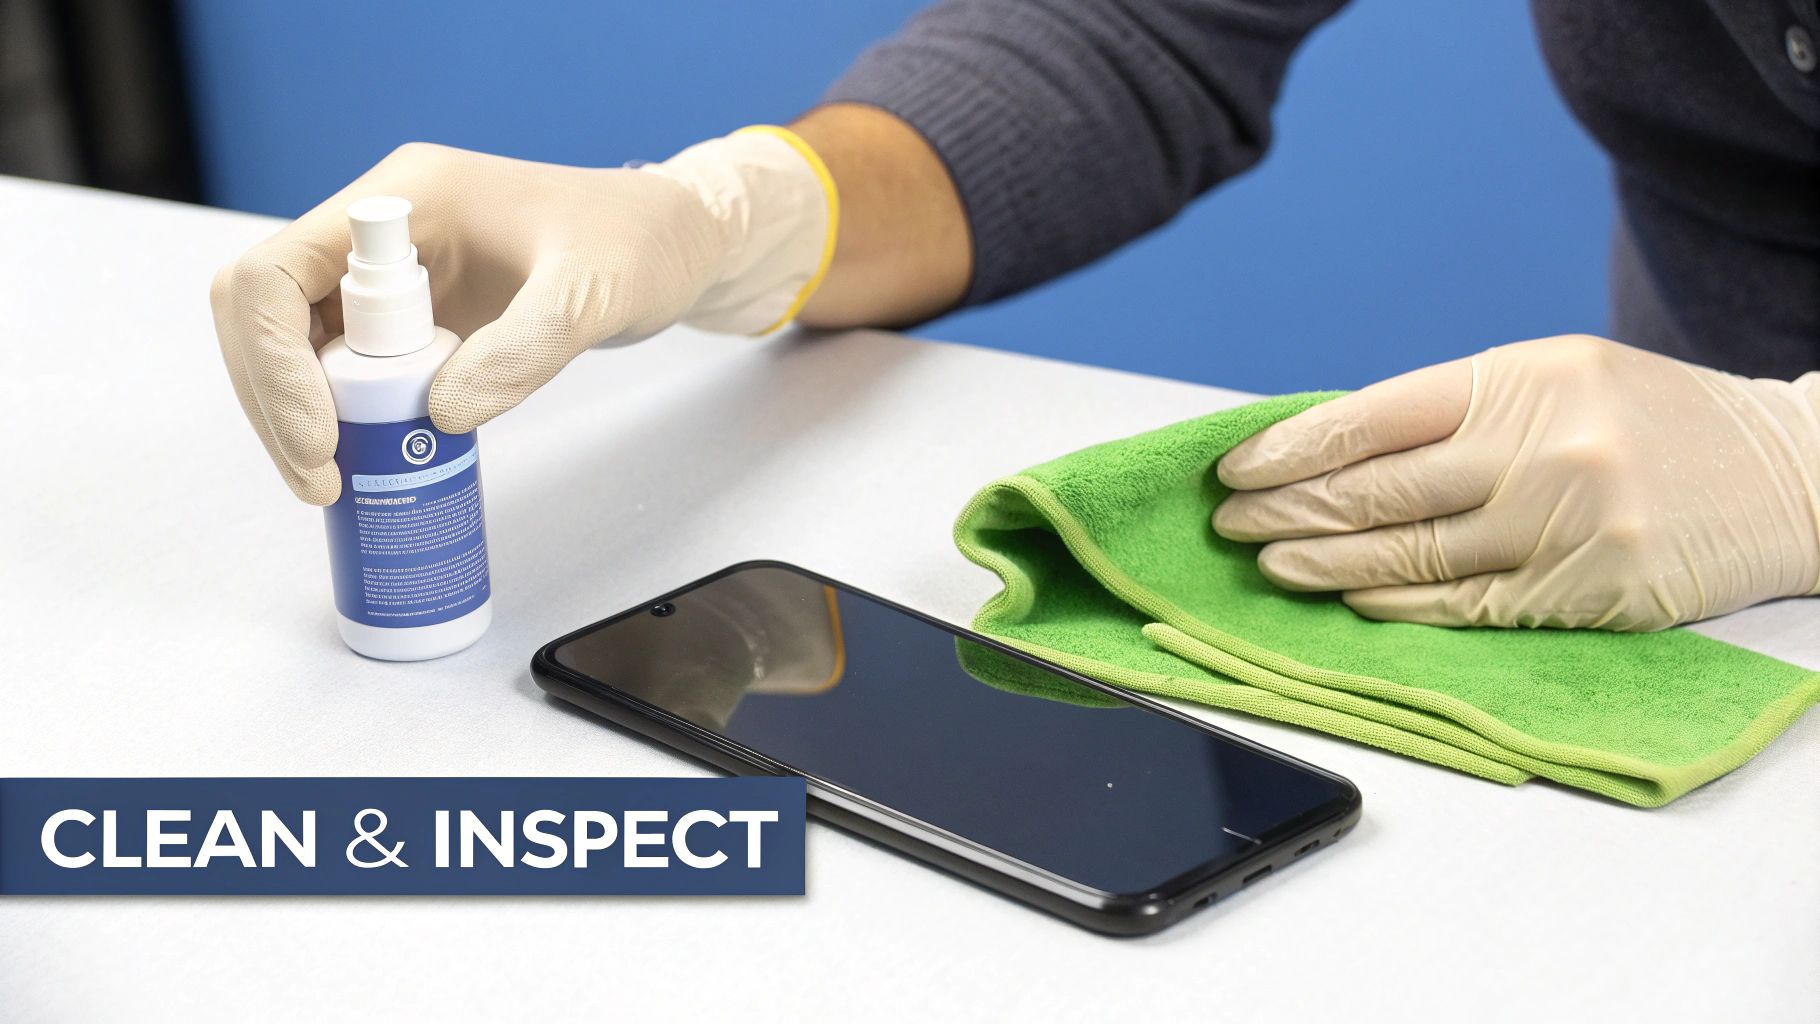
Alt: A technician wearing gloves carefully cleans a smartphone screen with a microfibre cloth.
Cleaning Away Stubborn Residue
Sometimes, even after a careful removal, you'll find small, sticky patches of adhesive left behind. The key here is to use the right materials to dissolve that glue without harming your screen's delicate oleophobic (oil-repellent) coating.
Your best tools for this task are pretty simple:
- A clean, dry microfibre cloth: This is non-negotiable. Paper towels or old rags can leave behind lint or, even worse, create micro-scratches on the glass.
- A small amount of 70% isopropyl alcohol: This stuff is perfect for breaking down stubborn adhesive without being overly harsh on your screen.
A word of warning: never spray any liquid directly onto your phone’s screen. Instead, lightly dampen a corner of your microfibre cloth with the alcohol and gently rub the sticky areas in a circular motion. You'll feel the residue start to dissolve and lift away pretty easily.
Important Safety Note: Avoid common household cleaners at all costs. Products containing ammonia, bleach, or hydrogen peroxide are far too abrasive and can permanently damage your screen’s protective coating. This makes it much more prone to smudges and future scratches.
Performing a Detailed Screen Inspection
With the screen perfectly clean, it’s time for a close-up inspection. This is your chance to spot any underlying damage that might have been hidden by the old protector.
Tilt your phone under a bright light and look at it from different angles. You’re trying to catch any fine scratches, scuffs, or—more seriously—hairline cracks in the original glass. A tiny crack might not seem like a big deal, but it can easily compromise the structural integrity of your screen and spread over time with daily use.
If you do find a crack, applying a new protector might offer some temporary cosmetic cover, but it won’t stop the damage from worsening. It's important to know what to do next, and you can learn more about how to handle a cracked iPhone screen in our detailed guide. For any serious damage, a professional repair is really the only reliable way to restore your device's durability and functionality.
Your Top Screen Protector Removal Questions Answered
Even with the best guide, a few questions always pop up when it's time to actually peel that protector off. Getting these common worries out of the way beforehand can make the whole process a lot less stressful and help you avoid any last-minute mistakes. Let's tackle some of the most frequent queries I hear.
The biggest one is almost always about reusing an old protector. It’s a tempting thought, especially if it looks like it's in decent shape, but it's a definite no-go. The adhesive is a one-shot deal; once you lift it, it loses its grip and you'll never get a clean, bubble-free application again.
Can I Reuse a Screen Protector After Taking It Off?
I get it, you want to save a few bucks. But trust me on this one: reusing a screen protector, particularly a tempered glass one, just isn't worth the hassle. That crucial adhesive bond is designed for a single, perfect application. Once you break that seal, it's done.
Trying to reapply it will almost certainly leave you with a mess of trapped dust, frustrating air bubbles, and a protector that lifts at the edges. For the best protection and a flawless look, always start fresh with a new one. It’s a small price to pay for peace of mind.
What Is the Safest Way to Handle a Shattered Protector?
Your safety is the absolute priority when you're dealing with cracked or shattered glass. Before you do anything else, grab a roll of clear packing tape. Carefully lay strips over the entire screen, overlapping them slightly until all the broken glass is covered. Press down firmly so the tape sticks to every little fragment.
This little trick is a game-changer. It holds all those dangerous shards together, turning a hazardous mess into a single, stable sheet. This makes the removal process much safer for your fingers and prevents loose pieces from scratching your phone's actual display. Once it's all taped up, you can move on to the heating and lifting steps.
Dealing with a shattered protector isn't the time to rush. The tape method is non-negotiable—it's the single best way to prevent nasty cuts and stop further damage to your screen.
Will a Hairdryer Damage My Phone?
This is a really common and understandable concern. The good news is, if you do it right, a hairdryer is completely safe. The trick is to use the lowest heat setting available and to keep the hairdryer moving constantly.
Hold it about 15cm away from your phone and gently warm the edges for no more than 15-20 seconds. All you're trying to do is soften the adhesive slightly, not cook your phone. Never, ever use a high-powered heat gun or keep the heat focused on one spot for too long. A little bit of gentle, even warmth is all you need.
If you’ve followed all the steps and discovered the screen underneath is cracked, don’t panic. The expert team at Screen Fixed is here to help. We have the right tools and genuine parts to bring your device back to life. For reliable iPhone Repairs Brisbane, book a repair with us today.
Disclaimer: All third-party brand names and trademarks, such as iPhone and OtterBox, are the property of their respective owners. Screen Fixed is an independent repair service and is not affiliated with these brands.