
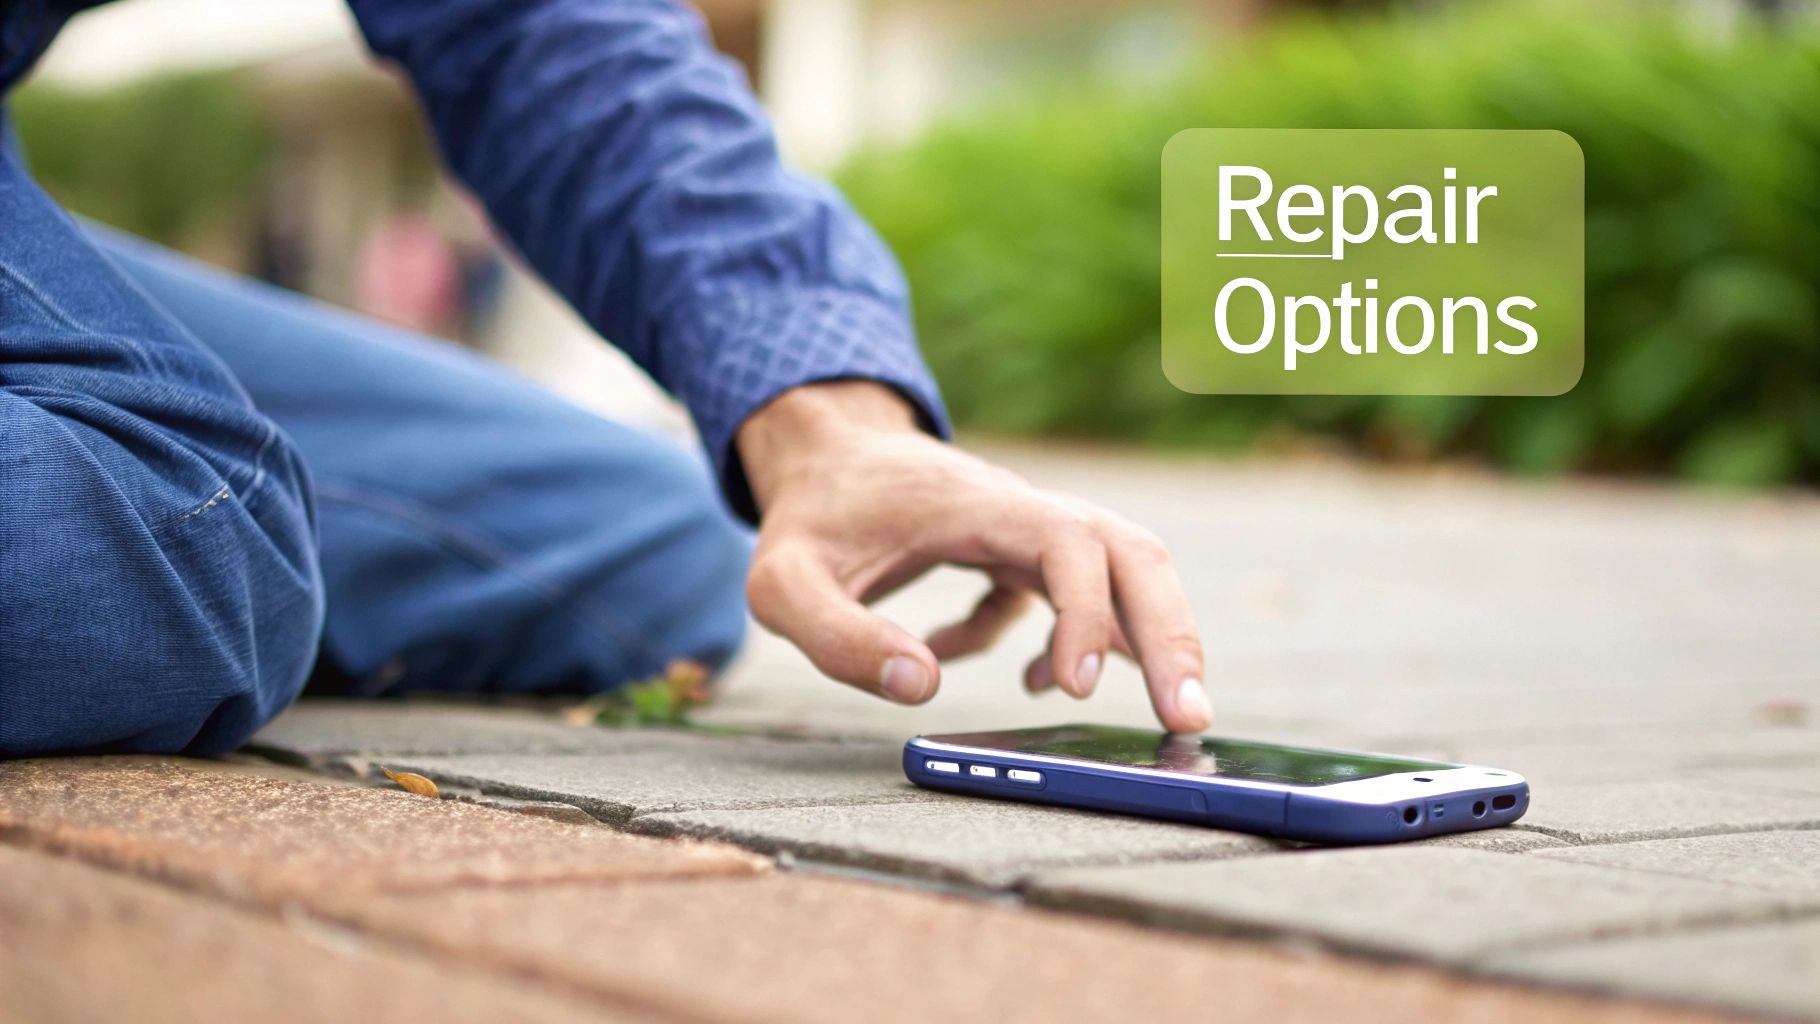
That sickening crack of your phone hitting the pavement is a universal sound of dread. We’ve all been there. If you're now staring at a spiderweb of broken glass and wondering how to fix my phone screen, you've landed in the right place. This guide will walk you through your options, from DIY attempts to professional repairs, helping you make the smartest choice for your device and your wallet.
Right now, you’ve got a few options: try a DIY repair, find a professional service, or just try to live with the damage. Each path has its own risks and rewards, from the potential savings of a home repair to the guaranteed quality of a professional job offered by services like Screen Fixed Brisbane.
That Heart-Stopping Drop: What's Your First Move?
Alt: A technician carefully replacing a cracked smartphone screen on a workbench.
Caption: iPhone 14 Pro screen replacement in Brisbane.
The moments after your phone drops are usually filled with a bit of panic and one critical question: what now? Before you rush into anything, it’s worth taking a breath to understand your three main paths forward. Each one has different implications for your time, money, and the future health of your device.
DIY vs. Professional vs. 'Just Live With It'
Your first thought might be to tackle the problem yourself. DIY repair kits are everywhere online and seem like a great budget-friendly solution. But this route demands patience, a seriously steady hand, and a tolerance for risk. One wrong move—like tearing a tiny, fragile ribbon cable or misplacing a microscopic screw—can turn a simple screen swap into a much bigger, more expensive problem. Worst case? A dead phone.
Alternatively, you could hand it over to a professional. Services like Screen Fixed Brisbane offer a straightforward, reliable fix. The real benefit here is tapping into the experience of technicians who do these repairs day in and day out. They have access to high-quality parts and, crucially, offer the peace of mind that comes with a warranty. While the upfront cost is higher than a DIY kit, it completely eliminates the risk of those costly mistakes.
The final option is to simply do nothing and live with the cracks. This is a surprisingly common choice. In fact, many Aussies put off repairs because of the perceived cost. Research has shown that a staggering 19.1% of Australians have chosen not to fix their cracked screens, with repair costs typically ranging from $100 to $350, depending on the model. You can get more details on these findings on Australian consumer habits.
This hesitation is understandable, but ignoring a cracked screen can lead to much bigger issues down the line. A compromised screen is no longer properly sealed, making your phone vulnerable to dust and moisture. That stuff can cause far more severe (and expensive) internal damage over time.
To help you weigh it all up, here’s a quick look at how the DIY and professional routes stack up against each other.
DIY vs Professional Repair: A Quick Comparison
| Factor | DIY Repair | Professional Repair (e.g., Screen Fixed) |
|---|---|---|
| Cost | Lower upfront cost for parts and tools. | Higher upfront cost, but includes labour and warranty. |
| Time | Can be time-consuming, especially for a first-timer. | Fast turnaround, often same-day or within an hour. |
| Risk | High. Risk of further damage or total device failure. | Very low. Technicians are experienced and repairs are guaranteed. |
| Quality | Depends on the quality of parts and your skill level. | High-quality parts and expert installation are standard. |
| Tools Required | You need to purchase a specific tool kit. | All specialised tools are provided by the service. |
| Warranty | None. If it breaks again, you're on your own. | Yes, typically includes a warranty on parts and labour. |
Ultimately, your decision comes down to balancing cost, risk, and convenience. A DIY project can be rewarding if it goes well, but a professional repair guarantees a quick and effective fix, getting your digital life back on track without the headache.
Assessing the Damage: Is DIY Realistic for You?
So, you've cracked your screen. Before you jump online and start ordering tools and parts, the first thing you need to do is play detective. Figuring out exactly what's broken is the most critical step, as it determines whether a DIY repair is even on the table for you.
Trust me, not all cracked screens are the same. A simple web of cracks on the glass is one thing; a damaged display panel underneath is a completely different beast. Knowing how to spot the difference is key to fixing your phone without accidentally causing a much bigger, more expensive problem.
Surface Cracks vs. Deeper Display Damage
First up, grab your phone and get it under some good light for a close inspection. Can you only see hairline cracks running across the surface? If the picture underneath is flawless and the touchscreen still responds perfectly to every tap and swipe, you’re likely in luck. This usually points to damage only on the top glass layer, which is the most straightforward kind of screen repair.
But the damage often runs deeper. You need to be on the lookout for signs that the LCD or OLED panel—the bit that actually creates the image you see—has taken a hit. These symptoms are dead giveaways that your repair is about to get a lot more complicated.
Keep a sharp eye out for these tell-tale signs:
- Black Spots or Blotches: If it looks like ink has spilled inside your screen, that's a bad sign. These spots indicate dead pixels where the liquid crystal in an LCD has leaked out.
- Brightly Coloured Lines: Seeing vertical or horizontal lines in green, pink, or white? This almost always points to a damaged display panel or a faulty connection.
- Flickering or a Black Screen: If the screen is flickering like a strobe light or won't turn on at all—but you can still hear notifications coming through—the display panel has probably failed.
- Unresponsive Touch: When you tap on an area of the screen and nothing happens, the digitiser (the touch-sensitive layer) is broken. This layer is fused to the display, meaning the whole screen unit has to be replaced.
Making an Honest Assessment
If you're seeing any of the more serious symptoms—lines, black spots, or dead touch zones—a DIY repair becomes a much bigger gamble. These issues require a full screen assembly replacement. This isn't just a simple swap; it involves meticulously disconnecting and transferring tiny, fragile components from your old broken screen to the new one.
Here's something crucial to remember: on many modern iPhones, components like the Face ID sensors are cryptographically paired to the phone's logic board. If you damage these sensors during a DIY transfer, you can permanently kill Face ID. There's no fixing it.
This is where you need to be brutally honest with yourself about your technical skills and patience. A simple glass-only replacement might be doable for a careful beginner, but a full assembly swap is delicate surgery. Taking a moment to understand the difference between various types of replacement phone screens can also help you decide if you're comfortable sourcing and installing the right part.
Professional iPhone Repairs Brisbane services handle these complex component transfers every single day, which massively reduces the risk of something going sideways. If your damage assessment reveals anything more than simple surface cracks, calling in an expert is often the safer and, in the long run, smarter choice.
Your DIY Screen Replacement Playbook
So, you've checked out the damage and it looks like it's just the surface glass. Feeling brave enough to tackle the repair yourself? Excellent. This isn't just another sped-up YouTube tutorial; we're diving into the nitty-gritty details that often get glossed over but are absolutely critical for a successful fix.
Getting this right comes down to three things: having the proper tools, finding quality parts, and being incredibly methodical. Let's start with your toolkit.
Gathering Your Essential Tools
Before you even dream of prying that screen off, you need to get the right gear together. Trust me, trying to improvise with stuff from your kitchen drawer is a surefire way to end up with a cracked frame or a ripped cable.
- Heat Gun or Hairdryer: The adhesive holding modern phones together is no joke. You'll need a steady, gentle heat source to soften it up enough to get inside.
- iSesamo or Thin Pry Tool: This is your best friend for creating that crucial first gap between the screen and the phone's frame once the adhesive is warm.
- Plastic Plectrums (Guitar Picks): Once you have a gap, you slide these little guys around the edges. They slice through the glue without gouging the metal or plastic frame.
- Suction Cup: A small, simple suction cup gives you the grip you need to gently lift the screen assembly away from the phone's body.
- Precision Screwdriver Set: Phones are packed with tiny, specialised screws. Think Pentalobes for iPhones and minuscule Phillips heads. A good set is completely non-negotiable.
- Plastic Spudger: This is an anti-static, non-conductive tool that is absolutely essential for safely disconnecting the delicate ribbon cables for the battery, display, and other sensors.
Crucial Safety Tip: The first and most important step in any internal phone repair is to disconnect the battery. If you work on a device while it's powered, you're risking a short circuit on the logic board, which can permanently kill your phone.
Sourcing Quality Parts
The entire success of your repair hinges on the quality of the replacement screen. The market is absolutely flooded with cheap, low-grade parts that promise big savings but deliver washed-out colours, unresponsive touch, or glass so fragile it'll crack if you look at it wrong.
Knowing what you're buying is vital. You should learn about the differences between LCD, OLED, and AMOLED screens to make an informed choice. Always look for suppliers who offer premium or OEM-quality parts.
Just as important is the adhesive. You'll need a pre-cut adhesive gasket made specifically for your phone model. This is the only way to properly re-seal the device and restore some of its original resistance to dust and moisture.
This infographic gives you a quick visual on the assessment process before you start taking things apart.
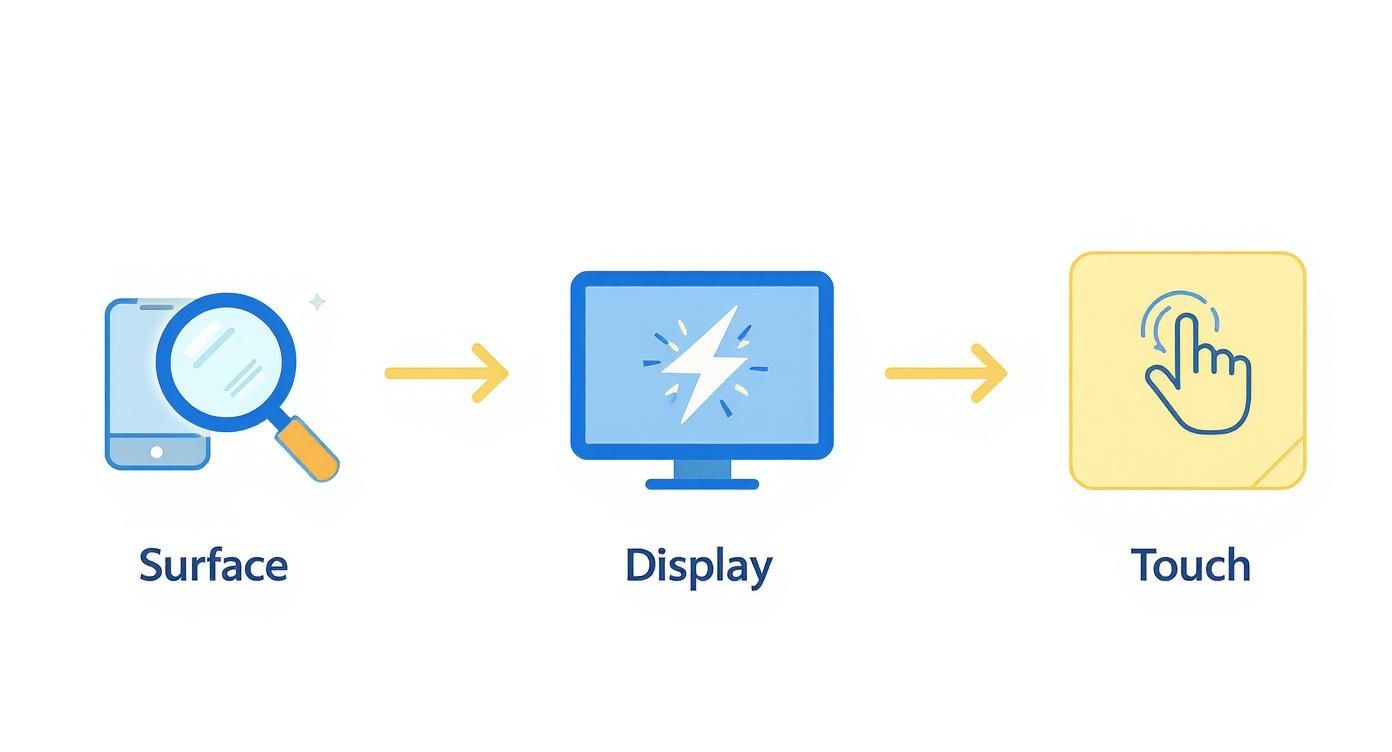
Alt: An infographic showing a three-step process for assessing phone screen damage, with icons for surface, display, and touch.
It really just highlights that diagnostic journey, from checking for simple scratches to figuring out if you have deeper display and touch failures.
The Core Repair Process
With your tools and parts laid out, it's time to begin. The process is all about careful, methodical steps. You’ll start by applying gentle, even heat around the edges of the screen to soften that factory seal. Patience is your best virtue here; too much heat can fry internal components.
Once it's warm, use your pry tool and plectrums to slowly work your way around, separating the screen from the frame. Depending on the model, the phone will open either like a book or lift straight up. Be incredibly cautious of the fragile ribbon cables tethering the screen to the logic board.
After you've disconnected the battery, you can safely unplug the old, broken screen. Now for the most delicate part of the whole operation: transferring components from the old screen assembly to the new one. This usually includes things like the earpiece speaker, front camera, and proximity sensor.
On iPhones, this is even more critical because the Face ID or Touch ID sensors are part of this assembly. Damaging these components during the transfer can permanently disable these biometric features. This is the exact step where most DIY repairs go wrong, turning a simple screen fix into a much bigger, more expensive problem. Take your time, work in a well-lit area, and keep track of every single tiny screw.
Common DIY Mistakes and How to Avoid Them
The pull of a quick, cheap DIY screen fix is strong, but the path is littered with traps that can turn a simple repair into a complete disaster. We see the aftermath of these attempts every day, and a handful of common mistakes are behind most of the heartache. Knowing what to watch out for is half the battle.
Overheating and Cable Damage
The single biggest error we see is getting too heavy-handed with the heat. Yes, you need some warmth to soften the adhesive seal holding your phone together, but a heat gun can melt a lot more than just glue. Sensitive parts like the front camera or proximity sensor are sitting just underneath the surface, and a blast of excessive heat can easily fry them, creating a much bigger headache for you.
Another classic blunder is rushing the job and tearing a delicate ribbon cable. These paper-thin connectors are incredibly fragile. One slight slip or an impatient tug is all it takes to sever the connection to your display, camera, or speakers, killing that function instantly.
Losing Critical Components and Functions
One of the most frustrating things that can happen during a DIY repair is losing track of the tiny screws and components you have to remove. These screws aren't just microscopic; they're often different lengths. Losing even one can compromise the structural integrity of your device when you put it all back together.
Even more critical is botching the transfer of biometric sensors. On most modern phones, the home button with Touch ID or the front-facing Face ID sensor array is uniquely paired to the device's logic board. It’s a one-to-one relationship.
If you damage these components during the transfer, you will permanently lose these features. There is no software fix or workaround; the only solution is an expensive, authorised repair from the original manufacturer.
This one mistake is a powerful reason to consider professional iPhone repairs in Brisbane, where technicians have the experience to handle these delicate transfers without a hitch.
The Problem with a Poor Seal
Finally, a botched re-adhesion is a mistake with long-term consequences. Using the wrong kind of glue or, worse, failing to apply a new, model-specific adhesive gasket leaves your phone vulnerable. Gaps in the seal become an open invitation for dust and moisture to creep inside, leading to corrosion and component failure down the track.
It's really no surprise that screen replacement is such a huge slice of the global phone repair market. In fact, screen-related issues made up a whopping 40% of all smartphone repairs in 2023, making it the largest single category in the industry. The market is only set to grow, and you can find more insights about the smartphone repair market on businessresearchinsights.com. Given how often screens break, knowing how to avoid these simple DIY mistakes is crucial for anyone attempting their own fix.
When to Call a Professional for Your Repair
Sometimes, the smartest move in any DIY project is knowing when to put the tools down and call for backup. While fixing your own phone screen can be incredibly satisfying, there are a few red flags that signal it’s time to let an expert take over. Pushing through these situations almost always leads to more damage and a much higher repair bill in the long run.
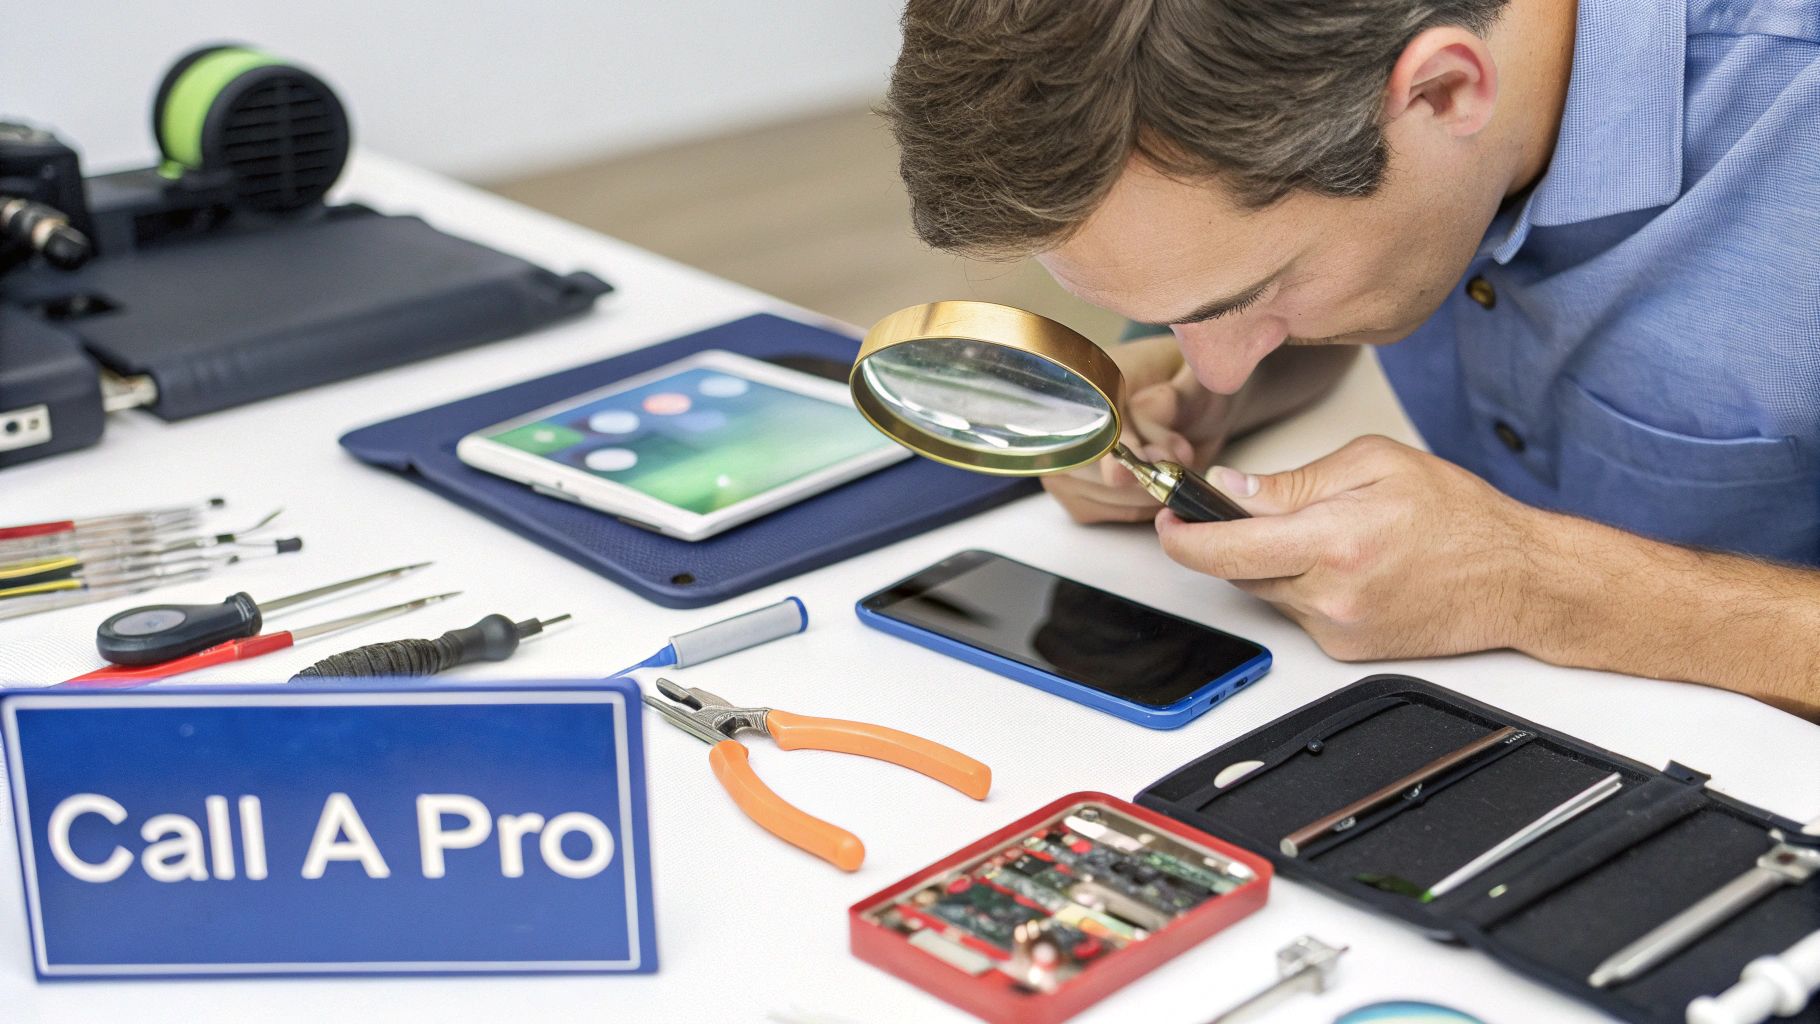
Alt: A professional technician in a clean, well-lit workshop carefully works on a smartphone, highlighting expertise and specialised tools.
Caption: A technician at Screen Fixed Brisbane performing a precise repair.
When the Frame is Damaged
One of the clearest signs is when you see physical damage to the phone’s chassis. If the drop was hard enough to bend or dent the aluminium frame, a new screen will simply never sit flush. This creates tiny gaps that let in dust and moisture, and the constant pressure from the bent frame can easily crack the brand-new glass you just installed.
Professionals have specialised tools to carefully reshape minor bends, ensuring the new screen fits perfectly and maintains a proper weather-resistant seal. This is something a home repair kit just can't do.
Complex Damage Scenarios
Certain types of damage dramatically increase the risk of a DIY failure. If there's even a slight chance your phone was exposed to liquid during the incident, opening it up yourself is a huge gamble. Powering on a device with moisture still inside could cause a fatal short circuit on the logic board.
On top of that, some devices are simply too complex for a home repair. This includes:
- Foldable Phones: The intricate hinge mechanisms and flexible displays require proprietary tools and very specific know-how. One wrong move and you’re in a world of hurt.
- High-End Flagships: These phones often have components packed in so tightly, with delicate sensor arrays that are incredibly easy to damage if you don't know exactly what you're doing.
If you own one of these, attempting a screen replacement is a high-stakes operation. The risk of turning a straightforward screen issue into a total device failure is just too high.
Knowing Your Limits
Perhaps the most important reason to stop is when you feel you’re in over your head. If you’ve started a repair and find yourself confused by a step, or a tiny screw has vanished into the ether, the best thing you can do is stop immediately. Continuing can quickly spiral into a more complicated and expensive problem.
Calling a professional service like Screen Fixed Brisbane isn't just about fixing the immediate problem. It's about gaining access to premium parts, expert knowledge, and—most importantly—a post-repair warranty that protects your investment.
The Australian smartphone repair market is a significant part of a broader $3.1 billion industry. The growing right-to-repair movement is aiming to improve consumer access to genuine parts and services, which will hopefully lead to even better and more competitive options for everyone. You can learn more about Australia's repair industry dynamics to get a better sense of the landscape.
At the end of the day, an expert repair isn't just a fix; it's a guarantee that the job is done right the first time, saving you stress and money.
Common Questions About Phone Screen Repair
Deciding how to get your screen fixed often comes down to a few key questions about cost, time, and the safety of your data. You've weighed the pros and cons, but let's clear up those lingering practical queries. Here are the straightforward answers we give our customers every day.
How Much Does It Really Cost to Fix a Phone Screen in Australia?
The price tag for a screen repair can swing quite a bit, mostly depending on your phone's model and how new it is. For something like professional iPhone repairs in Brisbane, you might be looking at around $100 for an older model. For the latest flagships with those fancy OLED displays, the cost can climb up to $350 or more.
But what does that price actually get you? It's not just the glass. That cost includes a high-quality replacement part, the technician's time and expertise, and—this is the big one—a warranty on the work. That's a level of peace of mind you just won't find in a DIY kit you bought online.
Will I Lose My Data During a Screen Replacement?
Nope, a standard screen replacement is purely a hardware job. It shouldn’t touch your personal data at all. The process involves carefully swapping out the broken display with a new one, without needing to wipe or even access your phone's internal storage.
That said, it's always a smart move to back up your device before any kind of repair. Just think of it as a free insurance policy for your photos, messages, and contacts. Better safe than sorry, right?
A trustworthy repair shop will never need to factory reset your phone for a simple screen replacement. Everything—your apps, settings, and photos—should be exactly where you left it.
How Long Does a Professional Screen Repair Take?
This is where going to a pro really shines. An experienced technician who does this day in and day out can typically have a full screen replacement done and dusted in under 60 minutes.
That speed saves you from the hours of fiddly, nerve-wracking work that a DIY attempt involves. You get your phone back in your hands quickly, so you can get on with your day.
Is It Worth Fixing the Screen on an Older Phone?
In a lot of cases, absolutely! If your older phone still does everything you need it to and runs smoothly, fixing the screen is a brilliant choice. It's both wallet-friendly and much better for the environment than buying a whole new device.
The cost of a screen repair is usually just a fraction of what a new phone would set back. We can give you a quick, no-obligation quote so you can see the numbers for yourself and make the best decision.
Ready to get that screen looking like new again without the DIY drama? For a fast, reliable, and guaranteed fix, our team of experts is here to help.
Book your repair with Screen Fixed Brisbane today
Disclaimer: All third-party trademarks (including logos and icons) referenced by Screen Fixed remain the property of their respective owners. Unless specifically identified as such, Screen Fixed’s use of third-party trademarks does not indicate any relationship, sponsorship, or endorsement between Screen Fixed and the owners of these trademarks.