
Change the display on your iPhone 7 wholly by yourself. All you need is iPhone 7 Tool Kit and iPhone 7 LCD Screen Assembly. Follow the instructions step by step, and you will soon be able to enjoy a working display again.
1) Switch off your device
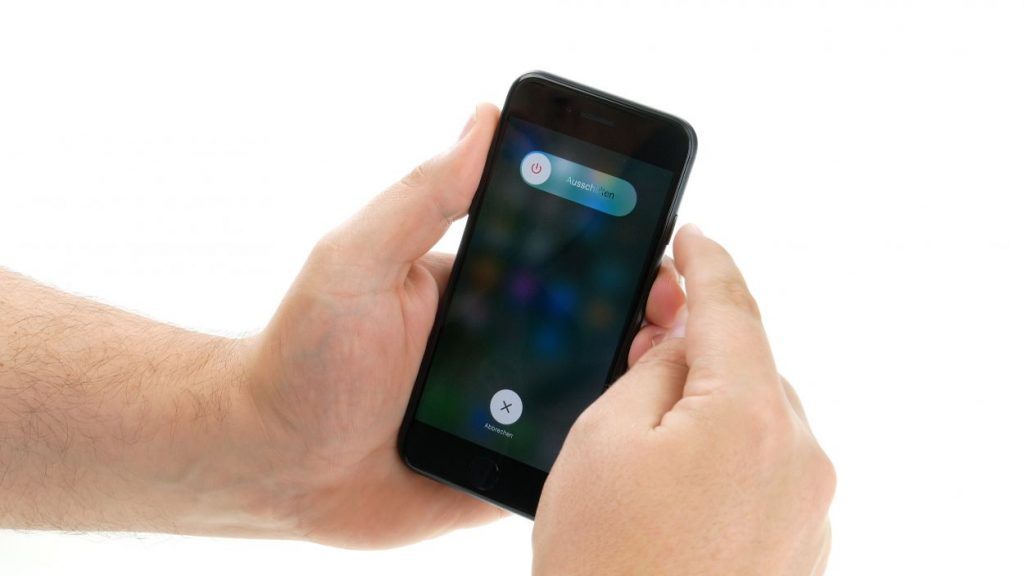
Before even starting, turn off your iPhone 7 totally to abstain from harming it during the fix. Press the Sleep/Wake button for around three seconds until the slider marked "power off" shows up. Swipe it from left to right and it's tottaly turned off.
2) Remove enclosure screws

You will need a PL1 screwdriver to open iPhone 7. Remove the two pentalobe screws at the bottom of the enclosure. They are located on the left/right side of the lightning connector.
3) Lift the display


To lift the front glass you will require a pull cup, a hard plastic pick, and a heat gun (a hairdryer will likewise work), those you get in the unit aside from the heat gun. The screen itself is stuck to the casing, utilize a warmth firearm to warm the external edges of the display to about 60°C (140°F).
Place the suction cup over the Home button or next to it. While lifting the screen with it, insert hard plastic pick between the aluminum frame and the display. Press down the aluminum frame and slide the pick all around the iPhone between the aluminum frame and the display frame. Try not to stick the pick in too far because that could damage the flexible flat display cables.
Use the pick to push the display so the tabs come out of the aluminum frame. Fold the display over to the side, and be careful not to stretch the flexible flat cables too much.
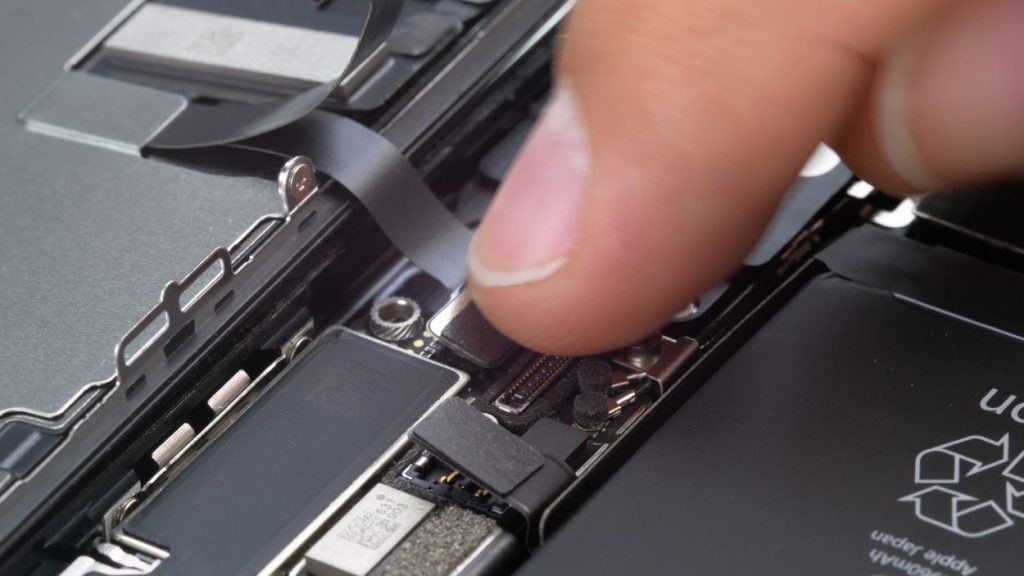
4) Disconnect display
Battery contact


Use the Y-type screwdriver to remove the four Y-type screws. Take off the cover. Now carefully lift off the battery contact by inserting a plastic spatula below the connector.
Display contacts


Take your plastic spatula and disconnect the contacts for the display and home button.
FaceTime contact


Use the PH00 screwdriver to remove two Philips screws. Take off the cover and again using a spatula disconnect the FaceTime connector. Now you can finally lift off the display completely.
5) Remove the earpiece


On the back of the display, you will find the earpiece, which is attached with its cover. Use multiple Philips screwdrivers and remove the cover. The earpiece is under the front camera's flat cable. Fold the cable to the side so you can remove the earpiece.
6) Remove the FaceTime cable


Remove the FaceTime Camera cable set by gently lifting the sensors to remove them. Then you can use the spatula to remove the ribbon cable, that is located near the microphone and is heavily glued. If you can get the FaceTime Cable disconnected use a hairdryer to heat the glue.
7) Remove the Home button


Remove the four Y-type screws and lift off the silver cover. Then loosen the contact of the home button cable with a plastic spatula. This cable is on another contact which is not screwed. You may have to press the lowest contact slightly against display to make it easier to remove the Home button contact.
To detach heavily glued cable set use tweezers, and then you can push the home button out of the display unit from the inside. If you can't detach cable set use hair dryer to loosen the glue more easily.
8) Remove the rear panel


You can now see a metal cover that is attached with six Y-type screws. Remove these screws with a Y-type screwdriver. Then use tweezers to loosen the adhesive strip of the flex cable and take off the metal cover.
9) Prepare the new display

Not all displays have front camera bracket and sensor bracket attached to it. If necessary, you will have to take those from your old display before installing the new screen. When you took them off. Peel the protective film off the new display and remove the seals.
10) Attach the rear panel


The next step is to attach your silver backplate to the new display. Press down the flex cable, place the plate on the back of the spare part, and screw it on. Don't tighten the screws completely to still have the possibility to adjust the backplate. Once the backplate is good positioned tighten the screws.
The silver looking chip on the cable must lie exactly in its original position. If this is not the case, you will see discoloration of the display at exactly this position after installation. Then you will have to optimize the position of the cable again.
11) Install the Home button


Adjust the Home button from the front through the opening of the display unit, and then press the flex cable of the Home button and connect the plug. After that, you can put the silver cover back on and screw it with a Y-type screwdriver.
12) Install the FaceTime cable


Place the Facetime camera cable in its original place, and then install the microphone. After that, you can place the sensors in their corresponding brackets.
13) Install the earpiece


Put the earpiece back in its original place (under the flex cable and between the FaceTime camera and sensors). Then put the cover back on and screw it up with Philips screwdriver.
14) Attach a frame sticker

To ensure that the new edge sticker will truly stick, eliminate all buildup of the glue and dirt, and eliminate the principal backing film. Position it cautiously on one side and press it on tenderly. Then remove the second piece of film.
15) Connect Display
Facetime contact


Hold the display upright on the frame and connect the FaceTime contact to the logic board. Then set the display on the side of the frame, and put the FaceTime contact's cover back and screw it back. with the two Philips screws.
Display and home button


Connect the two connectors from the home button and display to the logic board.
Battery


Connect the battery by connecting the battery contact. Put the cover back and secure it with the four Y-type screws.
16) Attach the display


Put the display on the side of the frame and lower it onto the iPhone. Then press the entire display into the frame.
17) Fasten the enclosure screws
Fasten the two pentalobe screws to the left and right of the Lightning connector into the enclosure.
Test everything
Congratulations, you changed your iPhone 7 screen. Now just test a few things to make sure everything is working properly:
-Test the brightness of the display.
-Test the touchscreen, select an app, and drag it all around the display. If it's following your finger everything is fine.