
Change the display on your iPhone 6 wholly by yourself. All you need is the iPhone 6 Repair Tool Kit and LCD Screen Assembly. Adhere to the guidelines bit by bit, and you will before long have the option to enjoy a working display again.
1) Switch off your device
Before you even start, discharge your iPhone 6 battery below 25%. A fully charged lithium battery can catch fire or explode if accidentally punctured.
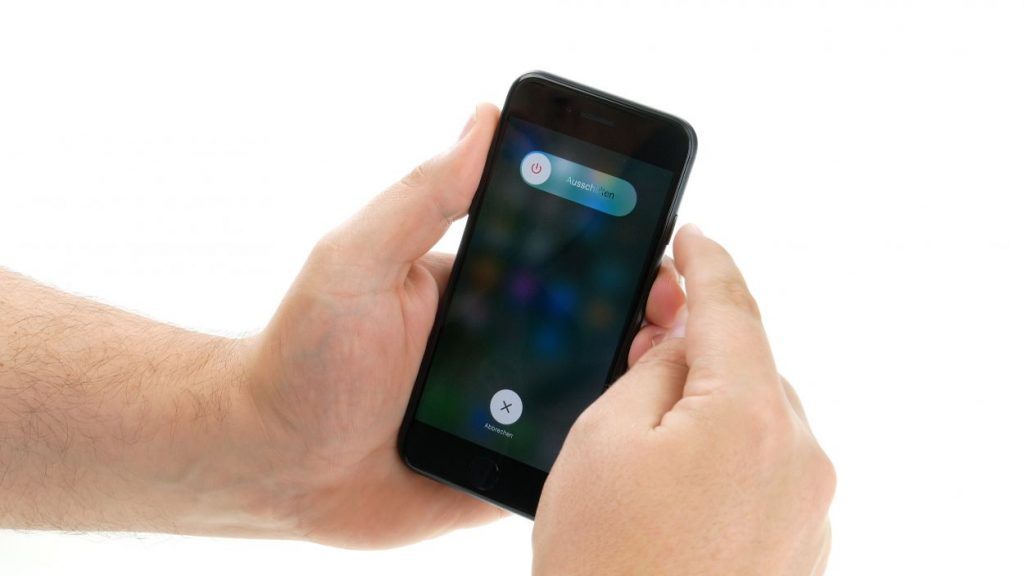
Now to get started turn off your iPhone 6 completely to avoid damaging it during the repair. Press the Sleep/Wake button for about three seconds until the slider labeled "power off" appears. Swipe it from left to right, and it's turned off.
2) Remove enclosure screws

You will need a P2 screwdriver to open the iPhone 6. Remove the two pentalobe screws at the bottom of the enclosure. They are on the left/right side of the lightning connector.
3) Lift the Display


To lift the glass you will require an attractions cup, a hard plastic pick, and a heat gun(a hairdryer will likewise work), which you get in the pack aside from the heat gun. The screen is glued to the frame, use a heat gun to heat the outer edges of the display to about 60°C (140°F). You can do it without the heat gun but it's easier with it.
You can do it without the warmth weapon yet it's simpler with it.
Place the suction cup over the Home button or next to it. While lifting the screen with it, insert hard plastic pick between the aluminum frame and the display. Press down the aluminum frame and slide the pick all around the iPhone between the aluminum frame and the display frame. Try not to stick the pick in too far because that could damage the flexible flat display cables.
Use the pick to push the display so the tabs come out of the aluminum frame. Open the display to about a 90º angle and lean it against something to keep it propped up while you're working on the phone.
4) Disconnect battery contact


Use the Philips screwdriver to remove the Philips screws from the metal cover, and take off the metal battery cover. Now carefully lift off the battery contact by inserting a plastic spatula below the connector.
5) Disconnect camera


Remove the metal covering by unscrewing five Philips screws. Then take your plastic spatula and disconnect the contacts for the front-facing camera & sensor, and home button.
6) Disconnect display


Use plastic spatula and disconnect the display data cable and digitizer cable. Now you can finally lift off the display completely.
7) Disconnect the home button


Unscrew the two 1.9mm Philips screws securing the home button bracket. Then carefully remove the home button bracket from the front panel. After removing metal covering, use the plastic spudger to disconnect the home button cable connector by pushing it up and away from the home button.
8) Remove the home button


Apply low heat to the home button to soften the adhesive securing its membrane. When its soften enough, use your fingertip constant pressure on the home button from the front side of the display assembly, until the membrane separates from the panel. When you get it out, use the point of a spudger to separate the home button cable from the adhesive securing it to the front panel.
9) Prepare the new display
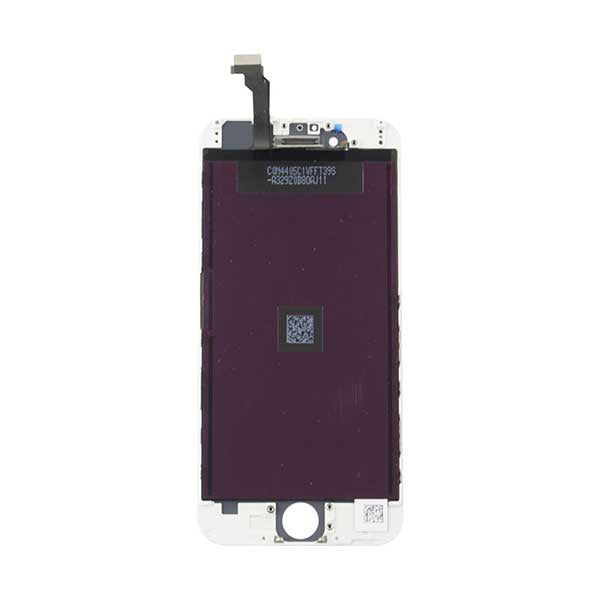
Peel the protective film off the new display and remove the seals.
10) Install home button


Adjust the Home button from the front through the opening of the display unit, and connect the flex cable plug. After that, you can put the silver cover back on and screw it with a Philips screwdriver.
11) Connect display


Hold the display upright on the frame and first connect the display data cable and digitizer cable.


Then connect the front-facing camera and home button. Put the metal cover back and screw it with the two Philips screws.
12) Connect battery


Connect the battery by connecting the battery contact. Put the cover back and secure it with the two Philips screws.
13) Attach the display


Put the display on the side of the frame and lower it onto the iPhone. Then press the entire display into the frame.
14) Fasten the enclosure screws
Fasten the two pentalobe screws to the left and right of the Lightning connector into the enclosure.
Test everything
Congratulations, you changed your iPhone 6 screen. Now just test a few things to make sure everything is working properly:
-Test the brightness of the display.
-Test the touchscreen, select an app, and drag it all around the display. If it is following your finger everything is fine.