
When your MacBook Air screen cracks, the immediate thought often jumps to the scary price tag of a brand-new laptop. But hold on. A cracked screen feels like a total disaster, but it doesn't have to mean forking out for a new machine. You can absolutely change a MacBook Air screen, and it’s often far more affordable than you might think. This guide will walk you through your options, from professional repairs to a DIY approach, helping you make the best choice for your situation.
Deciding if a Screen Replacement Is Worth It
A shattered screen can bring your workflow to a grinding halt, but figuring out the next step isn't always straightforward. The decision to repair or replace your MacBook Air really boils down to a few key things: the age of your Mac, the cost of the repair, and how comfortable you are getting your hands dirty with delicate electronics. Let's break down the real-world options here in Australia to help you make a smart choice for your wallet and your Mac.
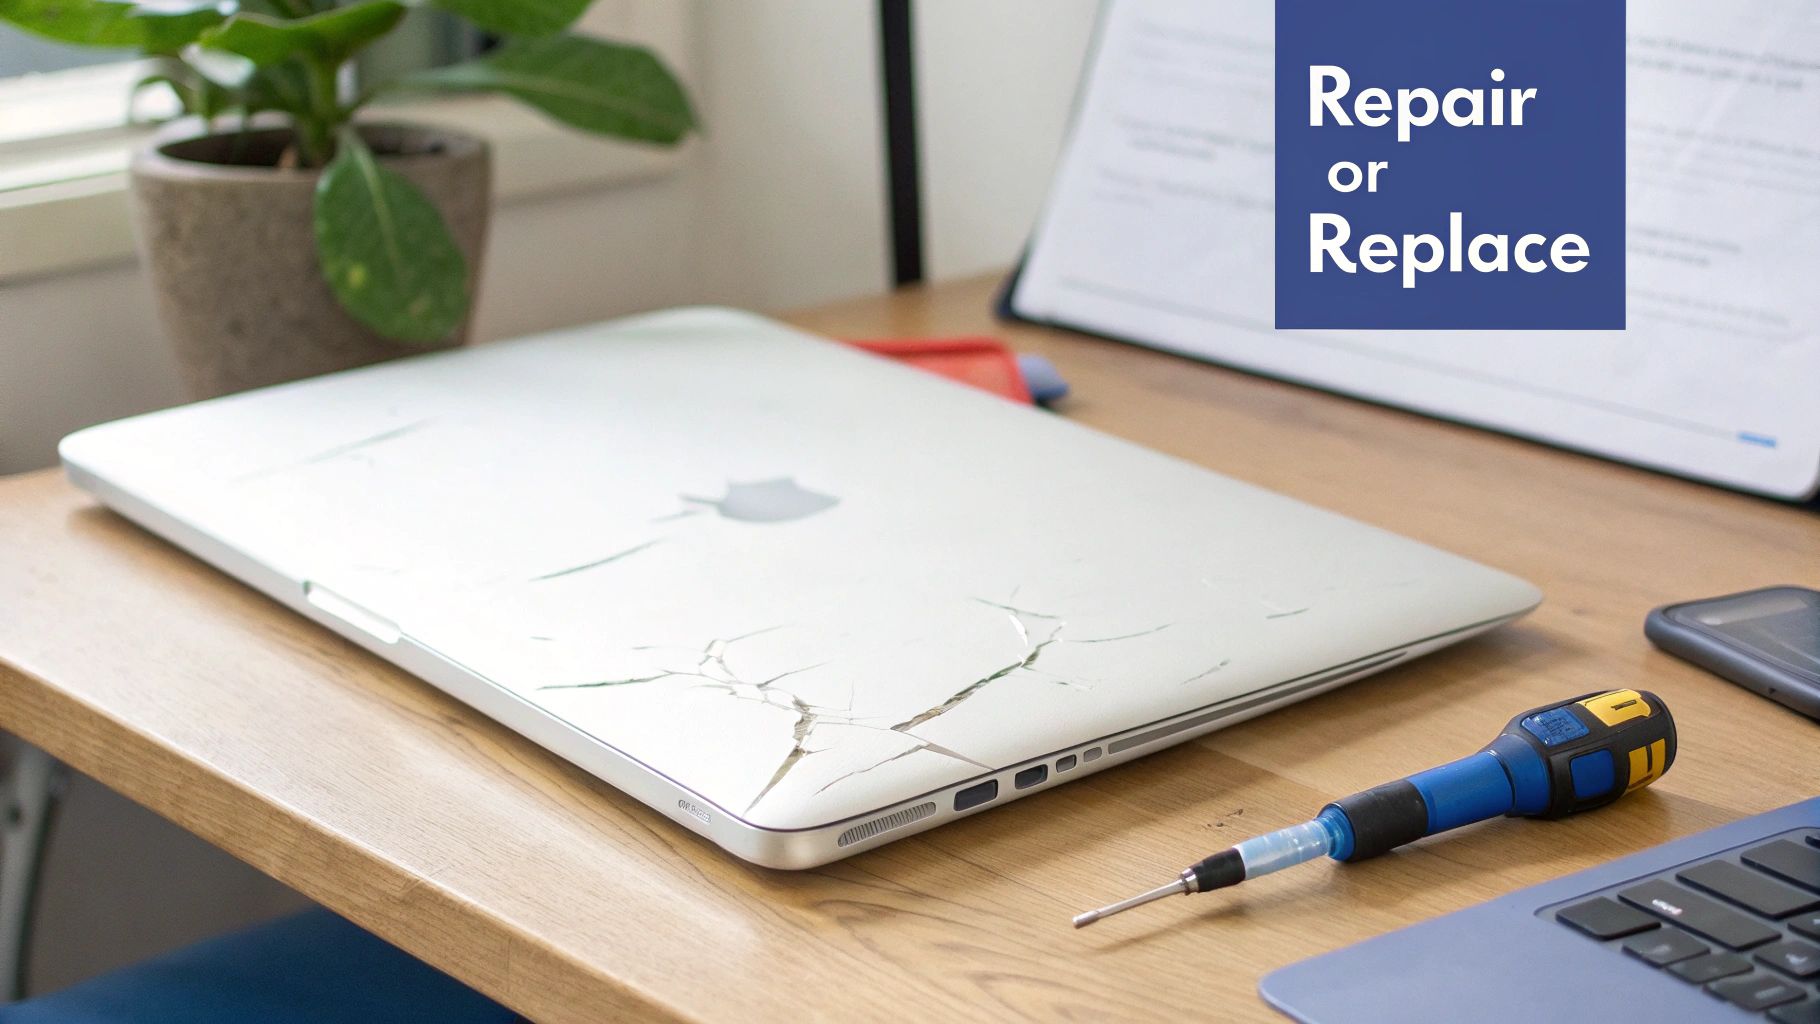 Alt: A silver MacBook Air with a cracked screen next to repair tools, illustrating the choice to repair or replace the device.
Comparing Professional Repair Costs
Your first thought might be to go straight to Apple. While they offer a guaranteed service, it often comes with a premium price tag, especially if your MacBook is out of warranty. For many older MacBook Air models, the cost of an official screen replacement can get dangerously close to the value of the laptop itself, which is a tough pill to swallow.
This is where trusted independent repair shops come into the picture as a fantastic alternative. A professional service like Screen Fixed Brisbane can perform the exact same repair using high-quality parts, often for a fraction of what Apple would charge. The main advantages here are pretty clear:
- Significant Savings: Independent shops don't have the same massive overheads, letting them pass those savings directly on to you.
- Expertise and Efficiency: Technicians at specialised shops do these repairs day in and day out. They’re fast, efficient, and know what they’re doing.
- Warranty on Repairs: Any reputable service will stand by their work with a warranty, giving you that extra peace of mind.
By choosing an independent repair expert, you're not just saving money. You're also extending the life of your device, which is a great result for both your bank account and the environment.
The Do-It-Yourself (DIY) Option
For those who are a bit more technically inclined and don't mind a hands-on project, the DIY route is a perfectly good option. Sourcing a high-quality replacement screen and the right tools from a reliable supplier gives you full control over the repair. This path offers the lowest upfront cost, but it's not without its risks.
A successful DIY change MacBook Air screen project demands patience, precision, and a very steady hand. You'll need to follow detailed guides to the letter and be comfortable handling tiny, fragile connectors. If you're thinking about this approach, you have to weigh the potential savings against the real risk of causing more damage if something goes wrong. If you want to get a feel for a similar job, you can learn more about a MacBook Pro display replacement in our other detailed guide.
Making the Final Call
So, is it actually worth it? For most modern MacBook Airs, the answer is a resounding yes.
If your laptop is otherwise working perfectly, a screen replacement is almost always the most economical and sustainable choice. A professional repair is your hassle-free, guaranteed solution, while a DIY fix offers the biggest savings for the skilled and patient enthusiast. By understanding these options, you can confidently pick the best path forward for your Mac and your budget.
Finding Your Model and Sourcing the Right Parts
Any successful mission to change a MacBook Air screen starts long before you pick up a screwdriver. It all begins with one critical step: correctly identifying your laptop's model so you can source the perfect replacement part. Trust us, getting this wrong leads to wasted time, money, and a whole lot of frustration. Let's make sure you get it right from the very beginning.
 Alt: A MacBook Air on a desk with a sign pointing to the model number, emphasising the importance of correct identification.
Unlike iPhones with their clear generational names, MacBook Air models can look deceptively similar year after year. Just ordering a screen for a "13-inch MacBook Air" isn't nearly specific enough—connectors, resolutions, and even the mounting points can change between what look like identical machines.
Pinpointing Your Exact MacBook Air Model
Fortunately, Apple gives us a few simple ways to find the specific identifier you need. Don't just guess based on when you bought it; use one of these methods to guarantee you order a compatible part.
The easiest way is to just flip your MacBook over. On the bottom case, near the hinge, you'll see some fine print that includes the Model Number. It's a small string of text starting with 'A' followed by four digits (like A2337 or A1932). Nine times out of ten, this is the quickest way to get what you need.
If the text has worn off or it's just too hard to read, you can find all the details right within macOS:
- Click the Apple icon in the top-left corner of your screen.
- Select About This Mac.
- In the window that pops up, you’ll see the model name and year, like "MacBook Air (M1, 2020)".
- For even more detail, click System Report... (or "More Info..." on newer macOS versions). In the Hardware Overview, you'll find the Model Identifier (e.g., MacBookAir10,1).
Whether you have the A-number from the case or the Model Identifier from the software, you now have everything you need to find the correct replacement screen.
Understanding Your Screen Options
Once you know your model, you'll find there are a few different types of replacement screens available. The right choice often comes down to your budget and quality needs.
- OEM-Equivalent Screens: These are brand-new, third-party screens made to meet or exceed the original's specifications. For most people, they hit the sweet spot between quality and cost, delivering excellent performance without the hefty price tag.
- Refurbished Original Displays: These are genuine Apple displays that have been professionally restored. They're often pulled from devices with other faults, but the display panel itself is original, giving you the exact colour and brightness you'd expect from Apple.
Choosing the right part is about balancing cost and quality. For many repairs, a high-quality OEM-equivalent screen provides a like-new experience, while a refurbished original is the go-to for maintaining factory standards.
The price for these parts varies, but they almost always offer huge savings over going through official channels. Here in Australia, independent repair shops can do a screen replacement for between $390 and $750 AUD. In contrast, authorised centres often charge 50-100% more, frequently quoting $600-$900 AUD for the same job. For a more detailed breakdown, learn about the factors that influence repair prices directly from Apple.
To get a better handle on part specifics, check out our guide on sourcing a MacBook Air replacement screen. Making an informed decision here is what sets you up for a smooth, successful repair.
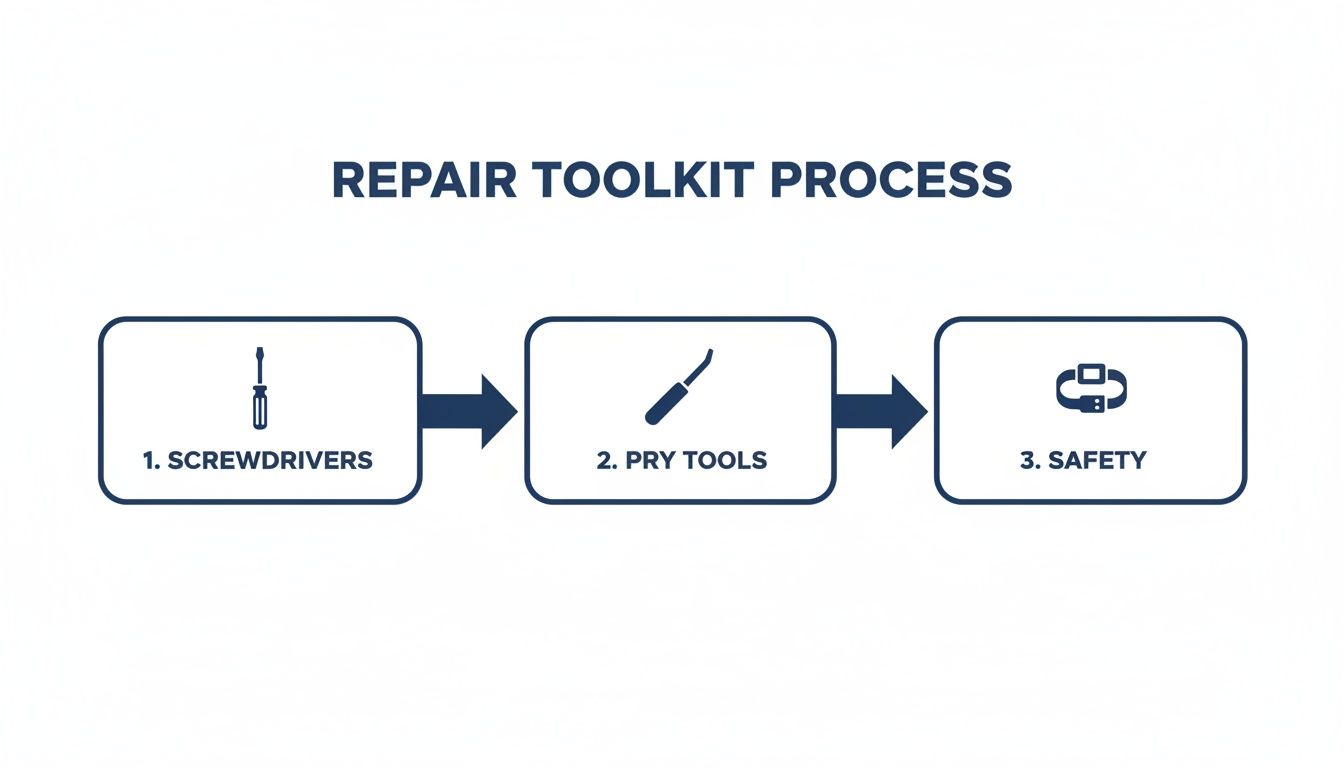
Getting Your Repair Toolkit in Order
Trying to change a MacBook Air screen without the proper gear is a recipe for disaster. Having the right, high-quality tools on hand doesn't just make the job smoother; it’s the single biggest factor in preventing accidental damage to the laptop’s delicate internals. Think of this as your pre-flight checklist before you even think about opening up the Mac.
The most common mistake we see is people trying to get by with a generic screwdriver set from the garage. MacBook Airs use very specific screw types that standard kits just don't have. Forcing the wrong driver will instantly strip the screw head, turning a simple job into a massive headache.
Must-Have Screwdrivers and Pry Tools
Your toolkit begins with a set of precision screwdrivers. You'll find that nearly every MacBook Air model requires a P5 Pentalobe driver for those unique bottom case screws, plus a handful of Torx drivers (usually T3, T5, and T8) for things like hinges and internal cable brackets. A pro tip? Use magnetic-tipped drivers. They’re a lifesaver for preventing those tiny screws from vanishing into the guts of the machine.
Next up, you need your pry tools. These are absolutely non-negotiable for separating parts without causing damage.
- Plastic Spudgers: These are your go-to for disconnecting fragile ribbon cables, like the ones for the battery and display. They let you get the job done without scratching the logic board or, even worse, tearing the cable itself.
- Opening Picks: These thin, guitar-pick-like tools are perfect for sliding between the display bezel and housing on older models.
- Suction Cup: A small suction cup can give you just the right amount of leverage to lift the screen assembly or bottom case.
The golden rule of prying is simple: never use metal. A metal tool will instantly scratch the aluminium casing and can easily cause a short circuit if it touches the logic board. That mistake can turn a screen repair into a much more expensive logic board replacement.
Essential Safety Gear for a Clean Repair
Beyond the basics, a few key safety items are there to protect both you and your MacBook from invisible threats. The most critical of these is protection against electrostatic discharge (ESD)—the silent killer of electronic components.
An anti-static wrist strap is not optional. You clip it to a metal part of the laptop's frame, which ensures you and the device are at the same electrical potential, neutralising any static build-up. For an extra layer of protection, working on an anti-static mat is a great idea. These items are cheap, but they offer priceless insurance against a very costly mistake.
Finally, a well-lit workspace and a magnetic screw mat will be your best friends. Keeping track of dozens of tiny screws is crucial for a smooth reassembly. For those stubborn adhesive strips holding cables down, knowing how to handle double-sided tape adhesive can make removal much cleaner and prevent torn cables.
A Step-by-Step Walkthrough of the Replacement Process
Alright, with your tools laid out and the right screen ready to go, it’s time to get into the heart of the repair. This is where patience and a steady hand really count. We’re going to walk through this step-by-step, sharing pro tips we’ve picked up from countless repairs. The goal isn't to be fast; it's to be precise. A methodical approach is the only way to change your MacBook Air screen successfully without creating new problems.
Phase One: Safe Disassembly
Before you even think about touching a screw, the most important thing is setting up a safe, static-free workspace. Roll out your anti-static mat and get that wrist strap on, clipping it to a metal part of the MacBook's chassis.
The very first thing you'll do inside the Mac is disconnect the battery. We can't stress this enough: never try to unplug the display or any other part while the battery is connected. One slip can cause a short circuit, turning a simple screen job into a much more complicated and expensive logic board repair.
- Removing the Bottom Case: Grab your P5 Pentalobe screwdriver and carefully remove all the screws holding the bottom panel.
- Disconnecting the Battery: Once you're inside, find the battery connector on the logic board. Use a plastic spudger to gently pry the connector straight up.
- Detaching Internal Components: Now it’s safe to move on to the other connections. This usually means taking off small metal shields held in by Torx screws before you can get to the connectors for the display, Wi-Fi antennas, and webcam.
Pro Tip: When you're dealing with ribbon cables, always use a plastic spudger and pry gently and evenly. These connectors are incredibly fragile. Tugging or using metal tools can easily rip the socket clean off the logic board.
This infographic gives you a quick visual on the essential tools for a safe and effective repair.
 Alt: An infographic showing the essential tools for a MacBook Air repair, including specific screwdrivers and anti-static gear.
It really highlights that having the right gear is the foundation of a successful repair, not just some optional extra.
Alt: An infographic showing the essential tools for a MacBook Air repair, including specific screwdrivers and anti-static gear.
It really highlights that having the right gear is the foundation of a successful repair, not just some optional extra.
Phase Two: Removing the Old Display
With all the cables disconnected from the logic board, you can now focus on getting the entire display assembly off. This part involves the hinge screws, which are often a T8 Torx and can be screwed in pretty tight from the factory.
Open the MacBook to a 90-degree angle or a bit more. This position takes the tension off the hinges and gives you the clearest access to the screws. Remove them carefully, making sure your driver has a solid grip to avoid stripping the heads. Once the screws are out, you can gently lift the old display assembly away from the laptop's body.
Phase Three: Installing the New Screen
Putting the new screen on is pretty much the reverse of taking the old one off, but this is where you need to be extra meticulous. Rushing this stage can lead to frustrating problems like a webcam that doesn't work or spotty Wi-Fi.
Start by carefully aligning the new display's hinges with the screw holes on the main chassis. Get all screws started by hand first to make sure the alignment is perfect, then tighten them down securely. Now for the most delicate part: routing and reconnecting all those little cables. The display, webcam, and antenna cables have to be routed exactly how they were originally.
Before you even think about reconnecting the battery, do a final double-check of every connection. Make sure each cable is fully seated and has clicked securely into place.
Phase Four: Final Checks and Closing Up
Once you’re confident that everything is routed correctly and every connector is secure, it’s time to reconnect the battery. Line up the connector and press it straight down until it clicks firmly into place.
Now, before you put the bottom case back on, it's a good idea to do a quick power-on test. Carefully flip the MacBook over, open the lid, and hit the power button. You should see the Apple logo pop up on your new screen. If you do, that’s a great sign. Power it straight back down.
You can now replace the bottom case. Align it carefully, making sure all the clips around the edge engage properly before you start putting screws back in. With that last screw in place, you've officially finished the physical installation. The next step is to run a full set of tests to make sure every single function is working perfectly.
Post-Repair Testing and Troubleshooting
Alright, the last screw is back in place, but don't close up shop just yet. This is the crucial final step where you confirm your mission to change a MacBook Air screen was a total success. It's tempting to rush this part, but spending a few extra minutes here can save you from a major headache down the road.
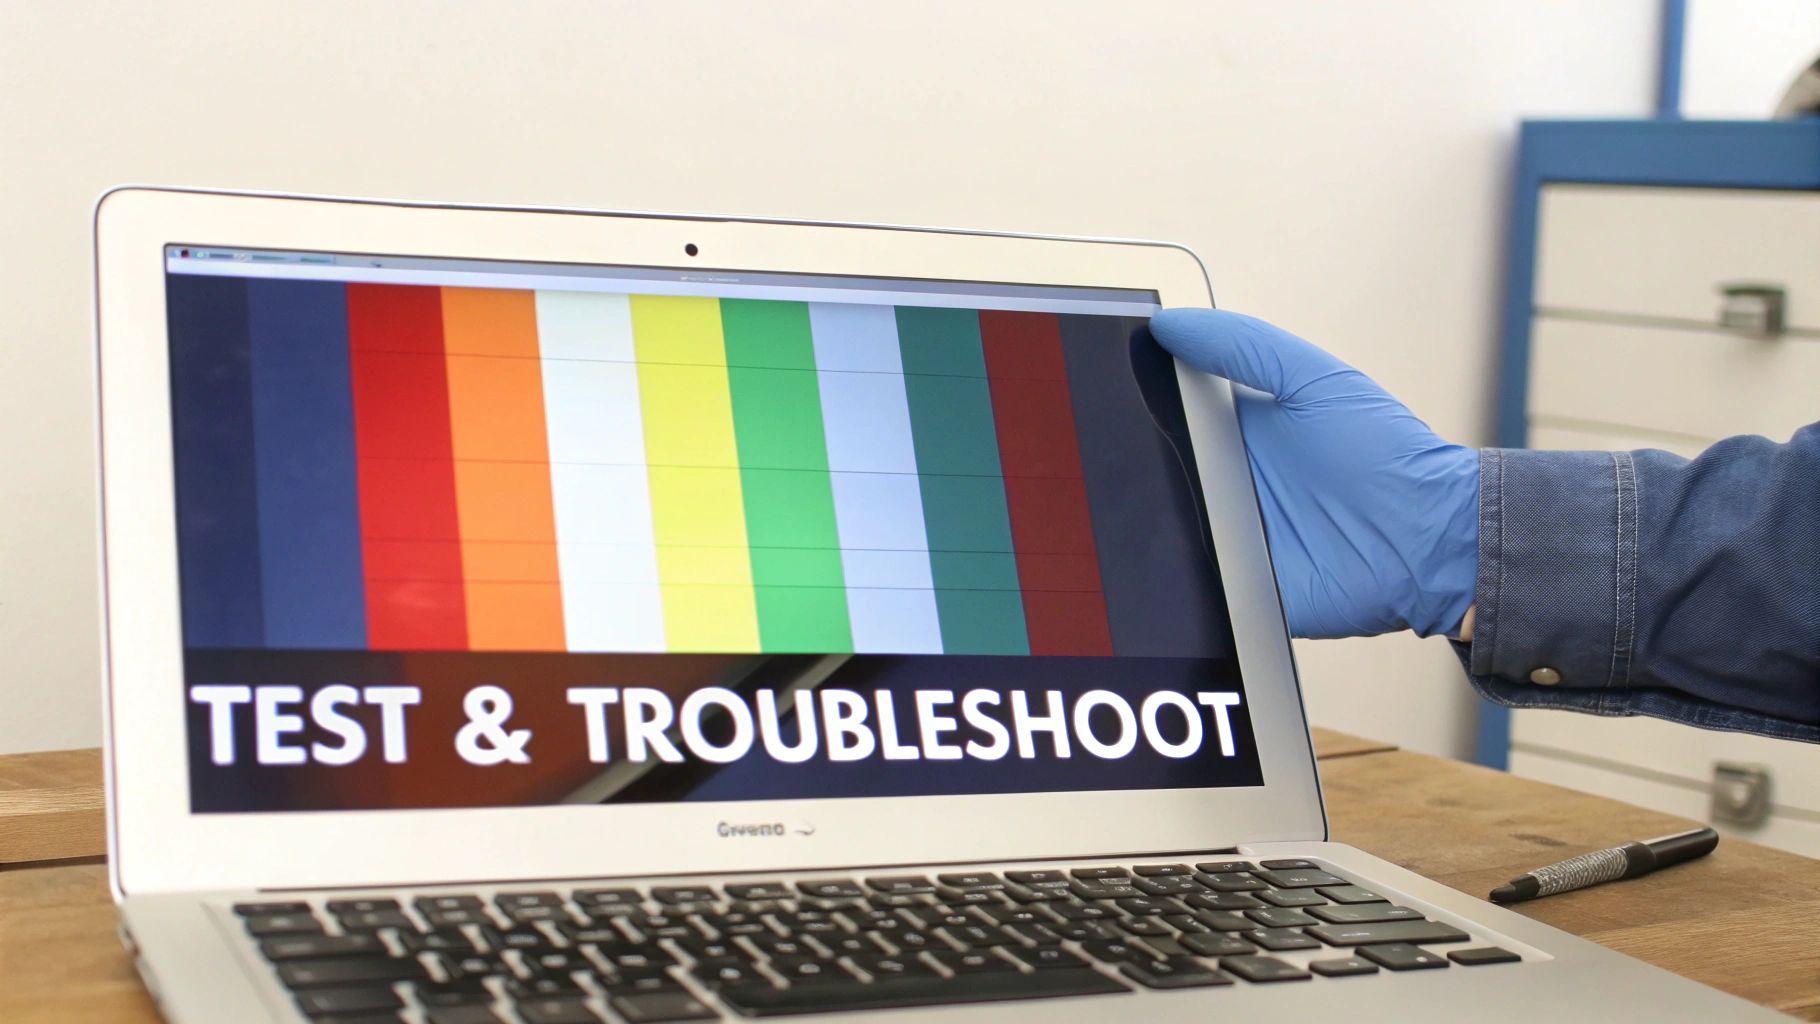 Alt: A technician testing a newly replaced MacBook Air screen with a colour test pattern to check for defects.
Think of it as a final quality check. We're about to run through a quick but comprehensive list to make sure every single function tied to that new display is working perfectly.
The Essential Post-Repair Checklist
Go ahead and power on your MacBook Air. It’s time to put that new screen through its paces. Don't just give it a quick glance; we need to be methodical to ensure a professional-grade result.
- Brightness Controls: Hit the function keys and slide the brightness all the way up, then all the way down. You're looking for a smooth transition.
- Webcam Functionality: Open FaceTime or Photo Booth. You should see a clear image.
- Ambient Light Sensor: In a bright room, cover the sensor next to the webcam. The screen should dim automatically.
- Dead Pixel Check: Search for a "dead pixel test" video on YouTube. They cycle through full-screen colours to help you spot any tiny dots that are stuck.
A single dead pixel might not sound like a huge deal, but once you've seen it, you can't unsee it. A quality replacement screen should be absolutely flawless, so this test is a non-negotiable part of a proper repair.
Common Troubleshooting Scenarios
Even when you're incredibly careful, things can go sideways. The trick is not to panic. Most problems that crop up after a screen replacement are caused by a handful of common, and usually fixable, issues.
Problem: The Screen Stays Black This is the big one, and it's almost always the same culprit: the main display cable. Power the machine down completely, disconnect that battery again, and carefully reseat the display connector on the logic board.
Problem: The Backlight Isn't Working If you can see a very faint image on the screen, but it won't light up, you've got a backlight problem. This often happens if the battery wasn't disconnected before starting the repair. If reseating the display cables doesn't fix it, this one might require more advanced MacBook repairs in Brisbane.
Problem: True Tone Is Missing For any MacBook Air from 2018 or newer, the True Tone feature is calibrated to the specific, original screen. When you swap the display, that feature gets disabled. The only way around it is to use a special programming tool to copy the calibration data from your old screen to the new one. This is a compelling reason to let a professional service handle the swap.
Got Questions About Your MacBook Air Screen Repair? We’ve Got Answers.
Even with a full guide in front of you, it’s totally normal to have a few questions buzzing around before you crack open your MacBook. Let’s tackle some of the most common queries we hear from our customers. Getting these details straight can be the difference between a smooth job and a complete headache.
How Long Does This Actually Take?
For an experienced tech here at a shop like Screen Fixed Brisbane, we're looking at about 45 to 90 minutes. If this is your first time, you need to slow way down. Be honest with yourself and set aside a solid two to four hours. Rushing is the number one reason people strip screws or tear tiny cables.
Will I Lose True Tone if I Change the Screen?
Yep, it’s very likely if you do it yourself. For any MacBook Air from 2018 onwards, the True Tone feature is cryptographically locked to the serial number of the original screen. Professional repair shops have specialised programming tools that let us read the calibration data from your old screen and transfer it to the new one, preserving the feature.
Should I Replace the Whole Display or Just the LCD Panel?
For any modern MacBook Air with a Retina display, the answer is always the same: replace the entire display assembly. The LCD panel, front glass, backlight, and the aluminium lid are all laminated together in a single, sealed unit. Trying to separate these layers yourself is a recipe for disaster. Fitting the complete assembly is the industry standard and the only way to guarantee a perfect, dust-free finish.
At Screen Fixed, the details of every MacBook repair are our specialty. If you've read this guide and decided the DIY path isn't for you, our expert technicians are ready to step in. Book your professional MacBook Air screen repair with us for a fast, reliable service that's backed by our warranty.
Disclaimer: Screen Fixed is an independent repair service and is not affiliated with Apple Inc. "MacBook," "MacBook Air," "iPhone," "True Tone," and "FaceTime" are trademarks of Apple Inc.