
This guide will show from start to finish the repair process when fixing a damaged iPhone XR screen, DIY style! Time to put on the safely glasses, working with small parts can be a hazard. All iPhone XR DIY Screen Repair kit's sold by Fixo come with complimentary repair support, if stuck -do get in contact via email or phone. Let's begin!
-

iPhone XR DIY Screen Repair Kit -

Included are tools!
1. Power device & Remove Pentelobe Screws.
Begin by powering down the device, now using a Pentelobe screw driver, remove both prentelobe screws at the bottom of the device.

-

2. Slide to power off -

3. Remove both pentelobe screws
2. Pry Open iPhone XR
Using a plastic spludger tool and suction cup, lift the bottom of the broken iPhone XR screen enough to insert the plastic spludger. Gently move the spludger around the vicinity if the screen, there is adhesive that will help to hold the display in place.

-

2. Run pry between screen and housing -

3. Open screen like a reverse book, hold.
3. Remove Connector Cover & Disconnect Battery.
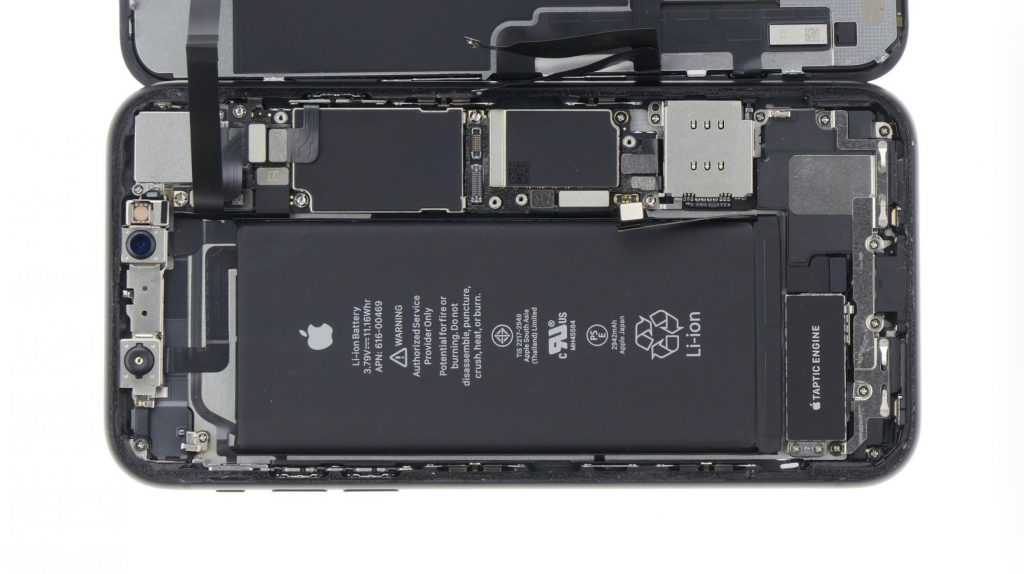
Using your tri-point screwdriver, unscrew screws holding connections covers in place. Disconnect battery connector using a plastic spludger (using metal will cause a short circuit). Remember to keep all screws and plates neatly laid out on a work matt or table, some screws are specific, if you put a different sized screw in the wrong place it can damage the logic board.

-

2. Disconnect Battery -

3. Remove Covers. Disconnect Flex Cables
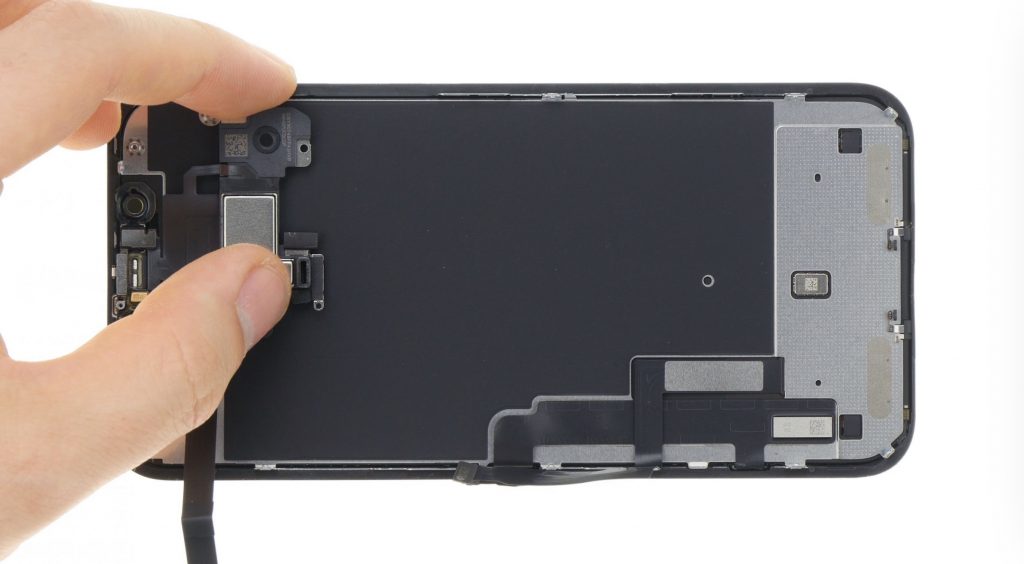
4. Remove Ear-speaker and Face I.D
It's recommended to move gently through step 4 - if you damage the face i.d cable its very difficult get face i.d to work again on iPhone XR. Using a plastic pry tool, lift the ear-speaker, face i.d flex and proximity sensor from he plastic spacing holder. These components are stuck in with adhesive which will make them stubborn to remove.


5. Remove LCD Back Plate / Shield
Since the face i.d and ear-speaker have been removed from the plastic module, it's time to remove the LCD plate. This requires you to remove all 13 surrounding screws that secure the plat to the display, use your tri-point driver. Now you will need to remove the flex cable from the back of the LCD plate - this is stick down will adhesive. Use your metal pry tool and gently gen between the plate and flex cable until it is seperate.

-
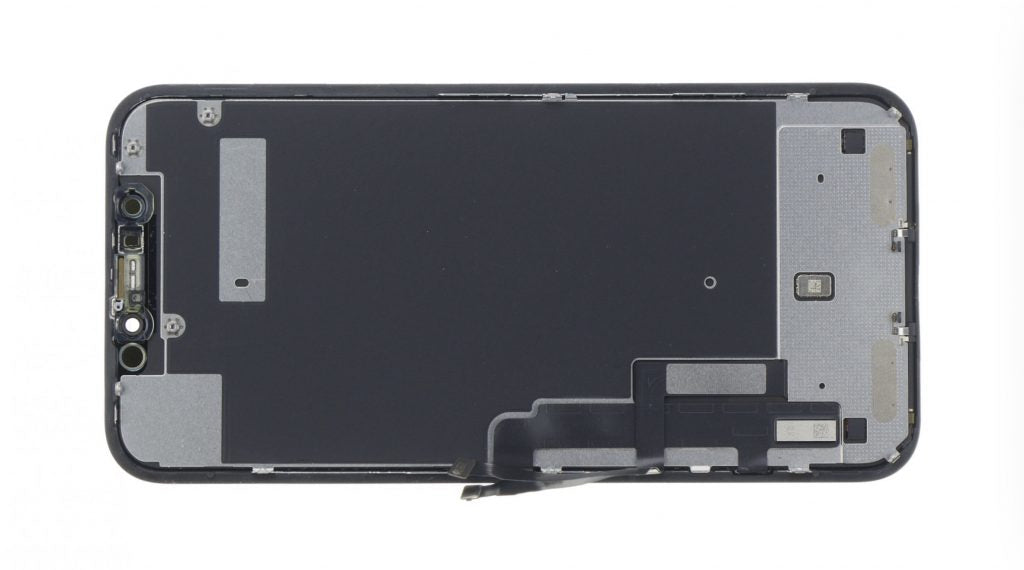
3. Remove all 13 screws -

Gently pry flex away -

Seperate plate from LCD
6. Prepare Replacement LCD Screen
Congratulations - now its time to prepare your new replacement screen for install.
1. - First peel away plastic from back of the screen, be careful not to pull too hard, you must be very gentle when dealing with flex cables.
2. Now clear away old adhesive from the frame of your iPhone XR and seat new adhesive, we recommend pushing it into place with your plastic sludger so it gets a goods grip.
3. - Immediately place the LCD plate onto the back of there display. Positioning the plates bottom feet between the plastic bezel and flex cable, then lay the plate down on the back of the LCD while simultaneously threading the lcd flex cable through the plate. It's important to make sure the plate it sitting flat and the flex cables are in the correct order before moving onto the next step.
4. Screw all 13 screws fastening the plate to your LCD Screen, this acts as a heat shield and also protects and adds structure to your iPhone XR display.

-

2. Re-apple new adhesive -
3. Place Plate inside frame -
4. Fasten Plate to LCD
7. Install Face i.d and Ear-speaker to Screen
- First place there sensors within the plastic guide, it is important that these sensors are seated well.
- Prepare to fold the ear-speaker module in place making sure that it sites flat. moreover if the module is not sitting flat and the display is re-installed to the frame it will not site flat.
- Too conclude step 7 fasten the ear-speaker module to the lcd screen with 3 screws, these screws can no be overtightened or mixed up.

-

2. Prepare to fold the ear-speaker module -

3. Fasten Module with 3 screws
8. Connect New Screen to iPhone
Now that your new LCD screen assembly is fully assembled, you can godhead and connect the screen to the iPhone XR's logic board.
1. Initially position the new display in place and re-connect the ear-speaker and face i.d cable.
2. Now position and connect the LCD and Touch screen flex cables to the logic board.
3. Reconnect the battery and cover the connectors with the plate, now it's time to fasten the place with the screw. It is vital that the correct screws are used here.
-
2. Connect flex connectors -
3. Connect Battery -
3.a Screw in Plate
9. Install Replacement LCD Screen and Pentelobe Screw
The most crucial part of this process is aligning the display to the frame correctly, Fixo recomend working gently here.
- Align display correctly over the device. Start by placing the top of the display into the frame, there are metal clips that will grab.
- From top to bottom apply pressure and the display will clip into place.
- Apply pressure to make sure the display is correctly in place.
- Fasten Pentelopbe

-

2. Work fingers down -

3. Firmly push in place -
4. Fasten screws
10. Test you new iPhone XR Screen
Test your new iPhone XR screen by turning the device on, dragging an icon around the circumference of the touch screen. If the screen works - great! If not, go back and check the connections are in place.

On behalf of the team at https://www.phoneparts.com.au we hope you have enjoyed this guide.